Crochet Granny Stitch Beanie | Free Pattern & Video Tutorial
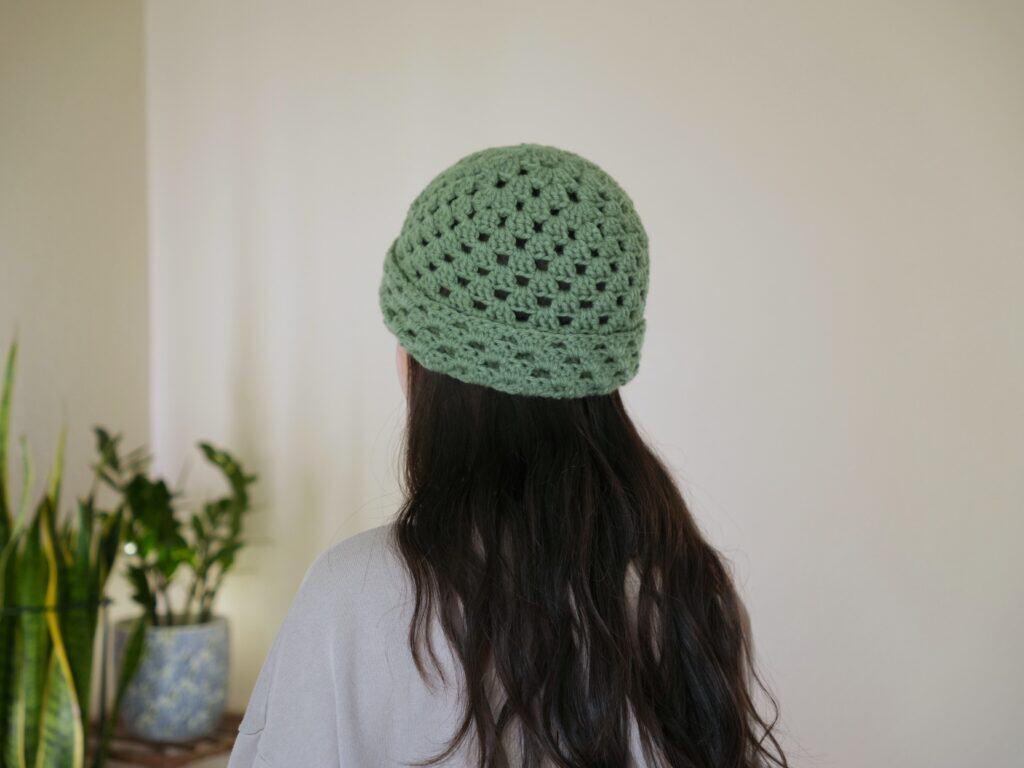
Crochet a beanie with the granny stitch for this fall! This crochet beanie pattern comes in multiple sizes and is a quick project that uses less than one skein of yarn. Customize your beanie by making a solid or multicolored granny stitch beanie with or without a brim!
Follow along with this free written pattern, or watch the video tutorial to make your very own crochet beanie!
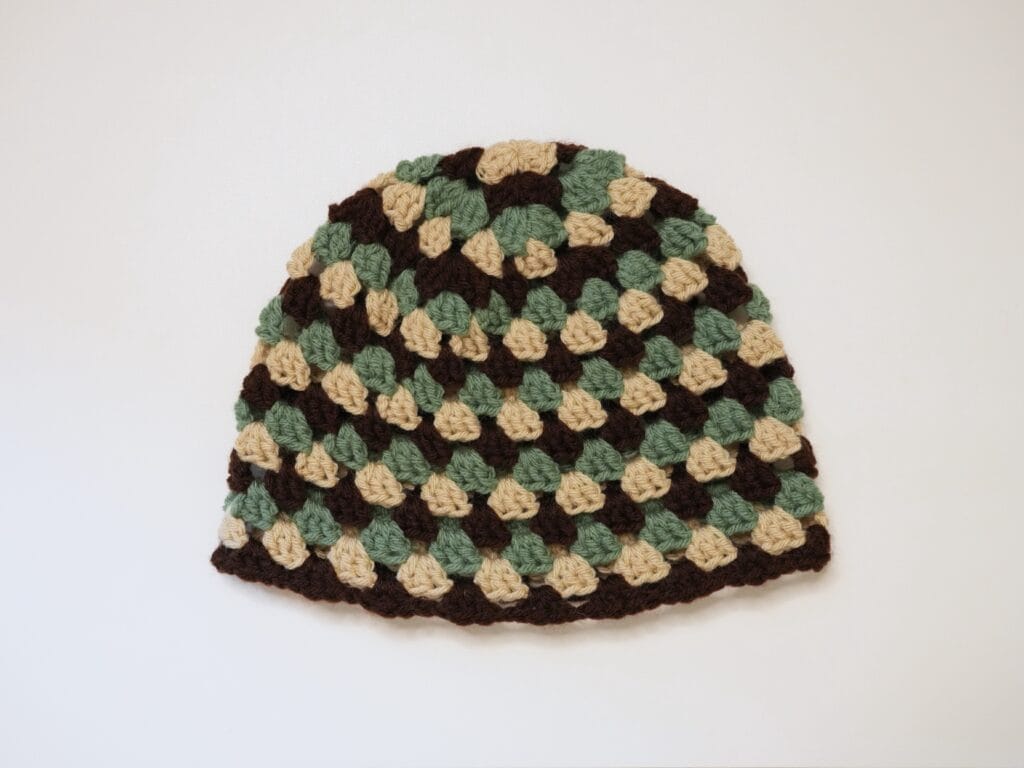
Table of Contents
This post may contain affiliate links. I may earn a small commission on qualifying purchases at no additional cost to you!
Customize Your Beanie
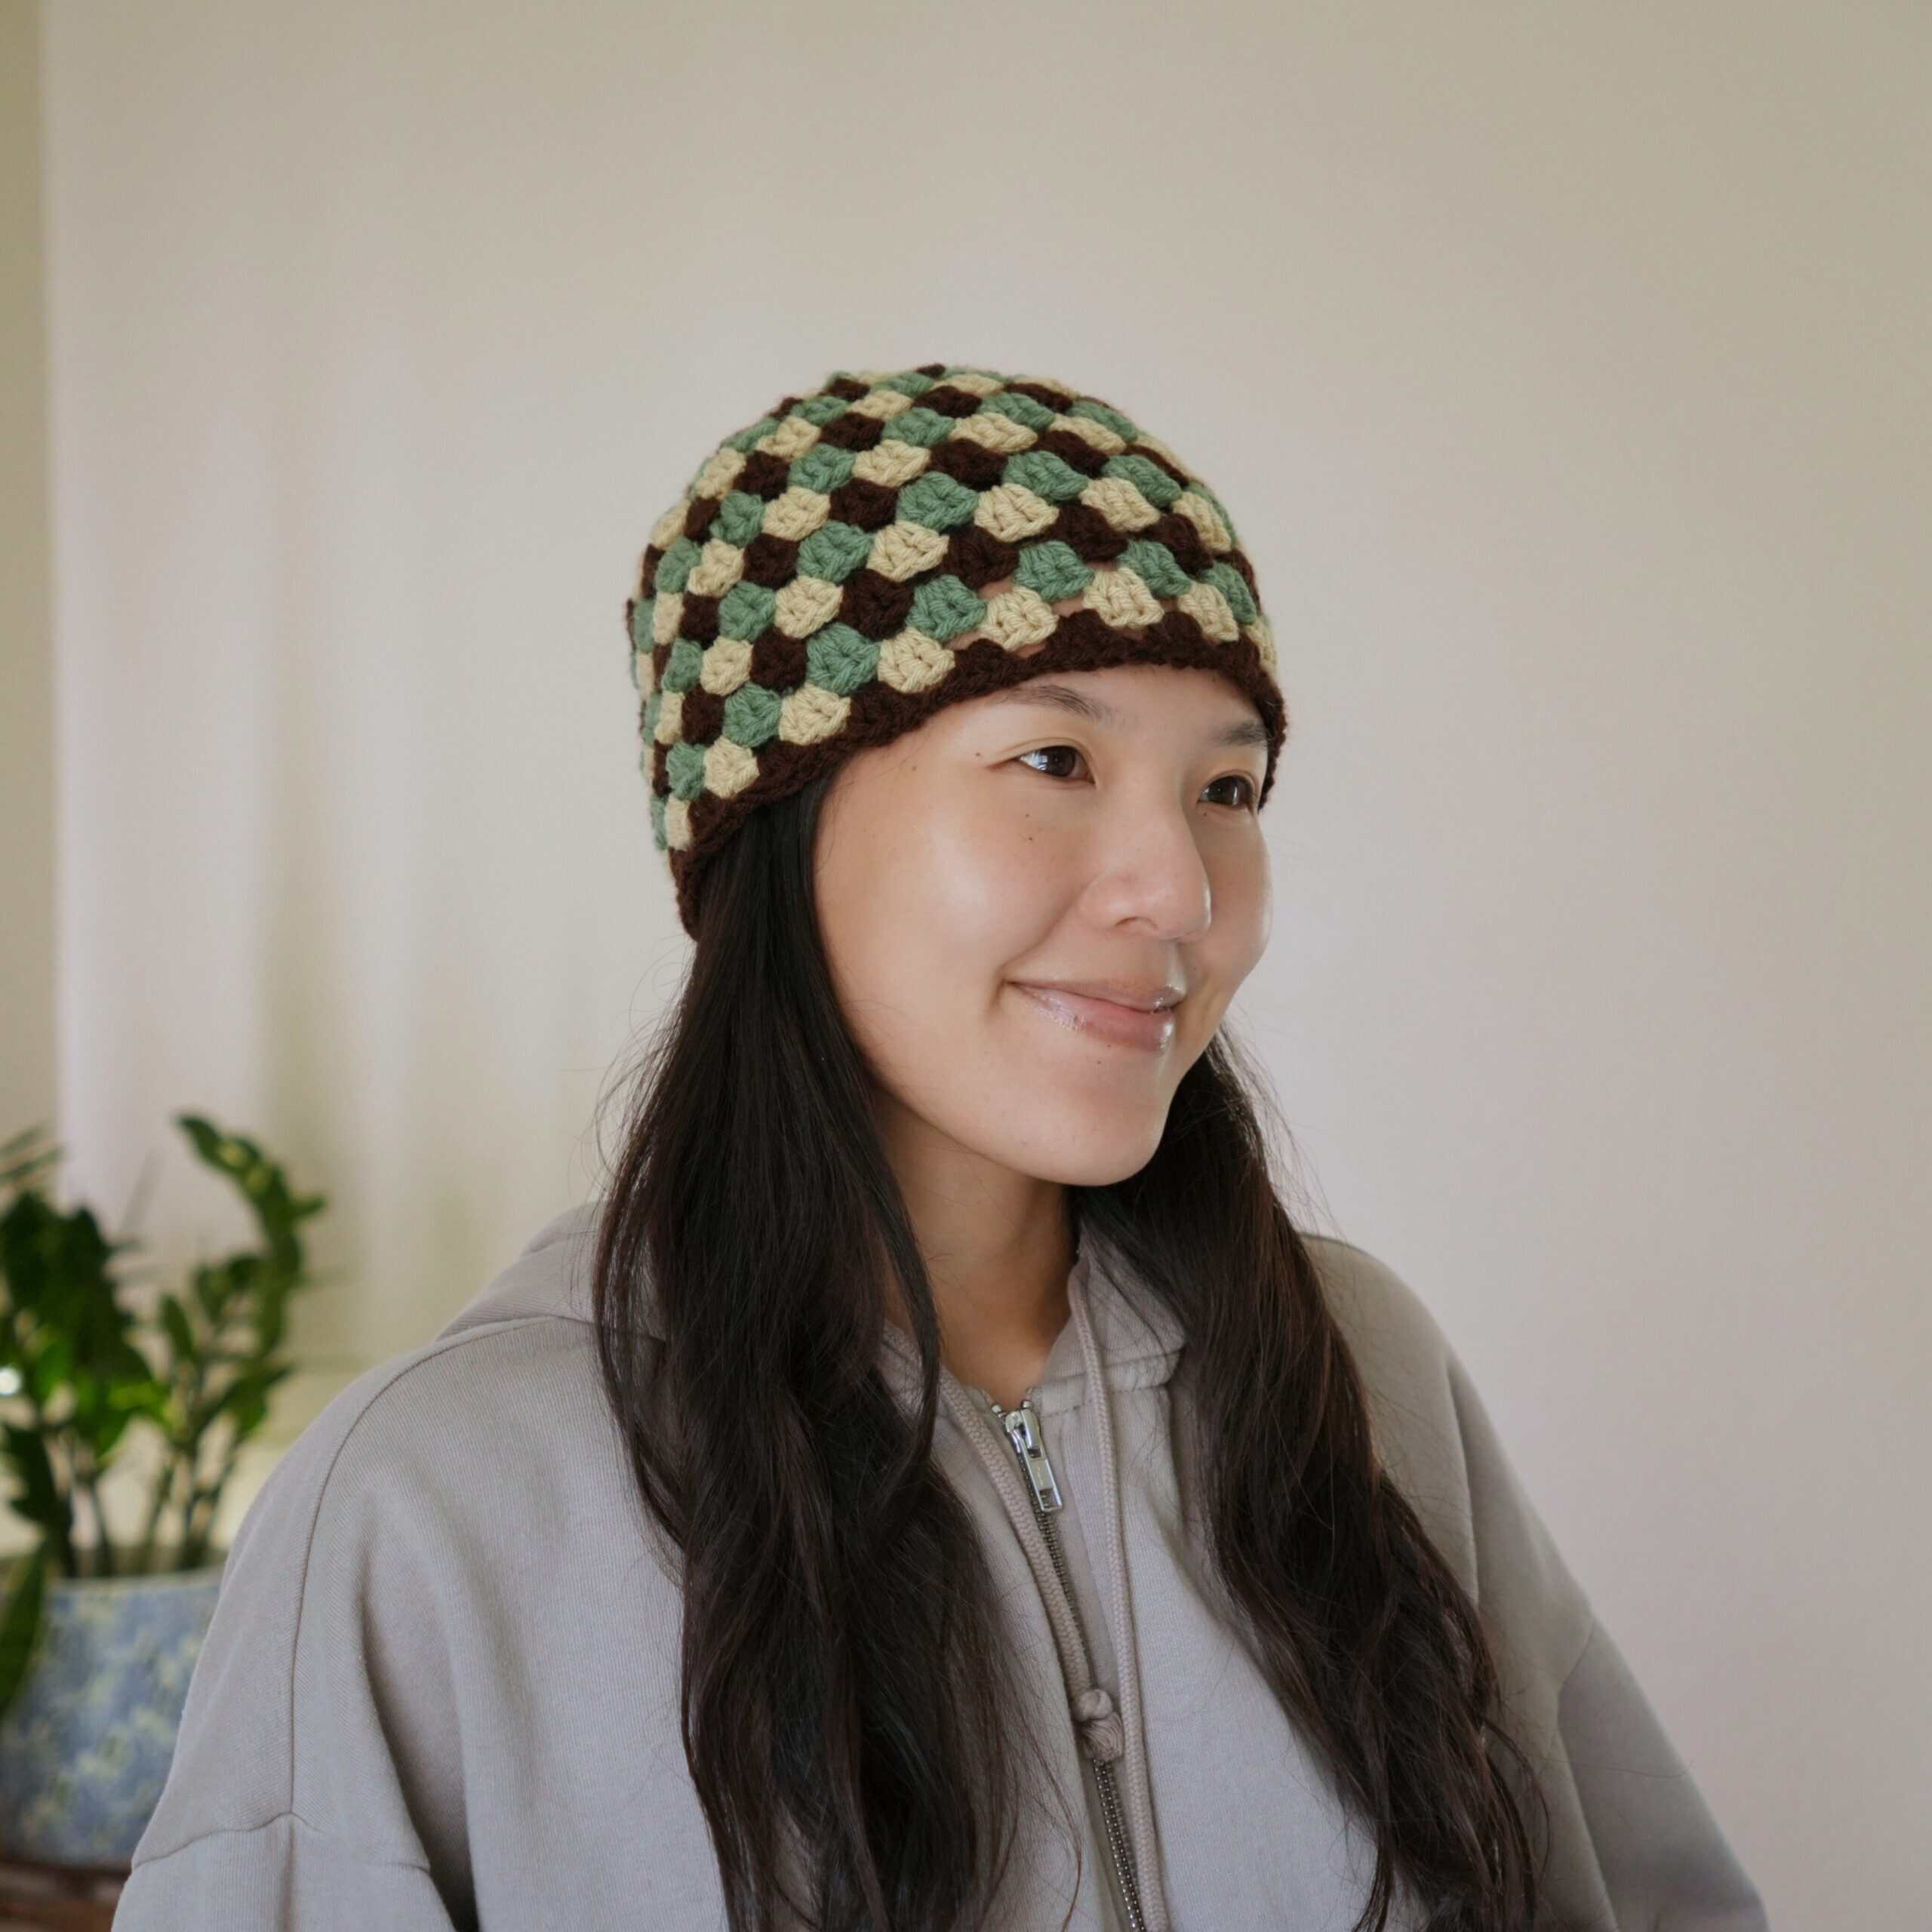
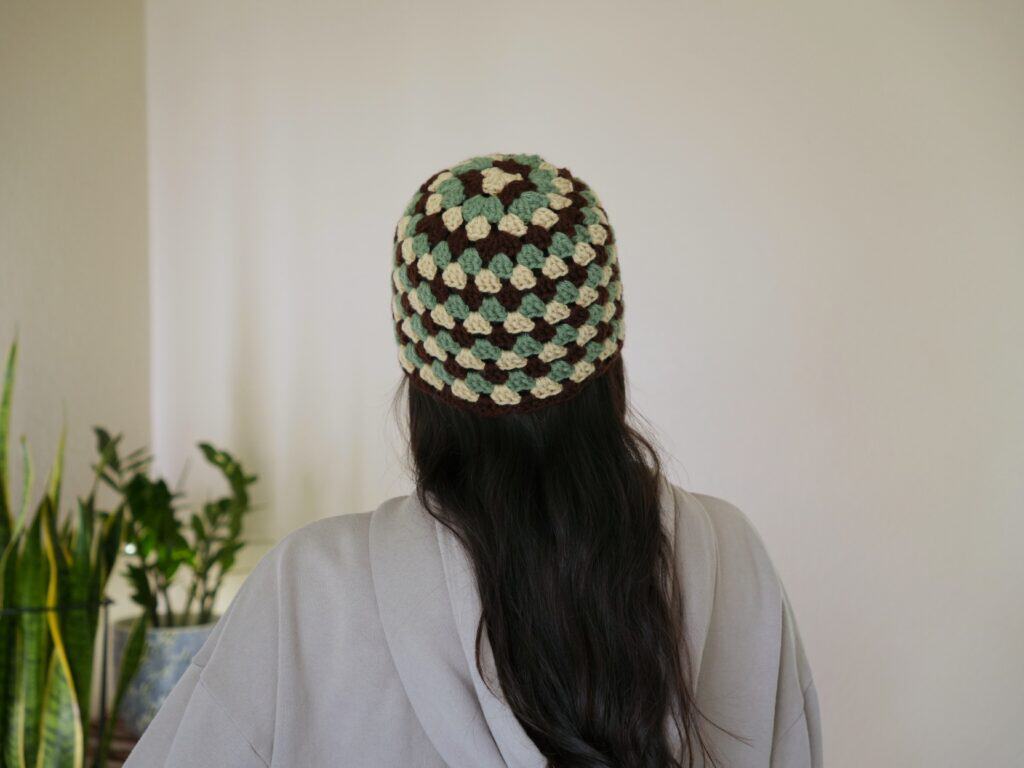
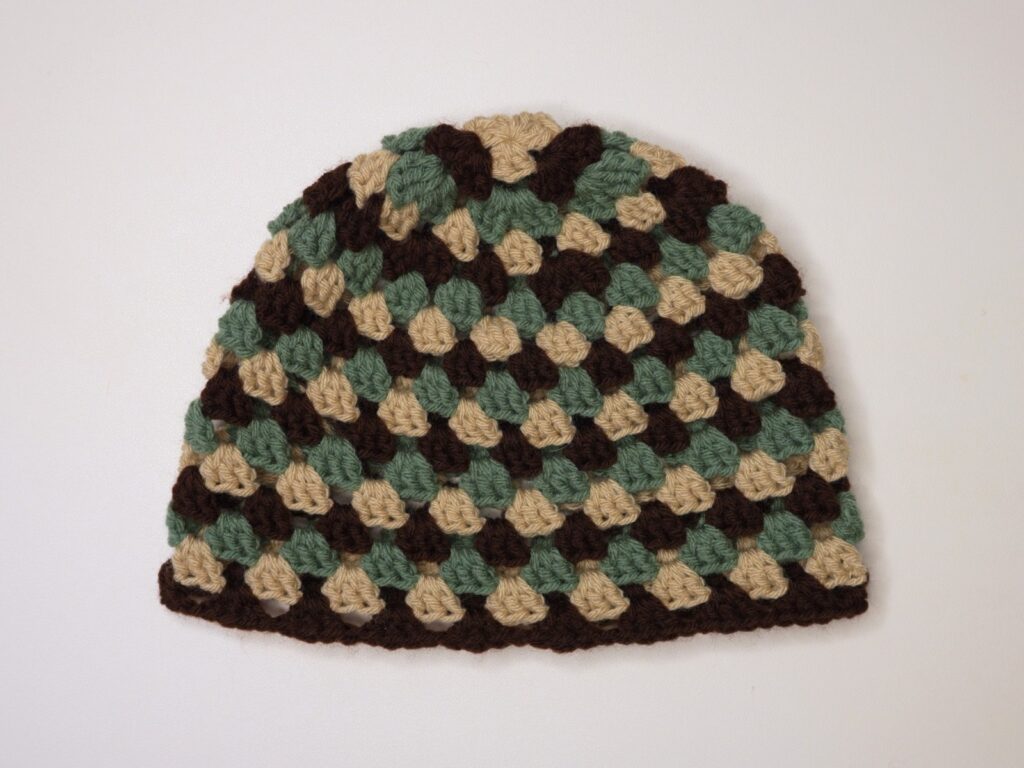
You can customize your beanie by choosing the color(s) or adding a brim. Here is a multicolored beanie with no brim.
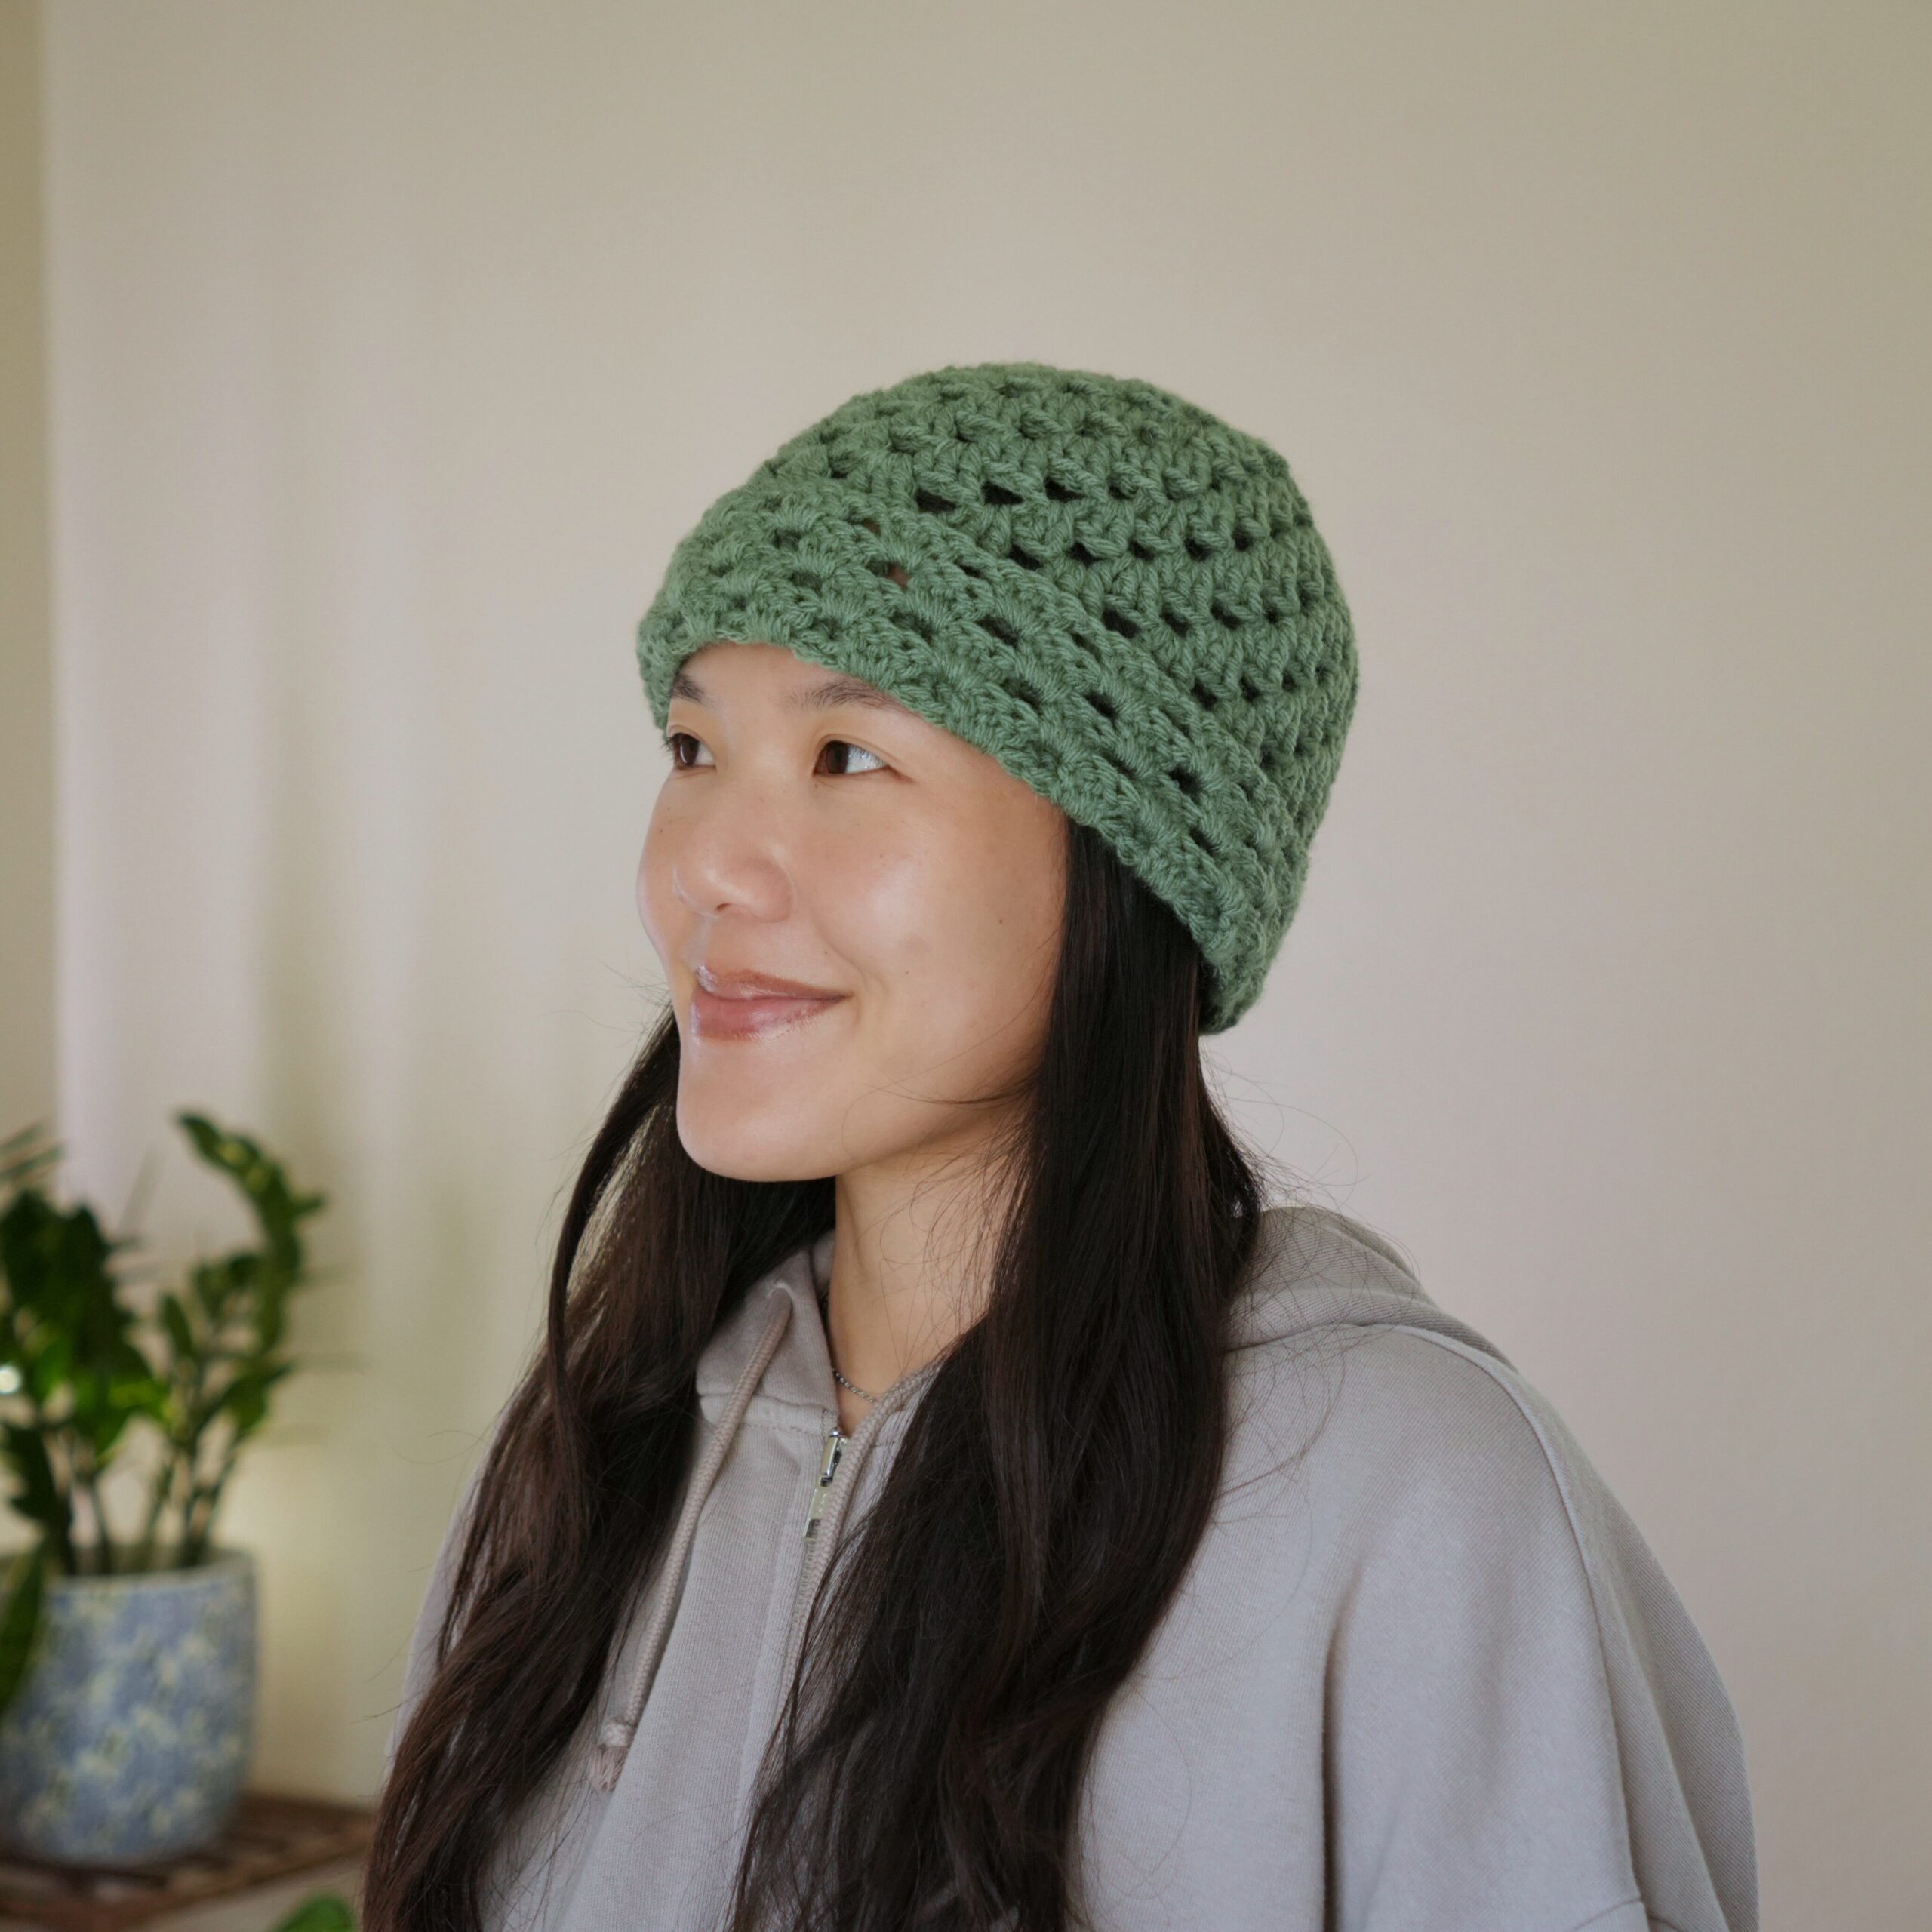
And here is another beanie I made in one color and with a fold-up brim.
Crochet Granny Stitch Beanie Tutorial
Become a member to get early access to new videos!
You can follow along with my YouTube video to make your own crochet beanie! I have timestamps included to help you jump to any point you need to!
Pattern Information
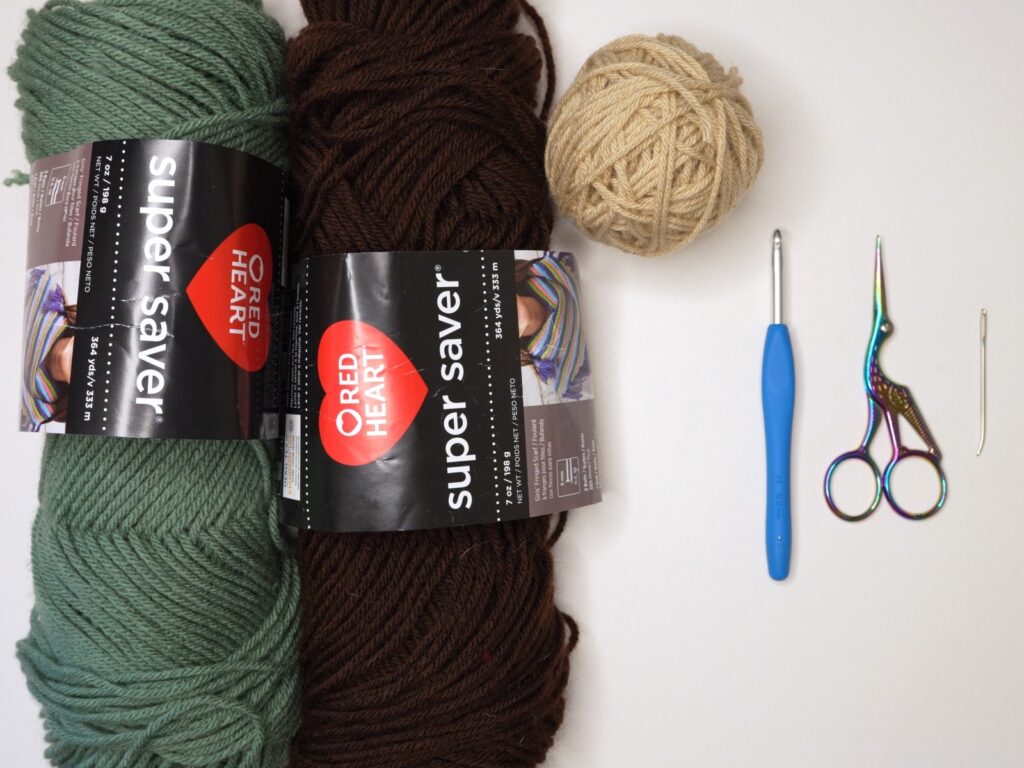
Materials
- 55-65 grams/102-120 yards of medium weight yarn (Red Heart Super Saver in “Buff,” “Coffee,” and “Light Sage”)
- 5mm Clover Amour crochet hook
- Scissors
- Yarn needle
Crochet Abbreviations
ch = chain
cl = cluster
dc = double crochet
rep = repeat
sl st = slip stitch
sp = space
Dimensions
*this pattern makes a size small, but it includes instructions on how to adjust the size up to large
Overall: 25 centimeters wide x 19 centimeters long (9.8 x 7.5 inches)
Fits: 50 – 53 centimeters (19.7 – 20.9 inches) circumference head
Notes and Tips
- This pattern is written using US crochet terms
- The number in {curly brackets} at the end of each row is the stitch count after finishing that row
- Italicized notes tell you what to change to adjust the size
- The chain 3 at the beginning of each round DOES count as a double crochet
- The slip stitch at the end of each round goes into the top of the chain 3 from the beginning of that round
- The first cluster of every new round goes into the space right at the base of the turning chain
- The last rep in Rounds 2-3 will go into the first space of that round
Crochet Granny Stitch Beanie Pattern
Top
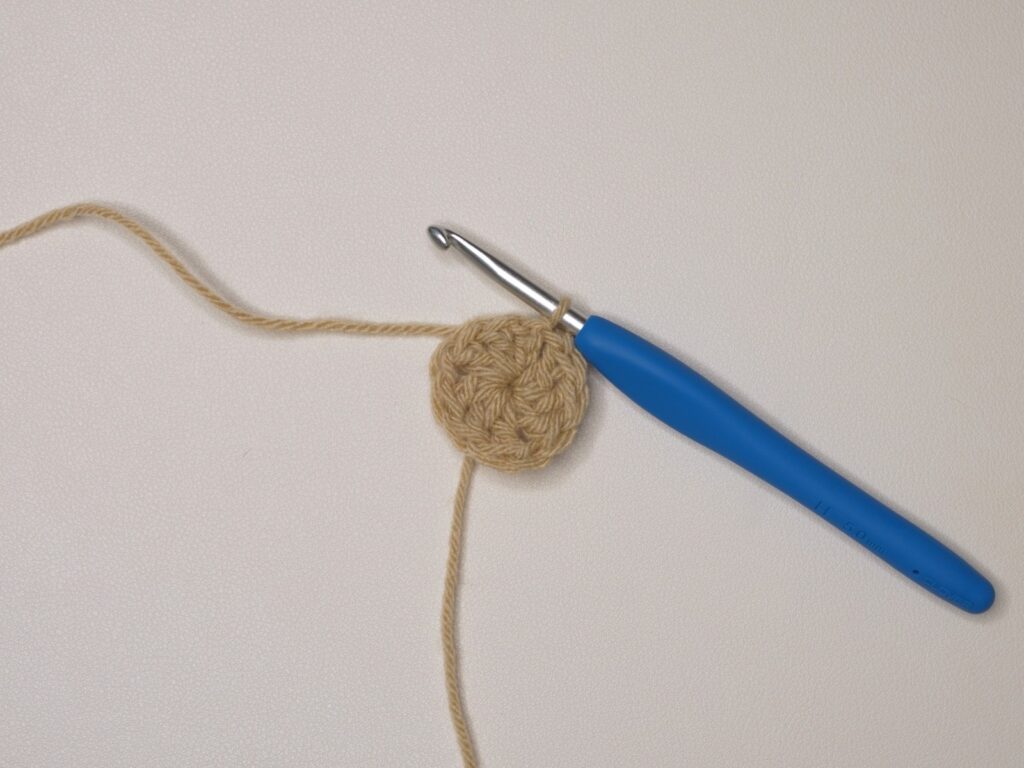
Foundation: Make a magic ring or make a slipknot, ch4, sl st to 1st ch to form a ring
Round 1: ch3, dc2 into ring, rep[ch1, dc3 into ring] 2 times, ch1, sl st {3 cl}
The last rep in Rounds 2-3 will go into the first space of that round.
Rounds 2-3: ch3, dc2 into sp below, rep[ch1, (dc3, ch1,* dc3) into next sp] around ending last rep at *, sl st {6 cl, 12 cl}
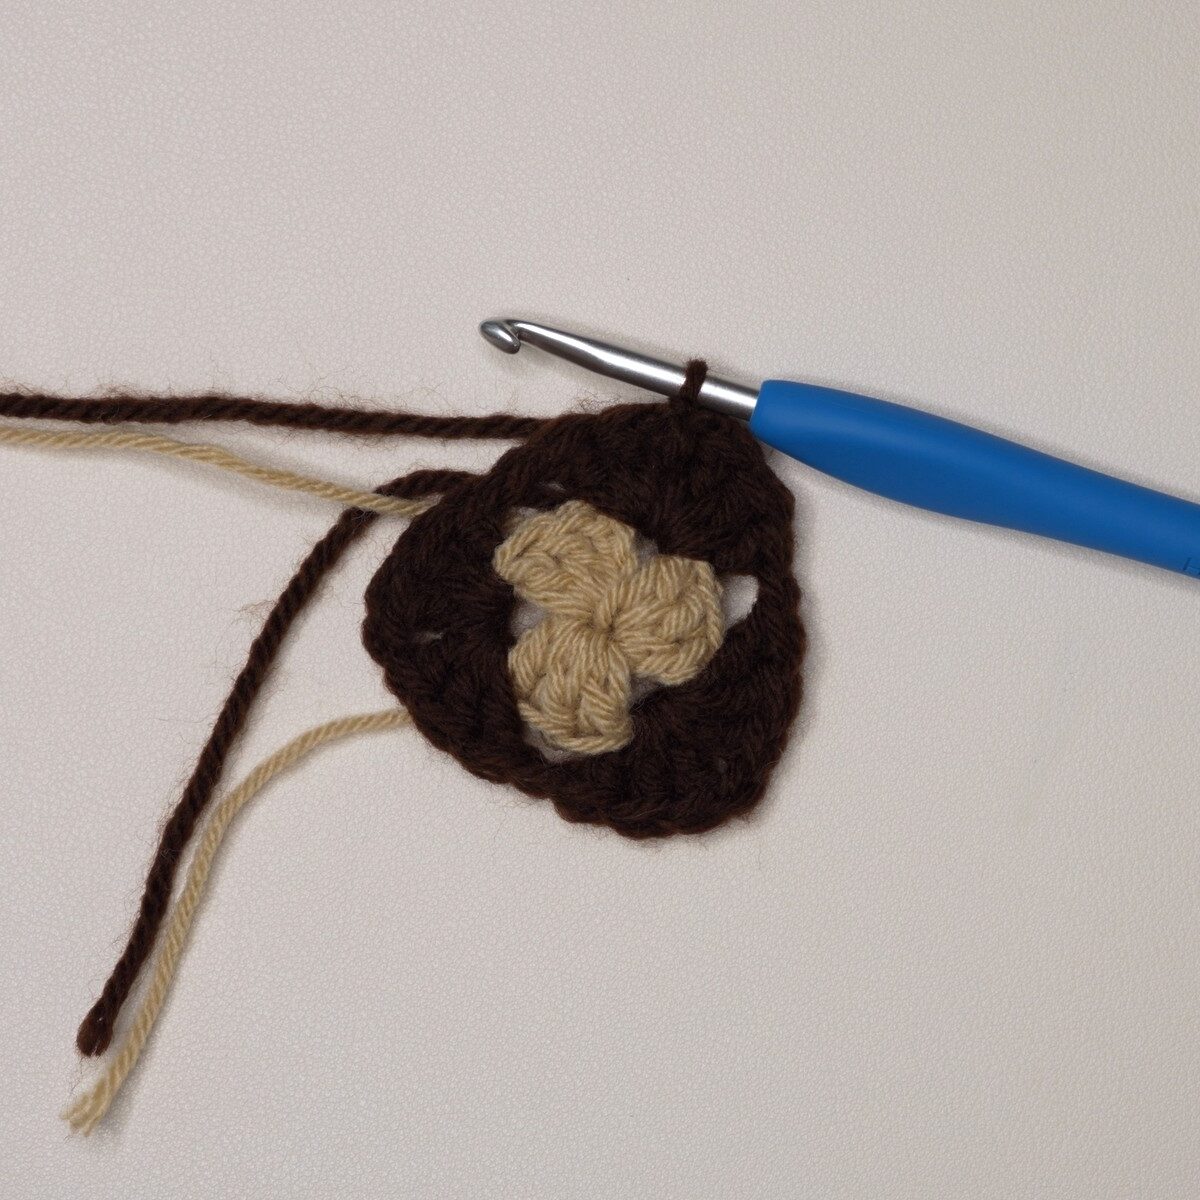
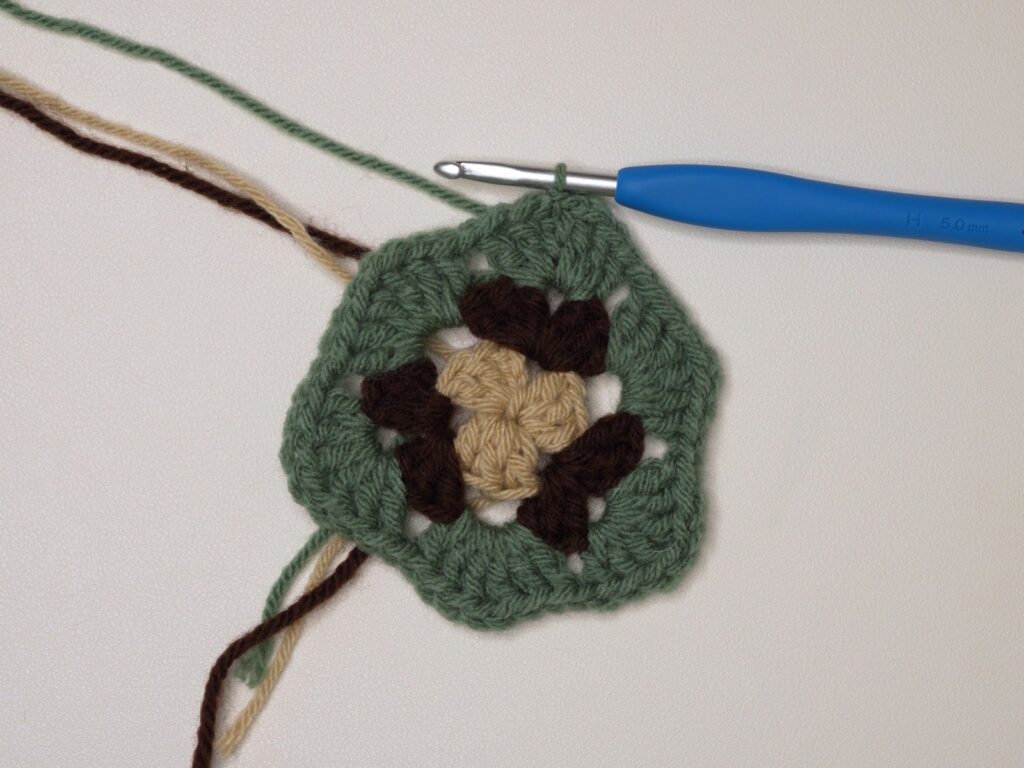
Round 4: ch3, dc2 into sp below, rep[ch1, dc3 into next sp] around, ch1, sl st {12 cl}
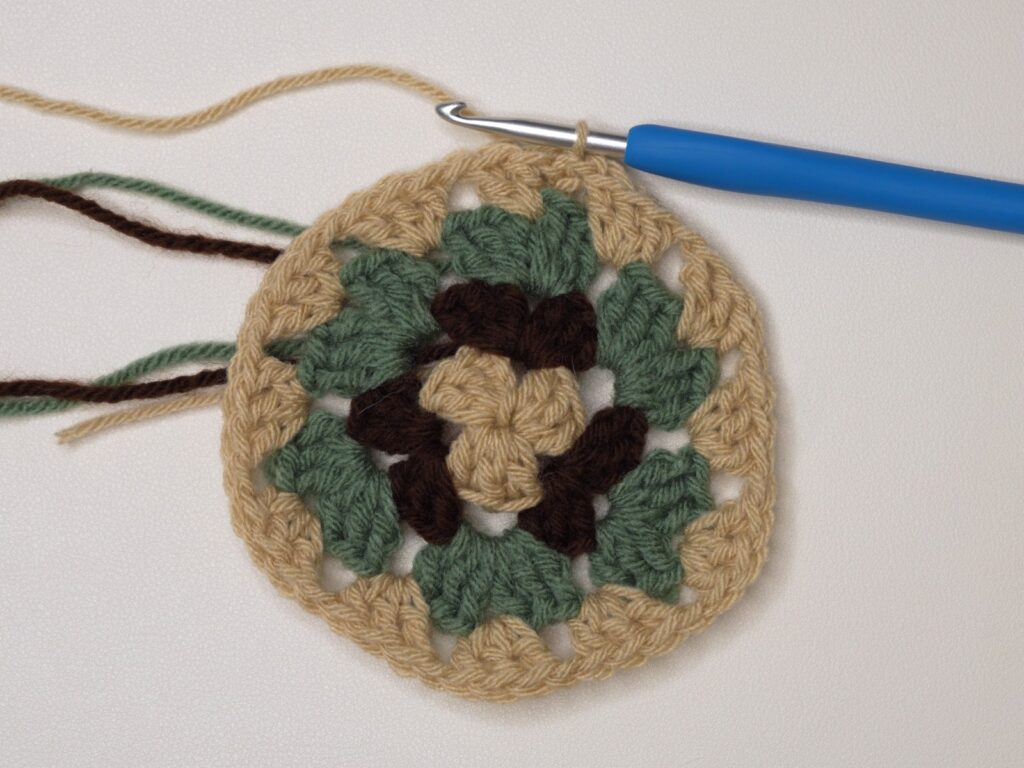
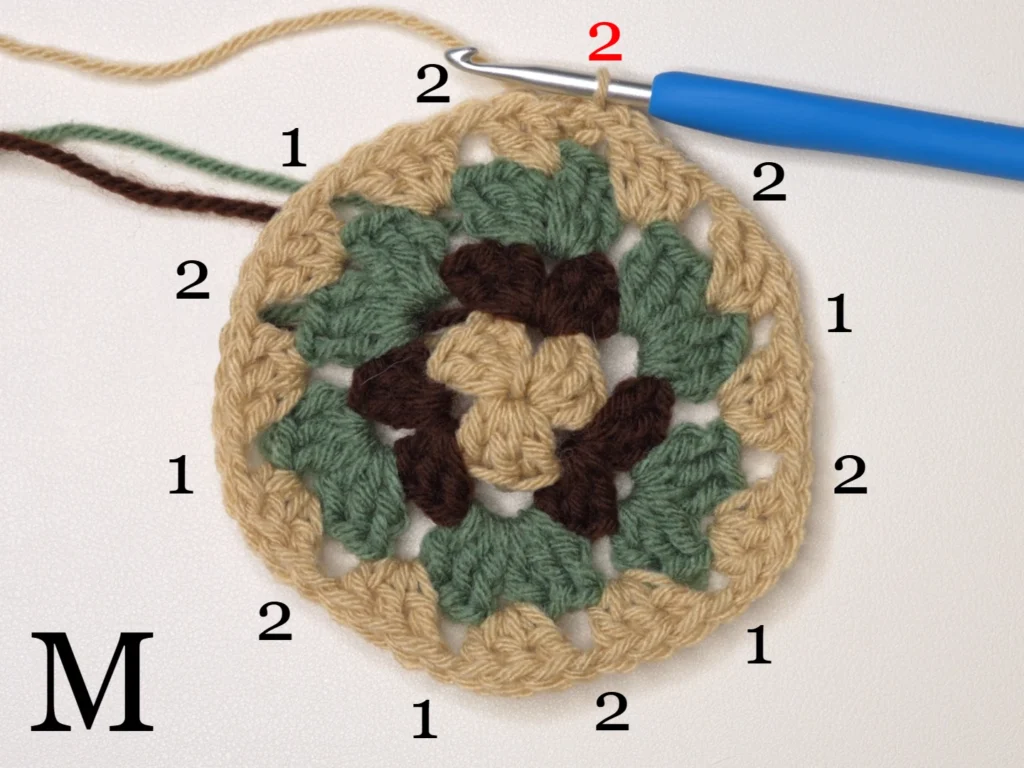
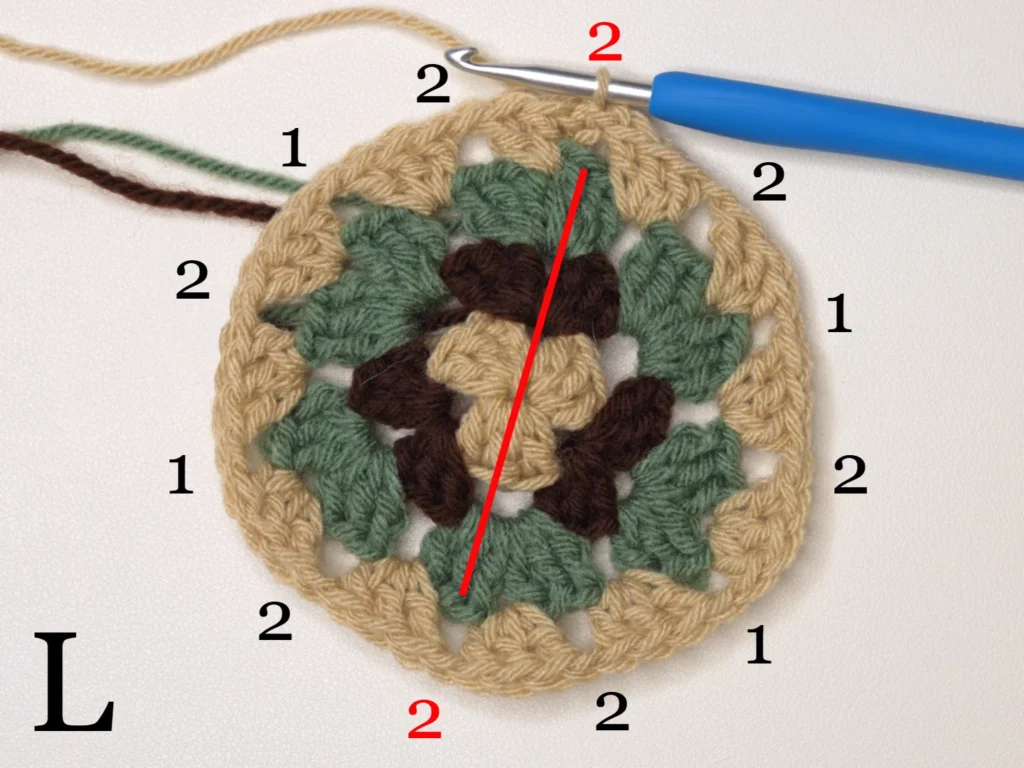
The next round determines the size of your beanie. The more clusters by the end of the round, the bigger the beanie will be. Round 5 is written for a small size. See the note below for a medium or large size.
Round 5: ch3, dc2 into sp below, rep[ch1, (dc3, ch1, dc3) into next sp, ch1,* dc3 into next sp] around ending last rep at *, sl st {18 cl}
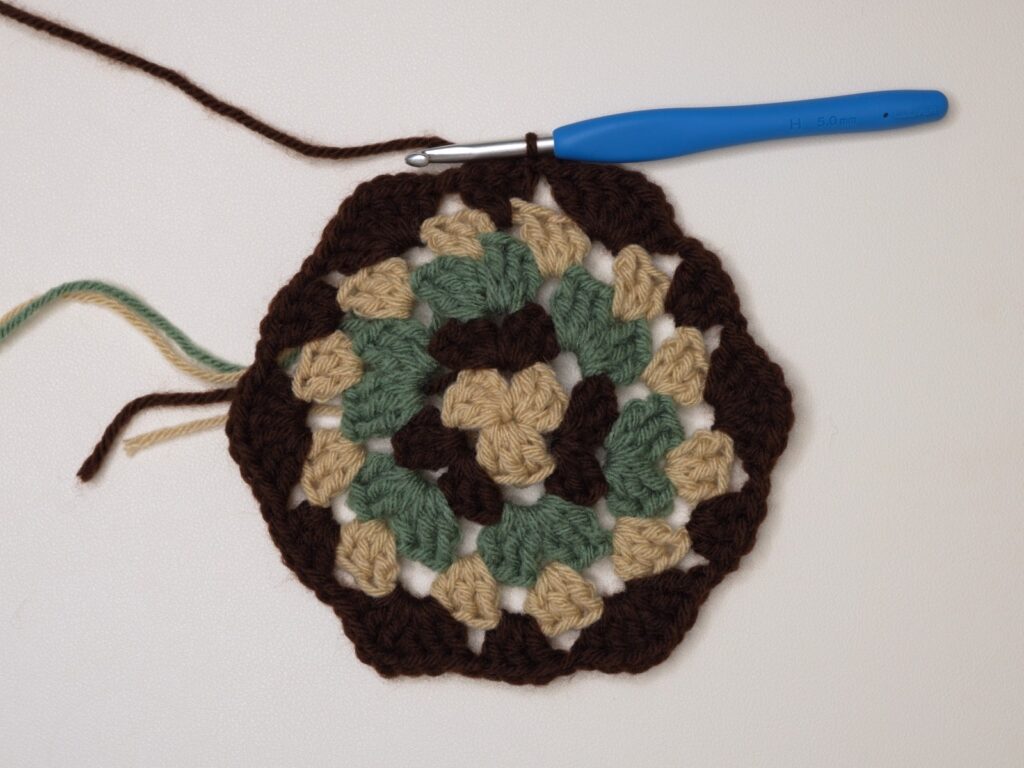
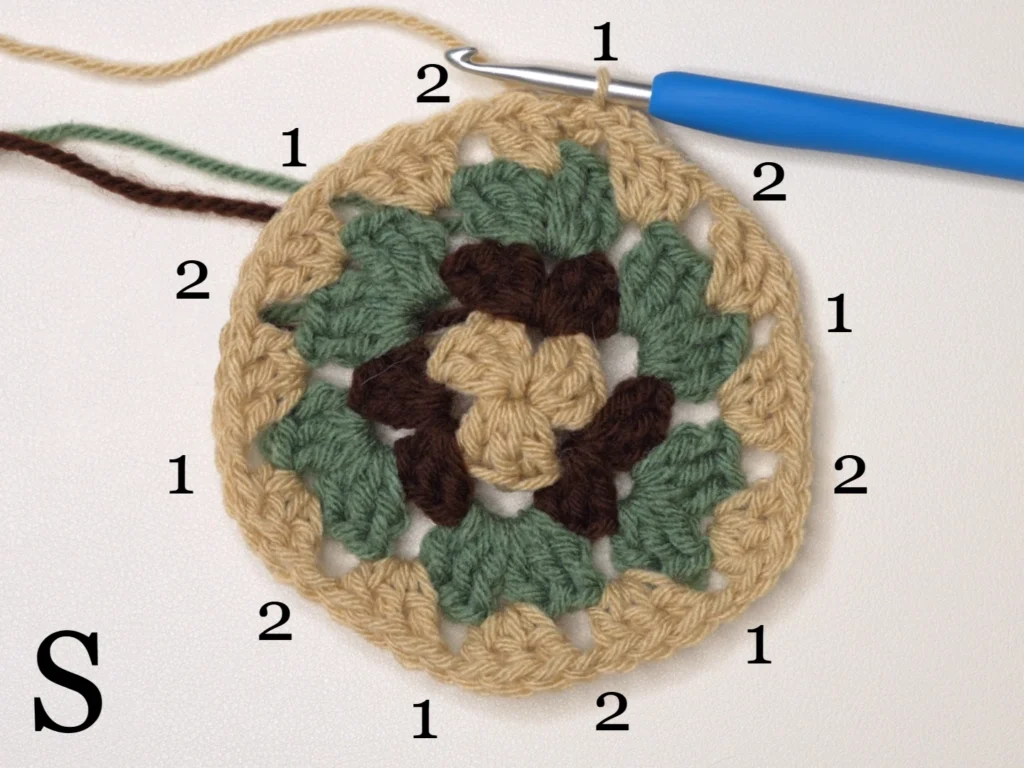
Note: If you want a medium beanie, add an extra cluster to one of the spaces that only has one cluster {19 cl}. For a large beanie, add an extra cluster to two opposite spaces that only have one cluster {20 cl}.
Body
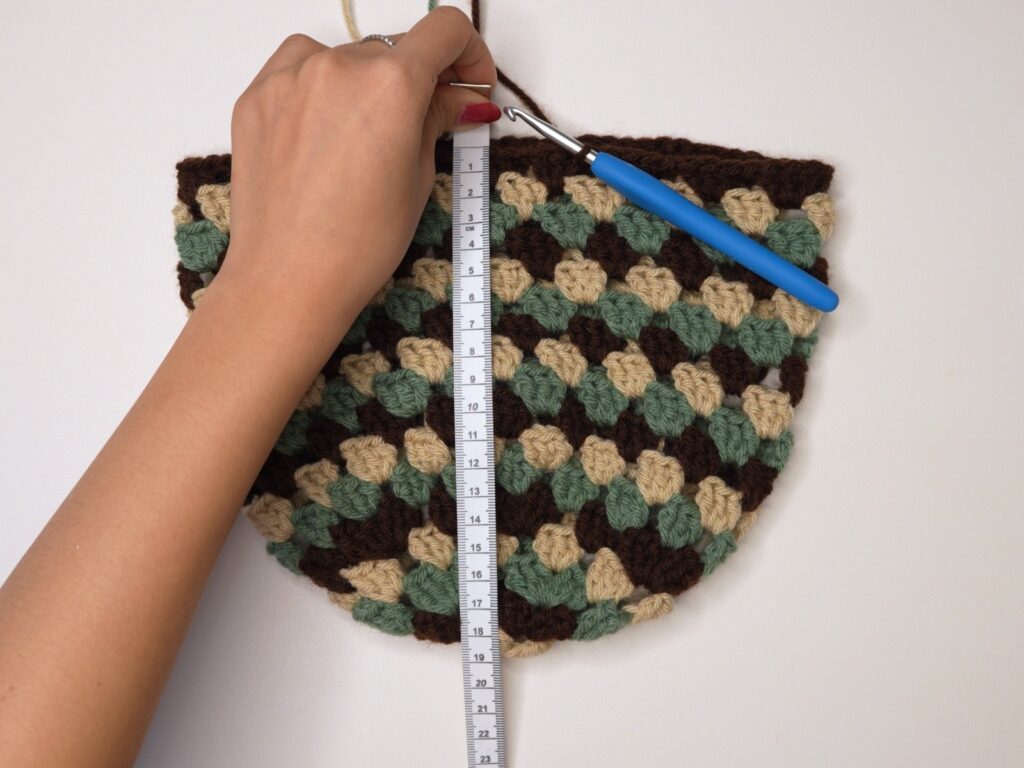
Round 6-17: ch3, dc2 into sp below, rep[ch1, dc3 into next sp] around, ch1, sl st {18 cl}
Notes: For a shorter beanie, do fewer rounds. For a longer beanie, do more rounds. For a fold-up brim, I did 19 rounds.
Finished Crochet Beanie
Weave in your loose ends and your granny stitch beanie is finished!

these instructions don’t make sense to me. it just makes a big circle…
it should not be a big circle if you do not increase after the top is made. the middle should be the same rows over again. (should be)
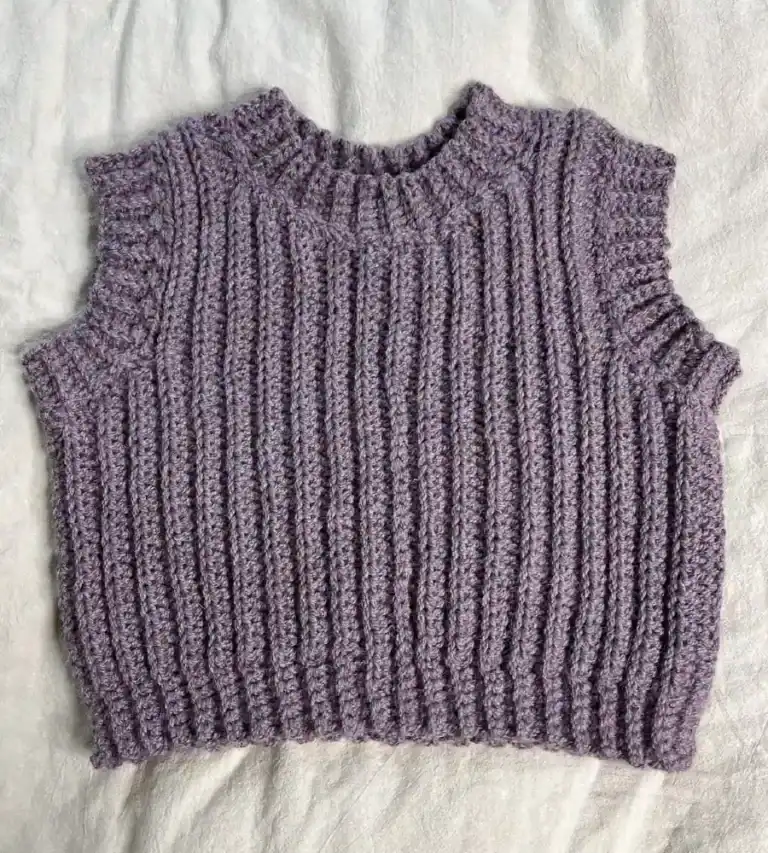
A very nice hat. Reminds me of a granny stitch, one of my fav patterns. I’ll have to make this after I finish some sweater vest.