Crochet Hooded Scarf (Tapered) | Free Pattern & Video Tutorial
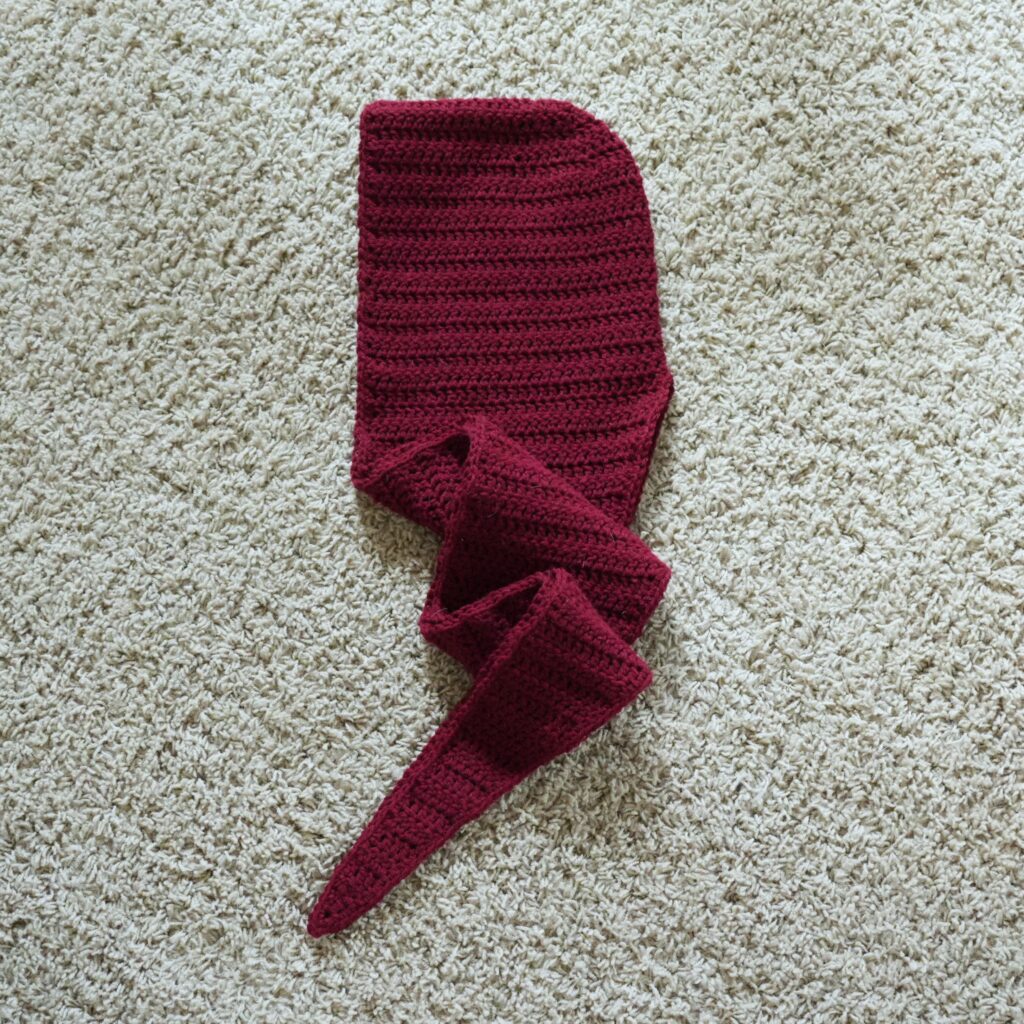
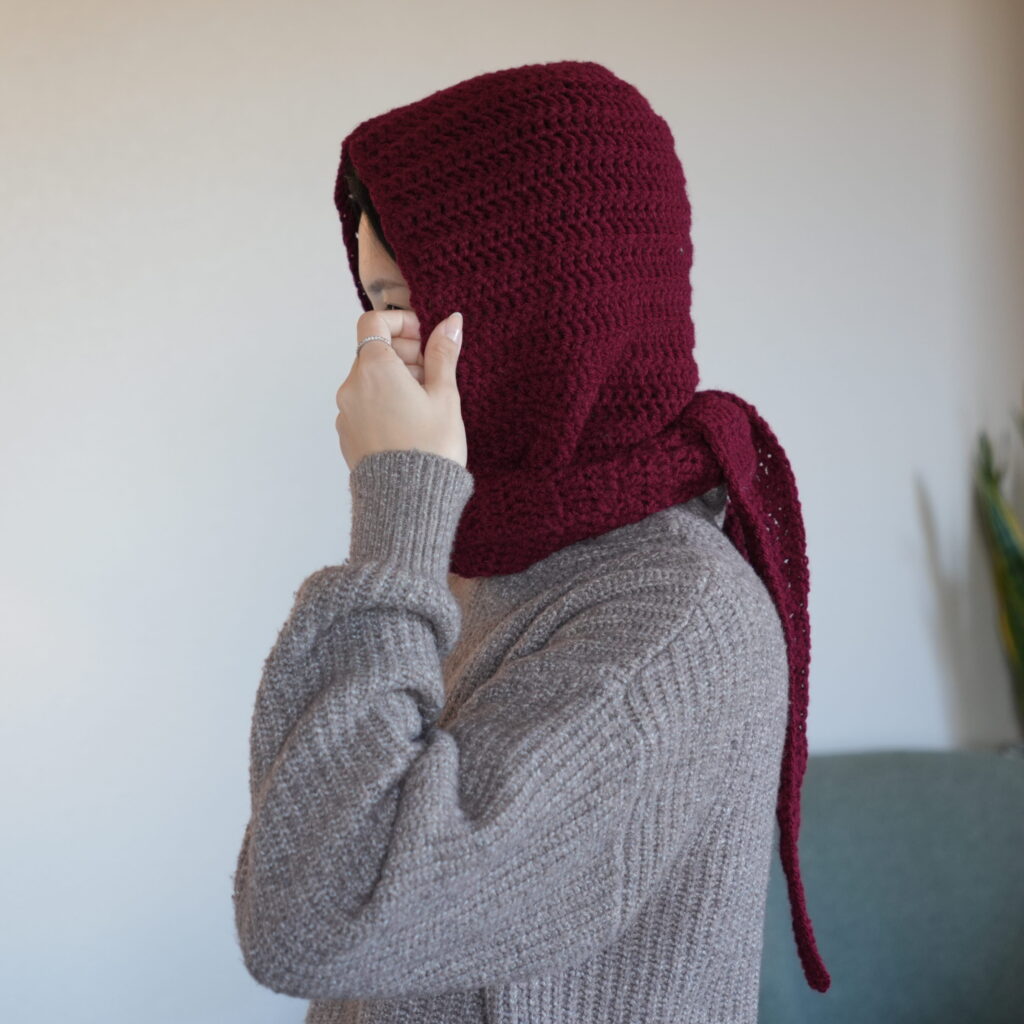
Inspired by the viral PetiteKnit Sophie Hood, this crochet hooded scarf pattern makes a beautiful and cozy accessory for fall and winter. It has a seamless and perfectly fitted hood with a tapered scarf to keep your neck warm. With a simple and streamlined construction, you can quickly and easily crochet yourself or a loved one this hooded scarf!
Follow along with this free written pattern, or watch the video tutorial to make your very own crochet hooded scarf!
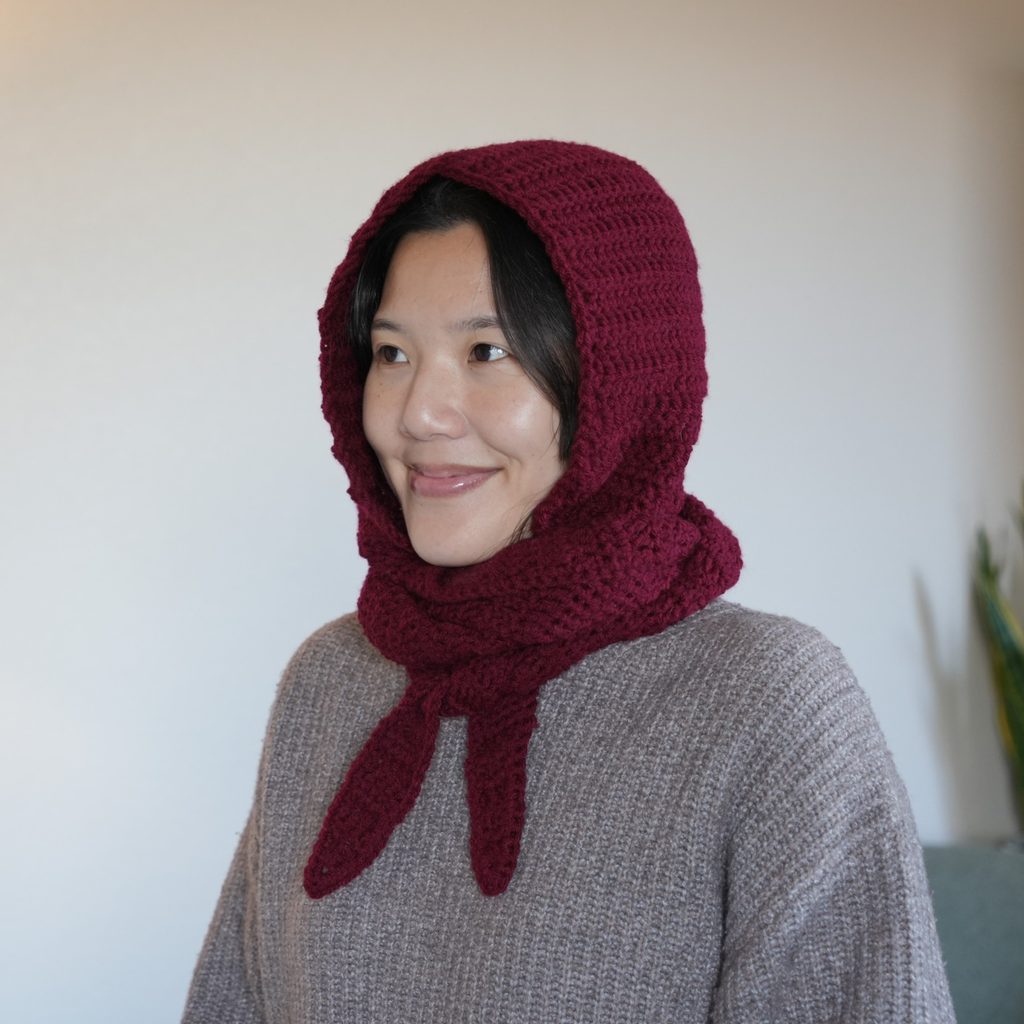
Table of Contents
This post may contain affiliate links. I may earn a small commission on qualifying purchases at no additional cost to you!
Crochet Hooded Scarf Tutorial
Become a member to get early access to new videos!
You can follow along with my YouTube video to make your own crochet hooded scarf! I have timestamps included to help you jump to any point you need to!
Pattern Information
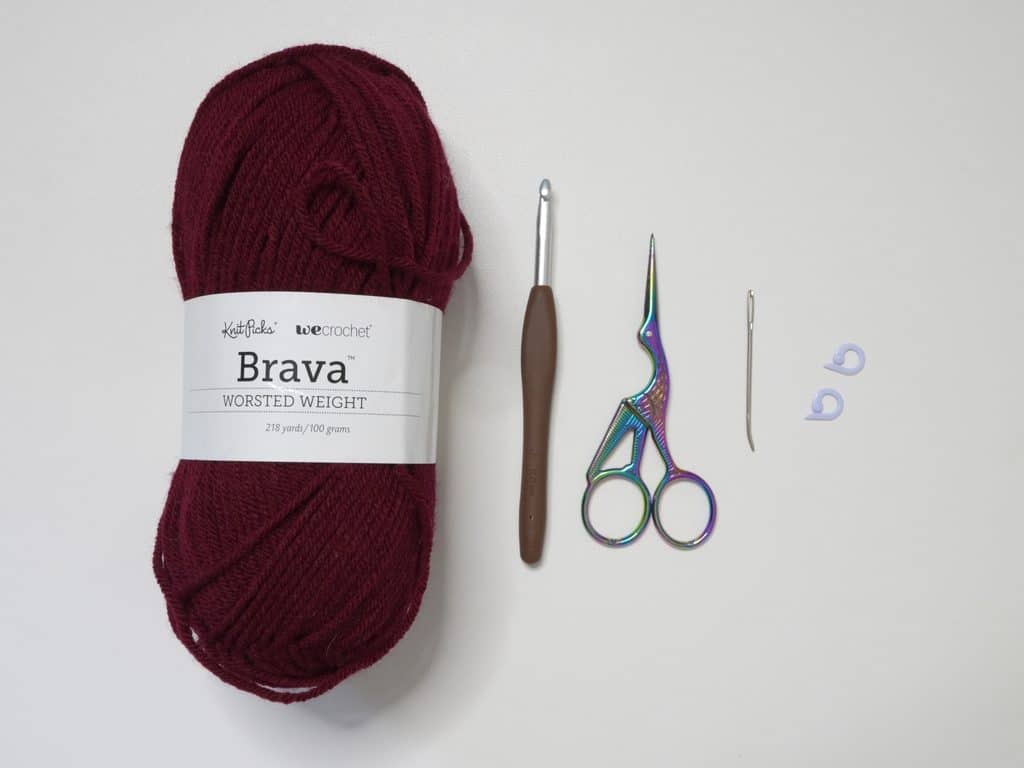
Materials
- 190 grams/415 yards of worsted weight yarn (Knit Picks Brava Worsted in “Wine”)
- 6mm Clover Amour crochet hook
- Scissors
- Yarn needle
- Stitch markers
- (optional) Tape measure
Crochet Abbreviations
ch = chain
dc = double crochet
dc2tog = double crochet 2 together
dc8tog = double crochet 8 together
rep = repeat
sc = single crochet
st = stitch
Gauge
8 rows of 13 double crochets makes a 10 x 10 centimeter (4″ x 4″) square
Dimensions
*includes instructions to adjust sizing
Tapered Scarf: 23 centimeters wide x 70 centimeters long (9.1 x 27.6 inches)
Hood: 23 centimeters wide x 23 centimeters tall (9.1 x 9.1 inches)
Overall: 23 centimeters wide x 93 centimeters long (9.1 x 36.6 inches)
Notes and Tips
- This pattern is written using US crochet terms
- The number in (parentheses) at the end of each row is the stitch count after finishing that row
- Italicized notes tell you what to change to adjust the size
- The chain 2 at the beginning of each row does NOT count as a double crochet
- Use a stitch marker to keep track of which side is tapered
- Mark the last dc2tog of every row in the hood curve so you don’t have to count the first 17 st in the next row
Crochet Hooded Scarf Pattern
Tapered Scarf
Foundation: Make a slipknot, ch3
Row 1: dc2 in third ch from hook (2)
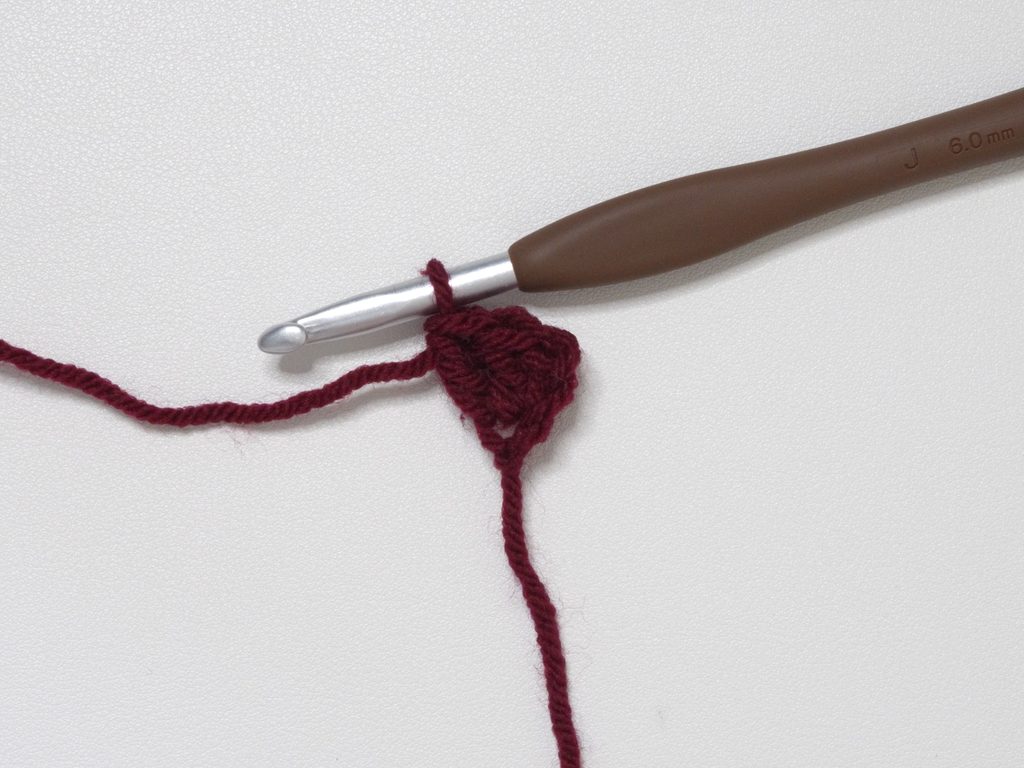
Row 2: ch2, turn, dc across until 1 st left, dc2 in last st (3)
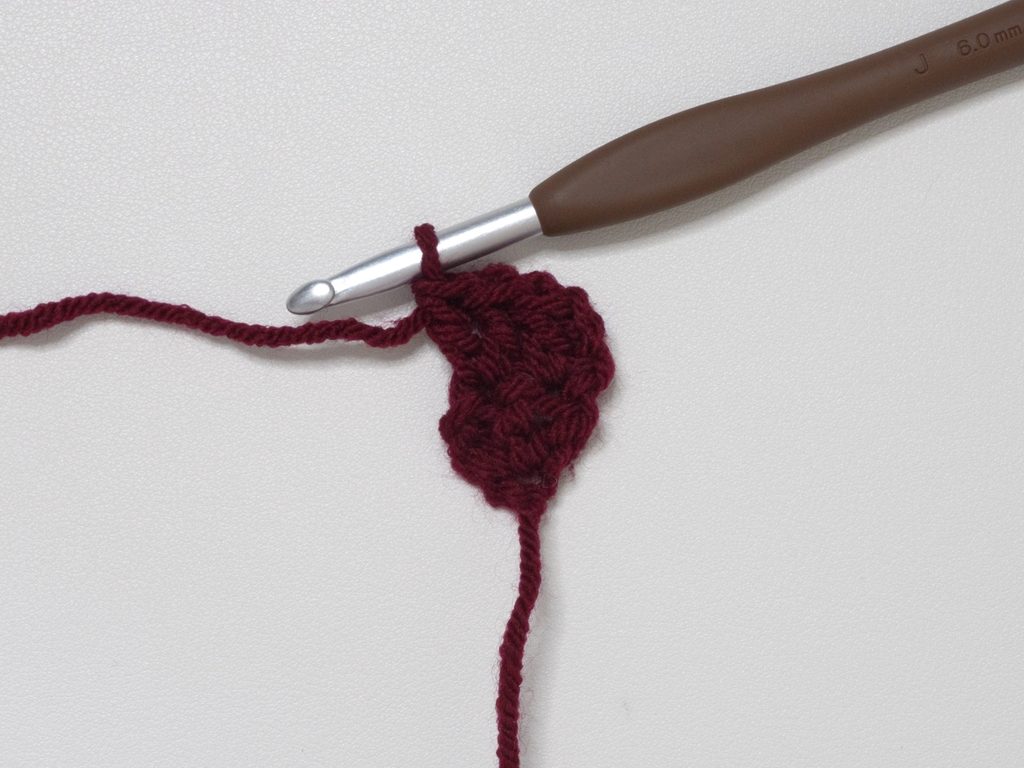
Row 3: ch2, turn, dc across (3)
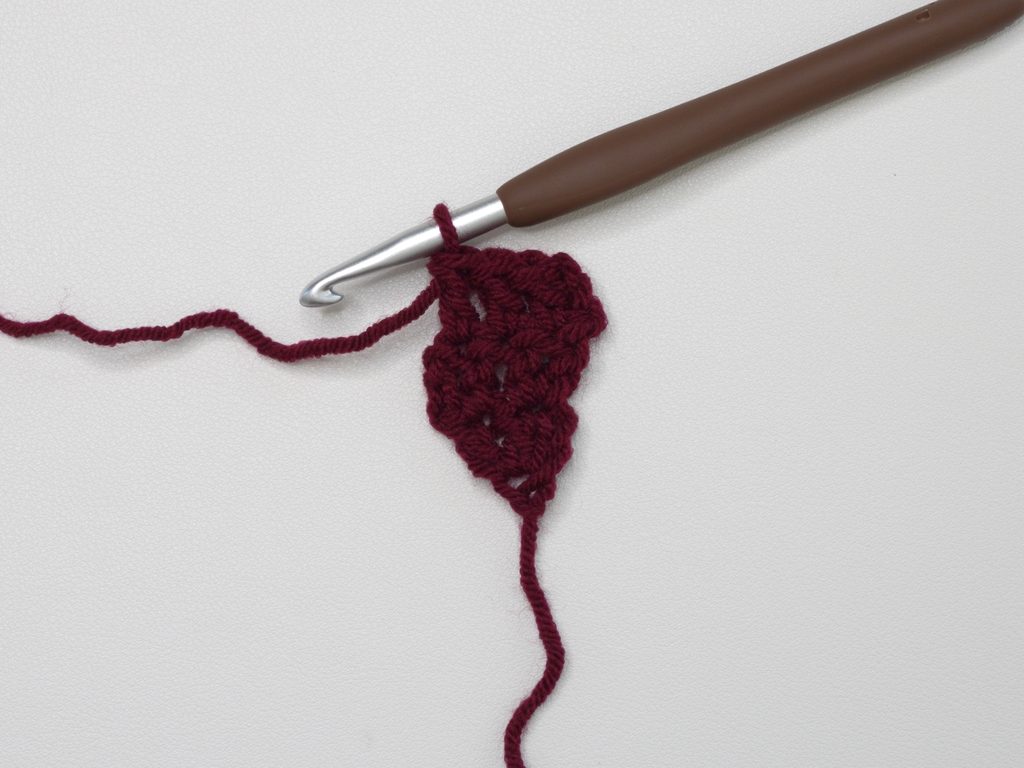
Rows 4-55: rep[Row 2, Row 3] (4, 4, 5, 5, 6, 6, 7, 7, 8, 8, 9, 9, 10, 10, 11, 11, 12, 12, 13, 13, 14, 14, 15, 15, 16, 16, 17, 17, 18, 18, 19, 19, 20, 20, 21, 21, 22, 22, 23, 23, 24, 24, 25, 25, 26, 26, 27, 27, 28, 28, 29, 29)
Alternate Rows 2 and 3, so you do an increase in every other row. Continue until the width of the last row is how wide you want your hood to be (when folded, see image below). I made mine about 23 centimeters (9.1 inches).
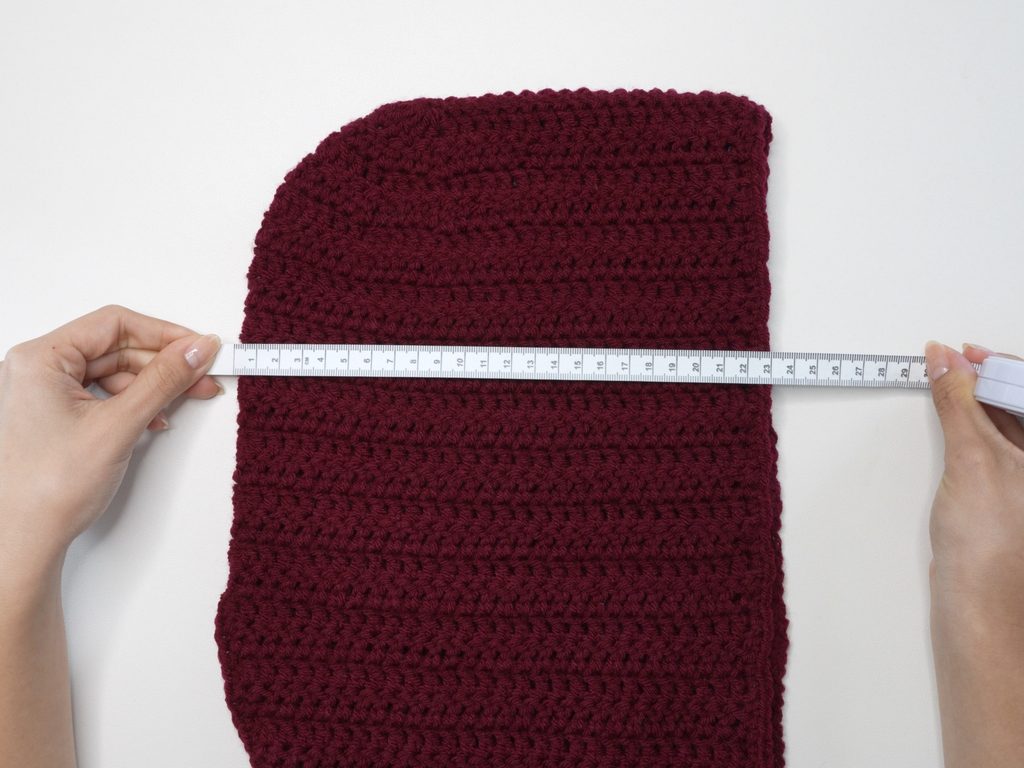
Note: Do fewer rows to make your hood less wide or more rows for a wider hood. And if your scarf is getting too long, you can stop earlier and adjust the size of your hood later on.
Tip: Since the increase is in every other row, it’s always going to be on one side of the triangle. Mark that side to keep track of when to increase.
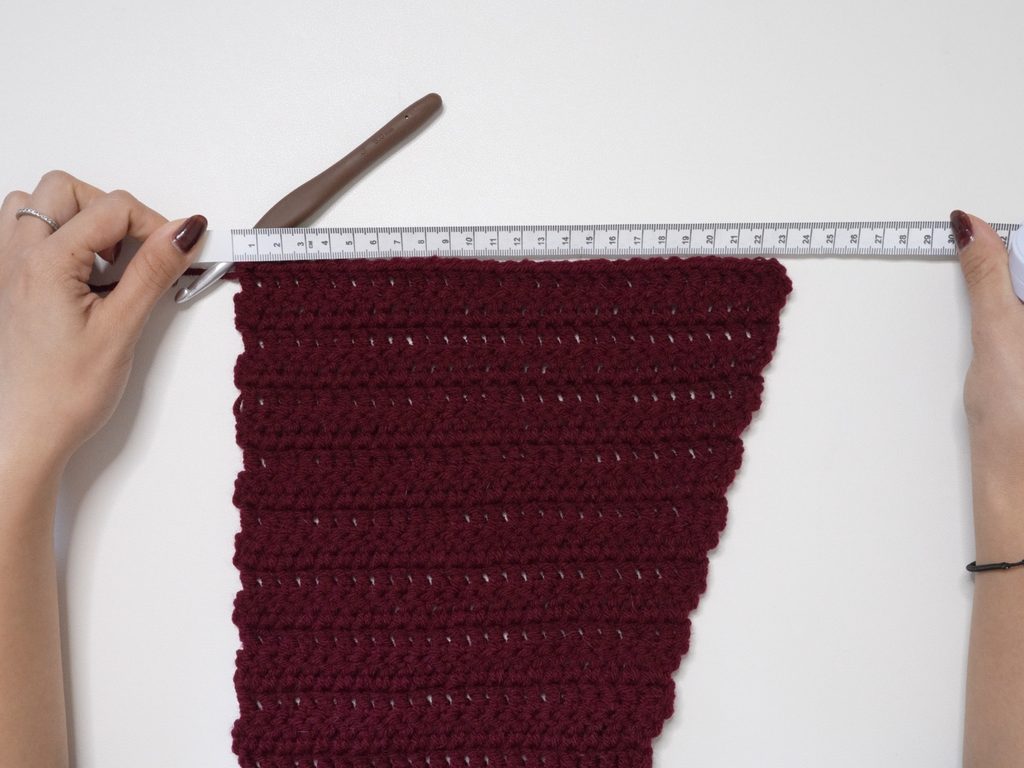
If your last row is 23cm wide, but you want a longer scarf, repeat Row 3 until you get the length you want. Make sure the total number of rows in your scarf is an odd number.
Check that your hook is on the straight edge of the scarf and not on the tapered edge.
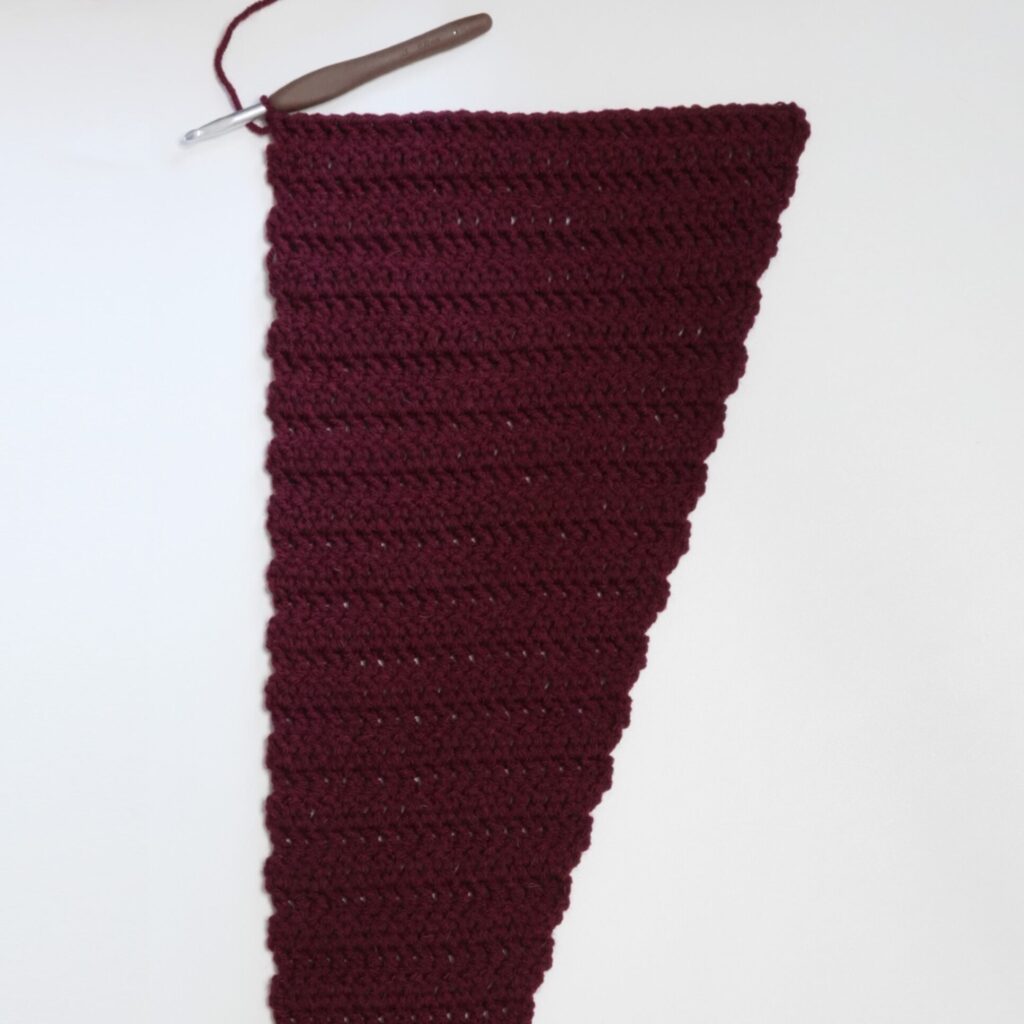
Fasten off. Make a second, identical tapered scarf, but do NOT fasten off.

Connecting Row: ch2, turn, dc across,
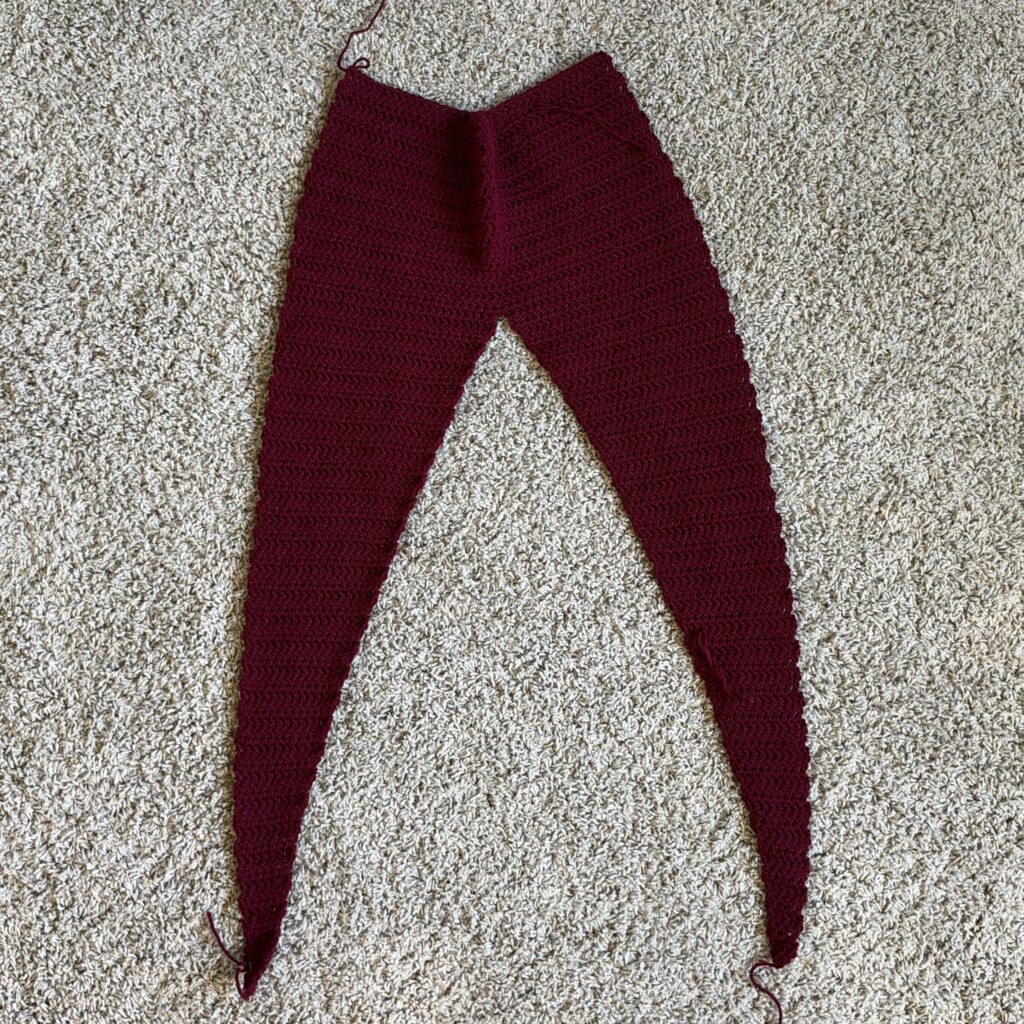
Place the first scarf you made to the left of the second scarf. Make sure the outer edges are straight and the inner edges are tapered.
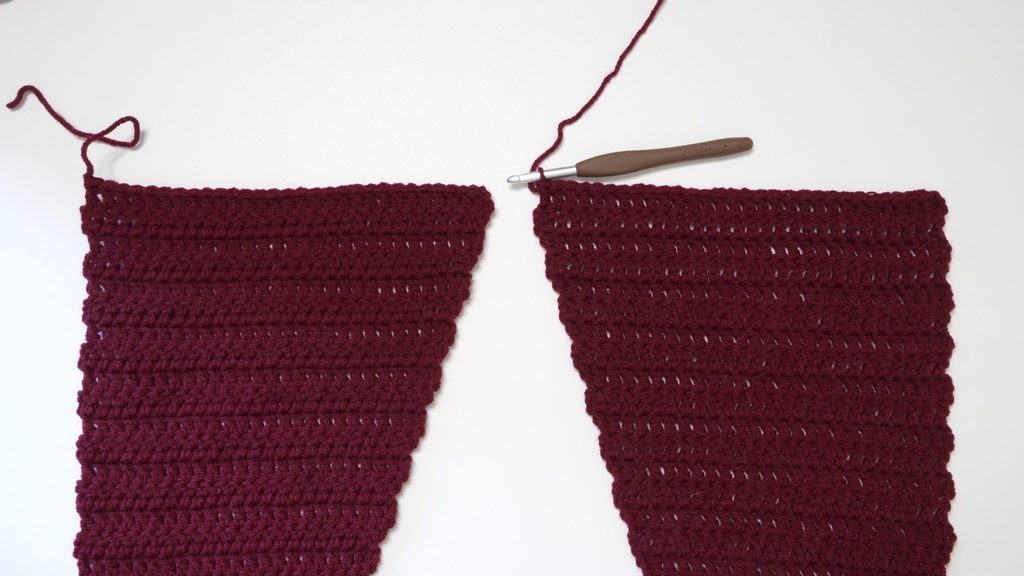
Note: If the width of the last row of the scarf is not wide enough for your hood, chain double the extra length you need.
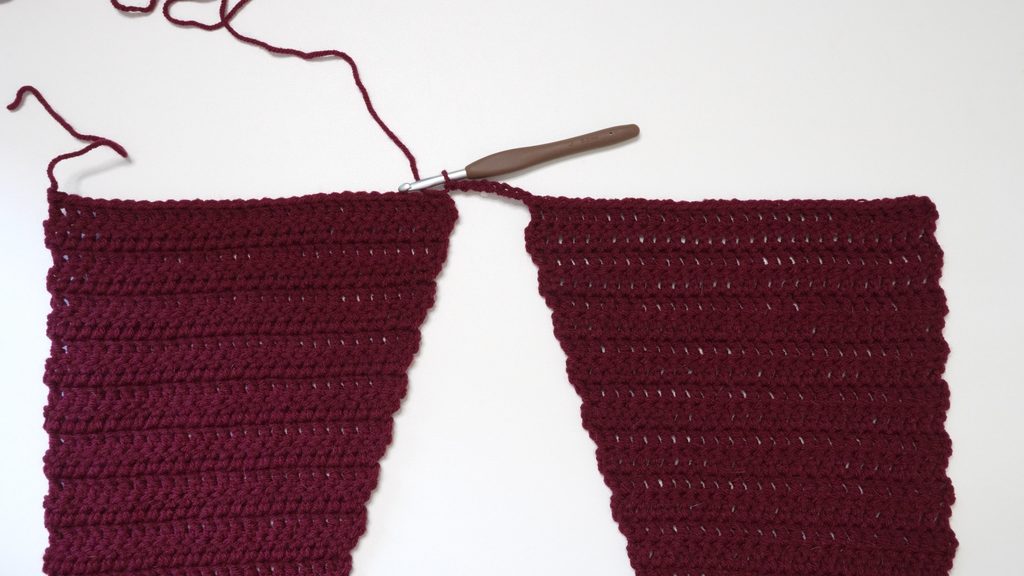
dc across the first tapered scarf (58)
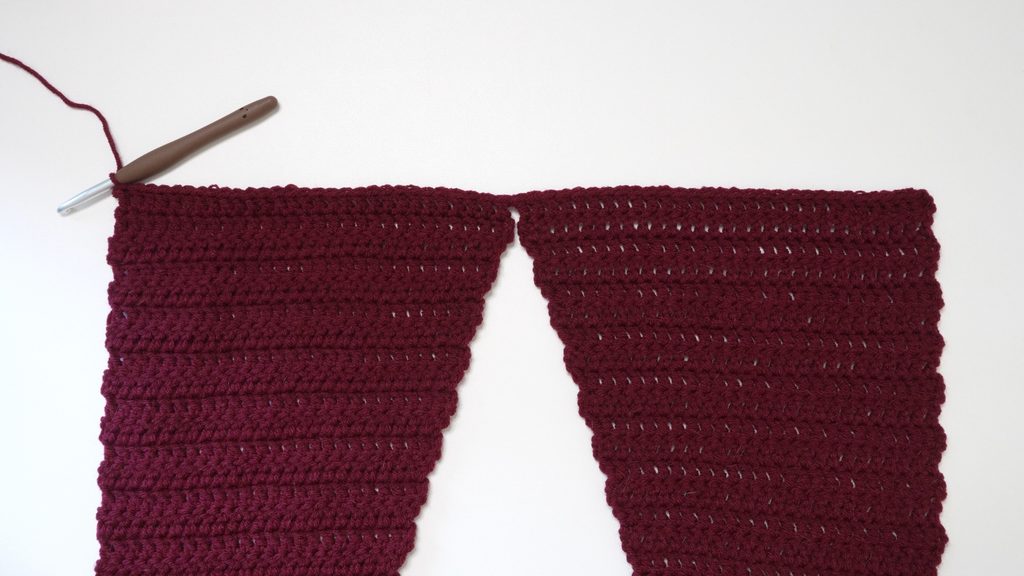
Hood
Rows 1-13: ch2, turn, dc across (58)
This is the height of the hood before it starts to curve. I made mine 16.5 centimeters (6.5 inches) tall before the curve.
Note: Do fewer rows to start the curve earlier or more rows to start the curve later.
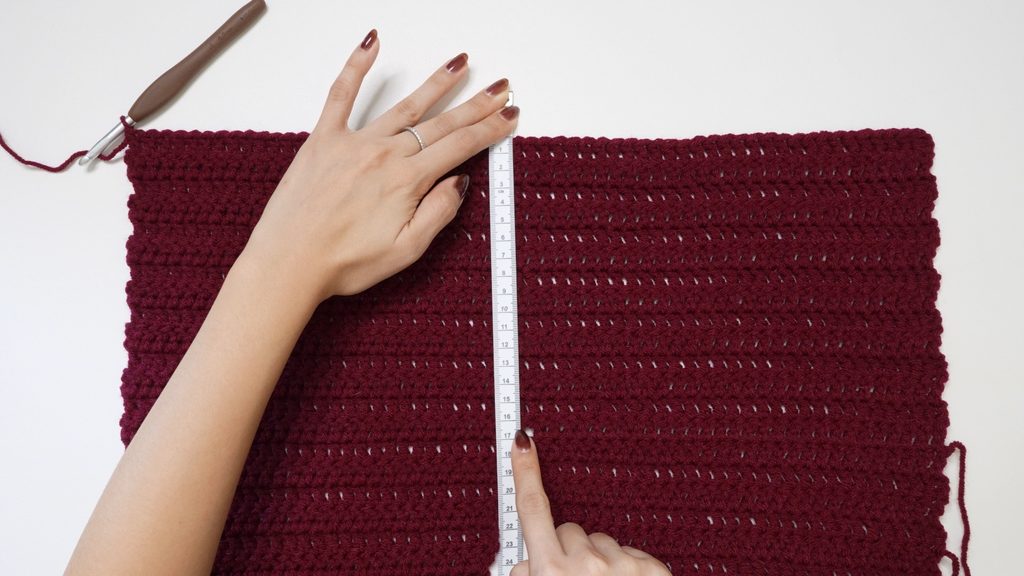
Note: If you did a different number of rows for the scarf, complete this calculation:
- Count the number of stitches in the last row
- Subtract 24
- Divide by 2
For me, my calculation would go like this:
- 58
- 58 – 24 = 34
- 34 / 2 = 17
Note: If you did a different number of rows for the scarf, switch out the 17 in the following rows with the number you got from the calculation.
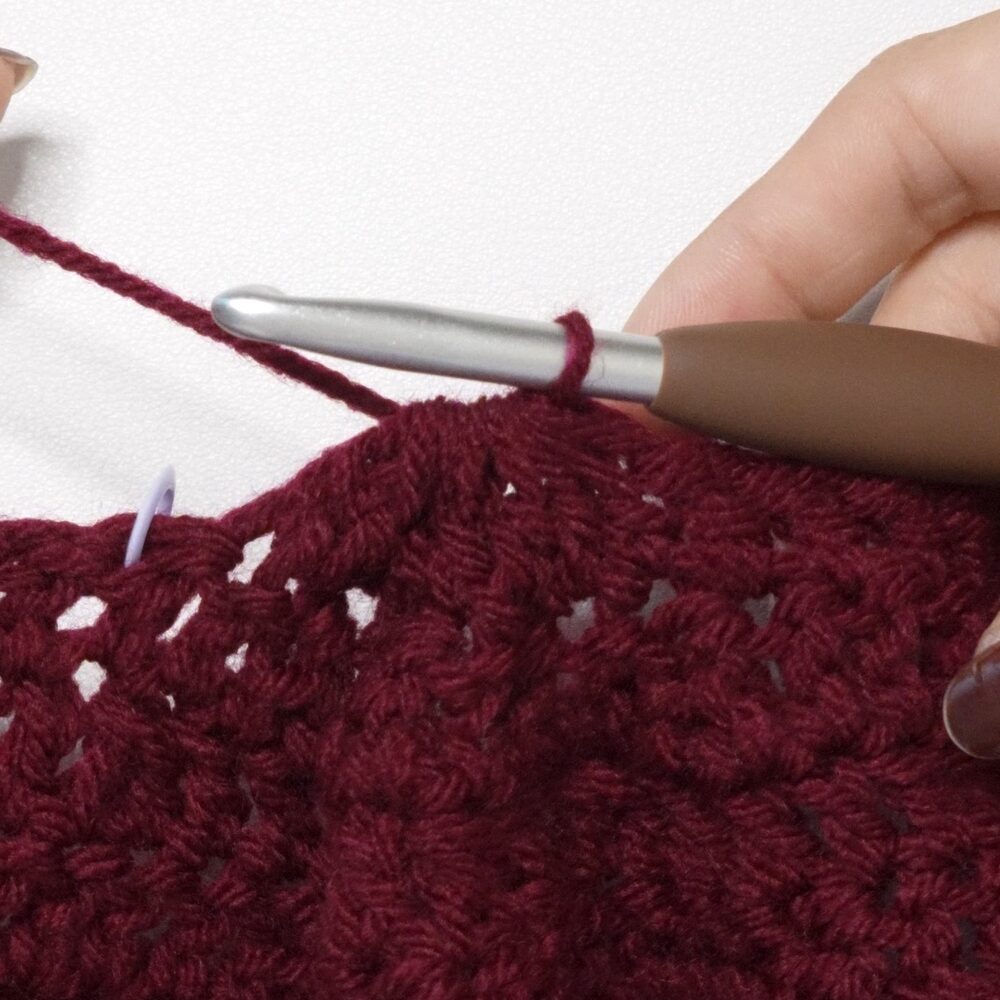
Row 14: ch2, turn, dc in first 17 st, rep[dc in next 4 st, dc2tog] 4 times, dc in last 17 st (54)
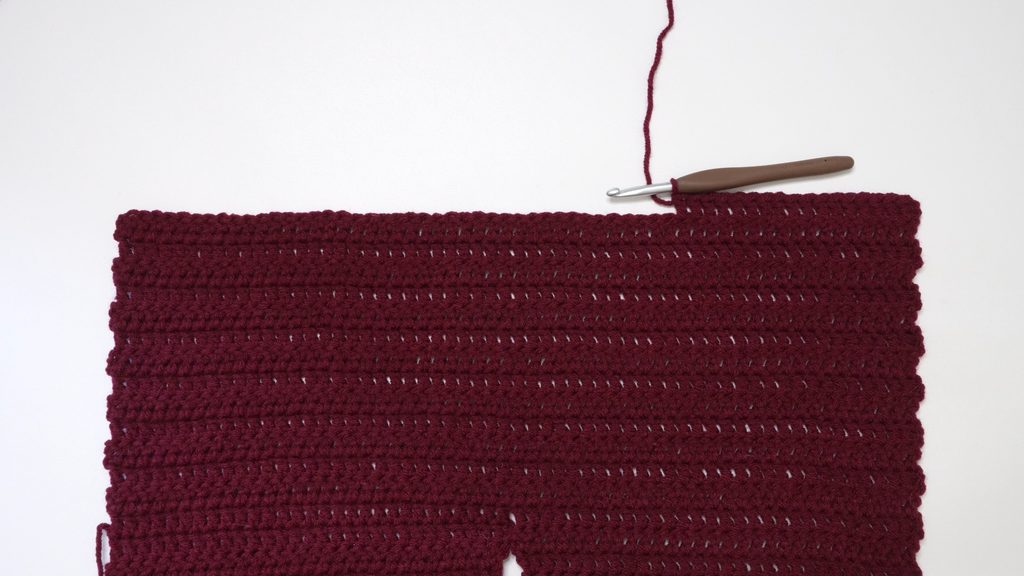
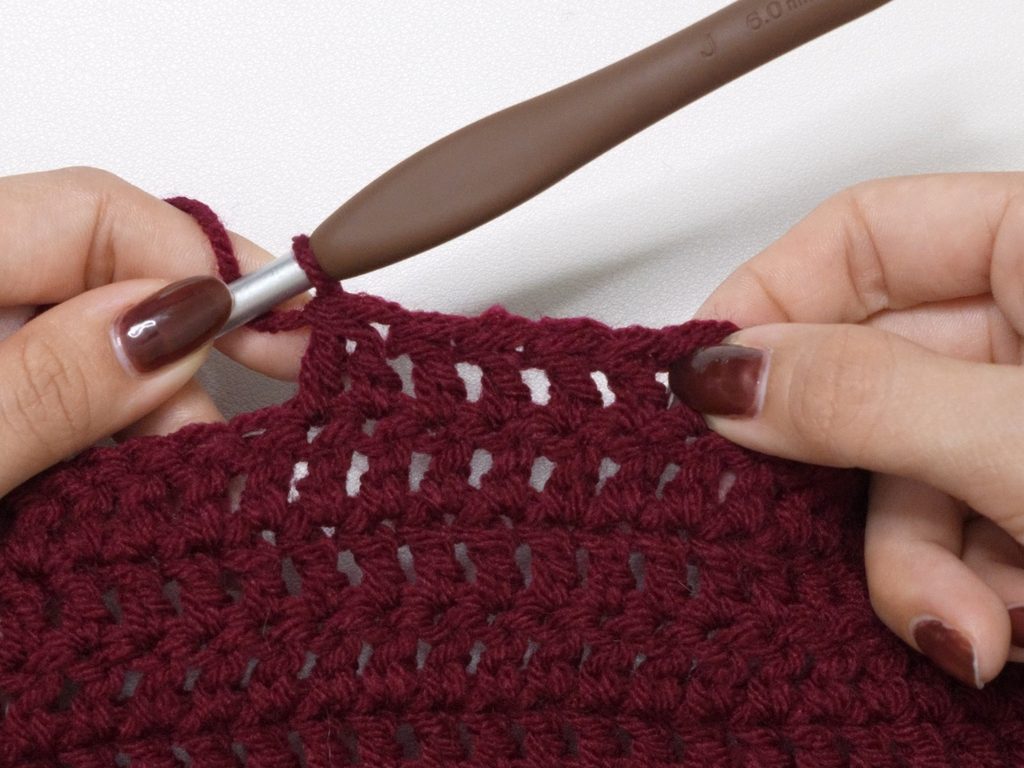
Tip: Mark the last dc2tog of every row so you don’t have to count the first 17 st in the next row.
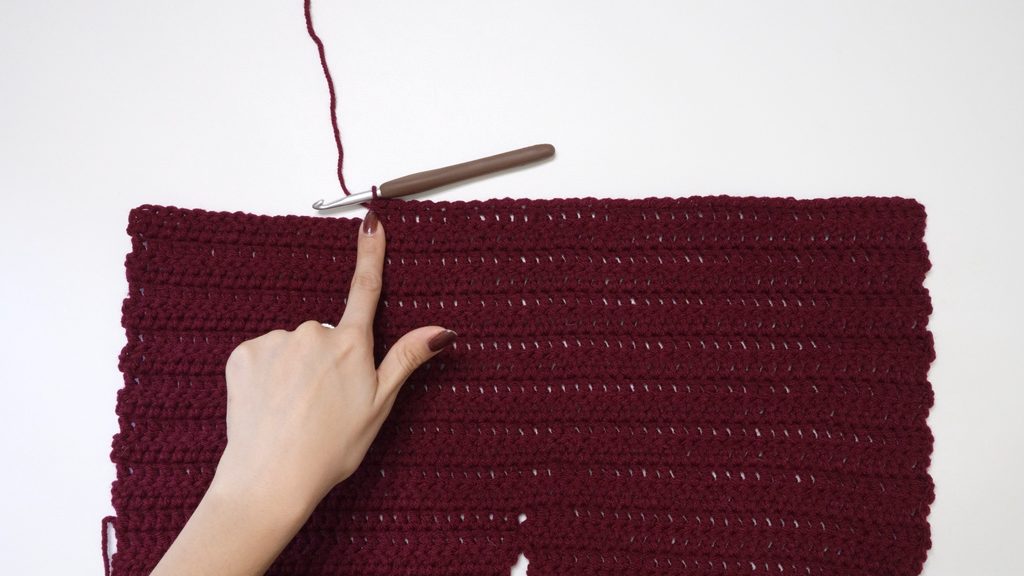
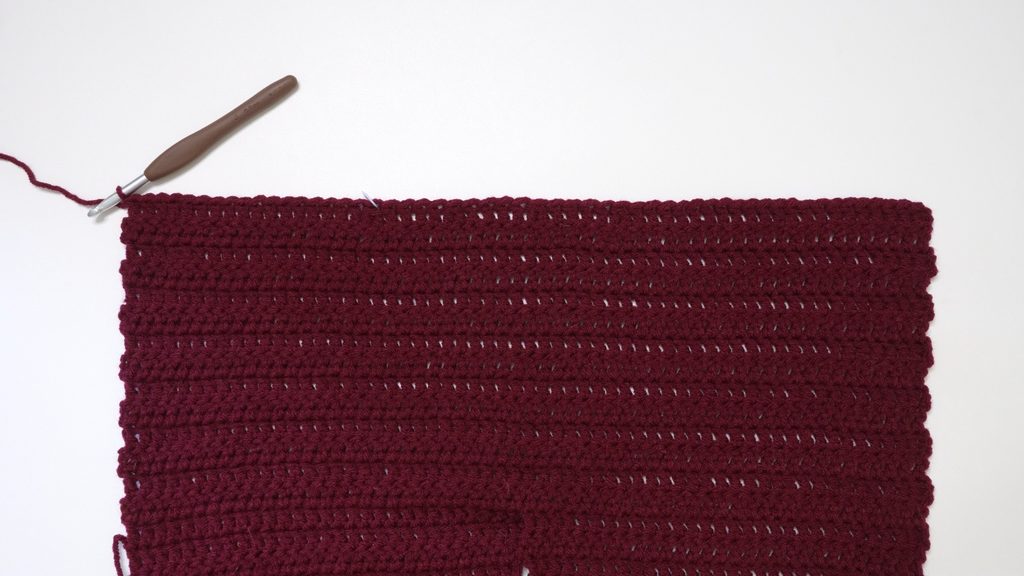
Row 15: ch2, turn, dc in first 17 st, rep[dc in next 3 st, dc2tog] 4 times, dc in last 17 st (50)
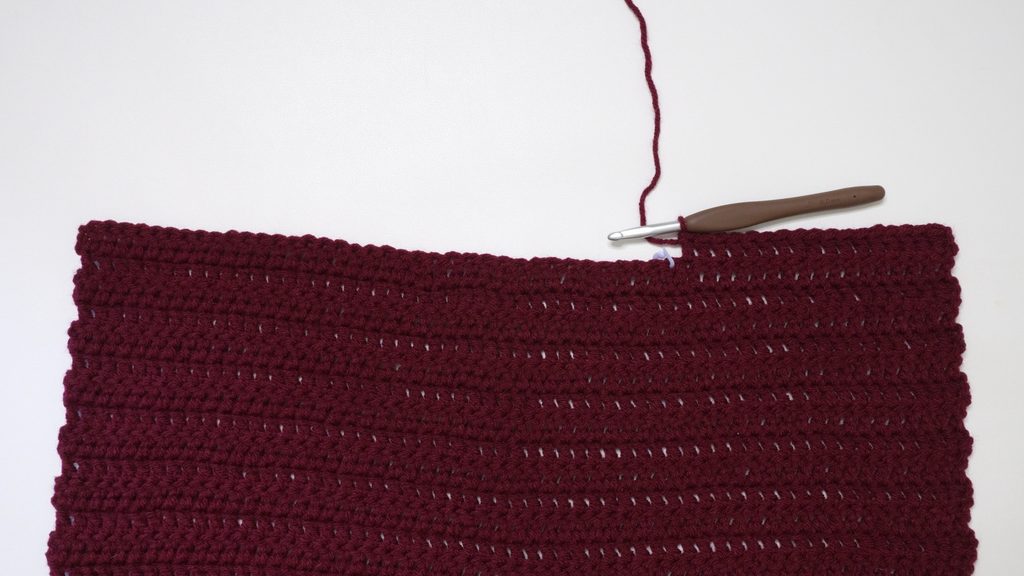
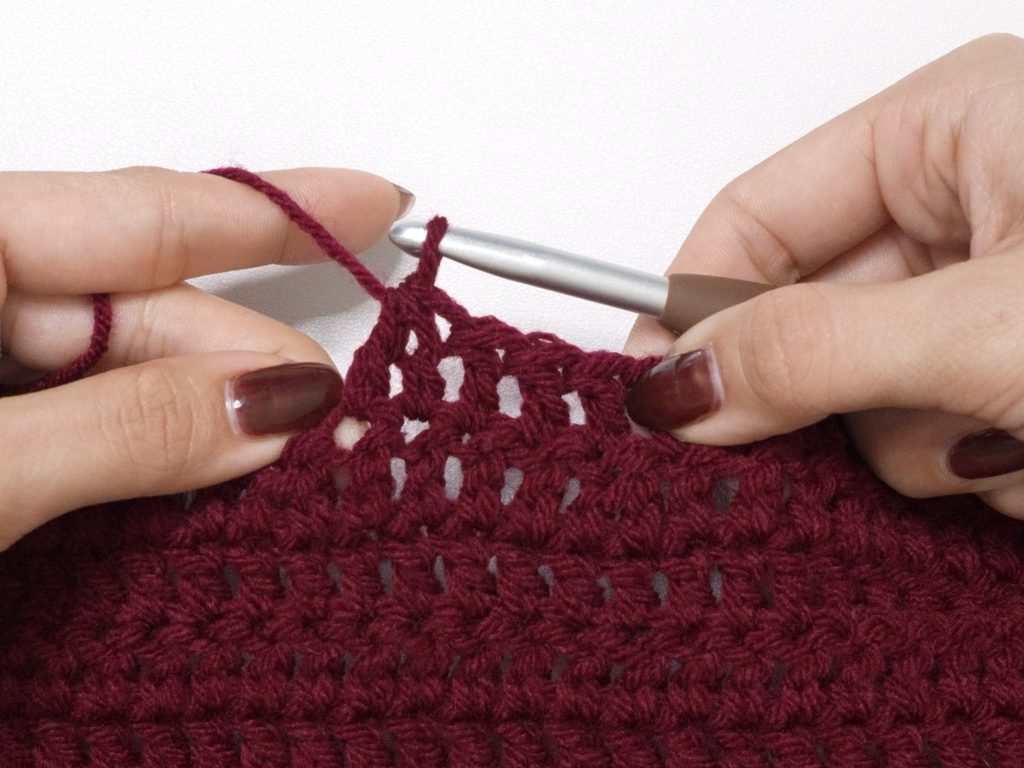
Row 16: ch2, turn, dc in first 17 st, rep[dc in next 2 st, dc2tog] 4 times, dc in last 17 st (46)
Row 17: ch2, turn, dc in first 17 st, rep[dc, dc2tog] 4 times, dc in last 17 st (42)
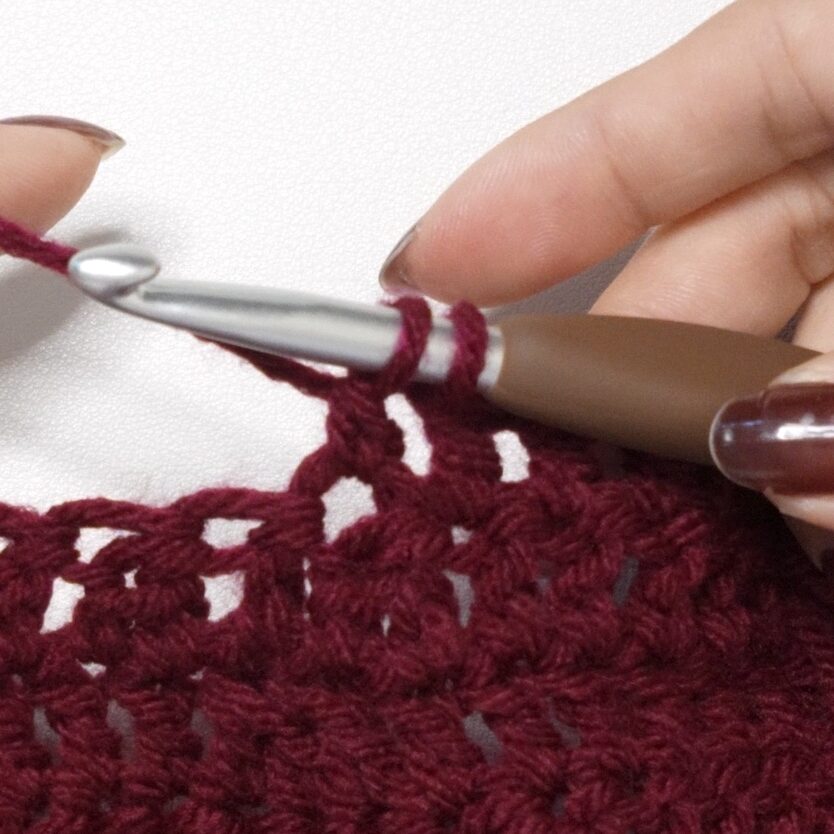
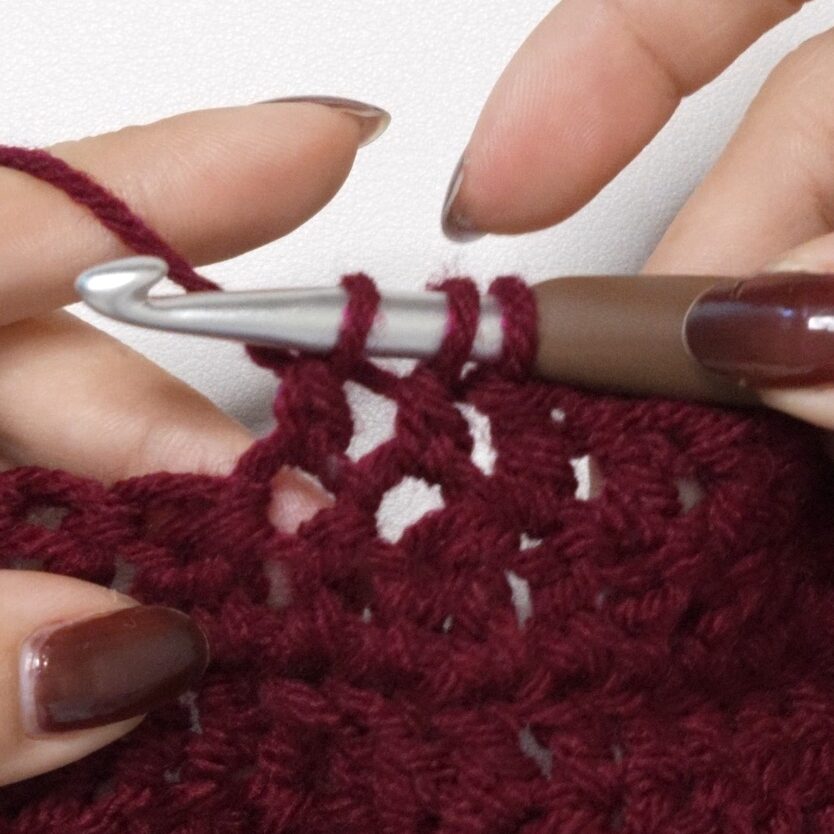
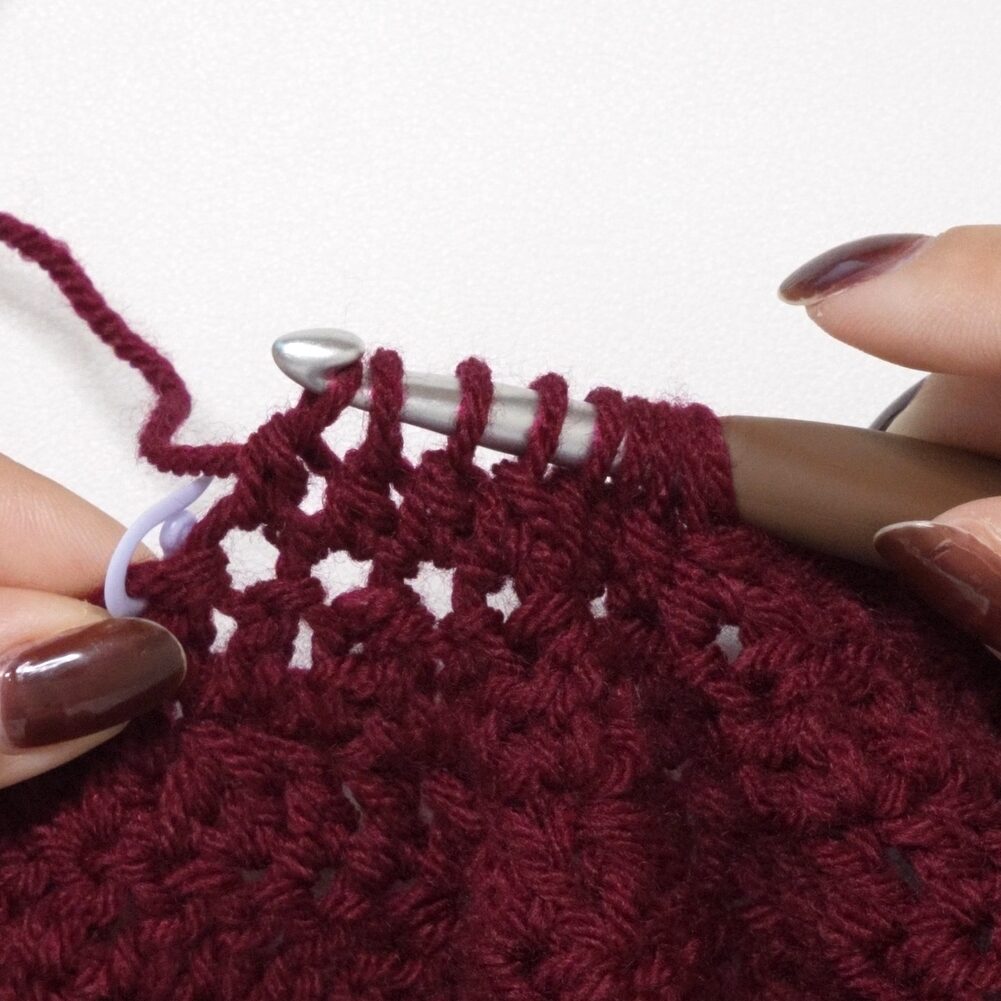
Row 18: ch2, turn, dc in first 17 st, dc8tog, dc in last 17 st (38)
Outline (Optional)
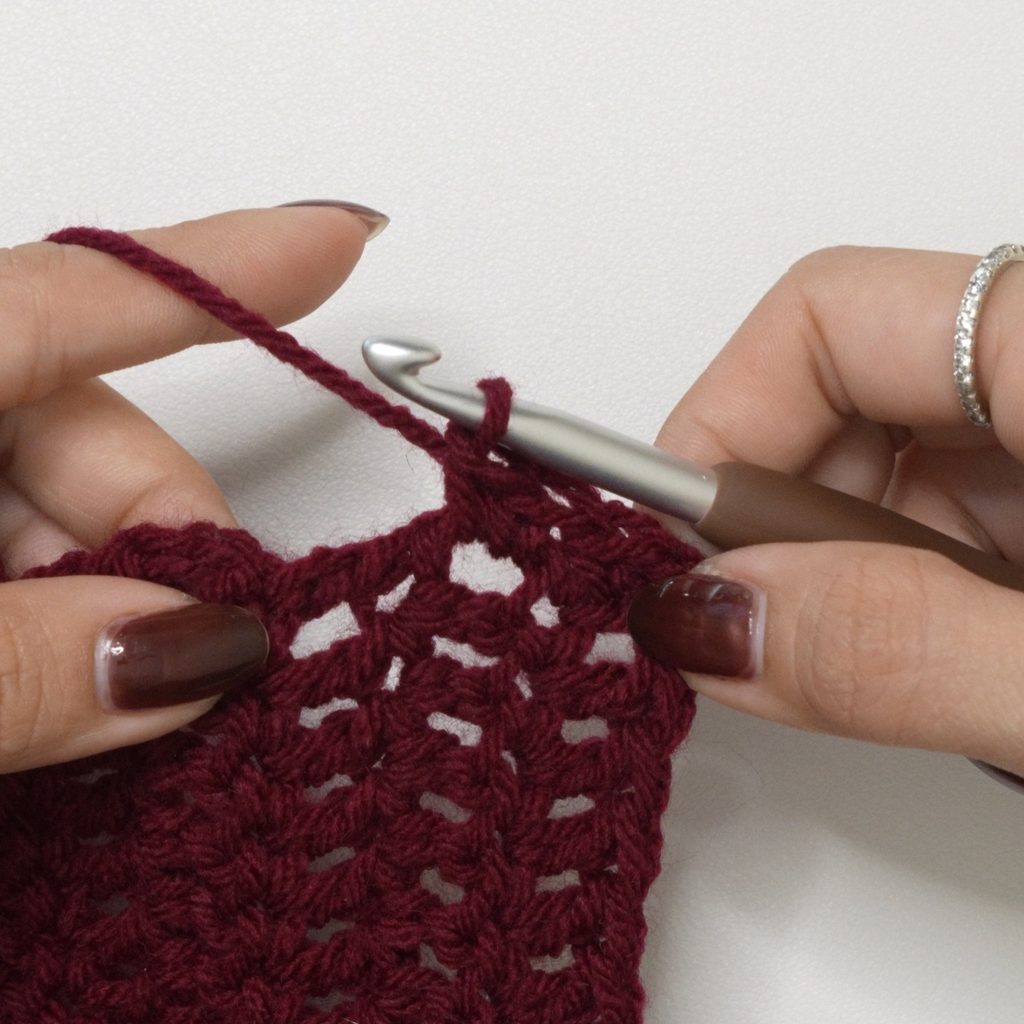
If you want to straighten out the edges, you can line them with single crochets. Rotate your work to the right to start working along the left side.
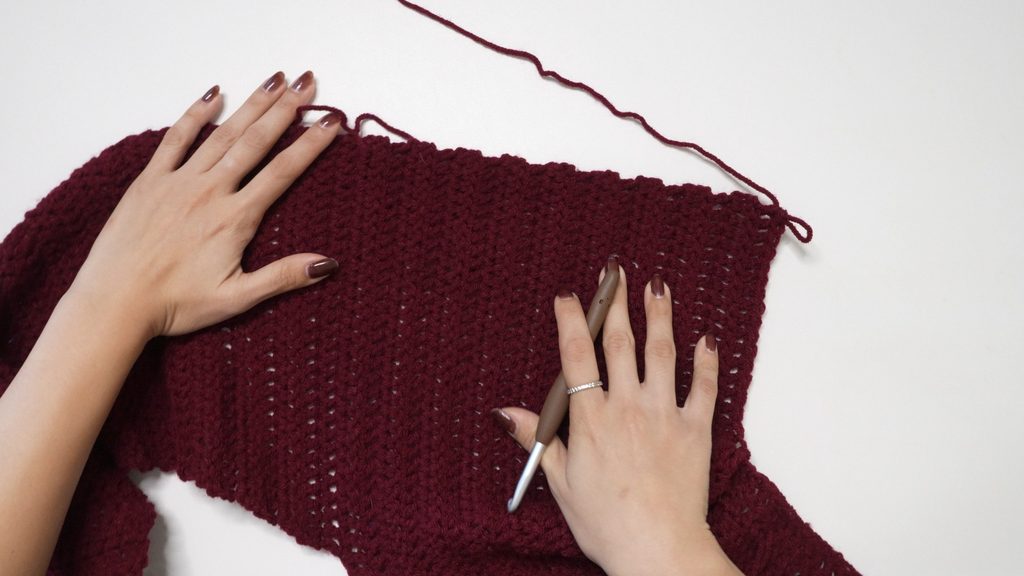
Outline: ch1, rep[sc into the side of the next row, sc2 into the side of the next row] across the 18 rows of the hood,
Tip: The bump at the side of every other row is from the turning chain. Work your single crochets into the space between the turning chain and the first double crochet. For rows without this bump, work directly into the side of the double crochet.
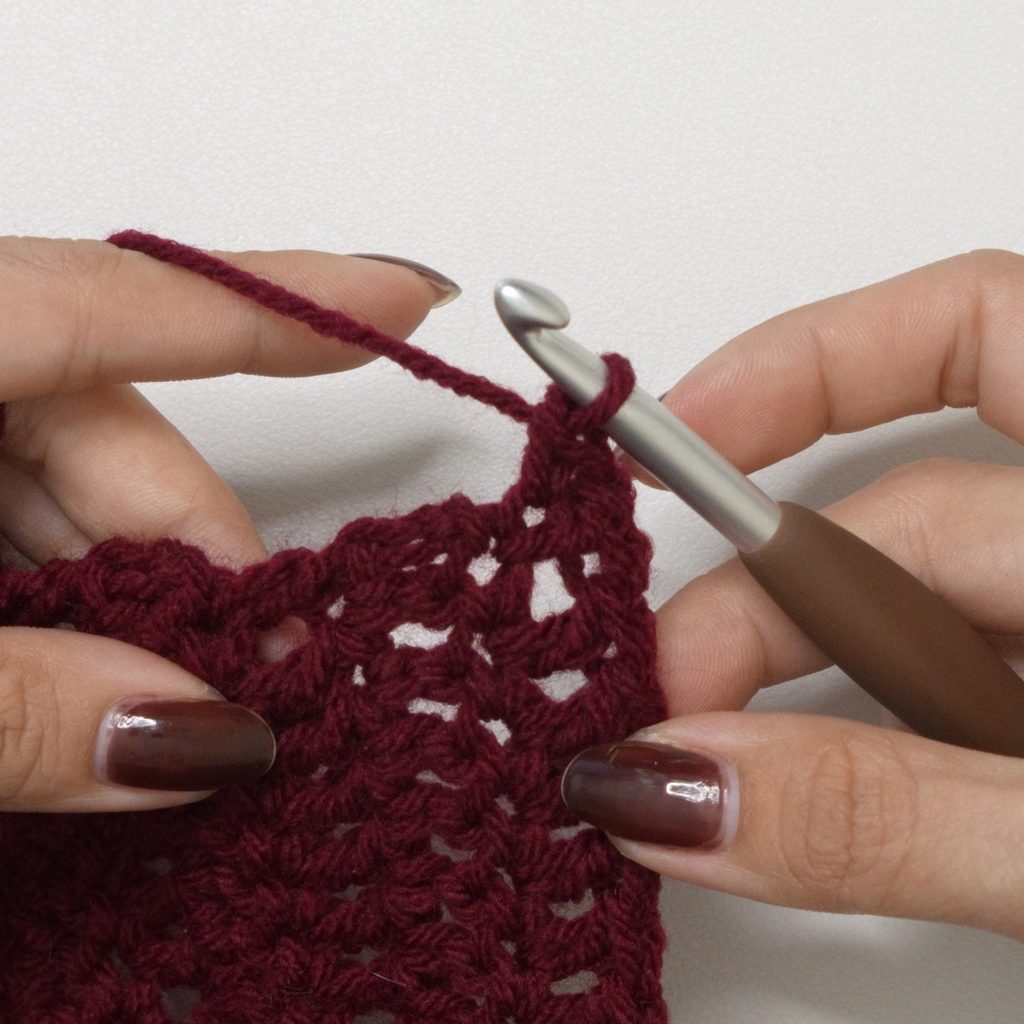
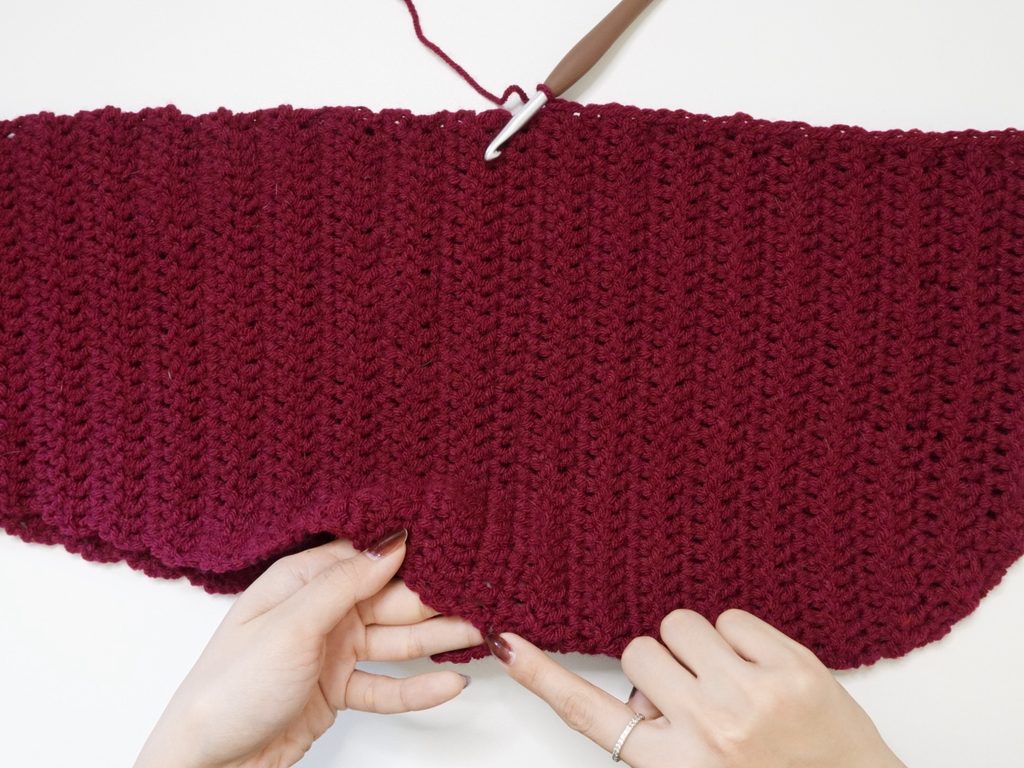
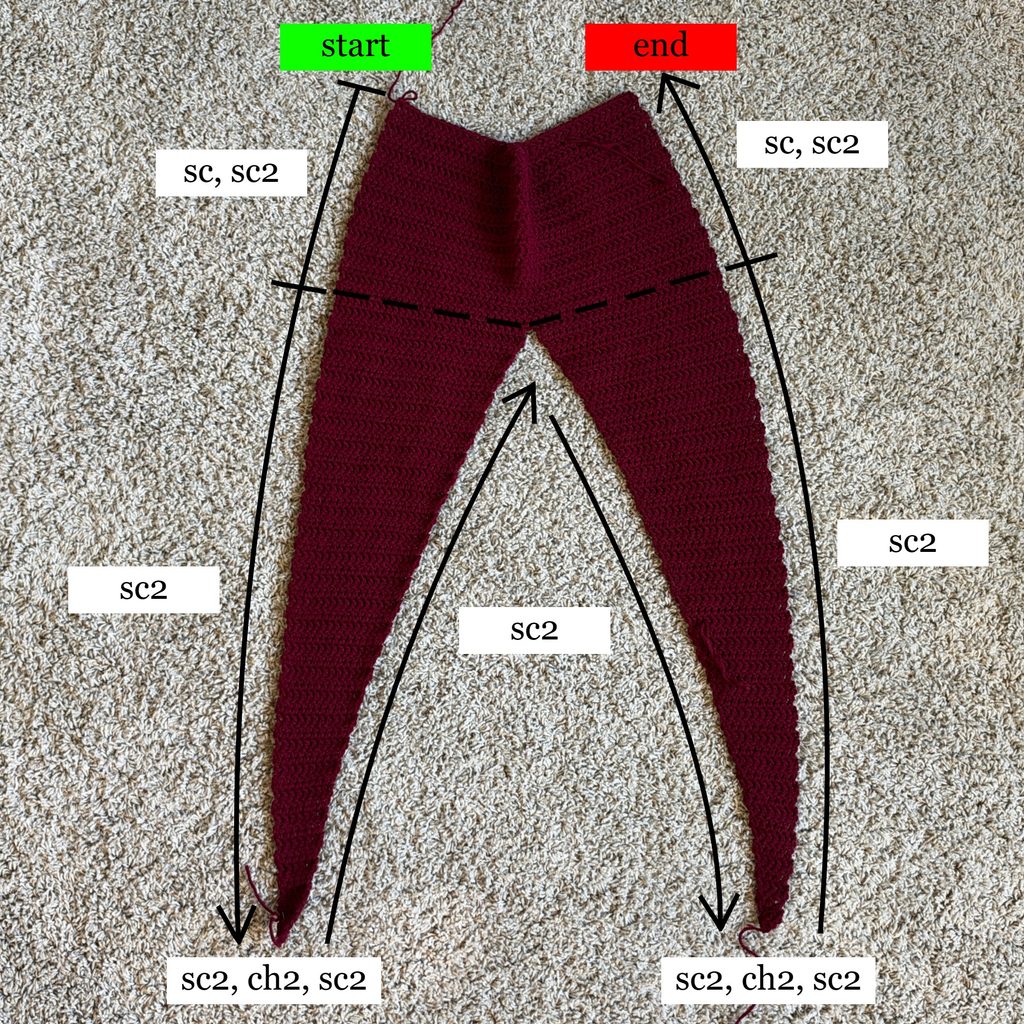
*sc2 into the side of each row until the tip of the scarf, [sc2, ch2, sc2] into the tip of the scarf, rep from * 1 time, sc2 into the side of each row until the hood, rep[sc into the side of the next row, sc2 into the side of the next row] across the 18 rows of the hood
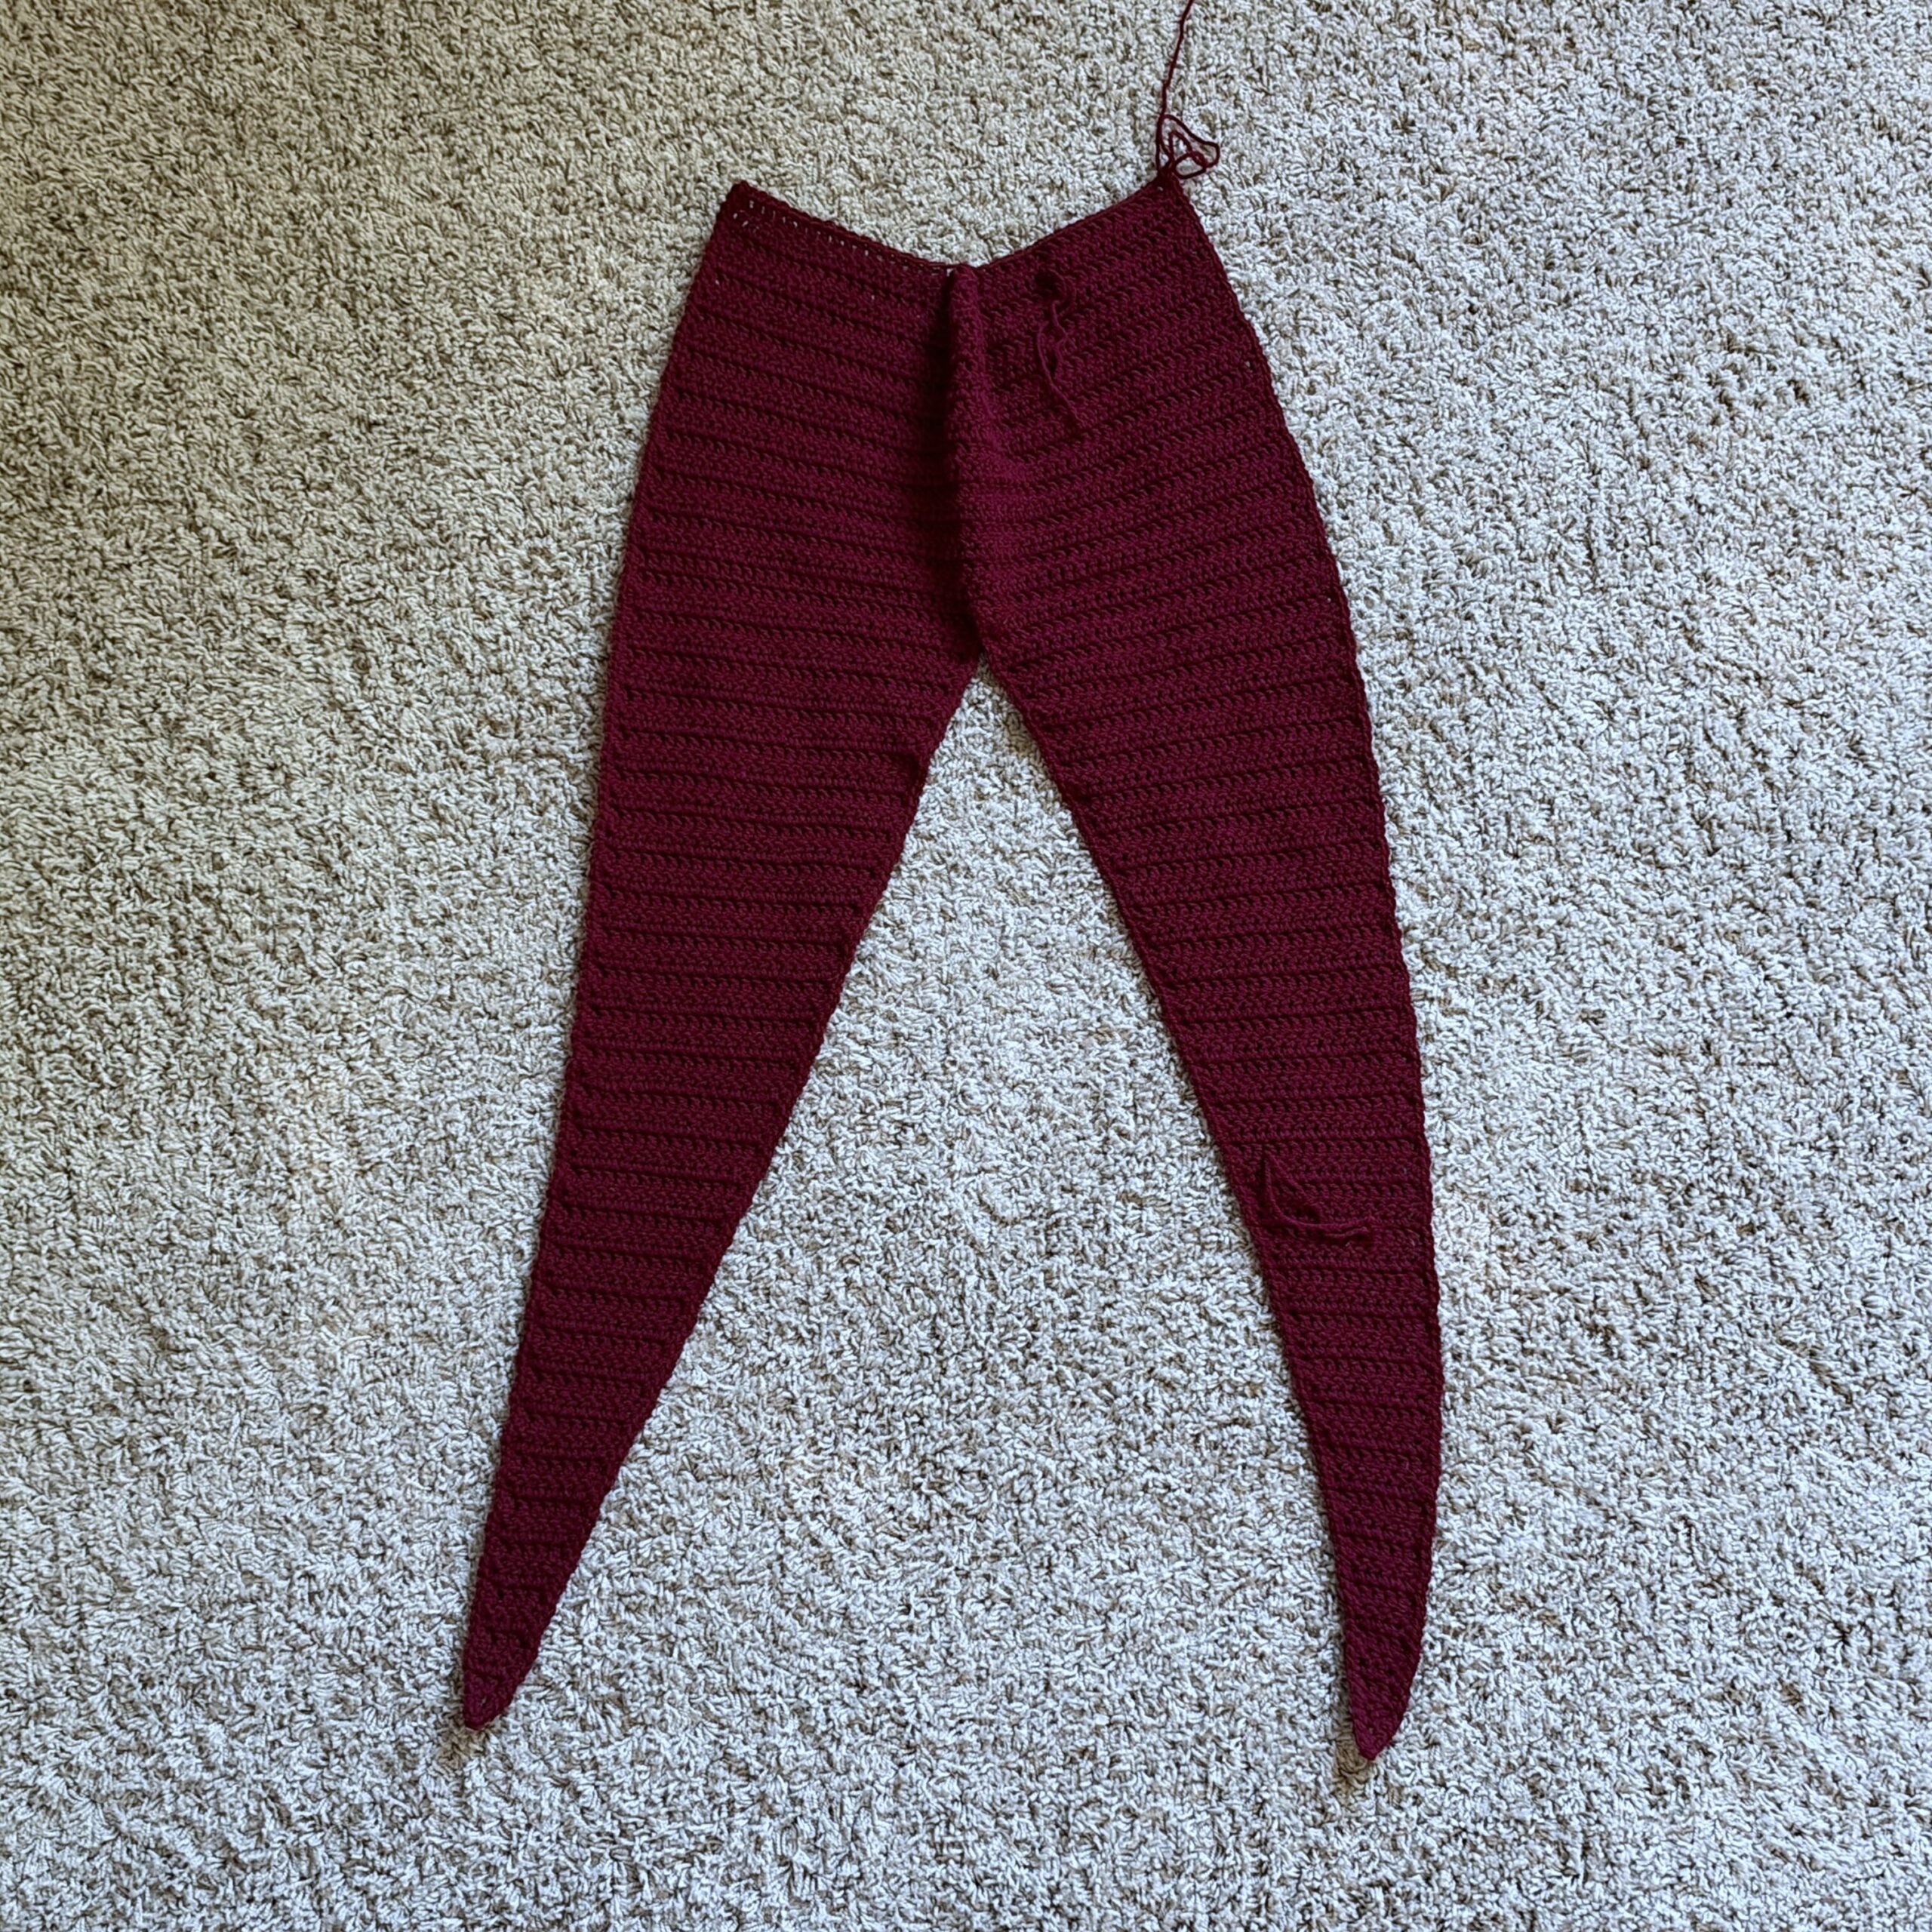
Follow the diagram below for the outline. We want the hood portion to scrunch a little, but we want to keep the scarf portion flat.
Sewing
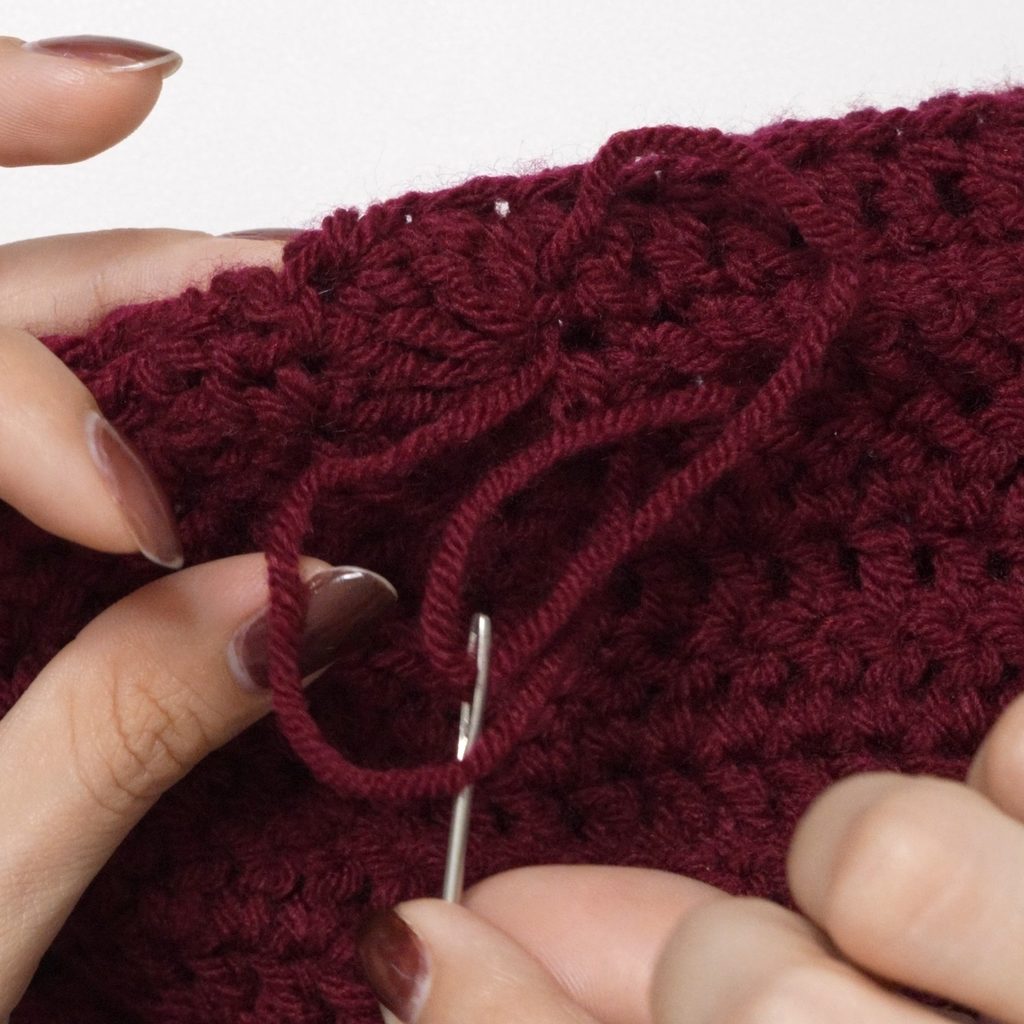
Fasten off with a loose end as long as the last row of the hood, plus 13 centimeters (5 inches).
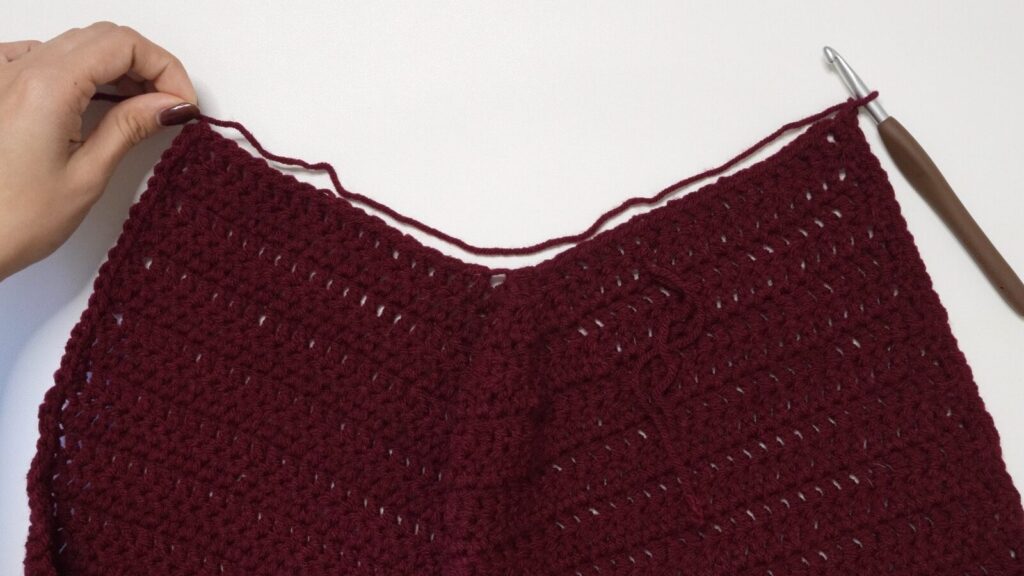
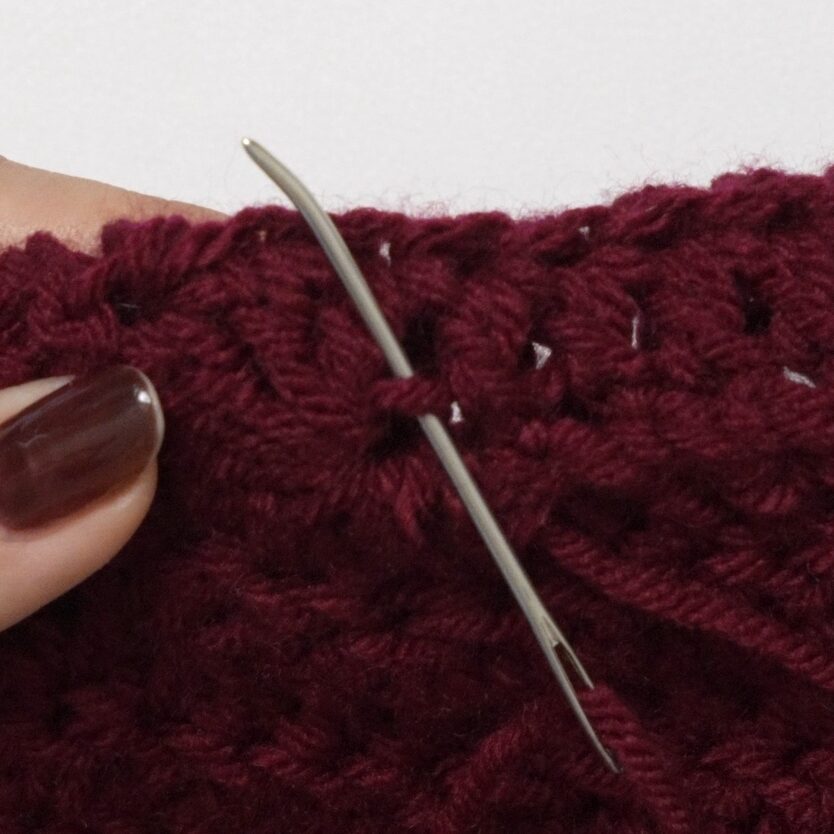
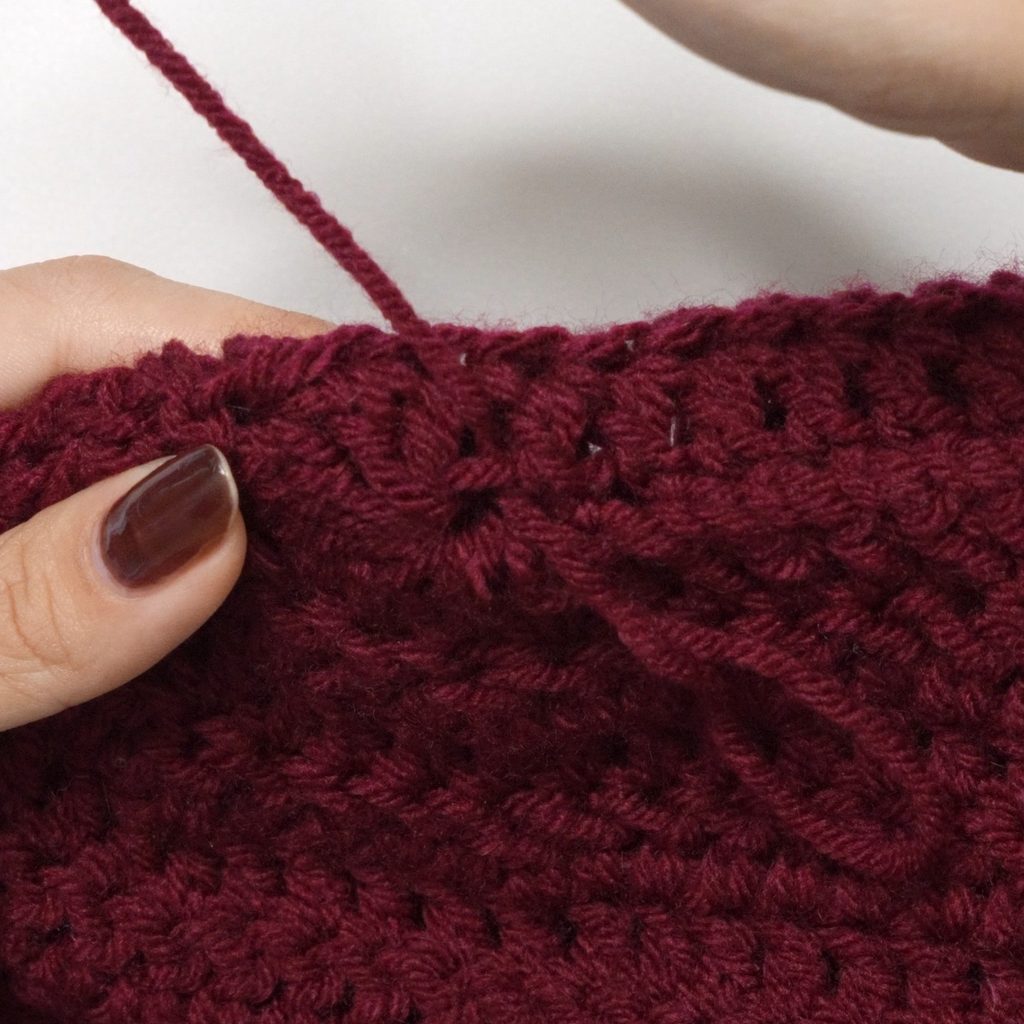
Fold your project in half with the loose end on the right side. Sew across the top of the hood.
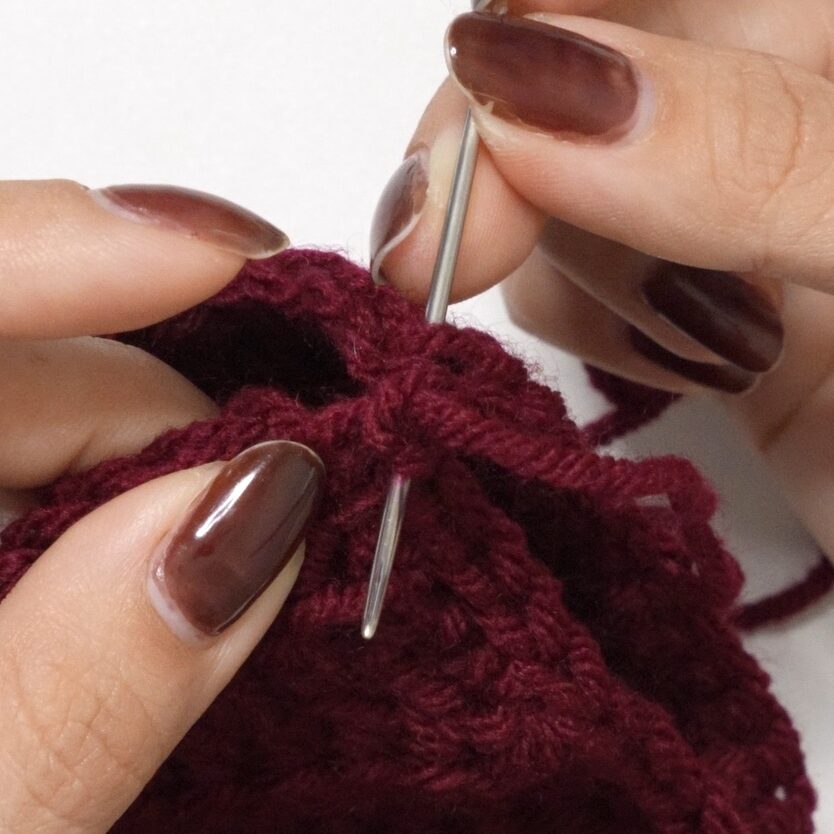
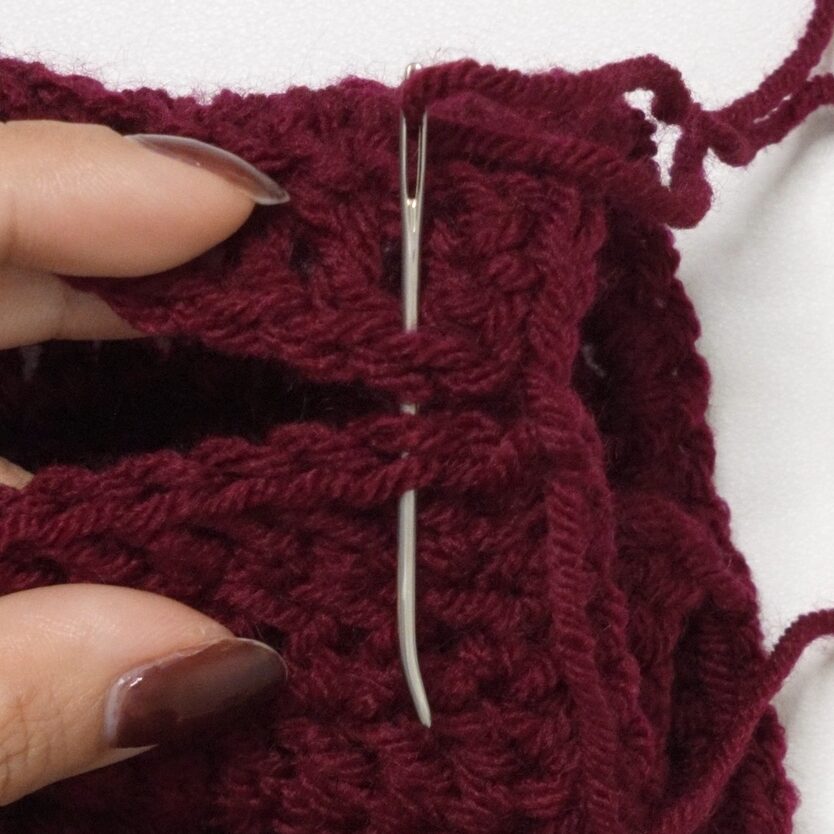
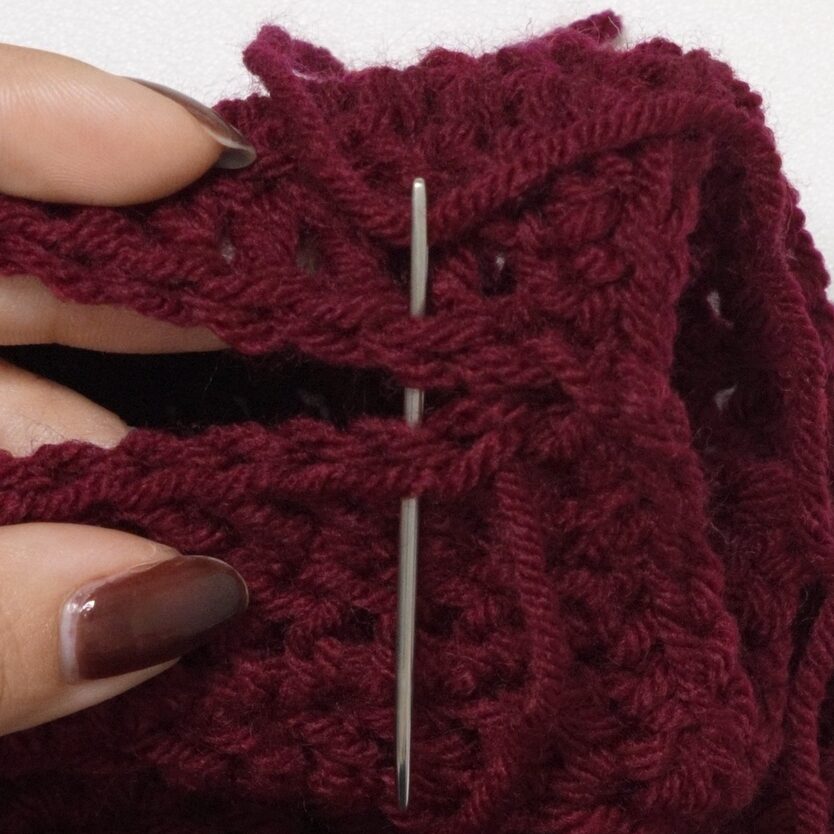
Tie a double knot across the dc8tog hole.
Finished Crochet Hooded Scarf
Weave in your loose ends and your crochet hooded scarf is finished!