Essential Crochet Beanie | Free Pattern & Video Tutorial
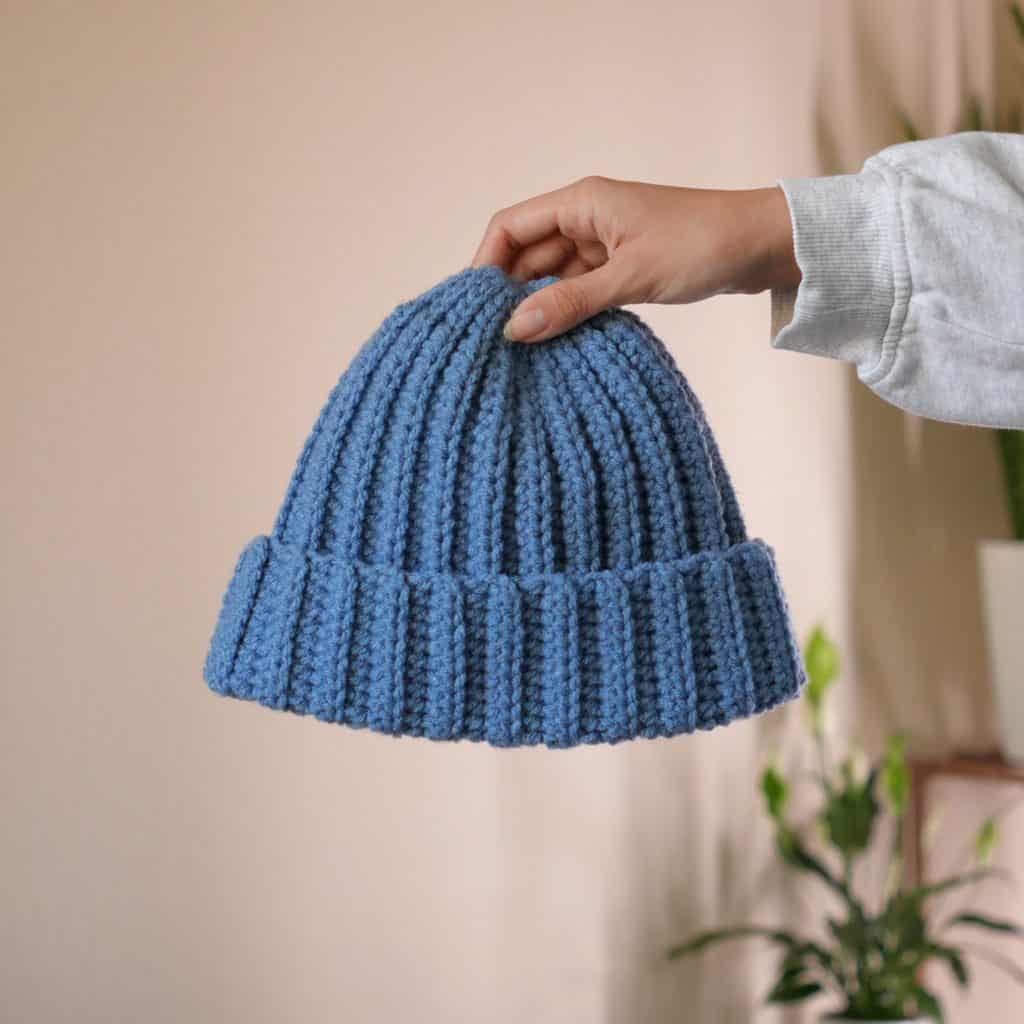
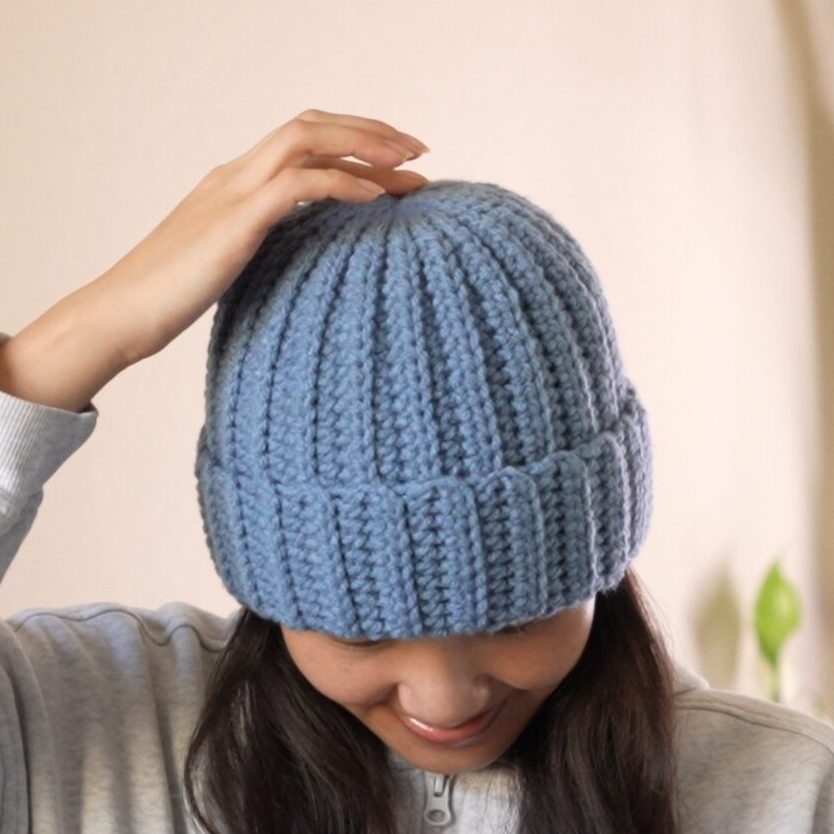
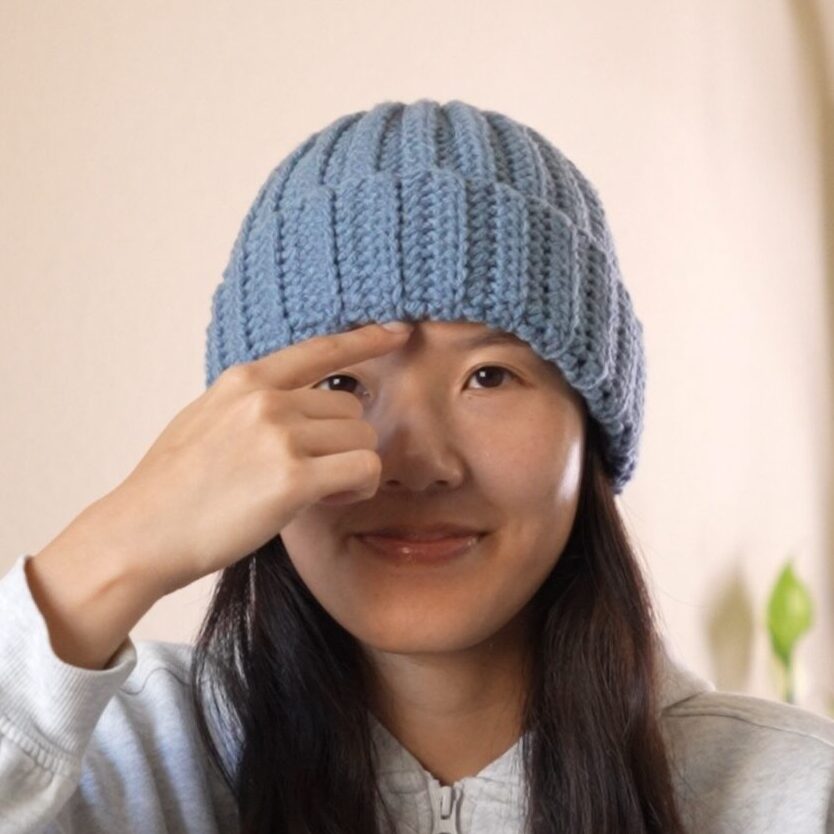
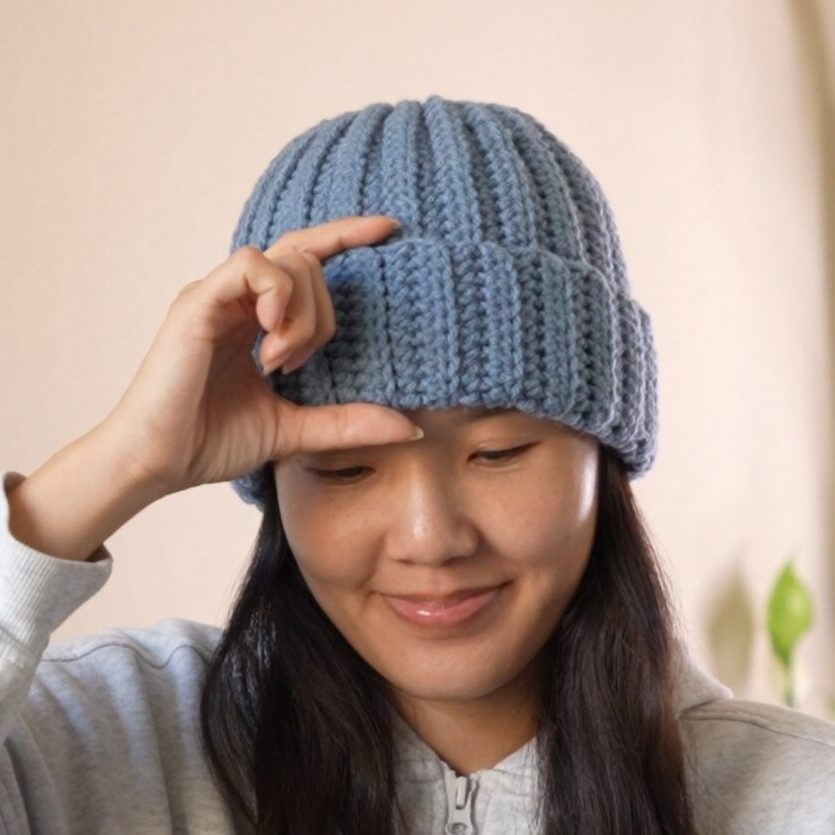
The only crochet beanie pattern you’ll ever need: the essential beanie! This crochet pattern reduces that extra fabric bunching you typically get with ribbed crochet beanies.
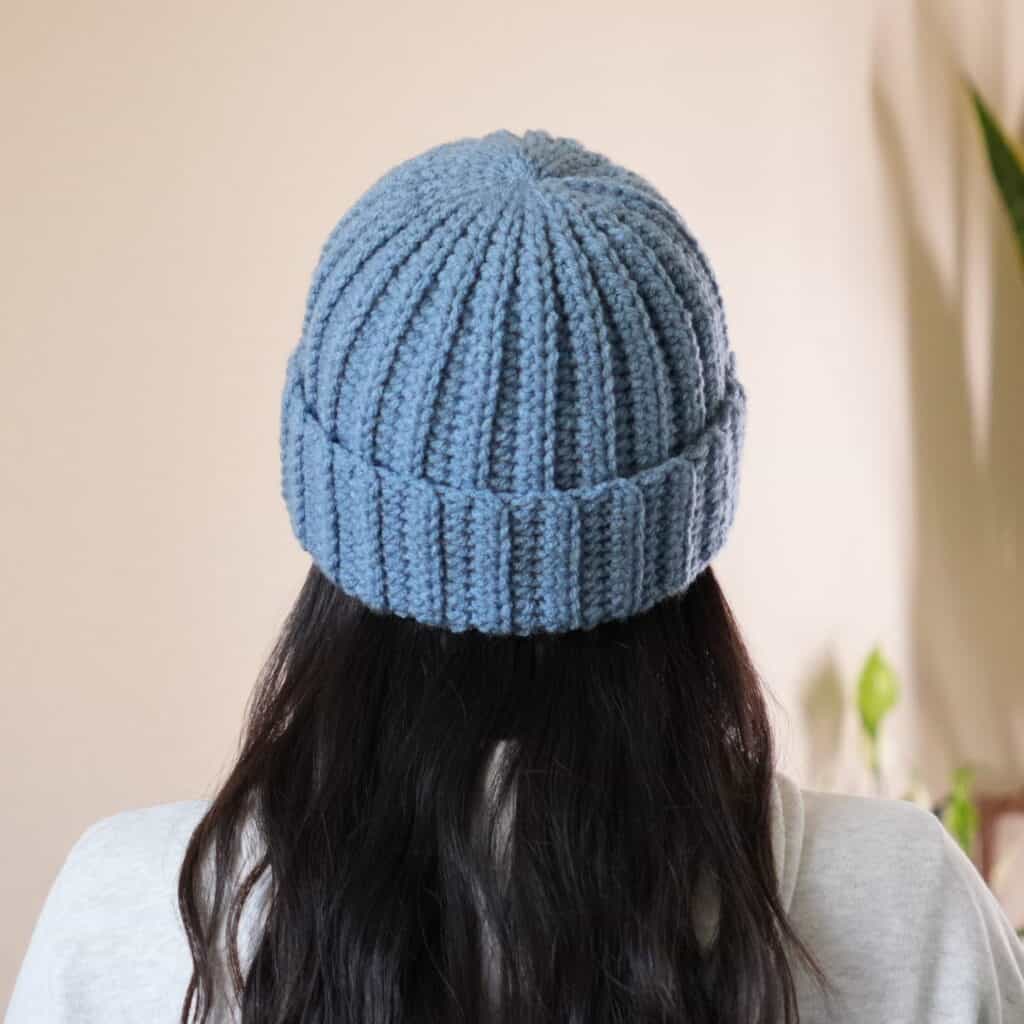
It has a beautifully simple ribbed texture that goes with any outift, which will surely make this a staple in your fall and winter wardrobe!
Follow along with this free written pattern, or watch the video tutorial to make your very own crochet beanie!
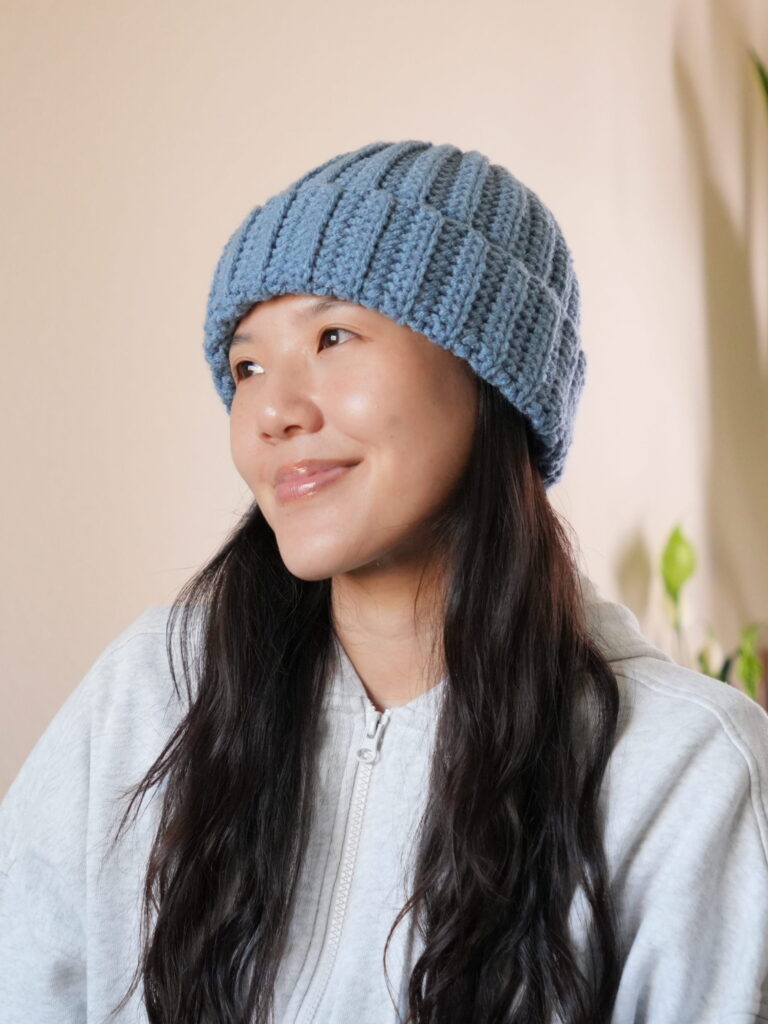
Table of Contents
This post may contain affiliate links. I may earn a small commission on qualifying purchases at no additional cost to you!
Crochet Beanie Tutorial
Become a member to get early access to new videos!
You can follow along with my YouTube video to make your own crochet beanie! I have timestamps included to help you jump to any point you need to!
Pattern Information
Materials
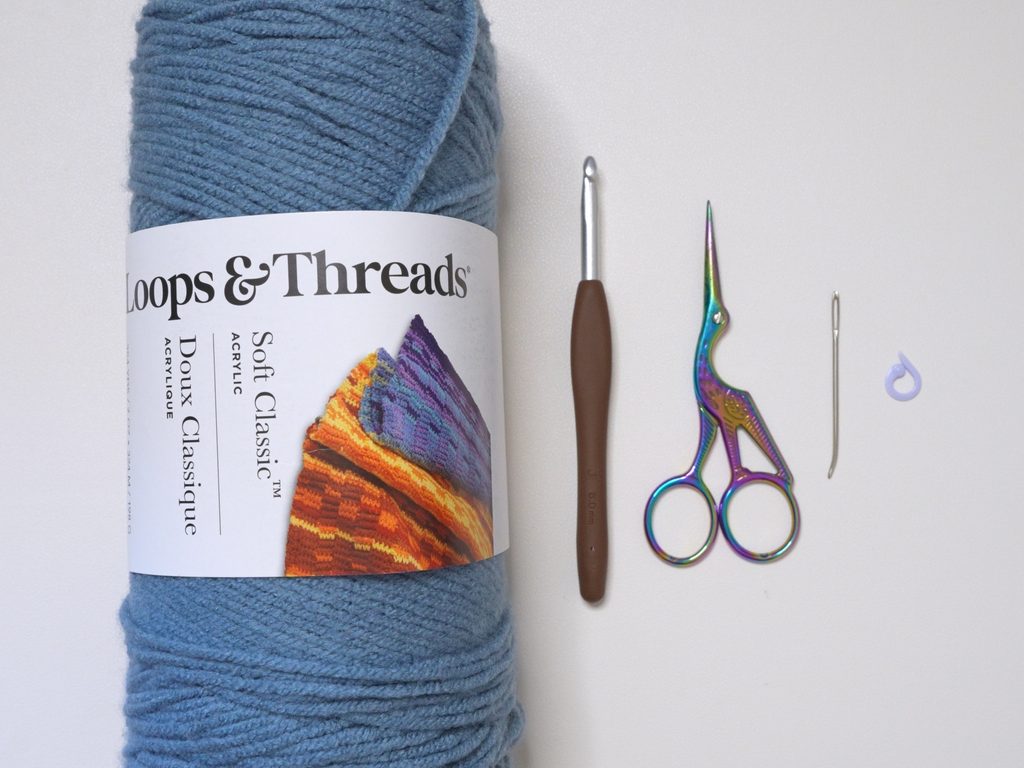
- 90 grams/161 yards of medium weight yarn (L&T Soft Classic in “Cornflower”)
- 6mm Clover Amour crochet hook
- Scissors
- Yarn needle
- Stitch marker
Crochet Abbreviations
blo = back loop only
ch = chain
flo = front loop only
hdc = half double crochet
rep = repeat
sl st = slip stitch
st = stitch
Gauge
9 rows of 15 half double crochets makes a 10 x 10 centimeter (4″ x 4″) square
Dimensions
*includes instructions to adjust sizing
Modified Rectangle: 20-51 centimeters wide x 26 centimeters long (7.9-20.1 x 10.2 inches)
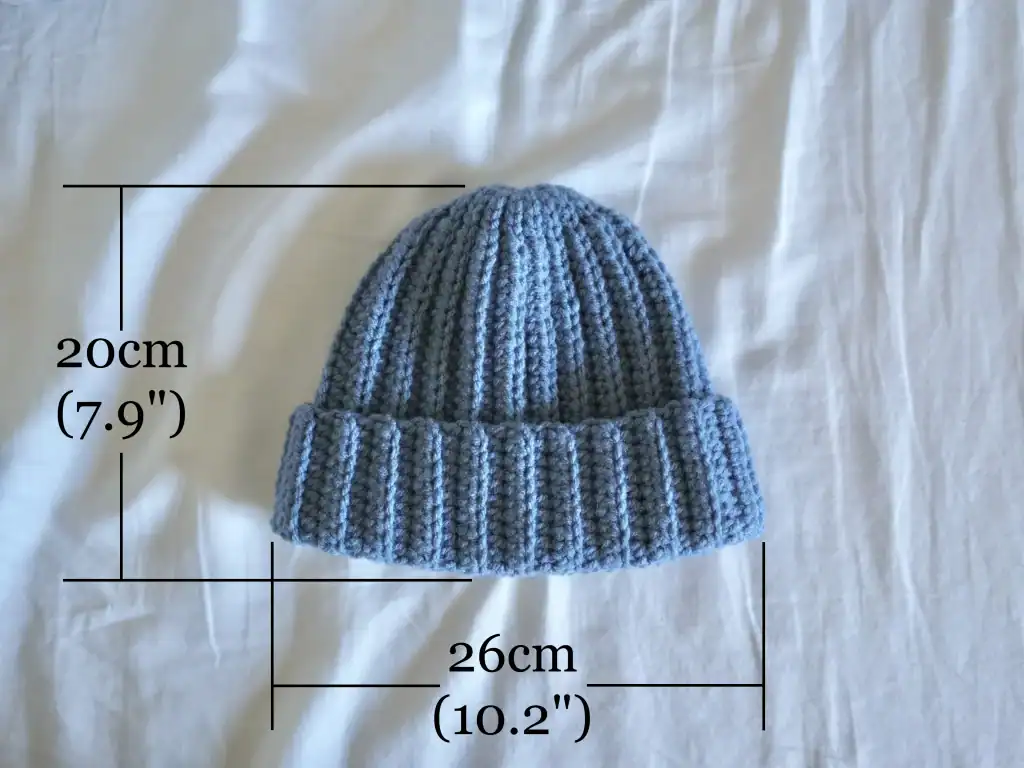
Overall: 26 centimeters wide x 20 centimeters long (10.2 x 7.9 inches)
Notes and Tips
- This pattern is written using US crochet terms
- The number in (parentheses) at the end of each row is the stitch count after finishing that row
- Italicized notes tell you what to change to adjust the size
- Use a stitch marker to separate the half double crochets from the slip stitches
- The chain 1 at the beginning of each row does NOT count as a half double crochet or slip stitch
Crochet Beanie Pattern
Modified Rectangle
Foundation: Make a slipknot, ch41
The length of your chain will be the approximate vertical length of your beanie with the brim unfolded.
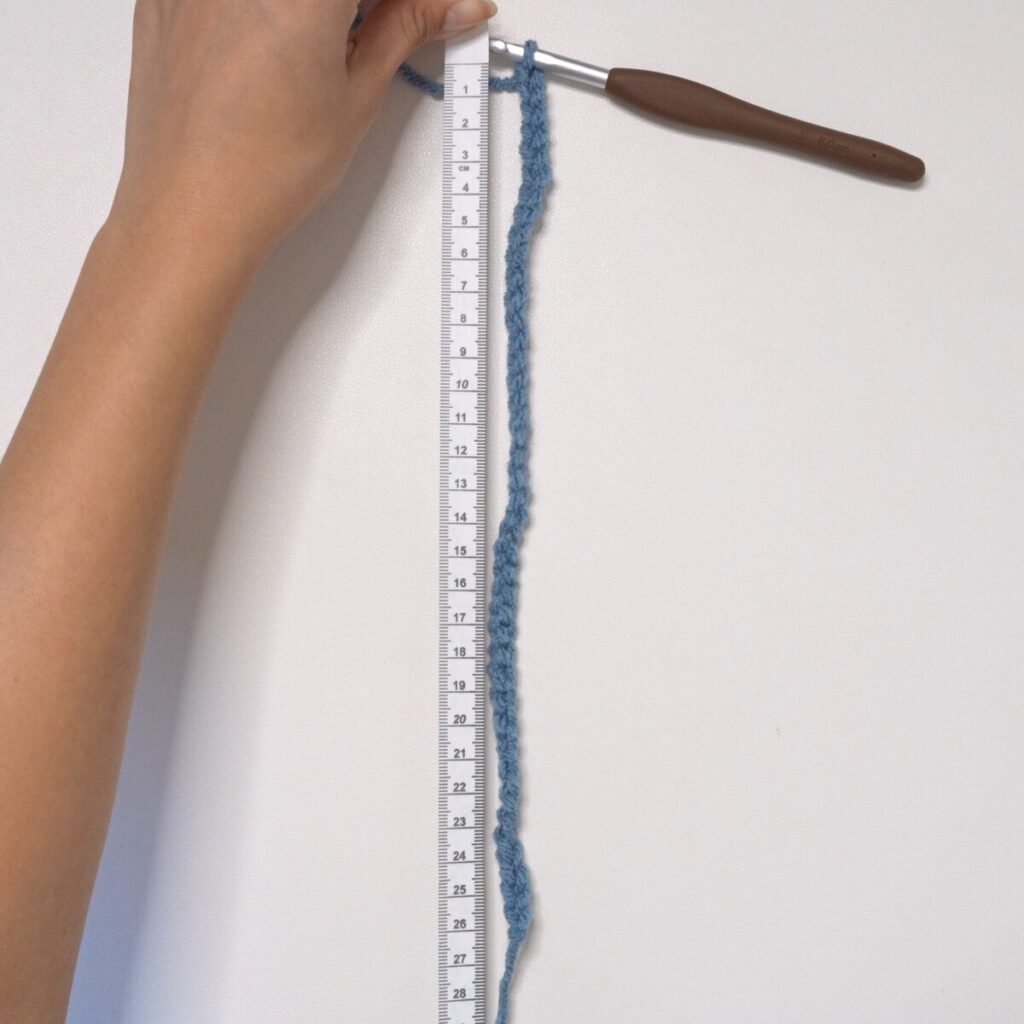
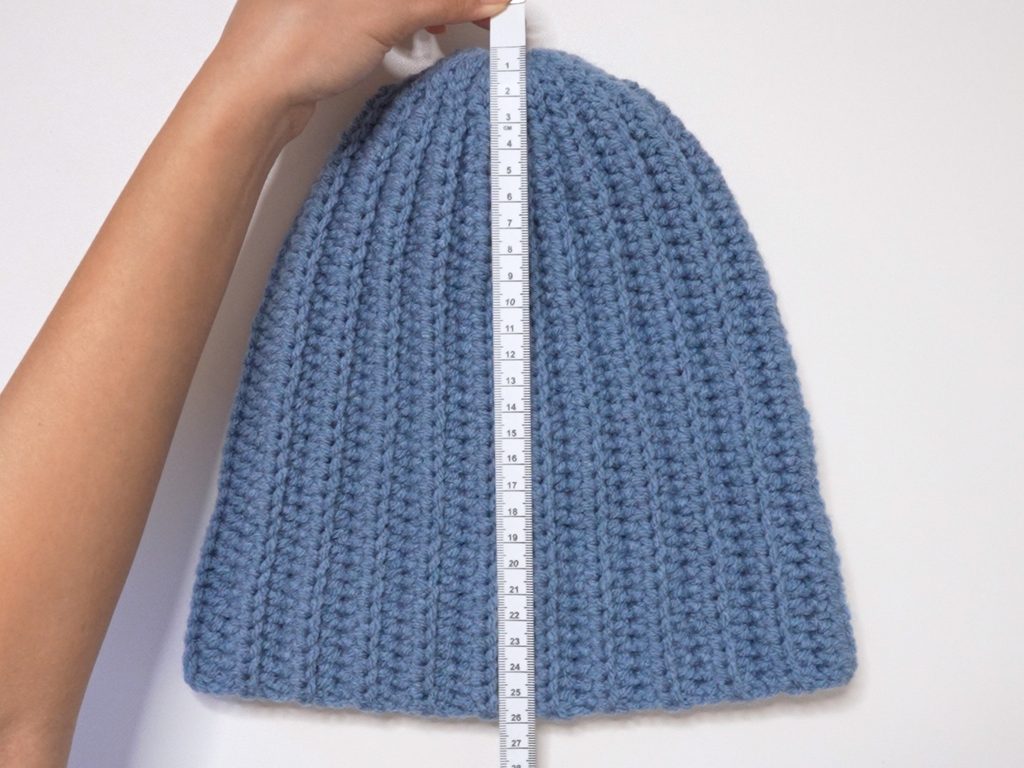
Note: Do fewer chains for a shorter beanie or more chains for a longer beanie. Aim to make your chain the length from the crown of your head, down to your eyebrows, plus the width of the brim that will fold up.
Row 1: hdc in 2nd ch from hook and across until 5 ch left, sl st in last 5 ch (40)
Tip: Use a stitch marker to separate the half double crochets from the slip stitches
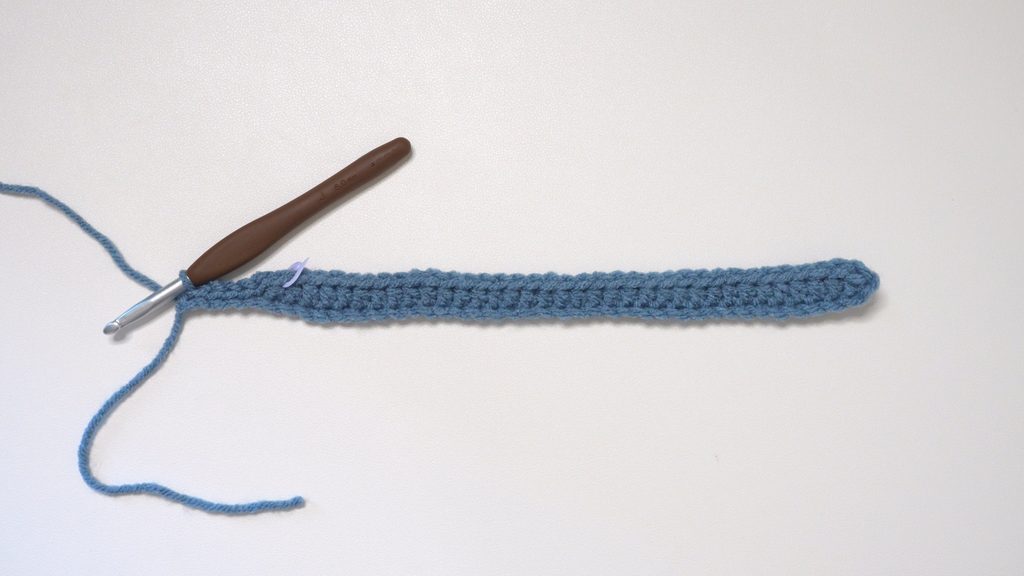
Row 2: ch1, turn, sl st blo in first 5 st, hdc blo across (40)
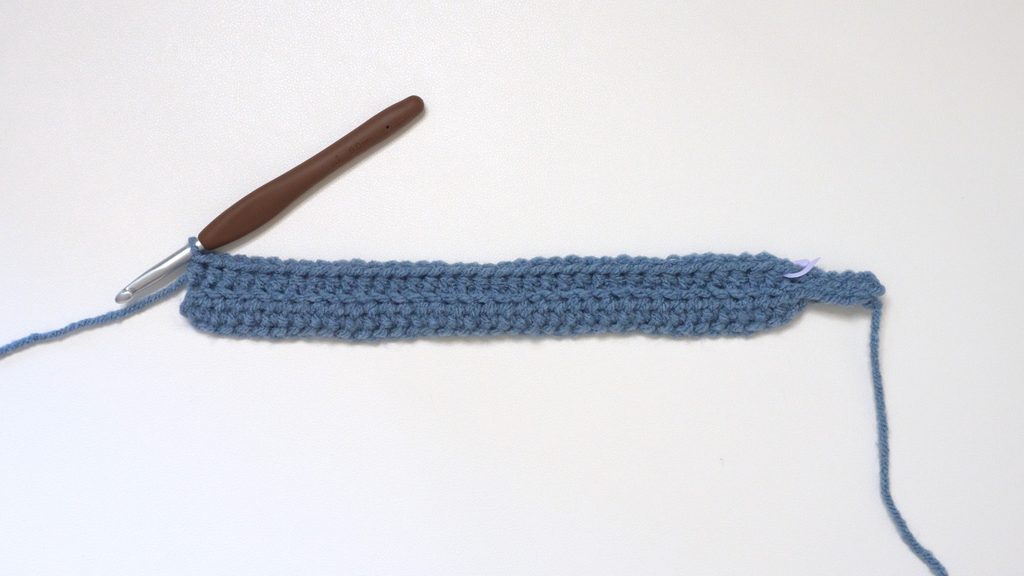
Row 3: ch1, turn, hdc blo across until 5 st left, sl st blo in last 5 st (40)
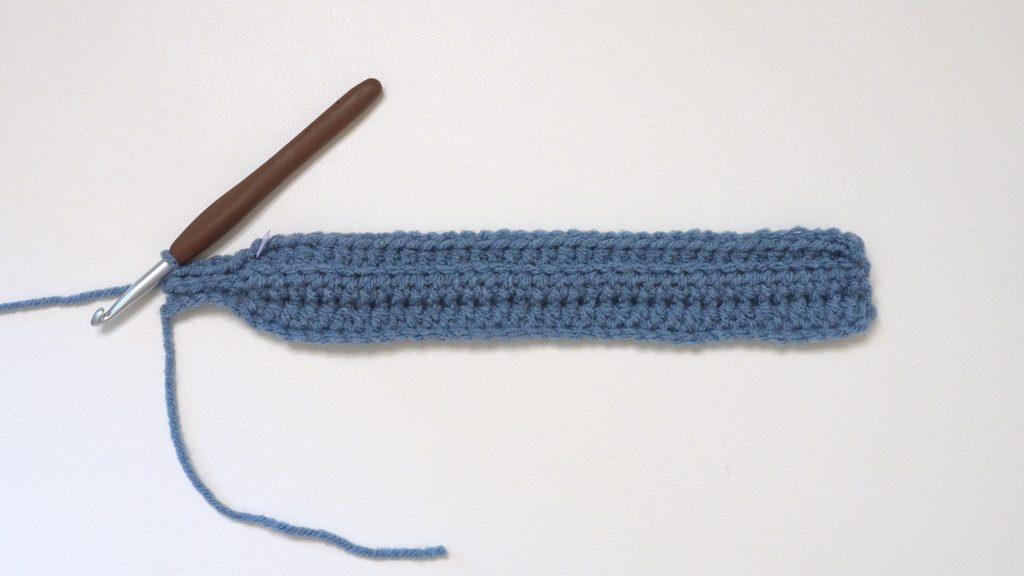
Rows 4-44: rep[Row 2, Row 3]
This means Row 4 is a repeat of Row 2, Row 5 is a repeat of Row 3, Row 6 is a repeat of Row 2, and so on.
Tip: You basically slip stitch on top of the slip stitches and half double crochet on top of the half double crochets.
Note: Do fewer rows for a smaller size or more rows for a bigger size. Stop after an even number of rows so you end on the hdc side.
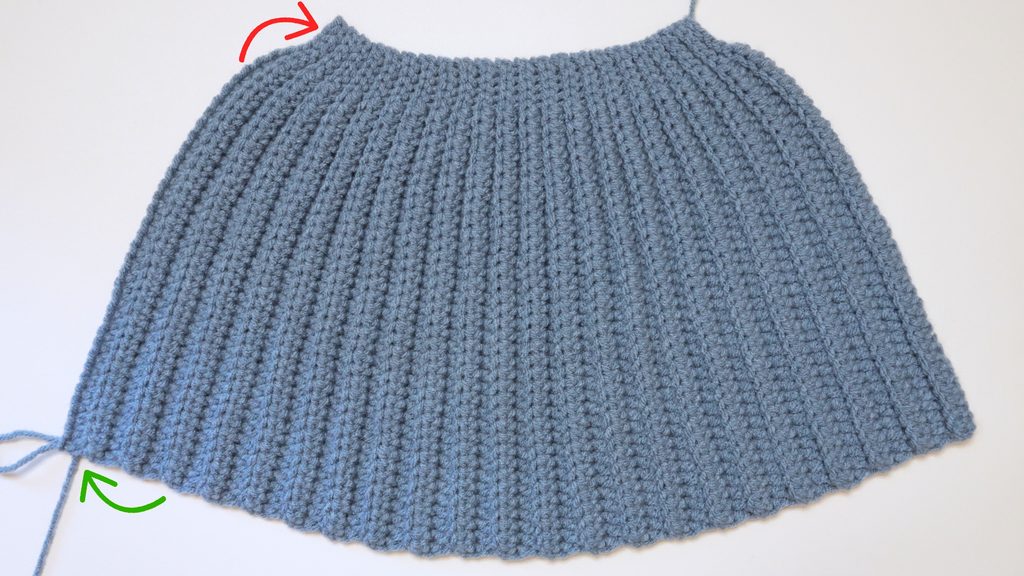
To test the fit, fold up the brim on the hdc side and wrap it around your head. For a snug fit, you should need to stretch it a little to fit.
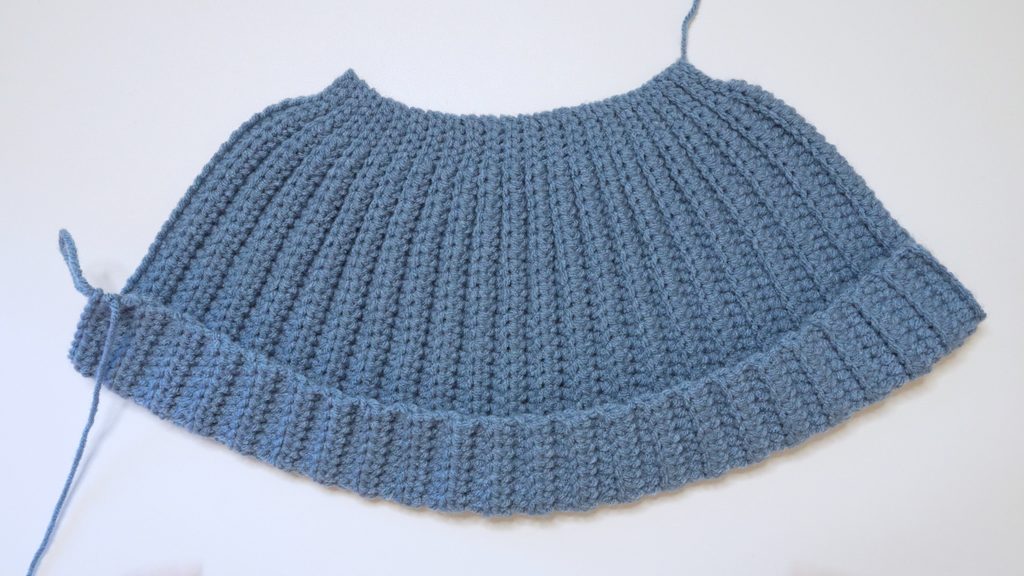
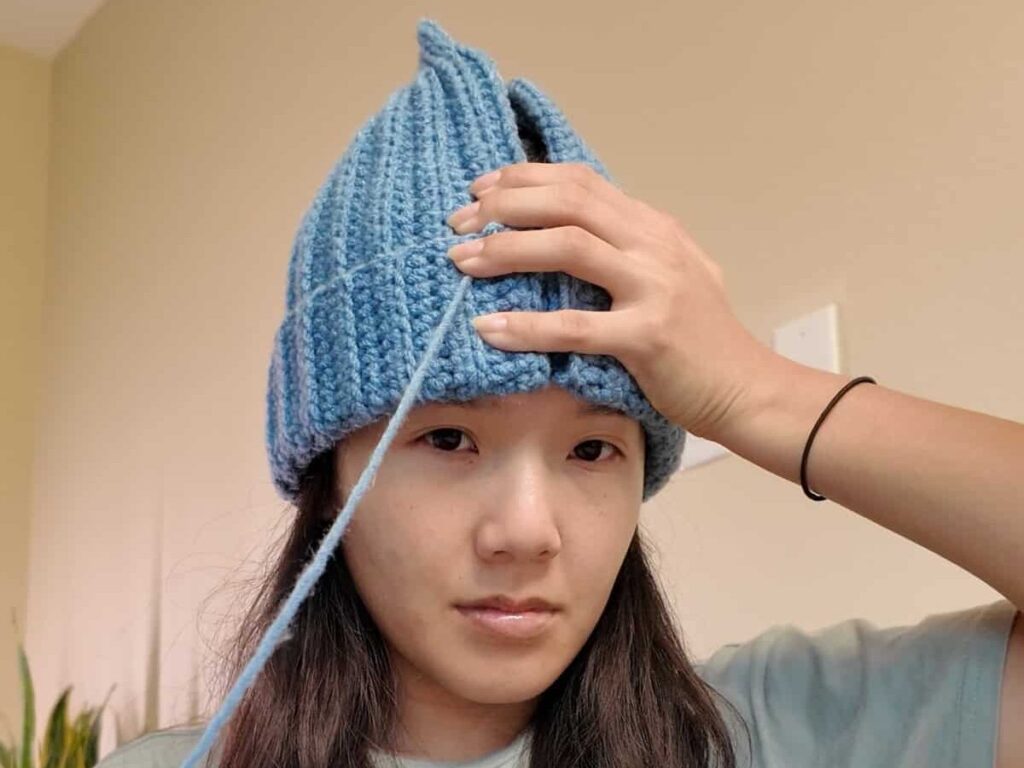
Stitching Ends Together
ch1, turn, grab the middle of your project, pinch, and flip it up so the last row is laying on top of the first row
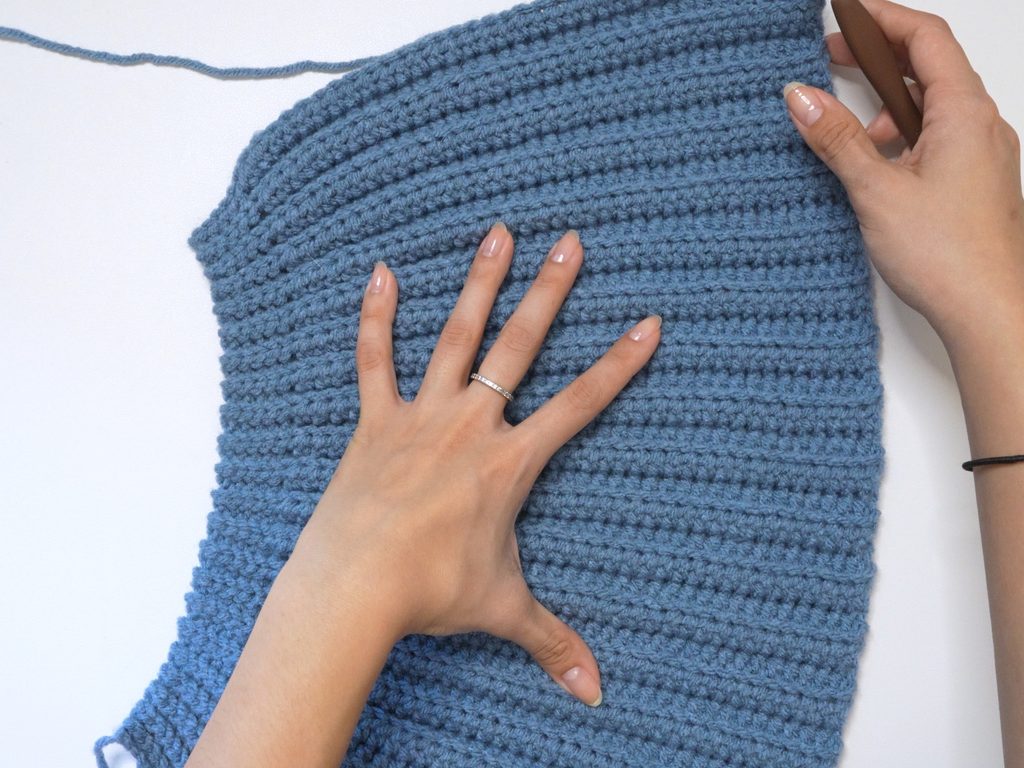
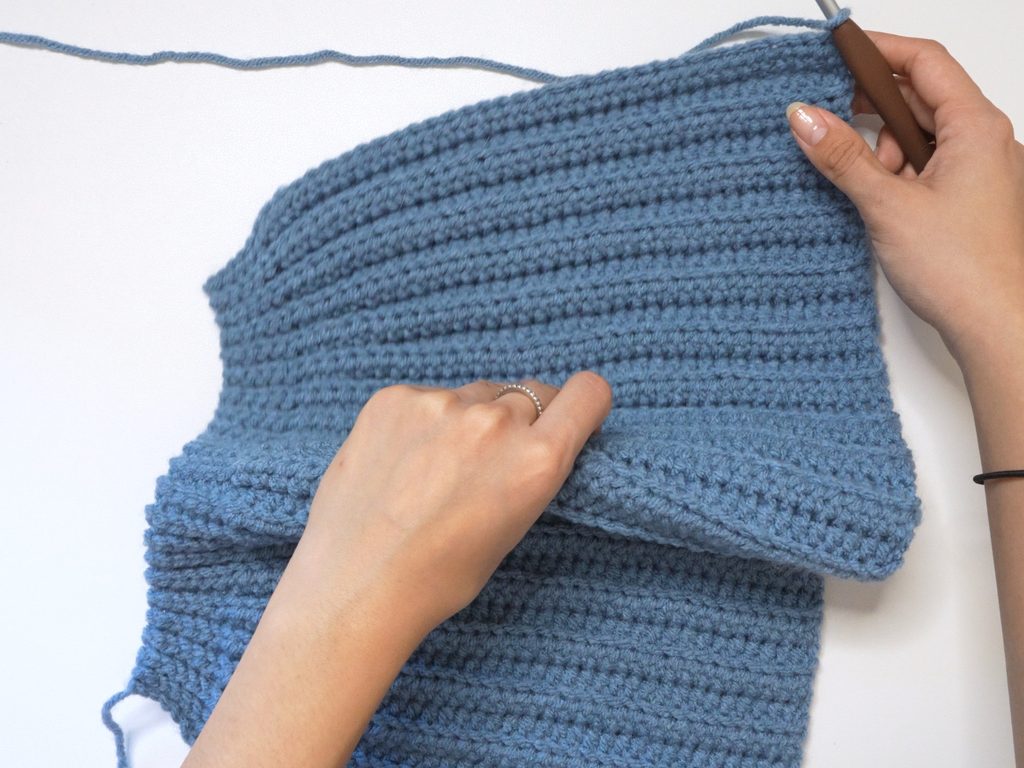
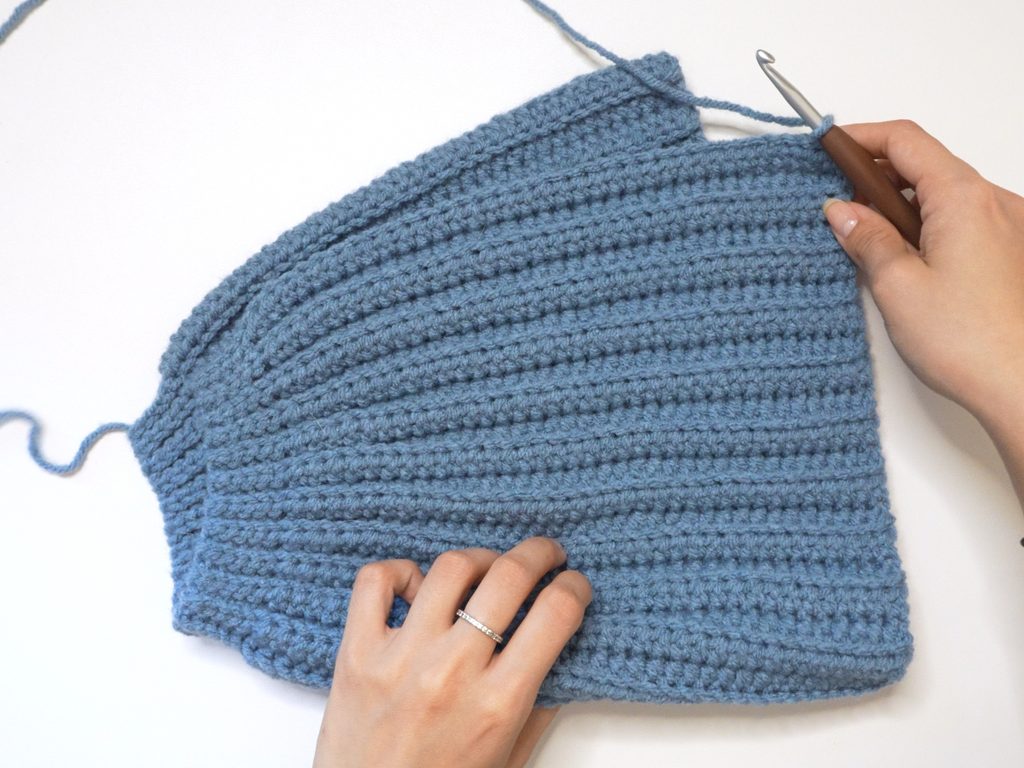
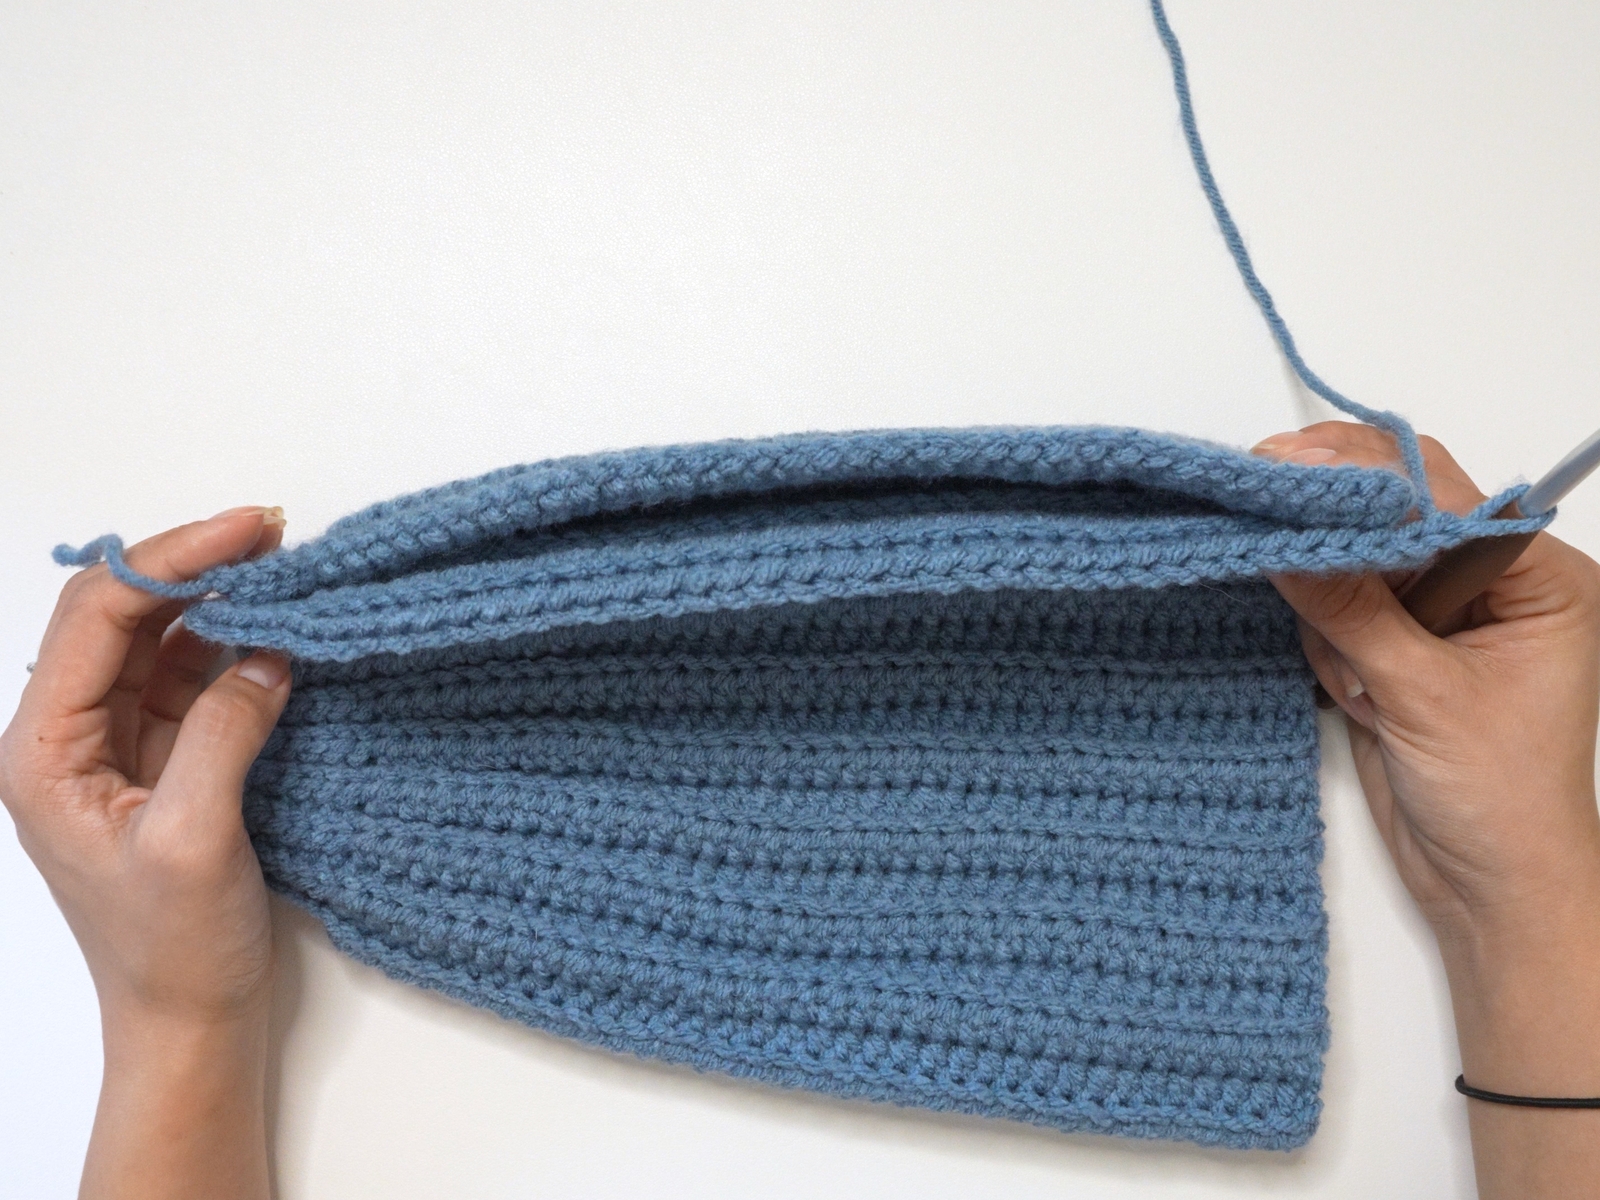
sl st in the flo across to connect each stitch in the last row to each chain in the first row
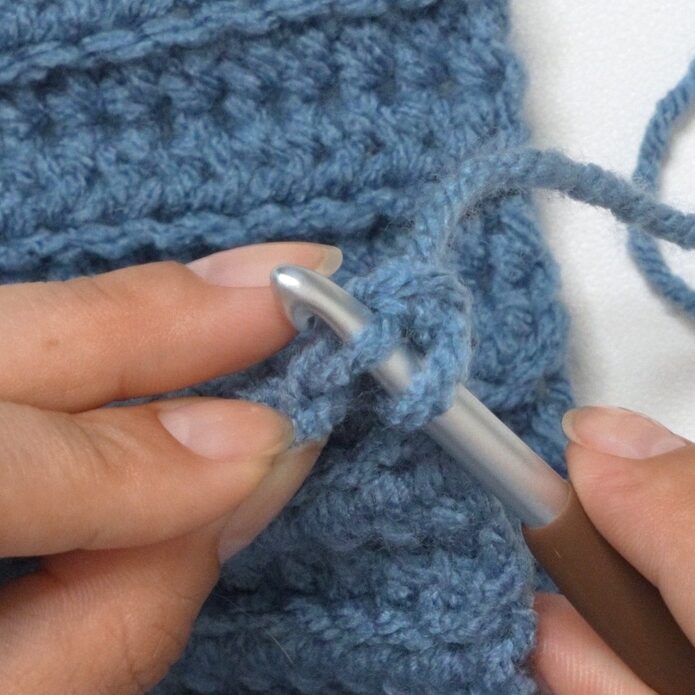
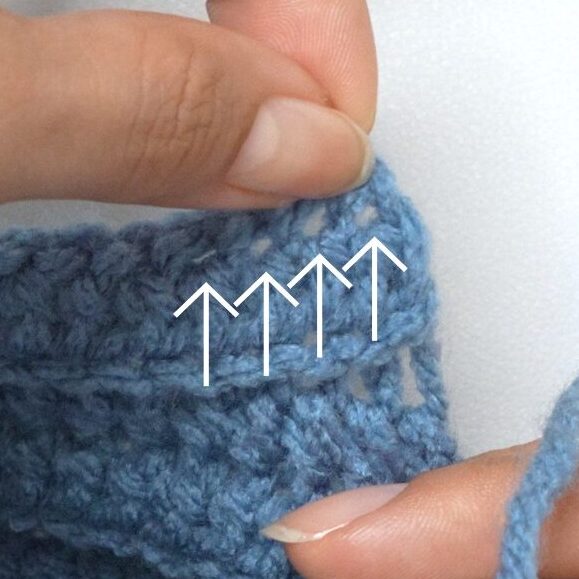
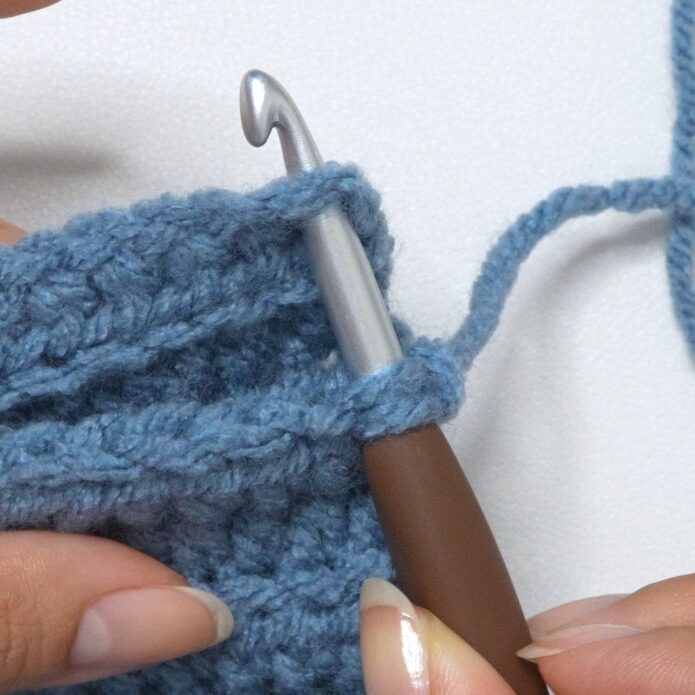
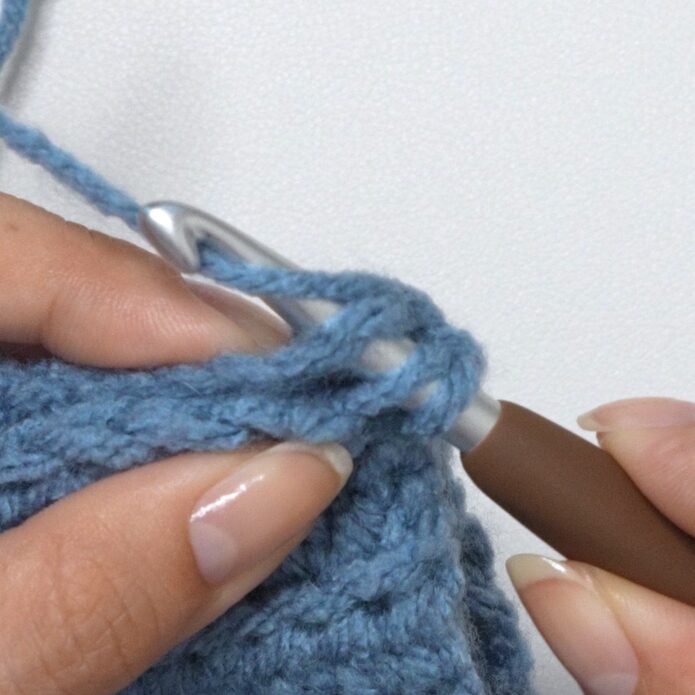
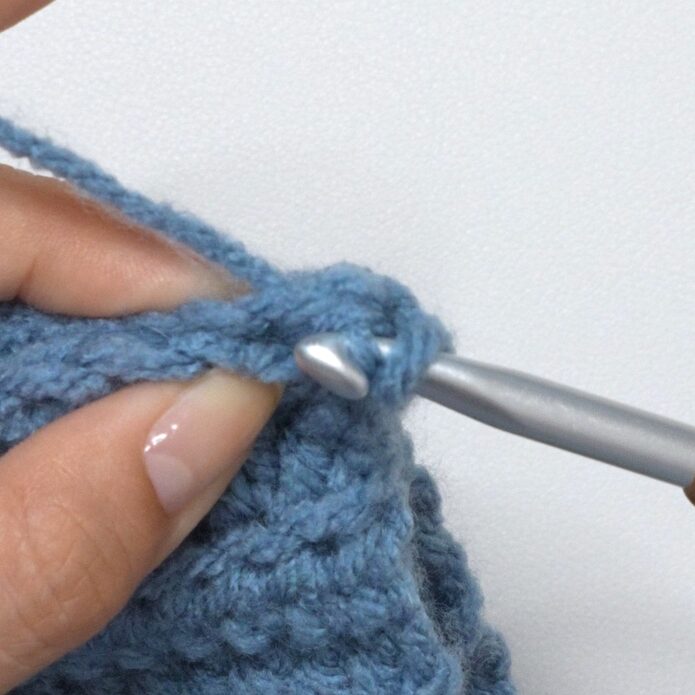
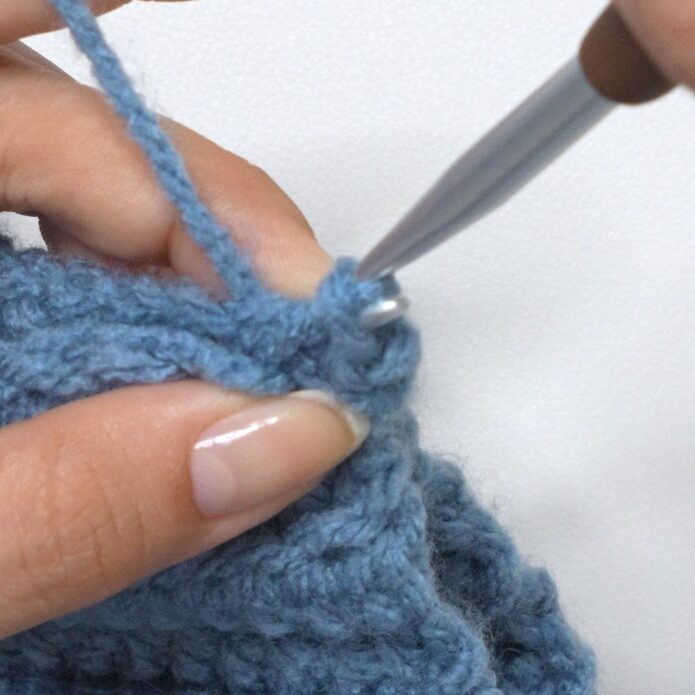
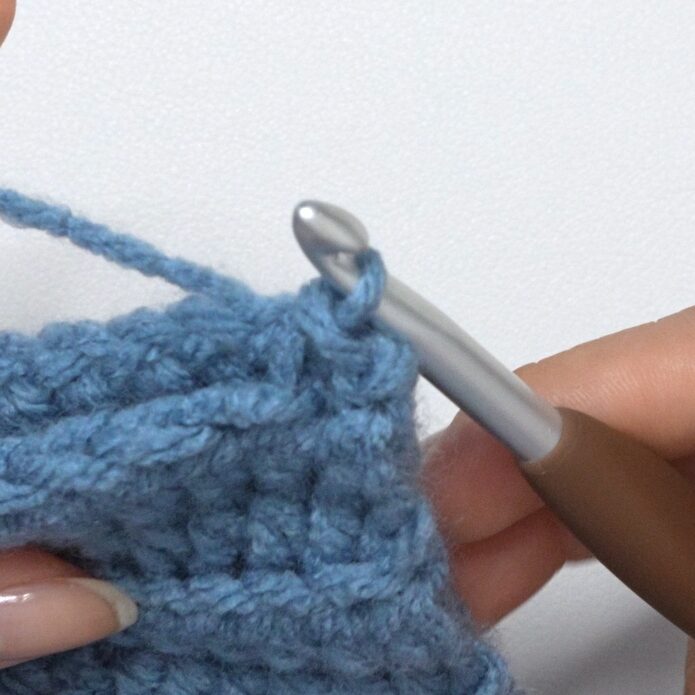
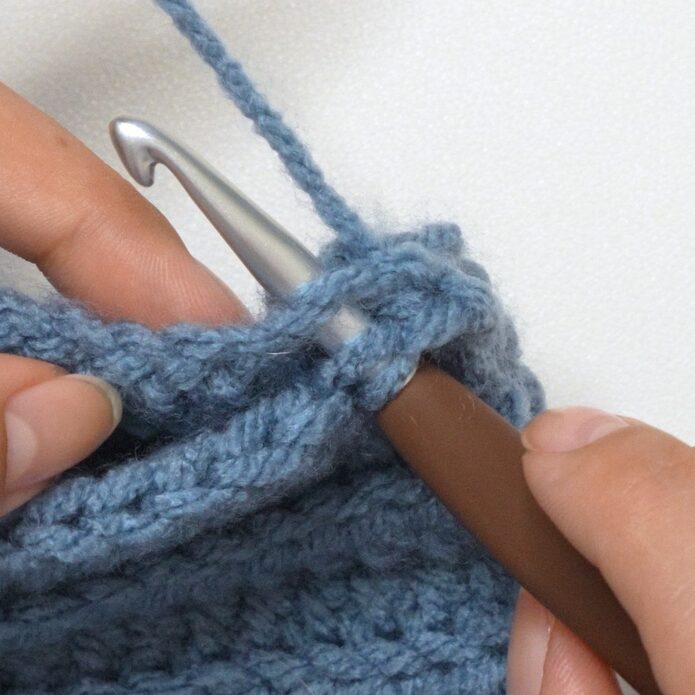
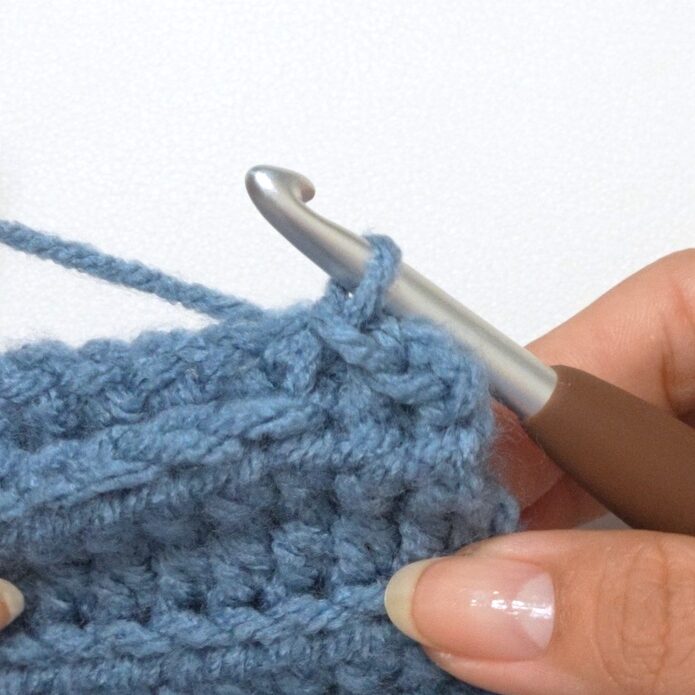
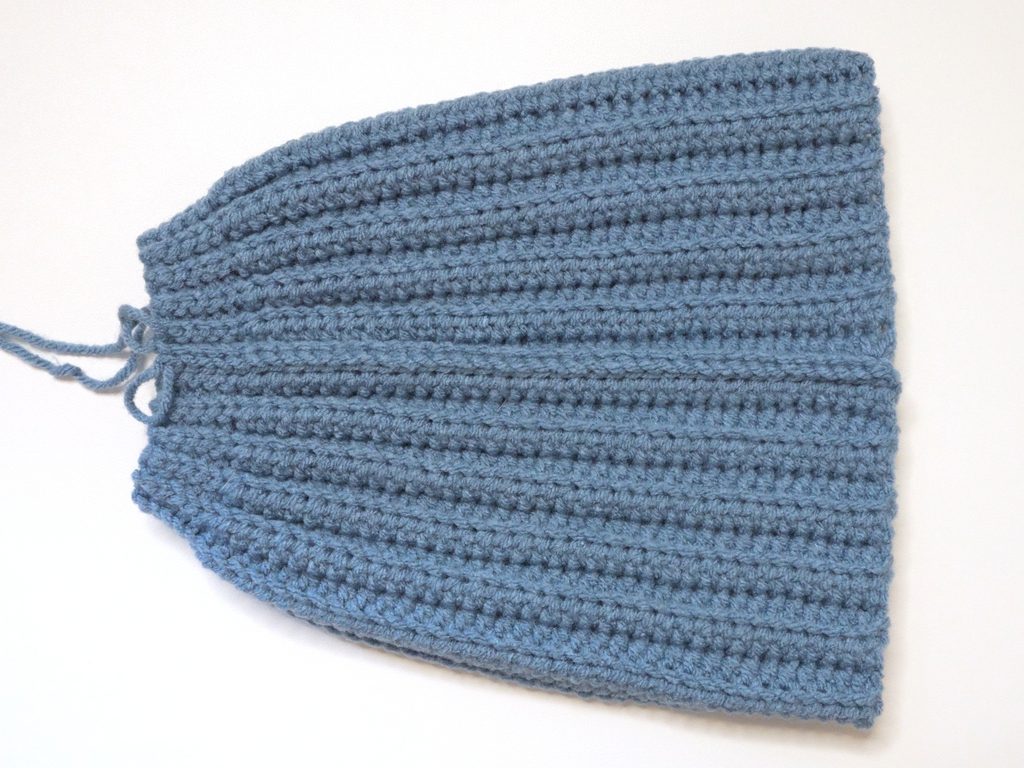
If you prefer to sew instead of slip stitch, fasten off with a 75cm/30in long loose end, sew the last row to the first row, lining up the stitches, and tie a double knot at the end.
Fold the brim up and try on the beanie again to double check the size. If it’s good, fasten off with a long loose end about 25cm/10in long.
Gathering the Top
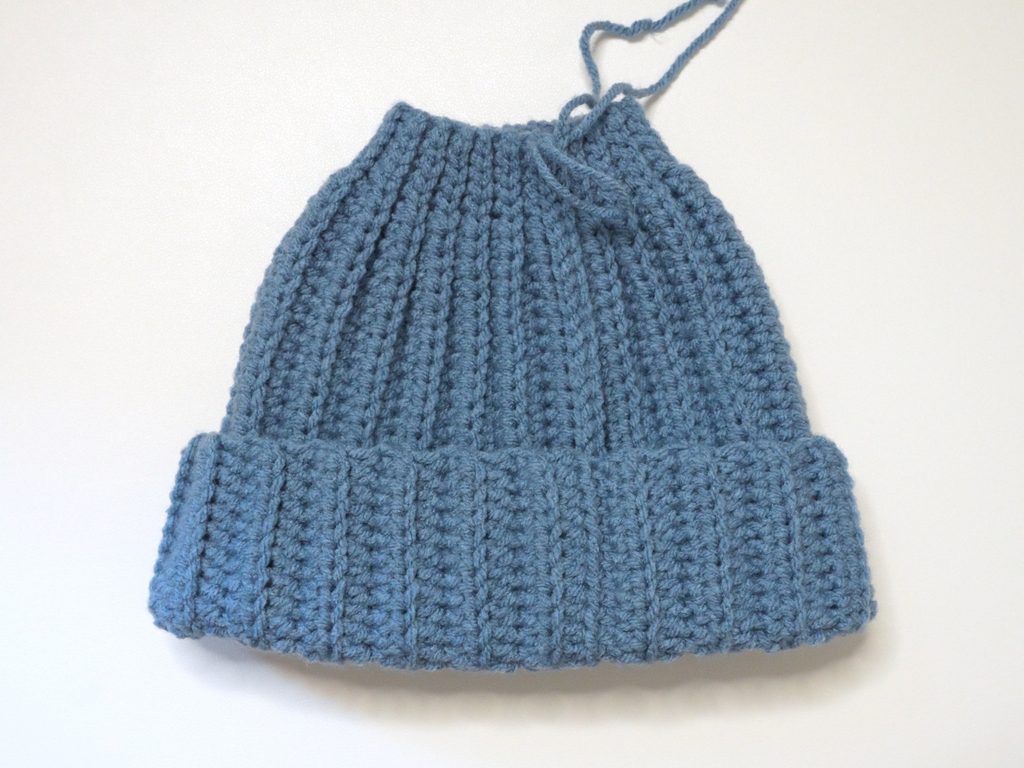
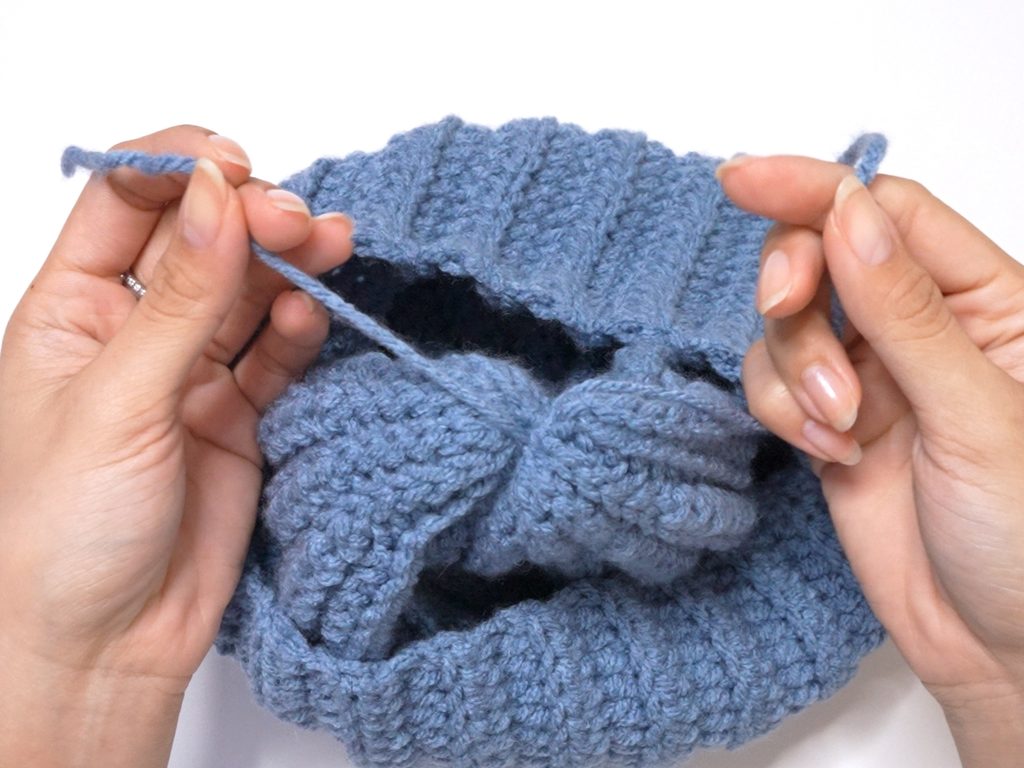
With your long loose end, gather the top of the beanie by going under a loop at the end of every other row. Start with the row to the left of the slip stitch seam and finish at the seam.
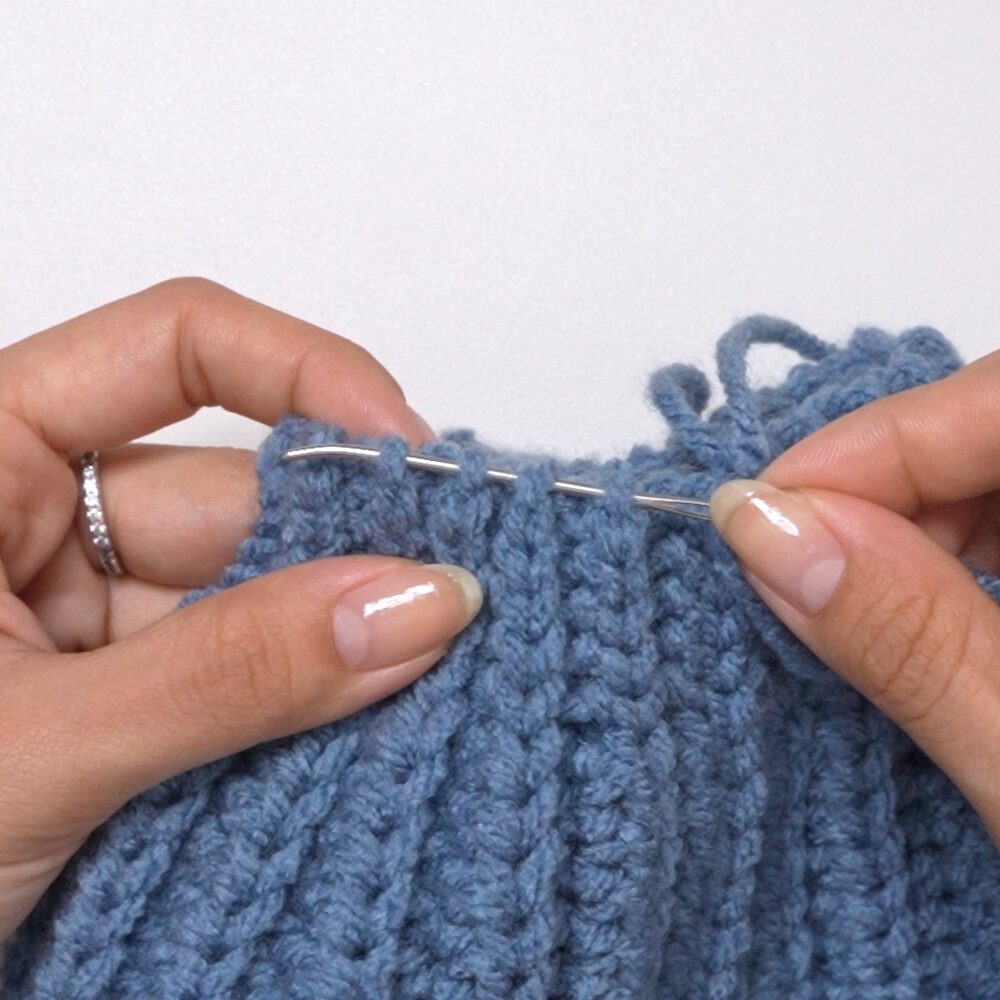
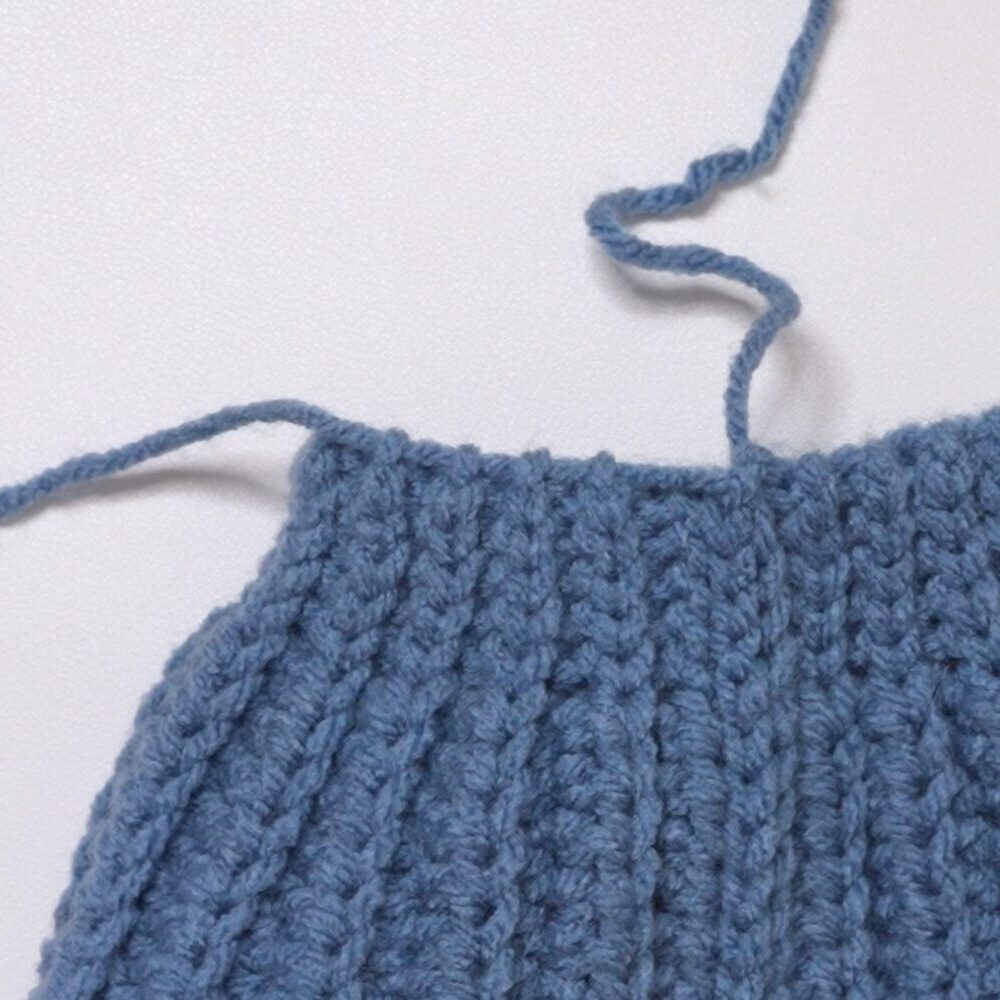
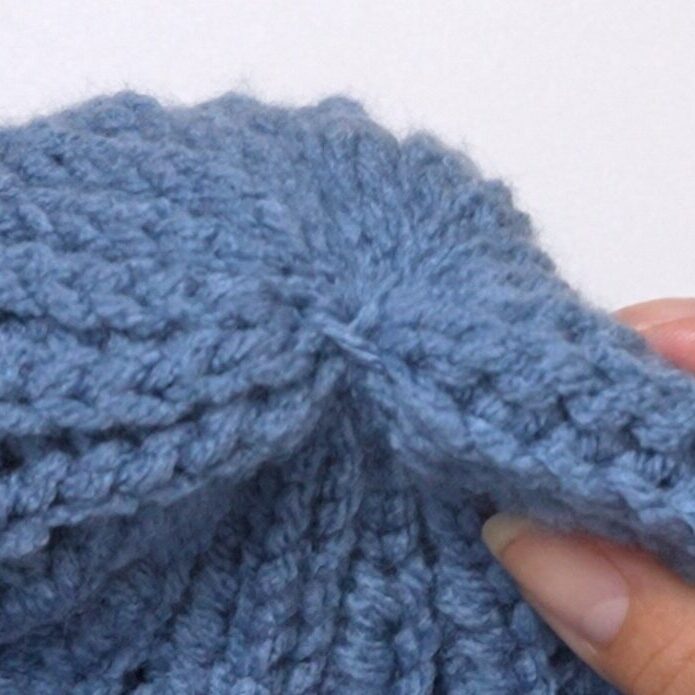
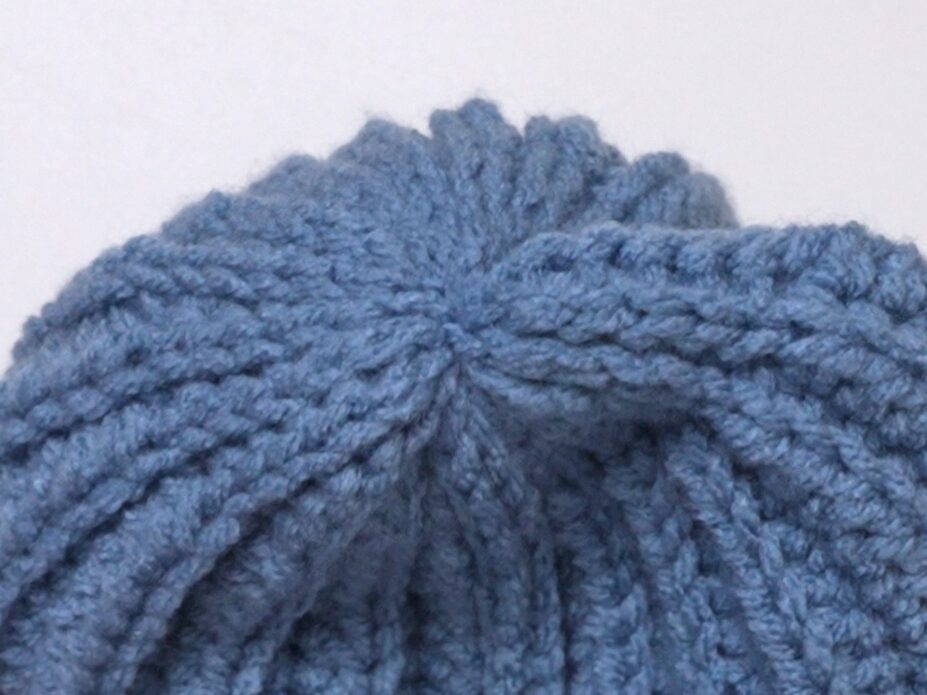
Pull the yarn tight to cinch the top closed, and double knot the two loose ends together.
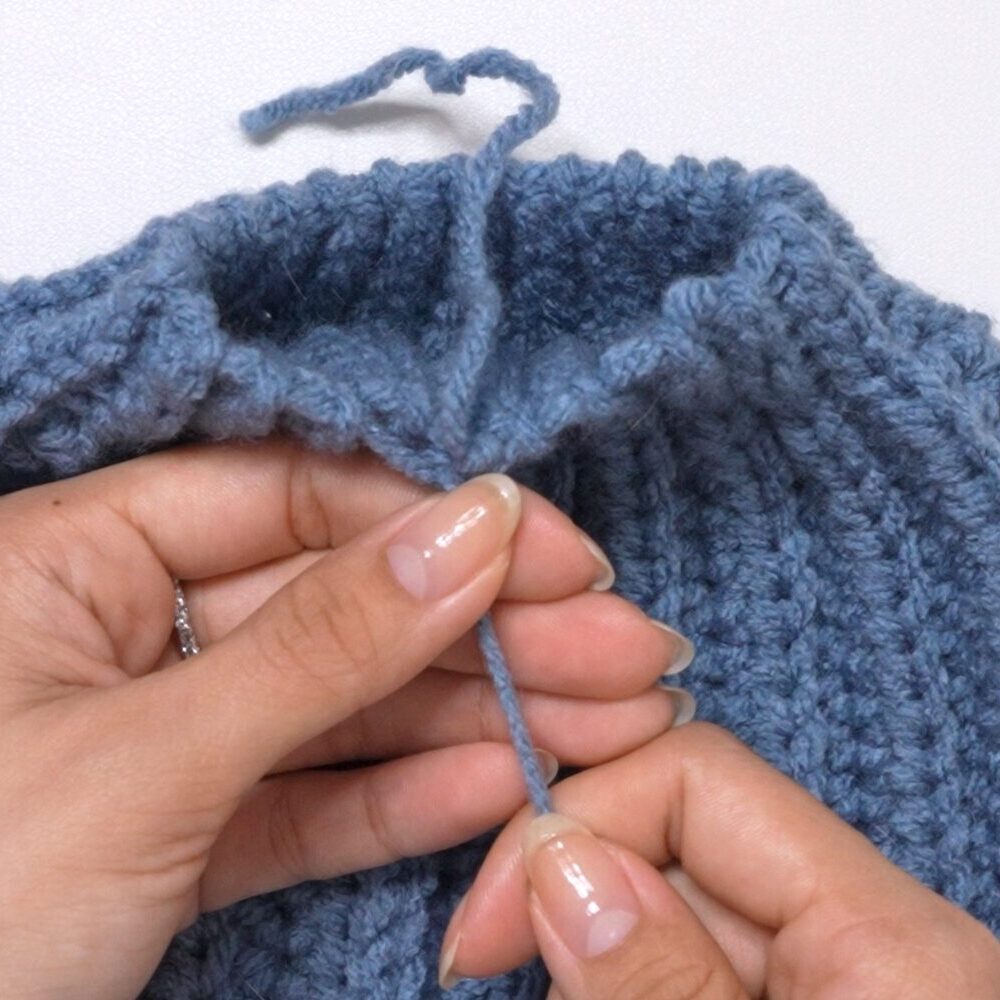
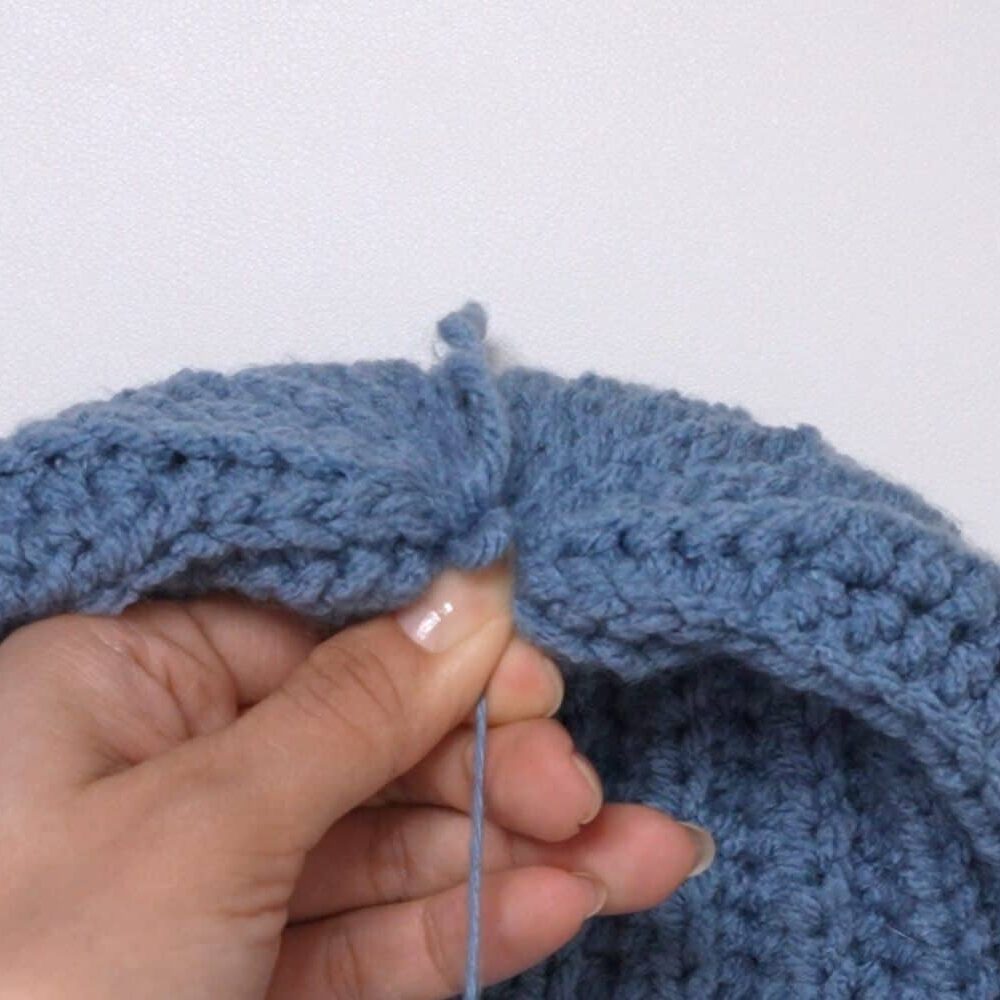
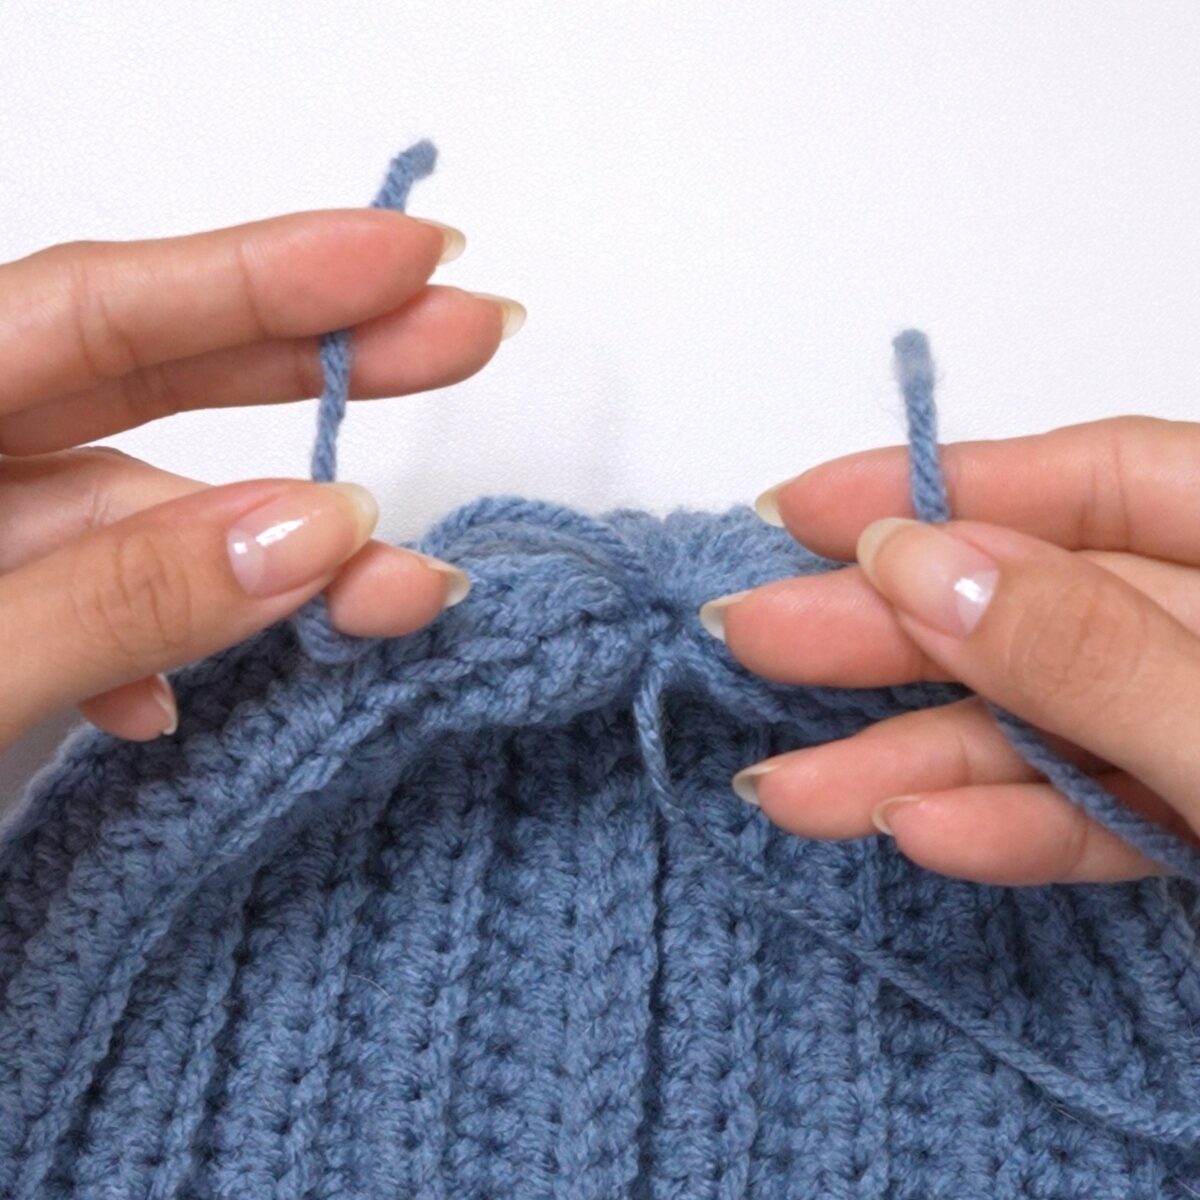
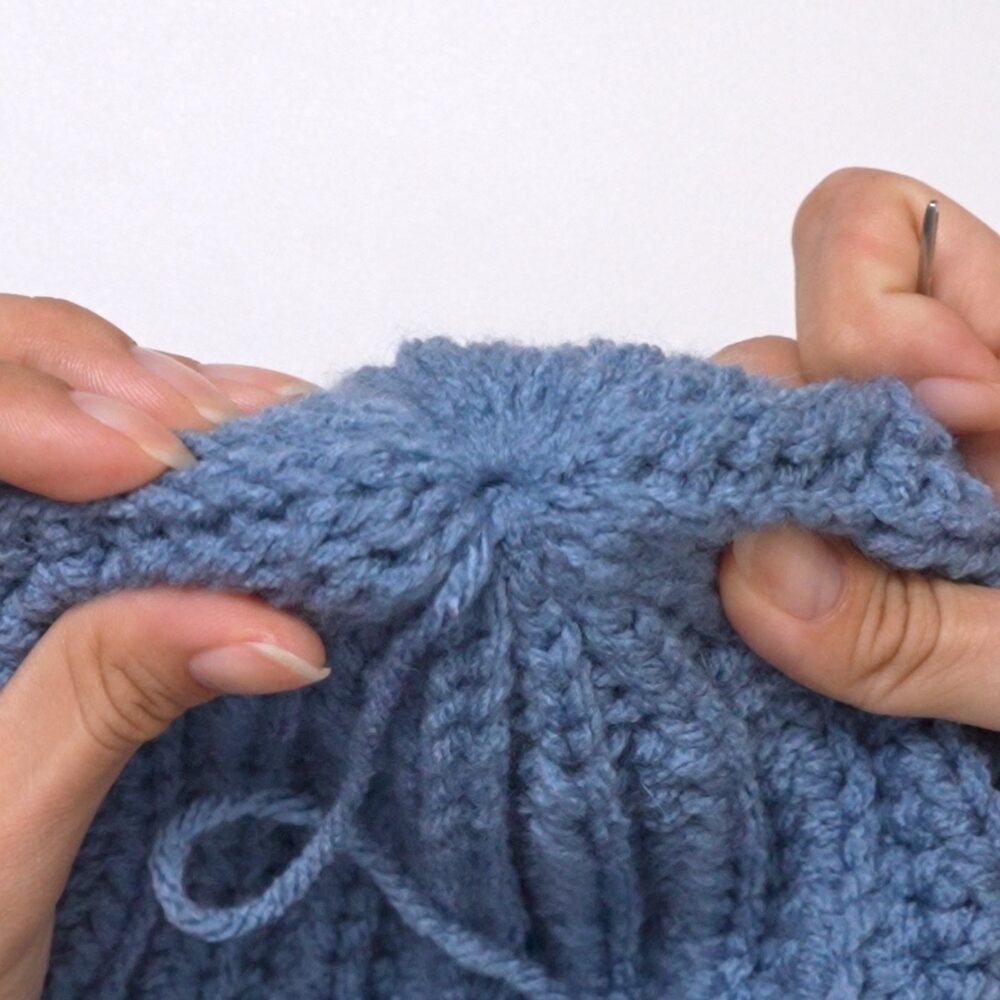
If the hole isn’t closing completely, sew over the hole a few times in different directions and pull it tight. Tie a double knot again.
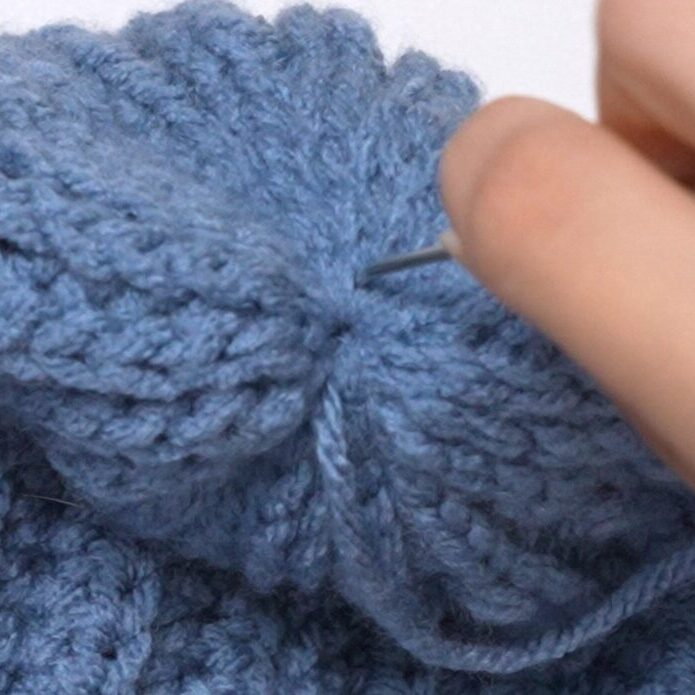
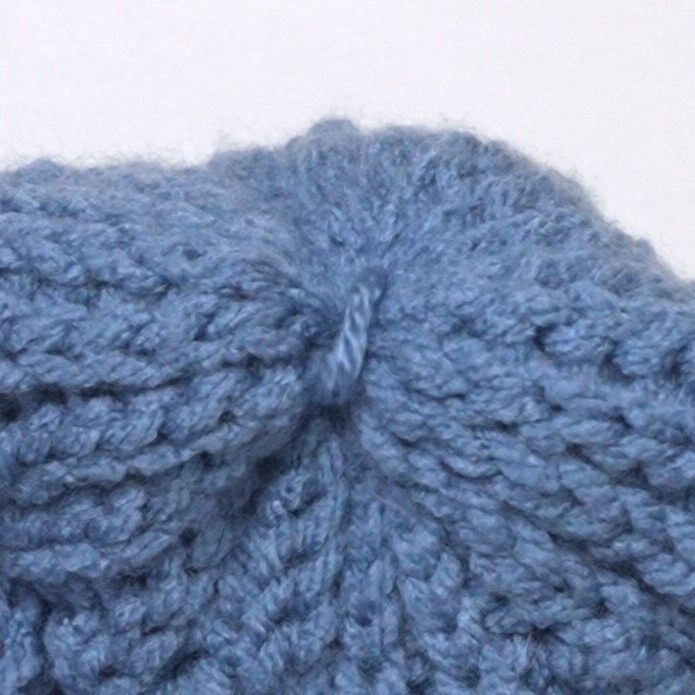
Finished Crochet Beanie
Weave in your loose ends and your crochet beanie is finished!