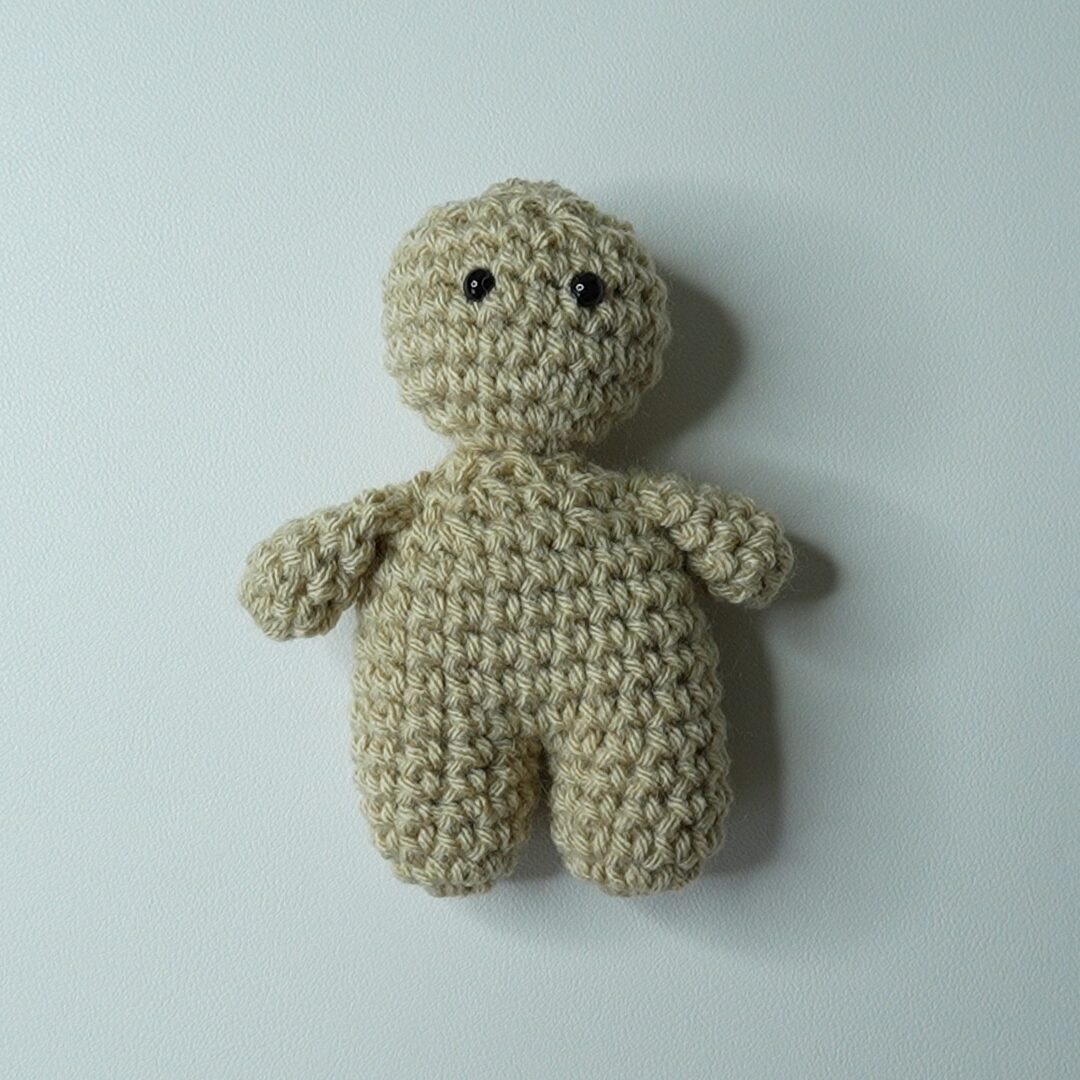
Cute Crochet Bunny Amigurumi | Free Pattern & Video Tutorial
This cute crochet bunny pattern is the perfect spring crochet project! Made with less than a skein of medium weight yarn, most crocheters can make this with yarn from their existing stash.
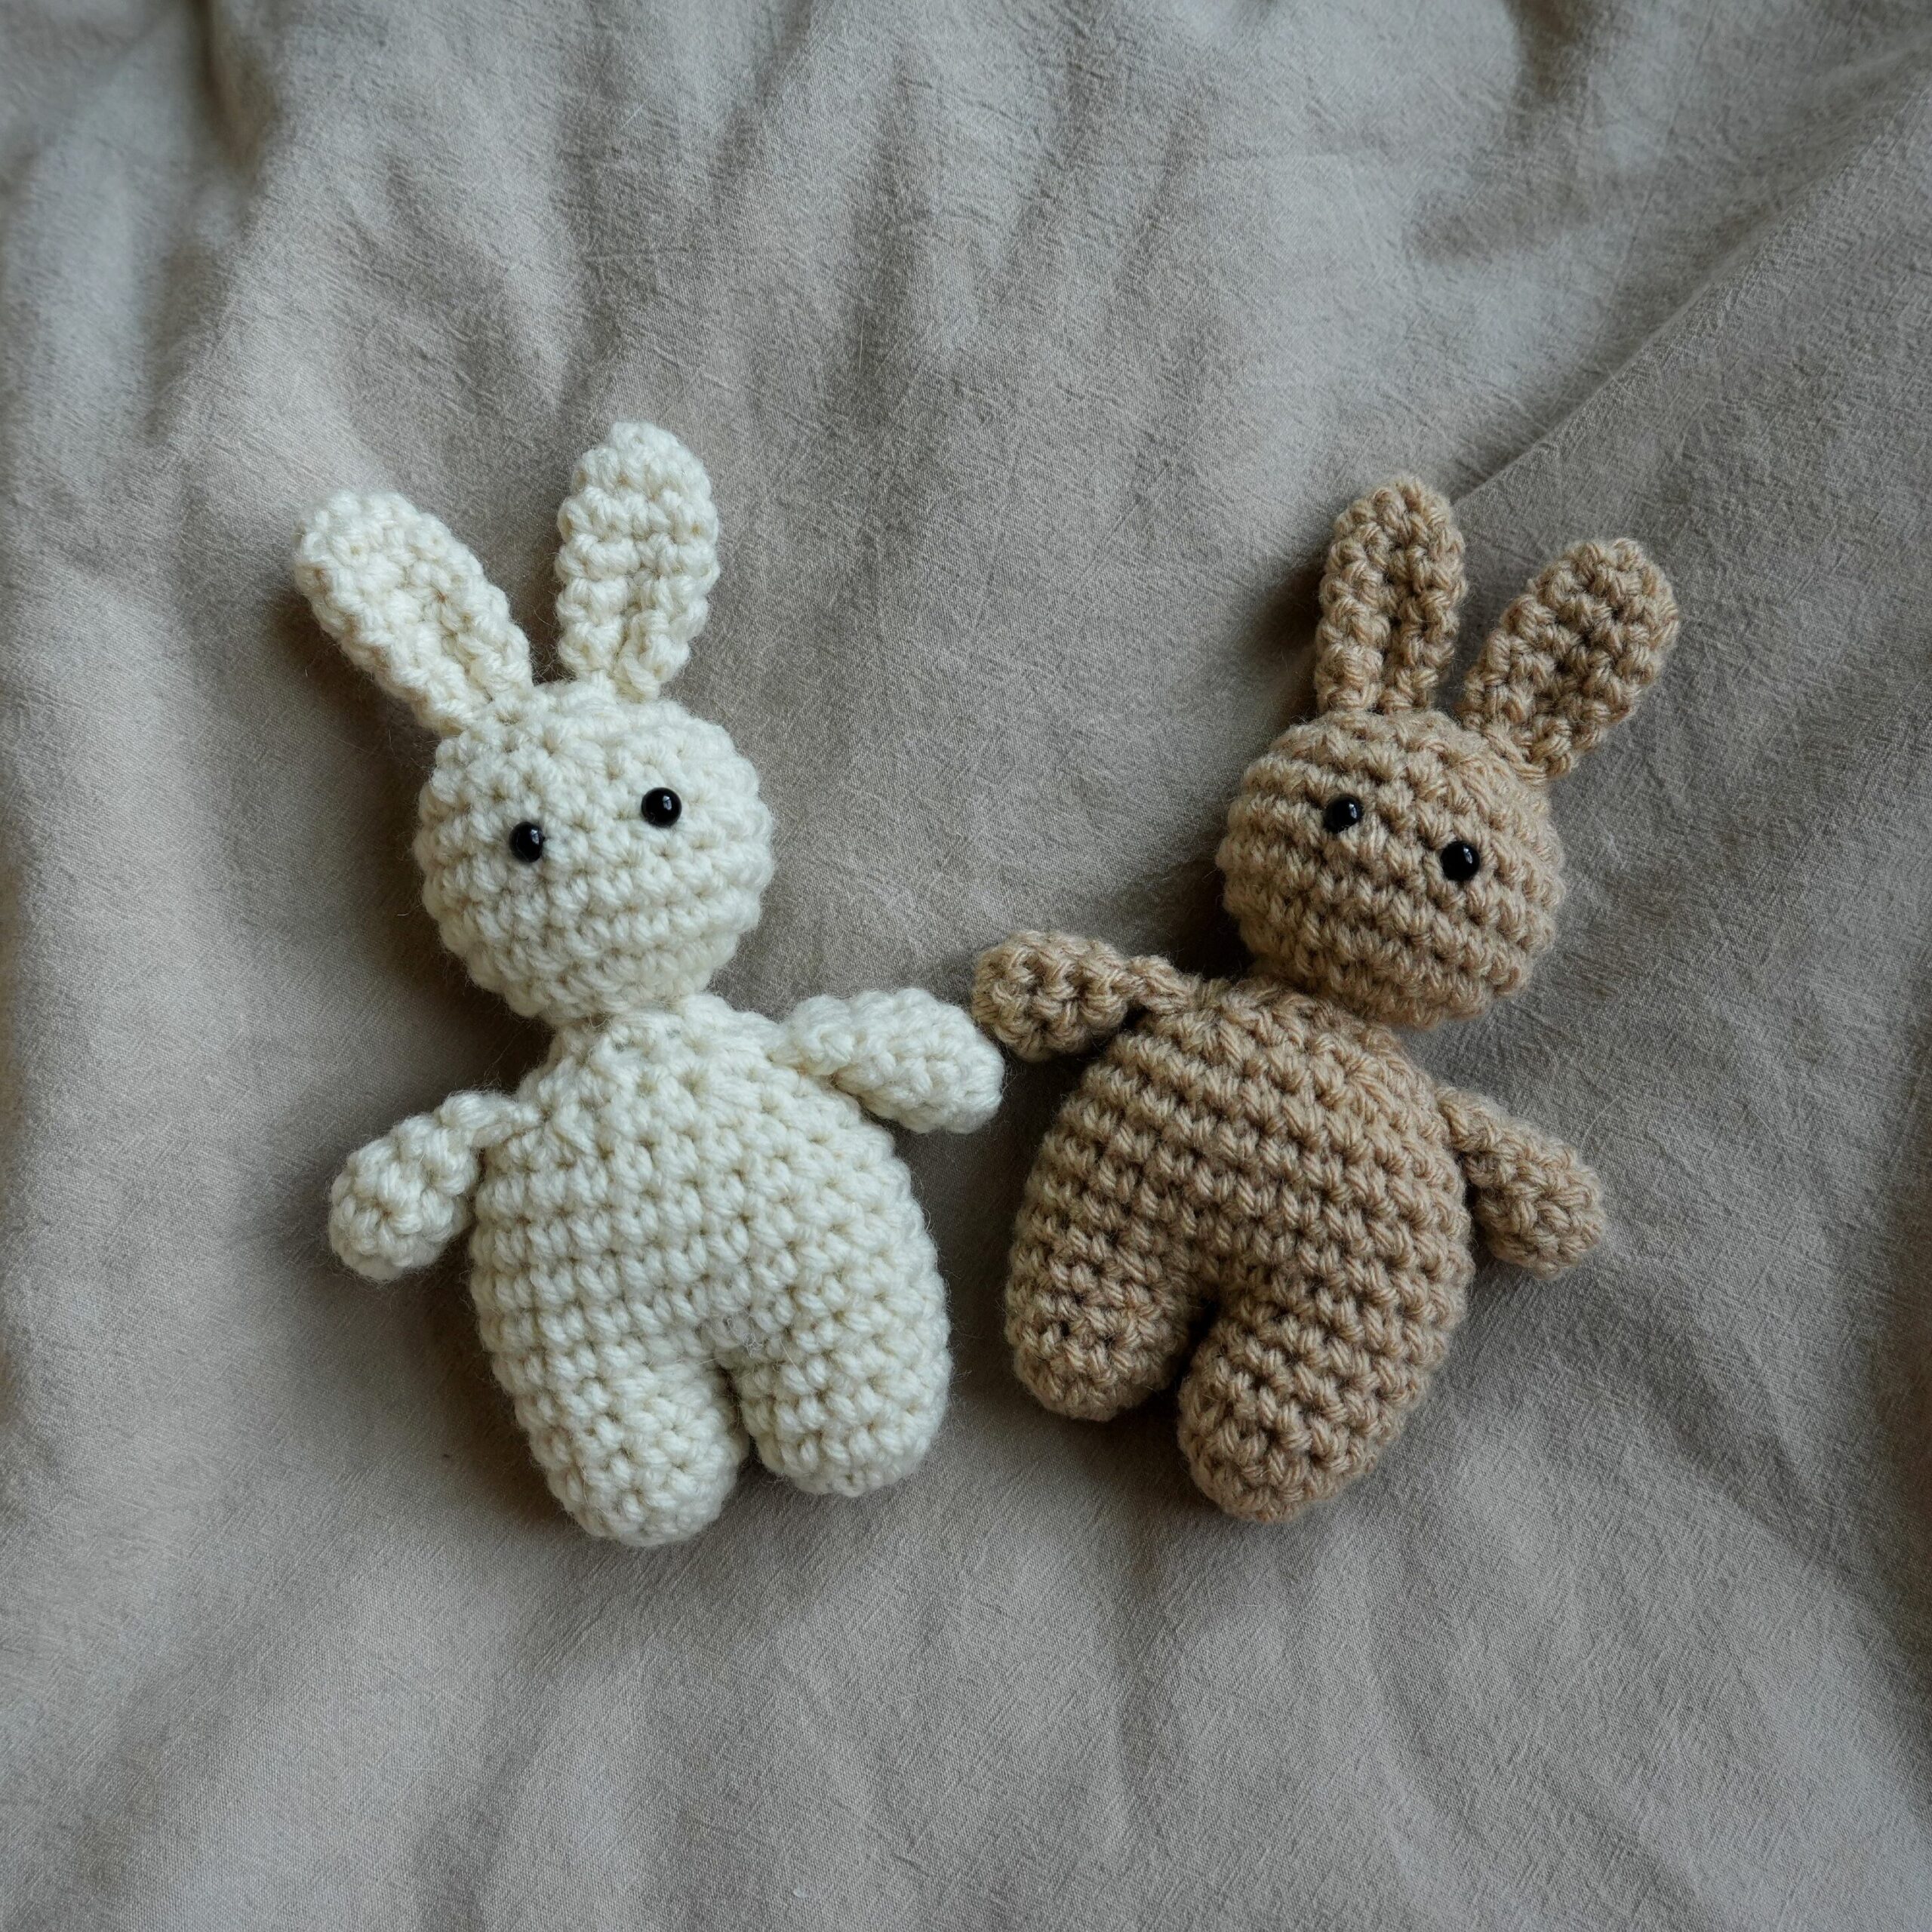
Table of Contents
This post may contain affiliate links. I may earn a small commission on qualifying purchases at no additional cost to you!
Crochet Bunny Video Tutorial
Become a member to get early access to new videos!
You can follow along with my YouTube video to make your own cute crochet bunny! I have timestamps included to section the video and help you jump to any point you need to!
Pattern Information
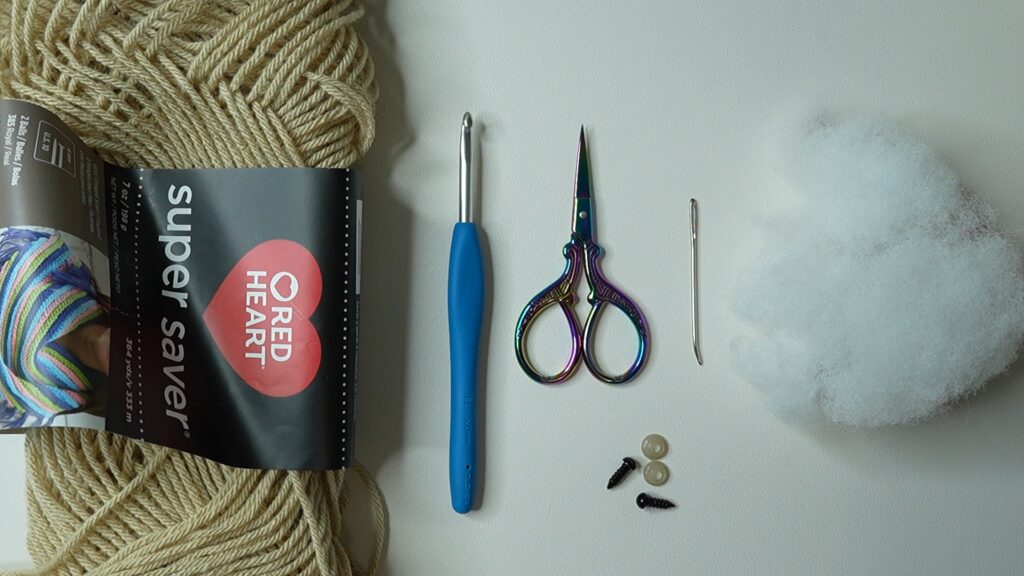
Materials
- 30 grams of medium weight yarn (Red Heart Super Saver in “Buff“)
- 5mm Clover Amour crochet hook
- Scissors
- Yarn needle
- Fiberfill
- 6mm Safety eyes
Crochet Abbreviations
ch = chain
dec = decrease (sc2tog)
inc = increase (2 single crochets into 1 stitch)
rep = repeat
sc = single crochet
sl st = slip stitch
st = stitch
Dimensions
10 centimeters wide x 16 centimeters long (3.9 x 6.3 inches)
Notes and Tips
- This pattern is written using US crochet terms
- The number in (parentheses) at the end of each row is the stitch count after finishing that row
- The chain 1 at the beginning of each round does NOT count as a single crochet
- The slip stitch at the end of each round goes into the first stitch of that round
- The first stitch of every new round goes into the same stitch we slip stitched to in the previous round
- Do invisible decreases to reduce gaps
Crochet Bunny Pattern
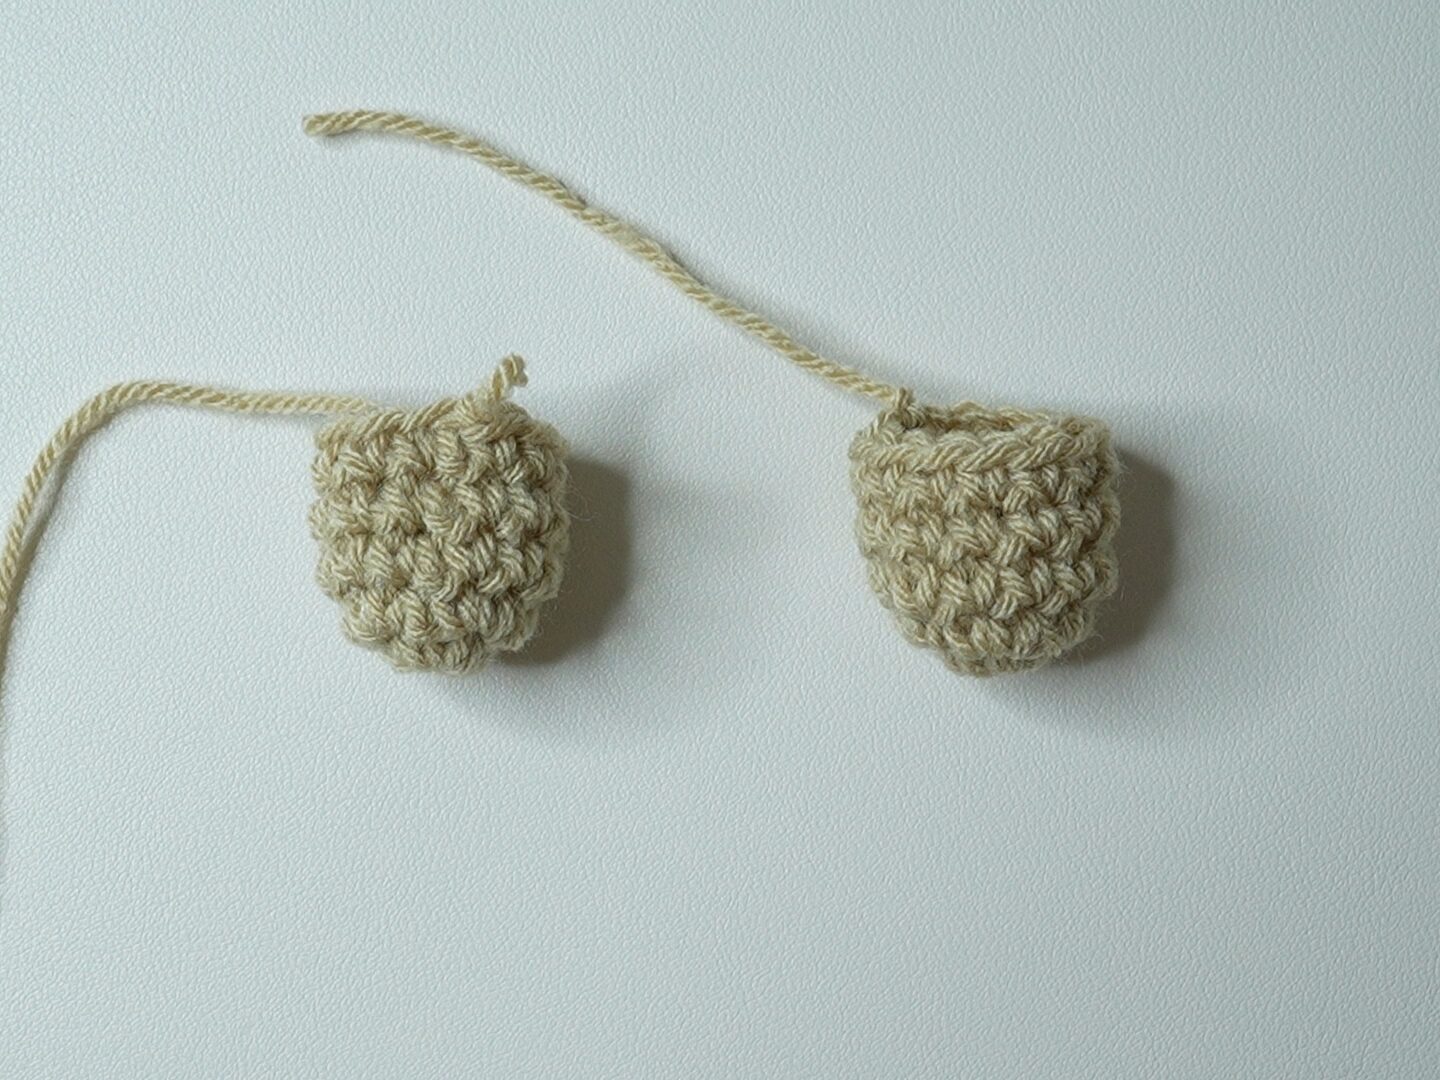
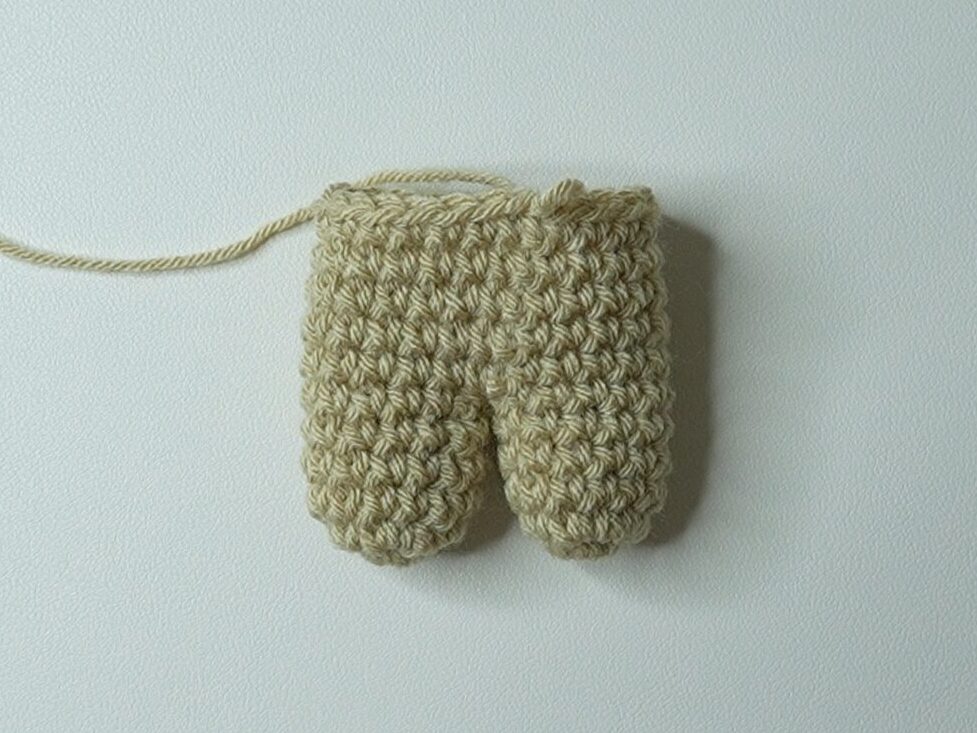
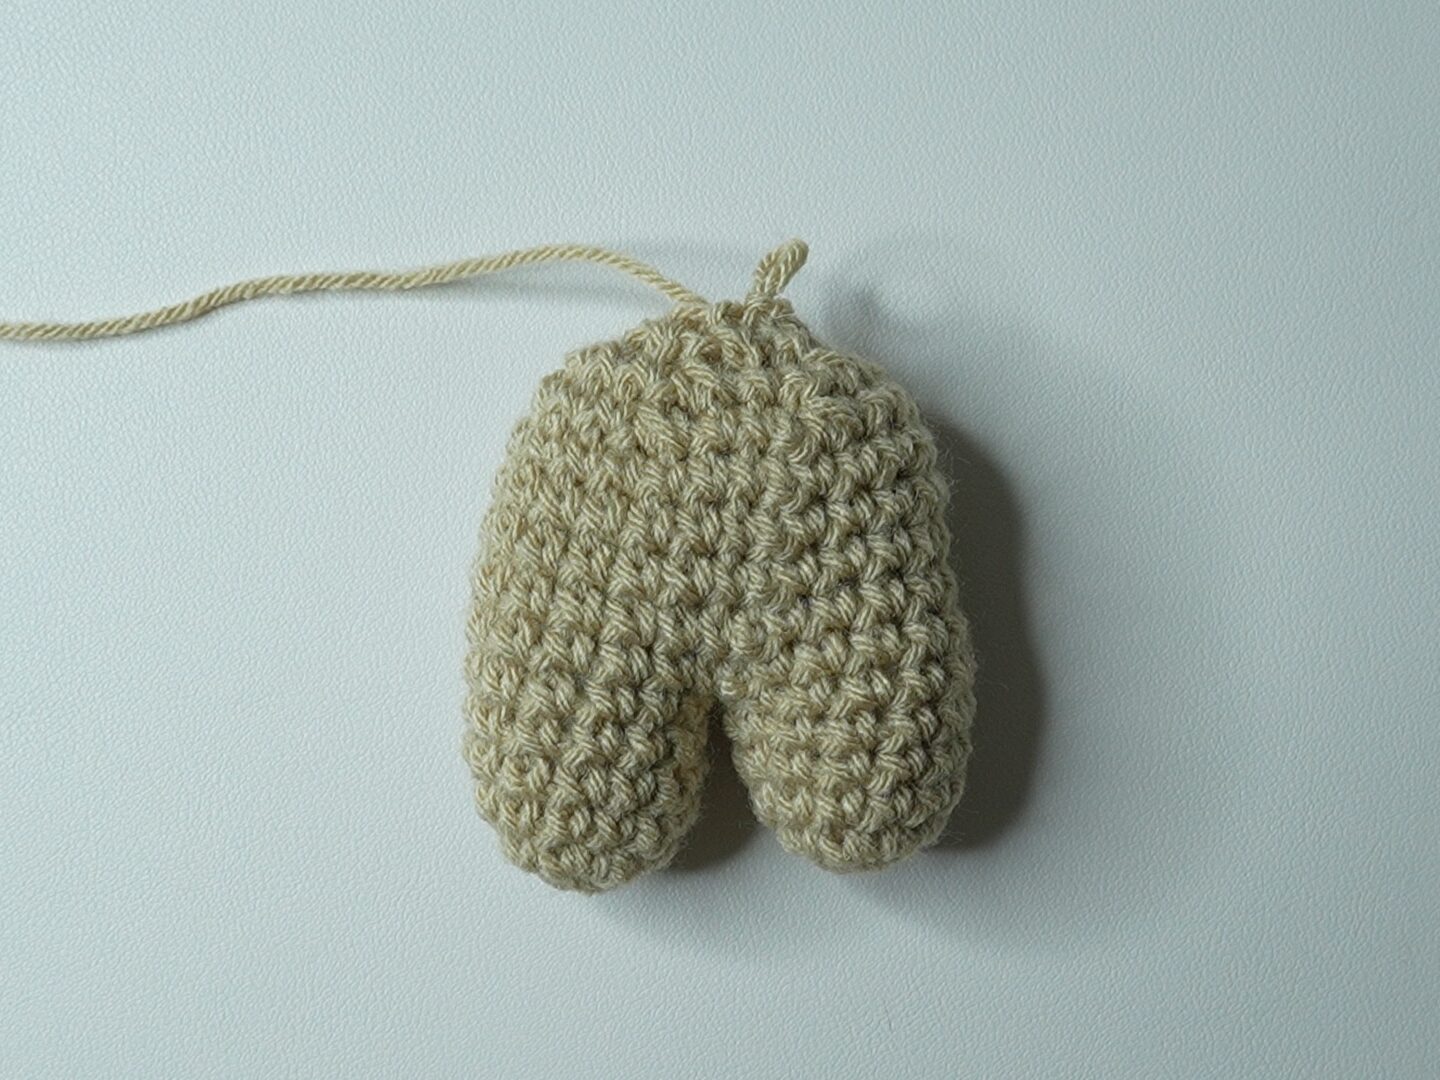
Legs
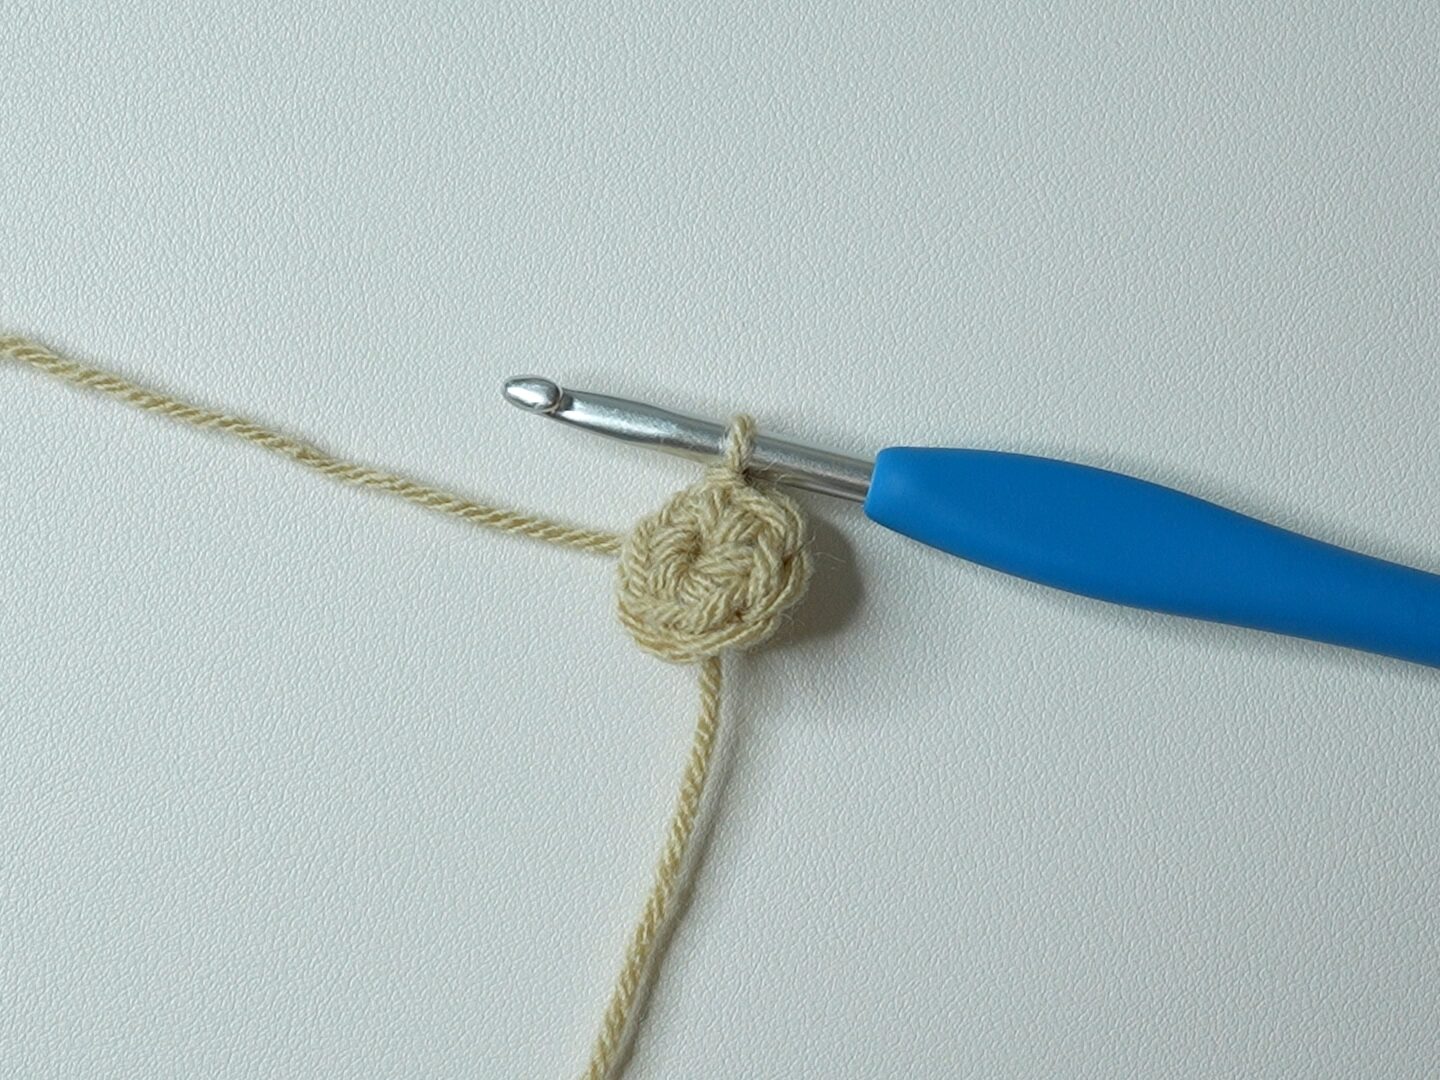
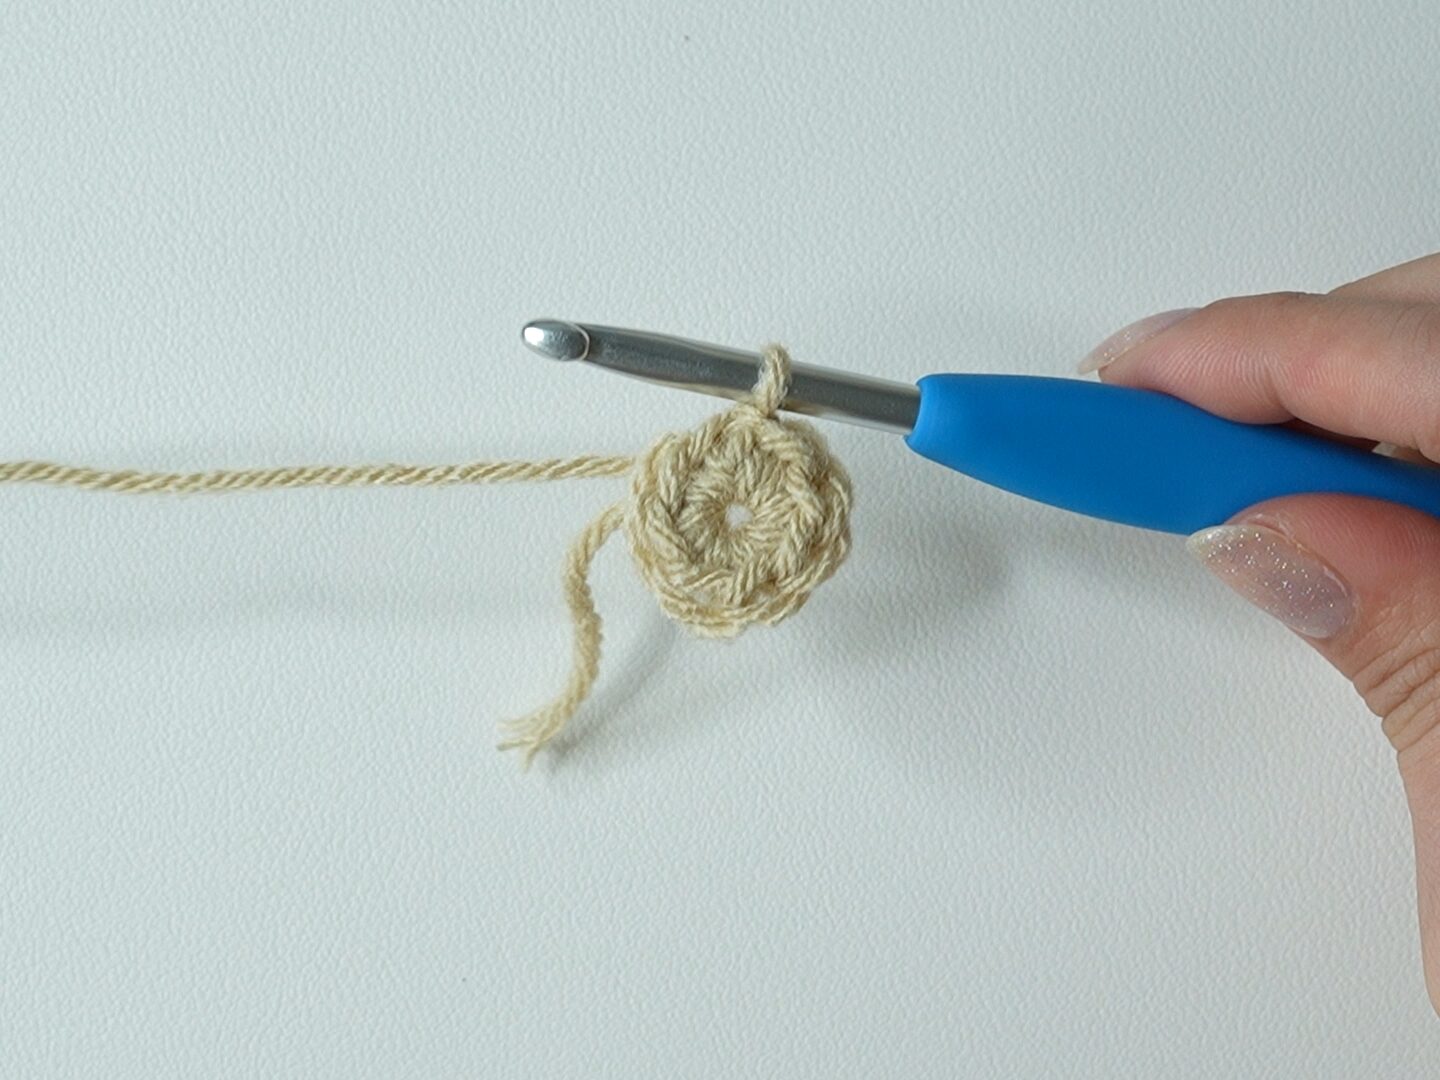
Round 1: Make a slipknot, ch2, sc6 in 2nd ch from hook, sl st (6)
Tip: When working into the chain, work under the top AND back loop of the chain to minimize the hole.
Round 2: ch1, inc around, sl st (12)

Rounds 3-5: ch1, sc around, sl st (12)
Fasten off.

Now, you have one leg. Repeat Rounds 1-5 for the second leg, but don’t fasten off.
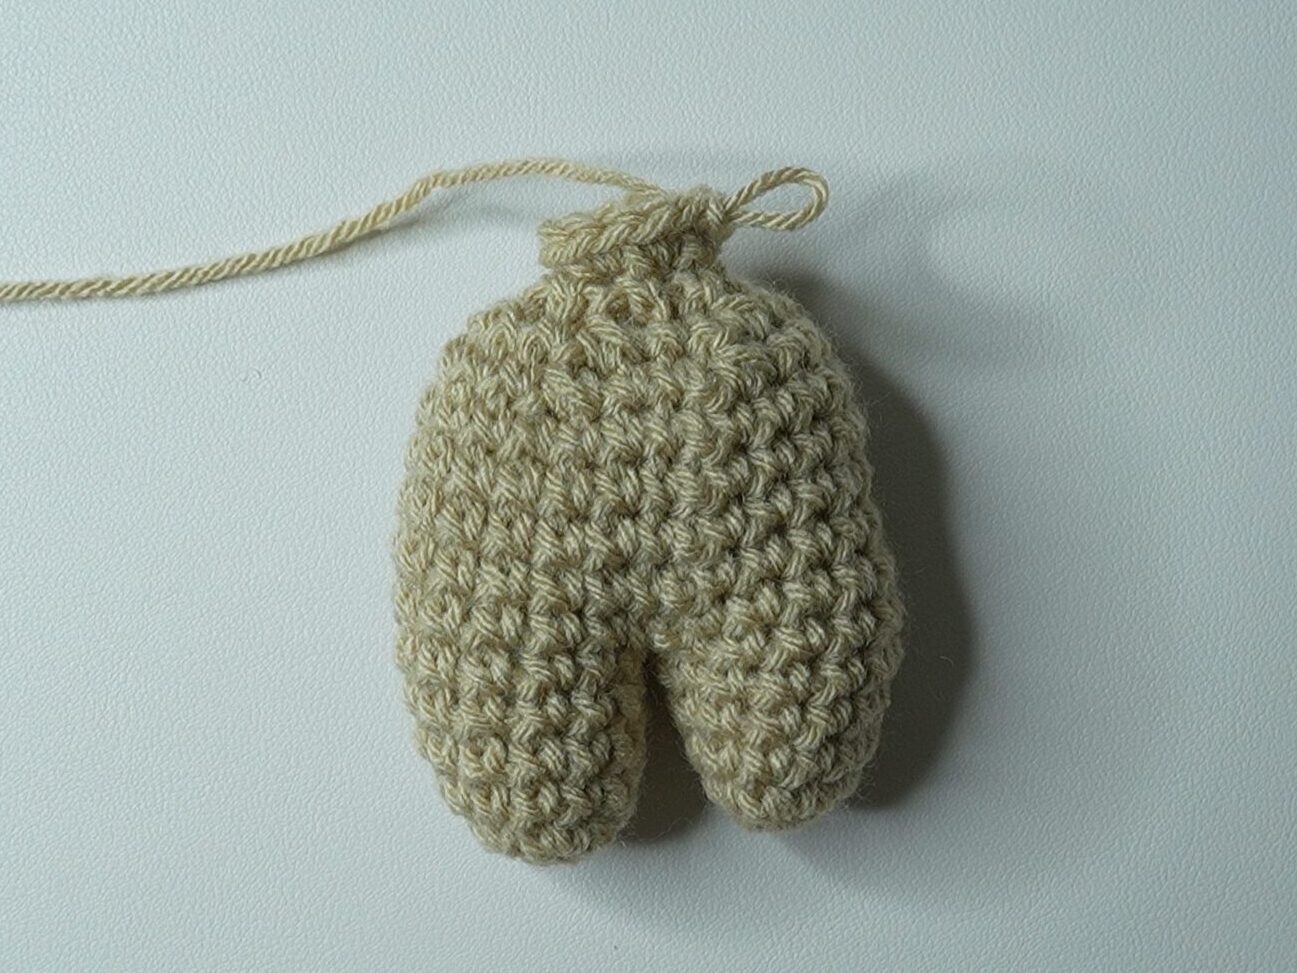
Body
Round 6: sc in any st of 1st leg, sc in next 11 st around 1st leg, sc in next 12 st around 2nd leg, sl st (24)
Rounds 7-11: ch1, sc around, sl st (24)
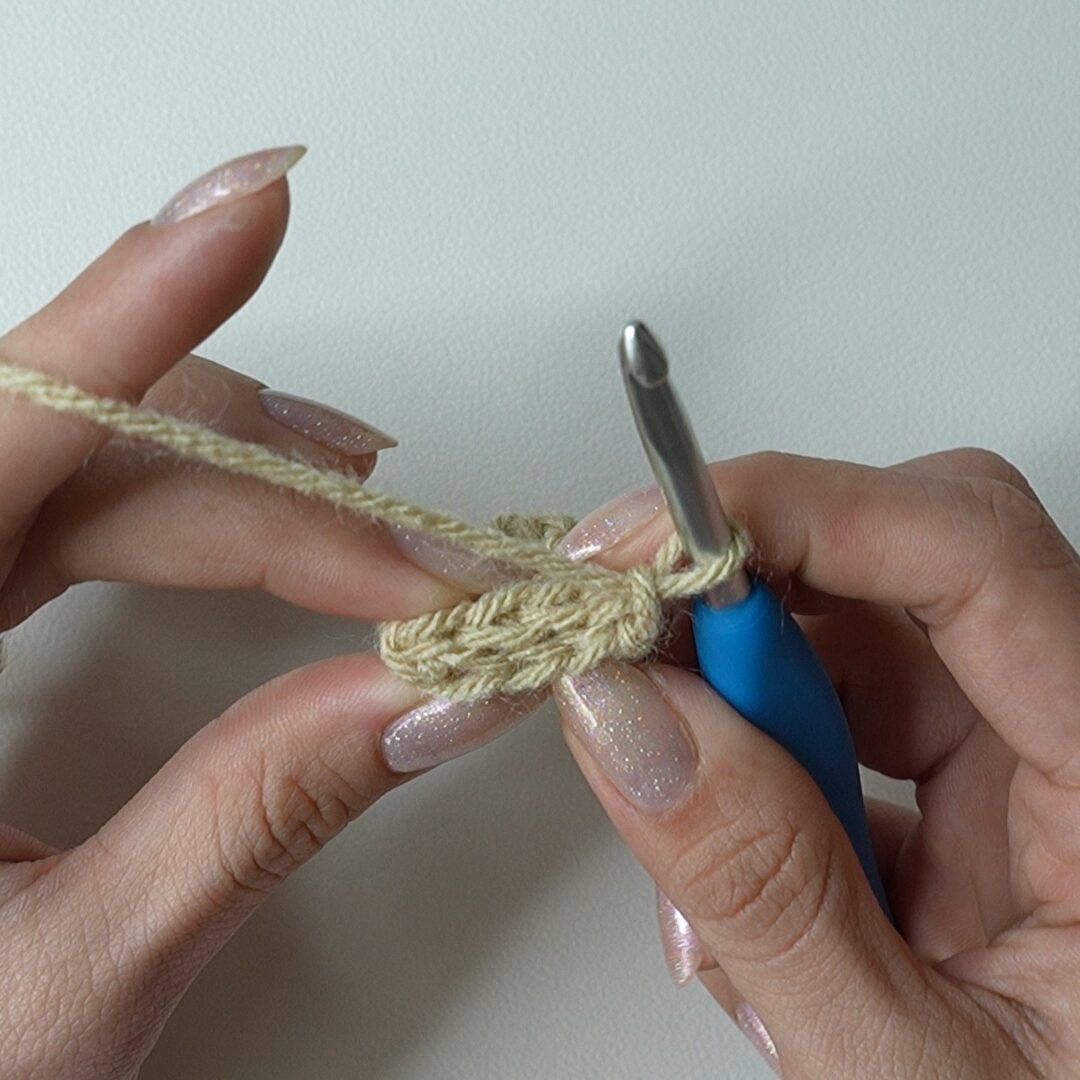
Round 12: ch1, rep[sc in next 2 st, dec] around, sl st (18)
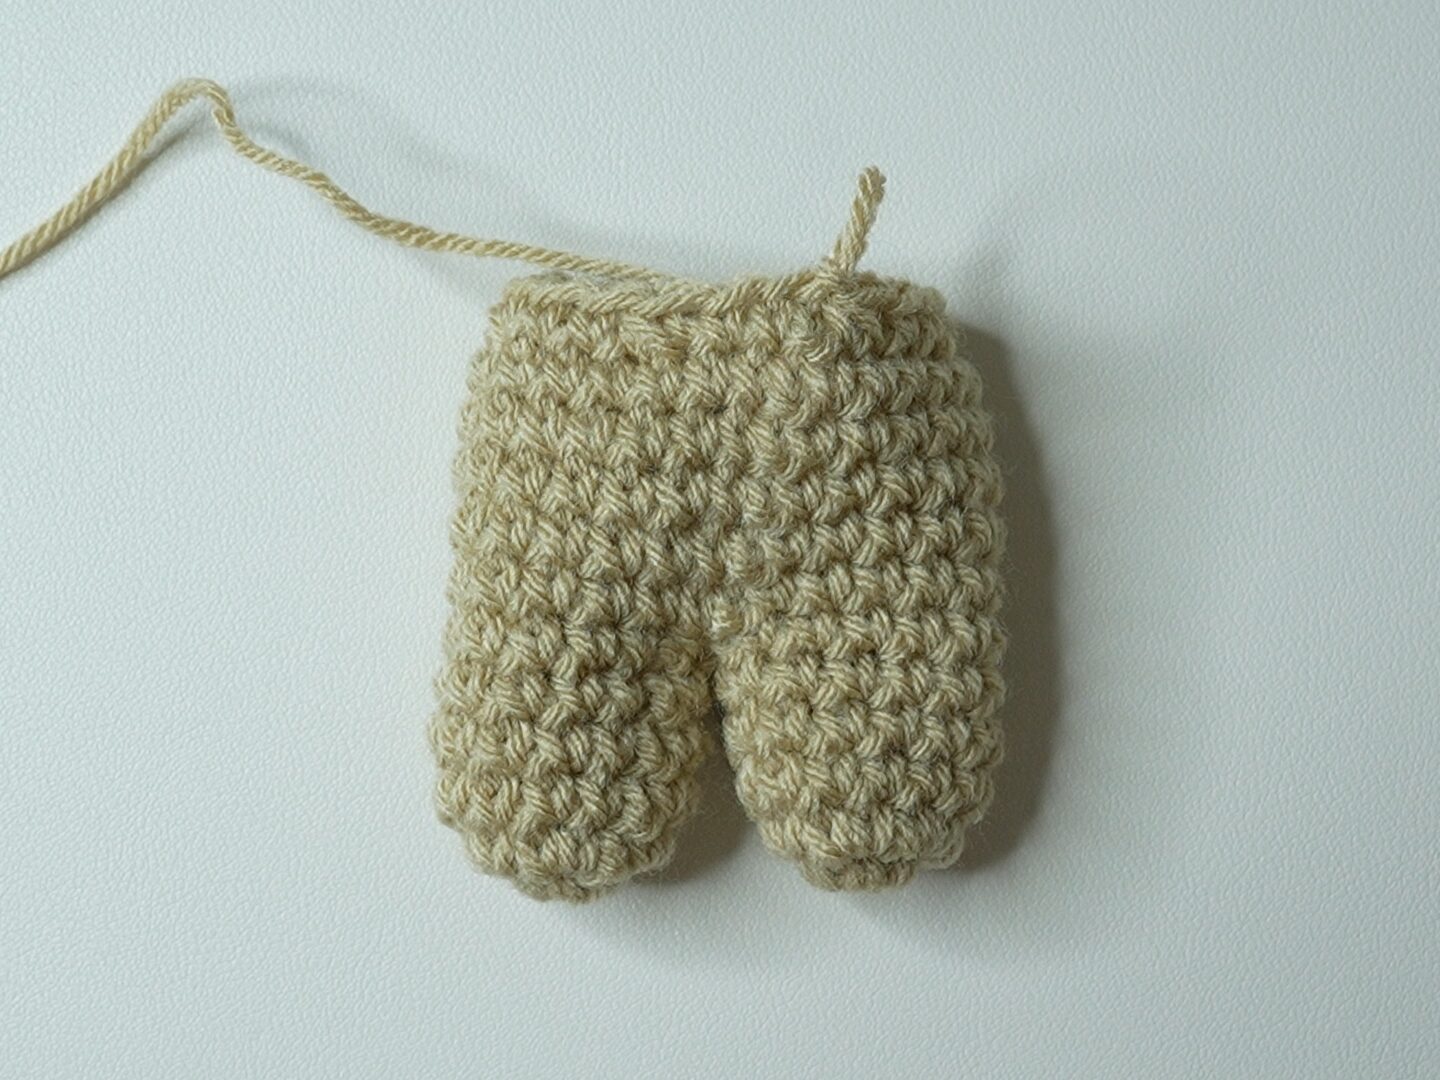
Round 13: ch1, rep[sc, dec] around, sl st (12)
Stuff the legs and body with fiber fill.
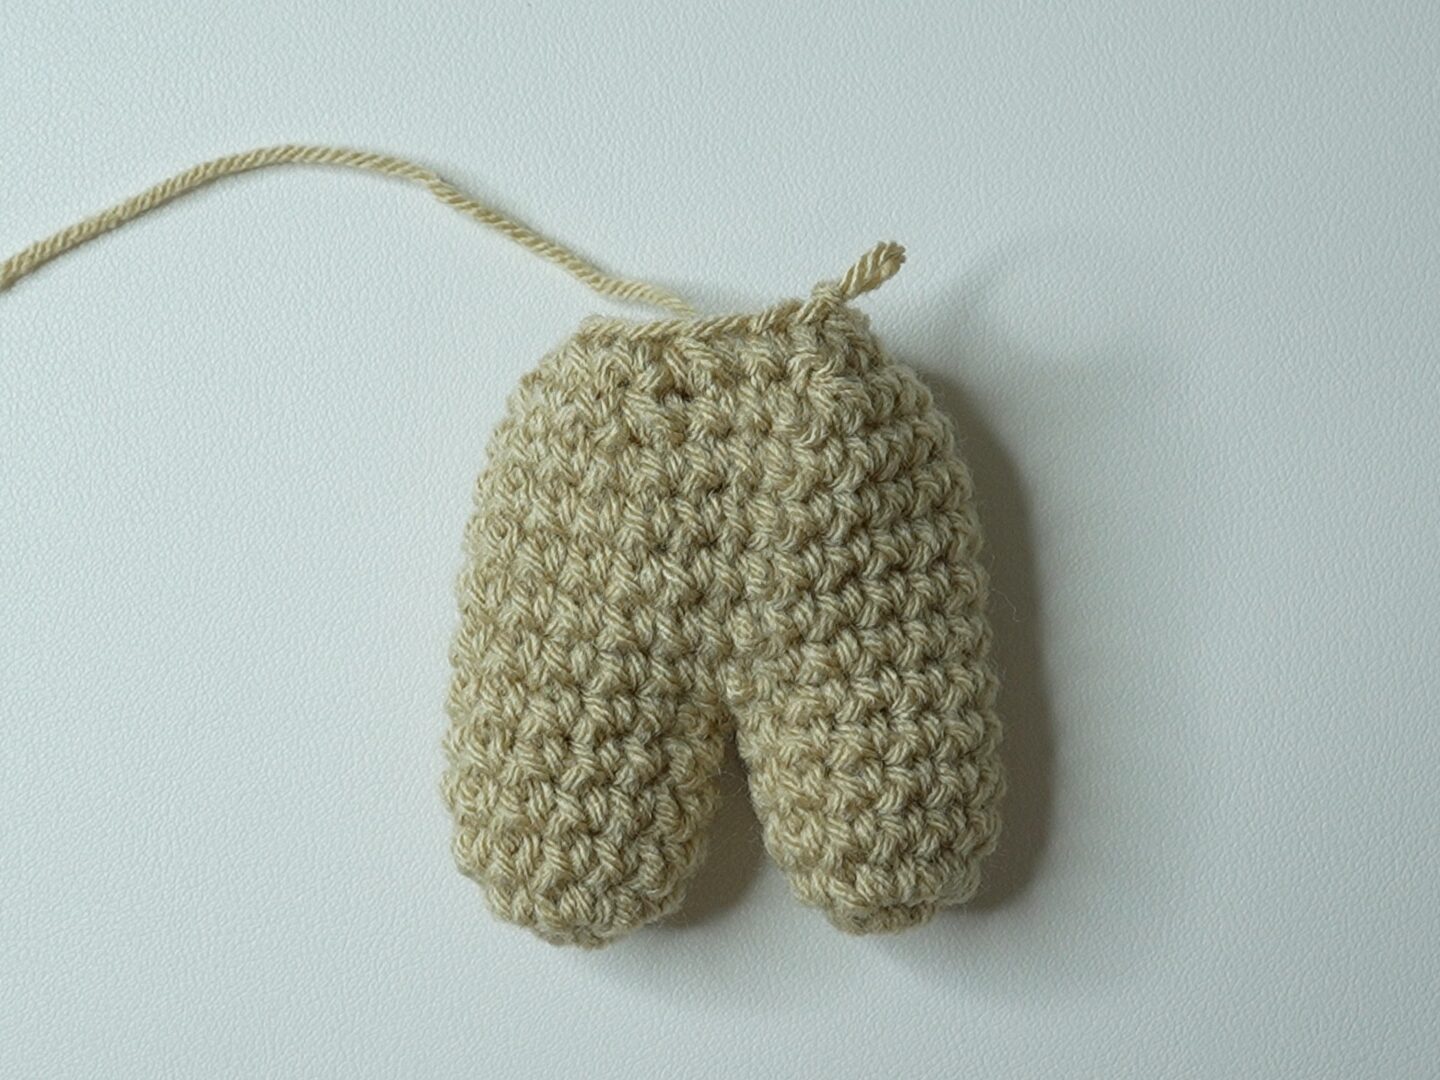
Round 14: ch1, dec around, sl st (6)
Tip: To prevent gaps when doing decreases, do invisible decreases instead. To do an invisible decrease, insert your hook under the front loop of the next stitch, then under the front loop of the next stitch, and do a single crochet.
Head
Even though the head continues right after Round 14 of the body, we will start the round count over for the head.
Round 1: ch1, inc around, sl st (12)
Round 2: ch1, rep[sc, inc] around, sl st (18)

Round 3: ch1, rep[sc in next 2 st, inc] around, sl st (24)

Rounds 4-6: ch1, sc around, sl st (24)

Insert the safety eyes between Round 5 and Round 6.
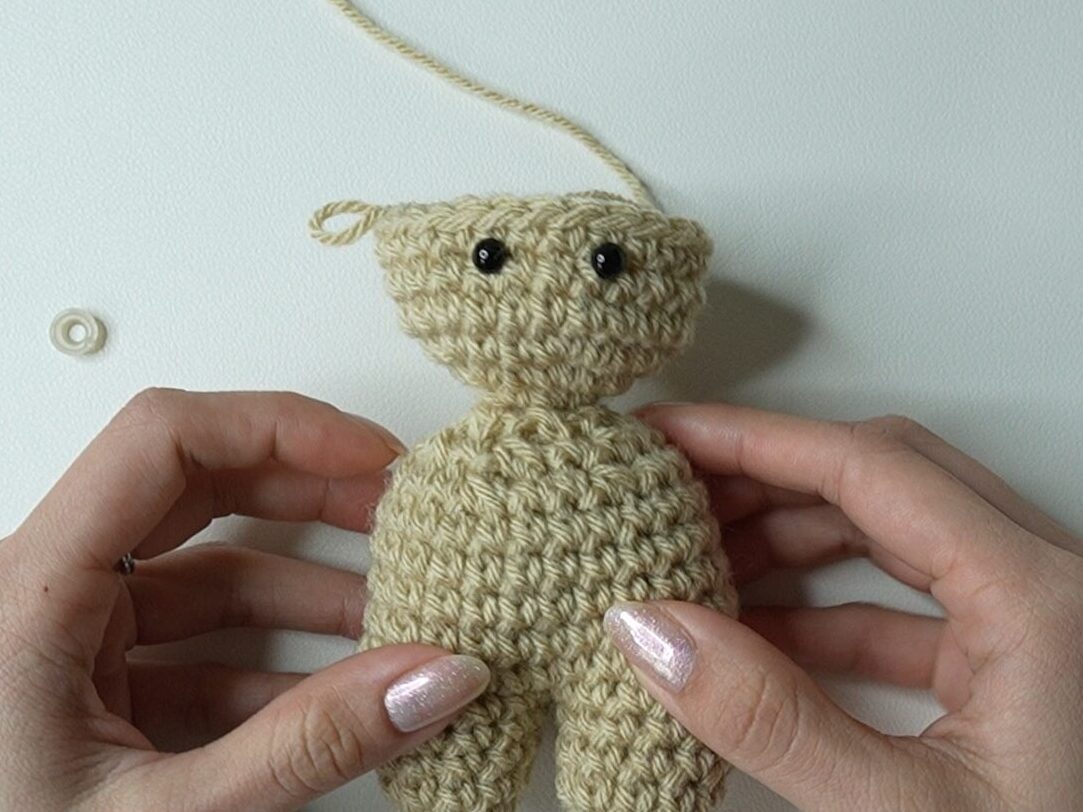
Round 7: ch1, rep[sc in next 2 st, dec] around, sl st (18)
Round 8: ch1, rep[sc, dec] around, sl st (12)
Stuff the head with fiber fill.
Round 9: ch1, dec around, sl st (6)
Tip: Do invisible decreases for this round.
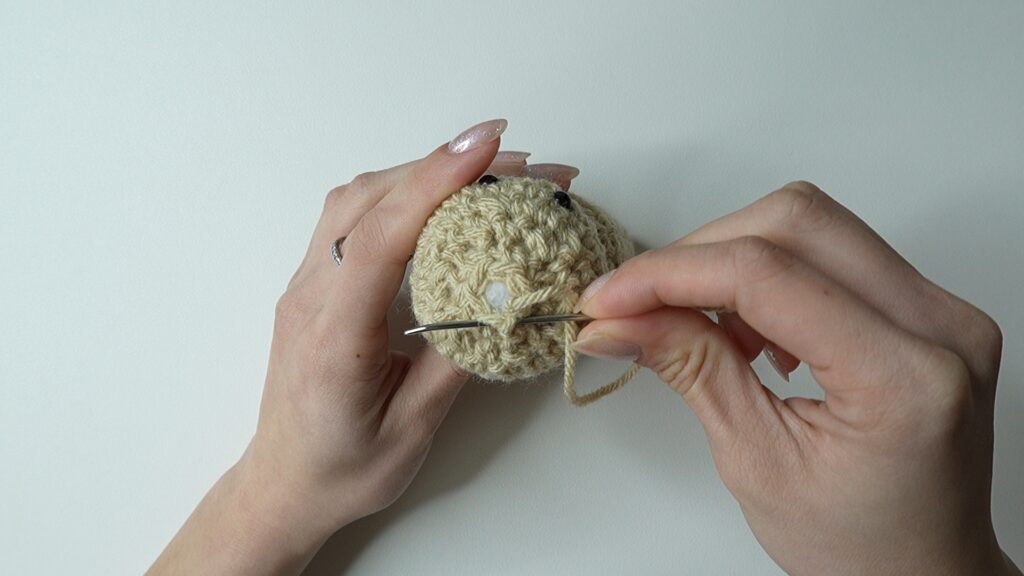
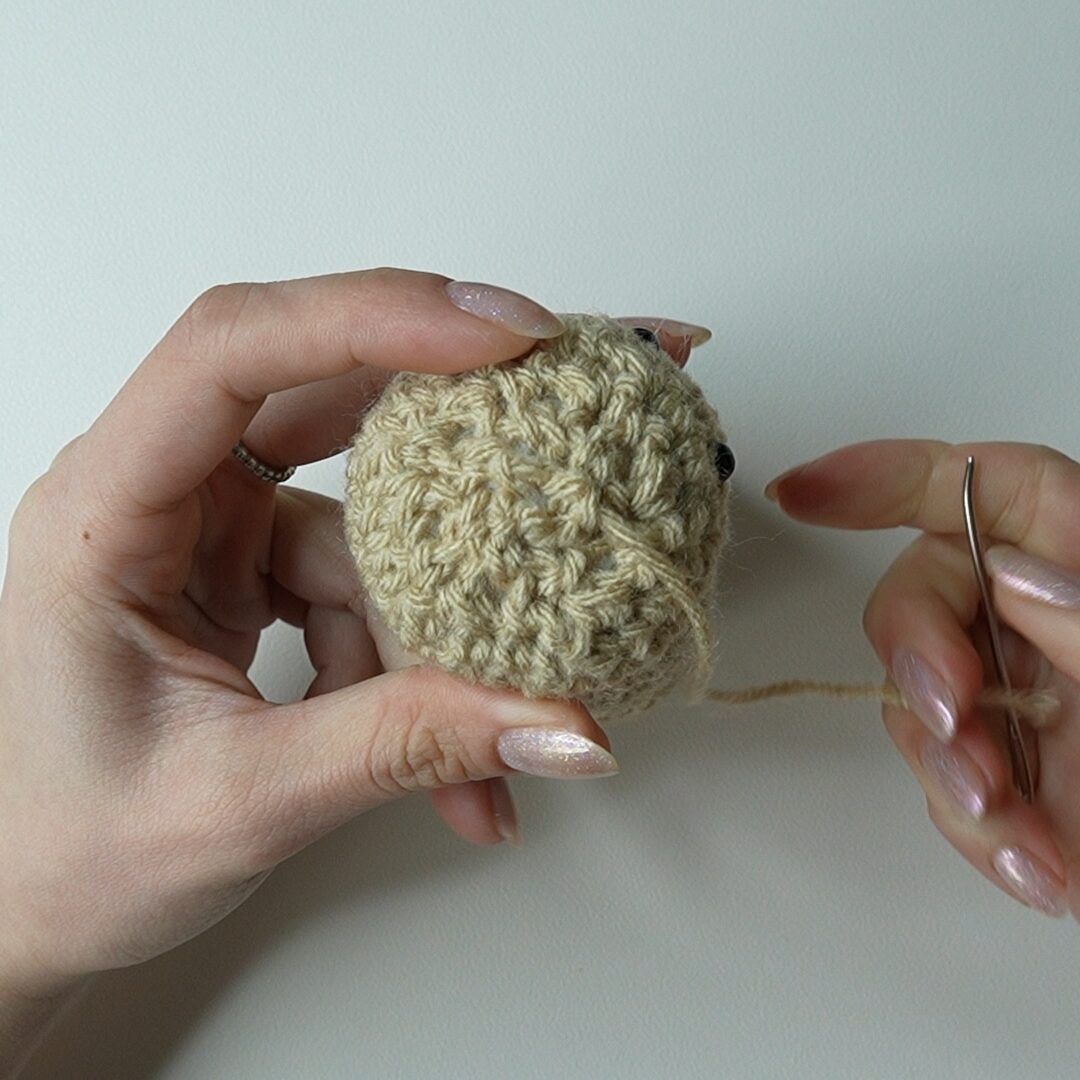
Fasten off with a long loose end for sewing. Sew the top of head closed, tie a knot, and hide the loose end inside the bunny.
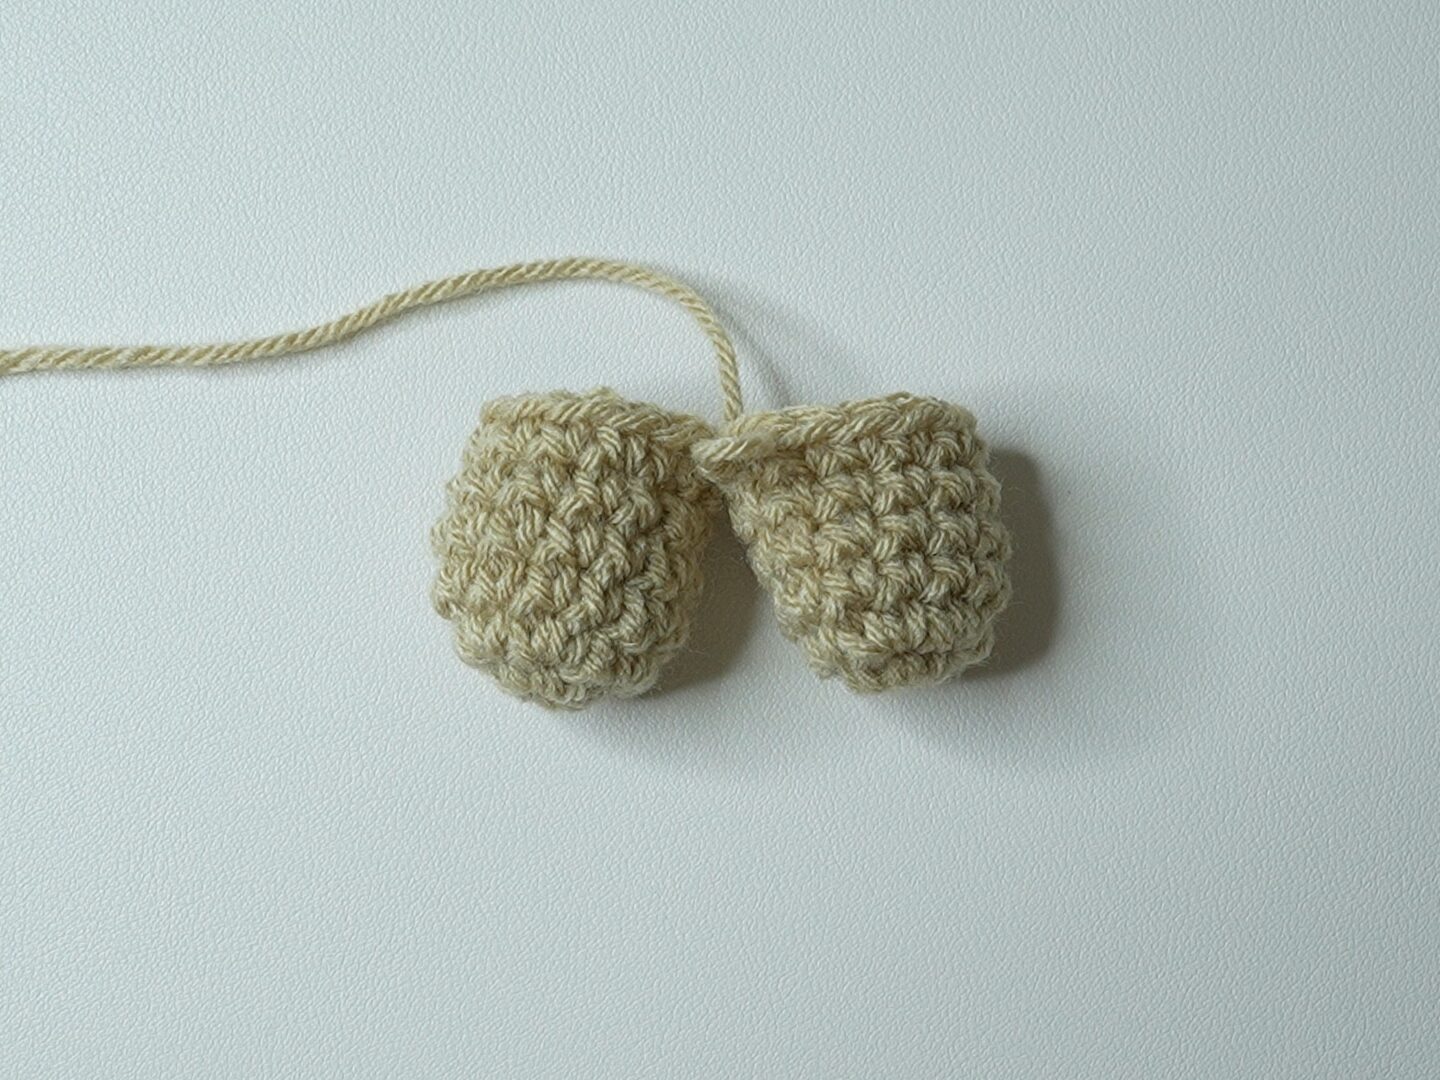
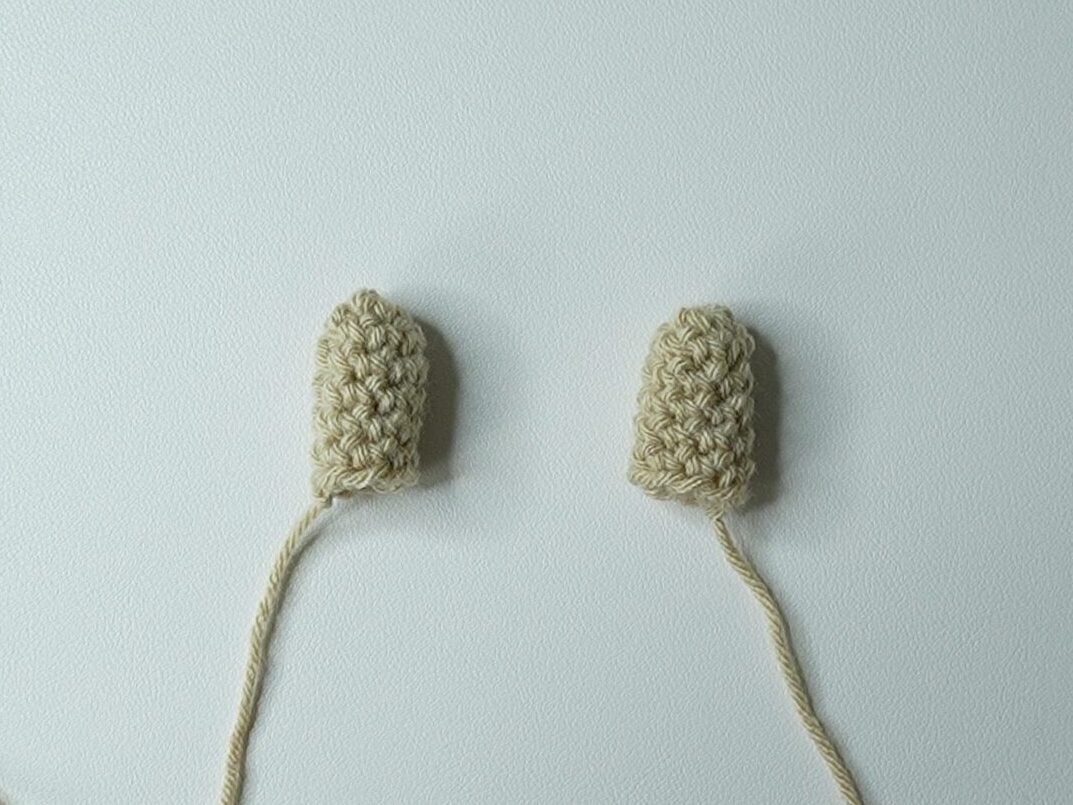
Arms
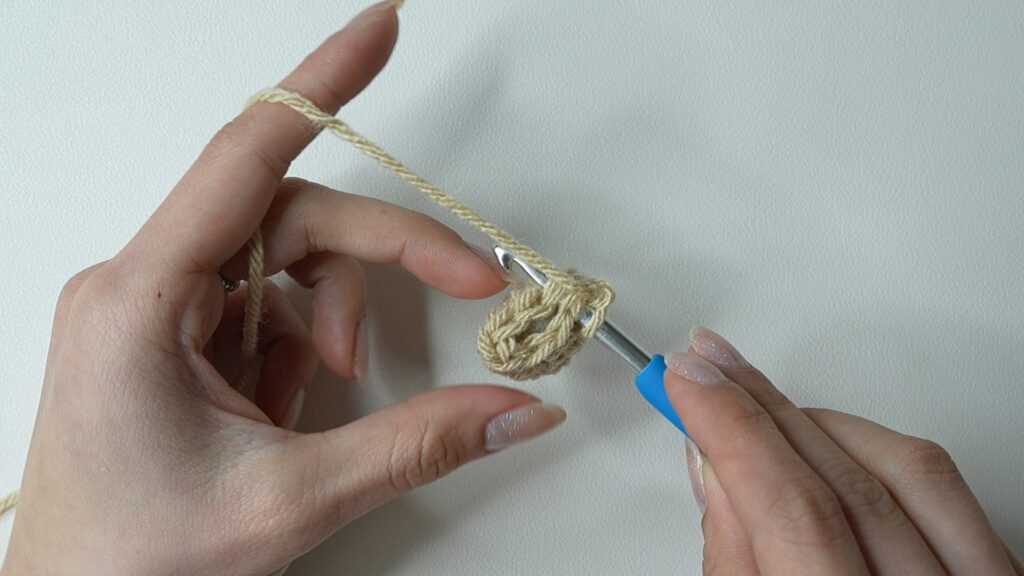
Round 1: Make a slipknot, ch2, sc8 in 2nd ch from hook, sl st (8)
Tip: When working into the chain, work under the top AND back loop of the chain to minimize the hole.
Rounds 2-4: ch1, sc around, sl st (8)
Stuff the arm with fiber fill.
Round 5: Fold the round in half and line up the first stitch of the round with the last stitch of the round, sc through both stitches across (4)
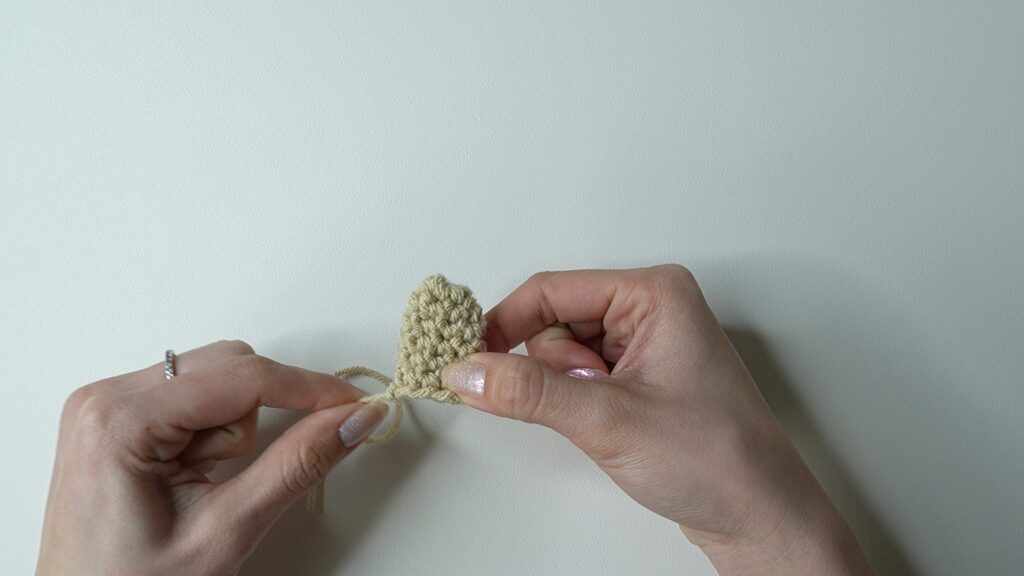
Fasten off with a long loose end for sewing. Make a second.
Sew the arms onto the body, tie a knot, and hide the loose end inside the bunny.

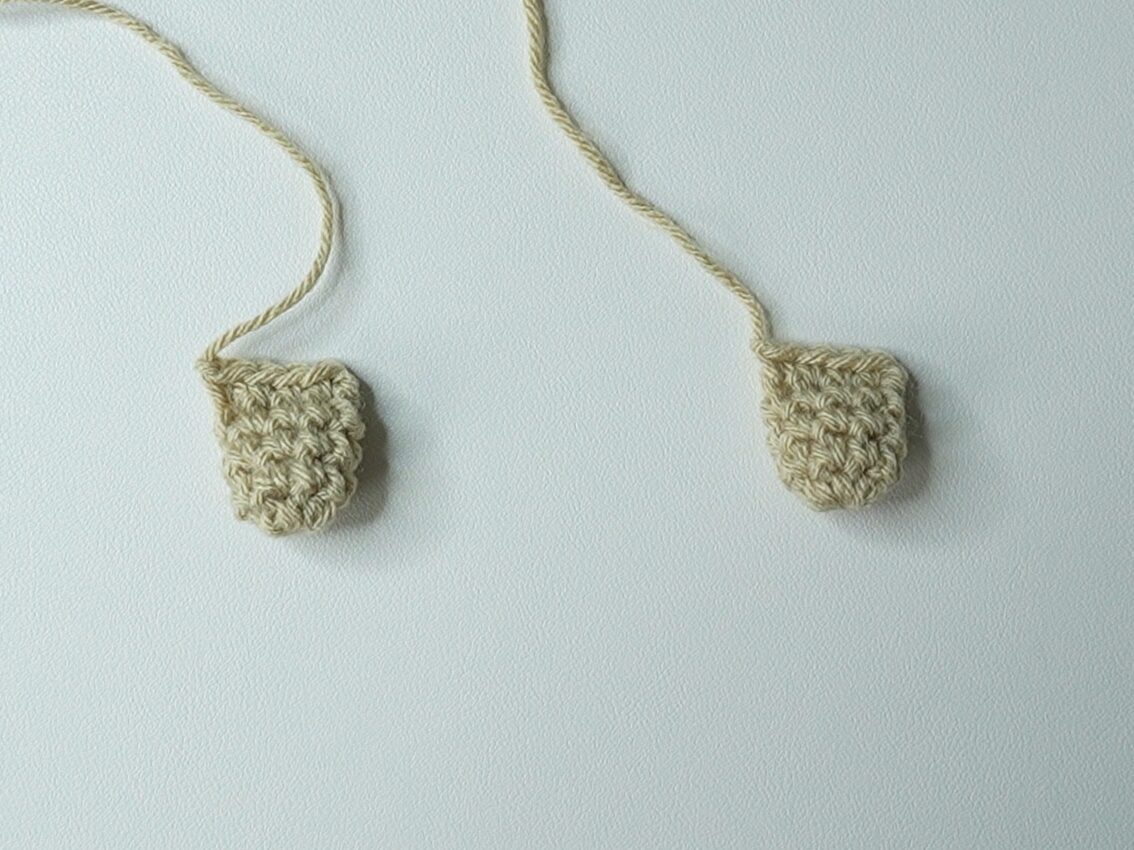
Ears
Round 1: Make a slipknot, ch2, sc6 in 2nd ch from hook, sl st (6)

Round 2: ch1, rep[sc in next 2 st, inc] around, sl st (8)

Rounds 3-6: ch1, sc around, sl st (8)
Fasten off with a long loose end for sewing. Make a second.
Fold the ear in half along the knot with the loose end. Fold the last round in half to form the ear cup.

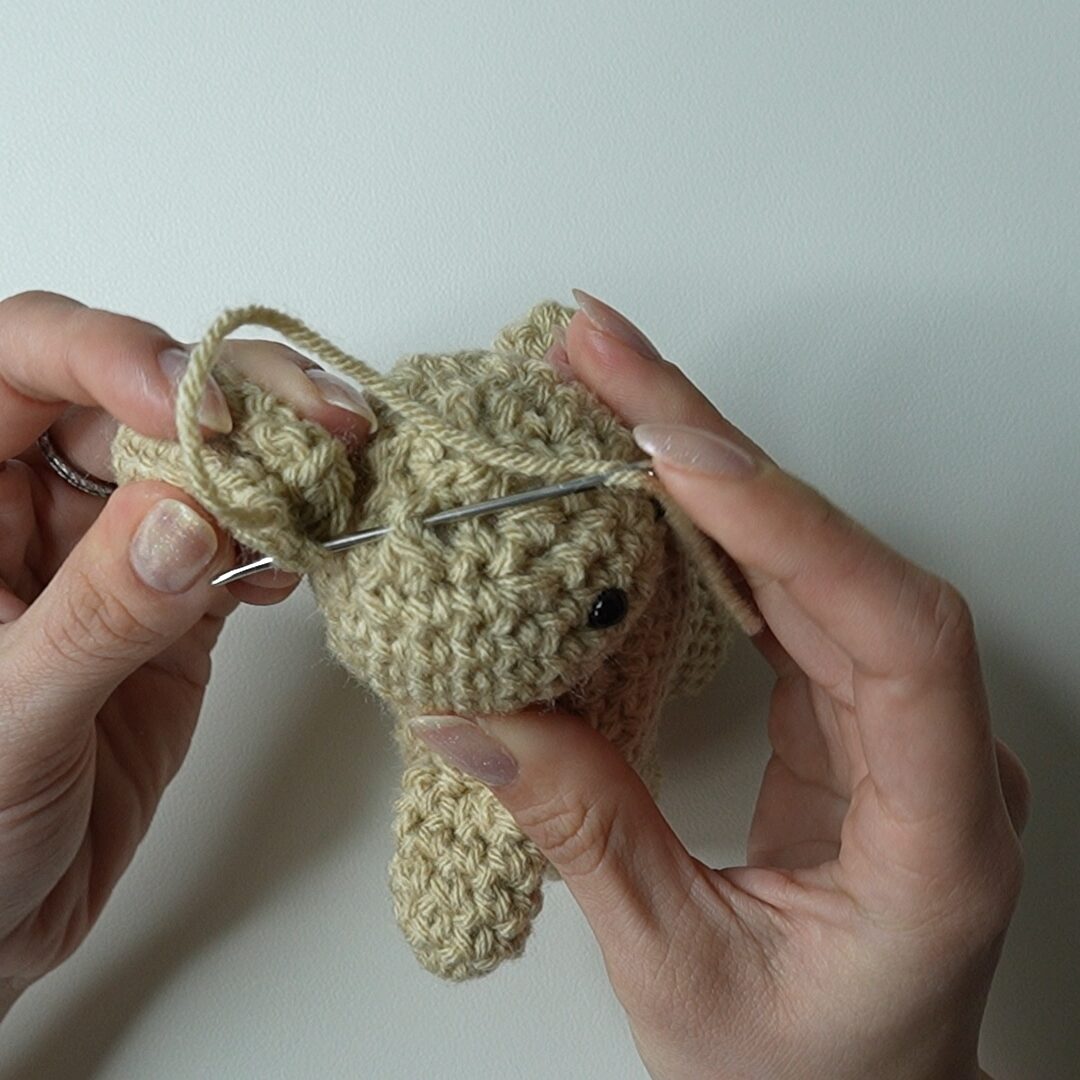
Sew the ears onto the body, tie a knot, and hide the loose end inside the bunny.
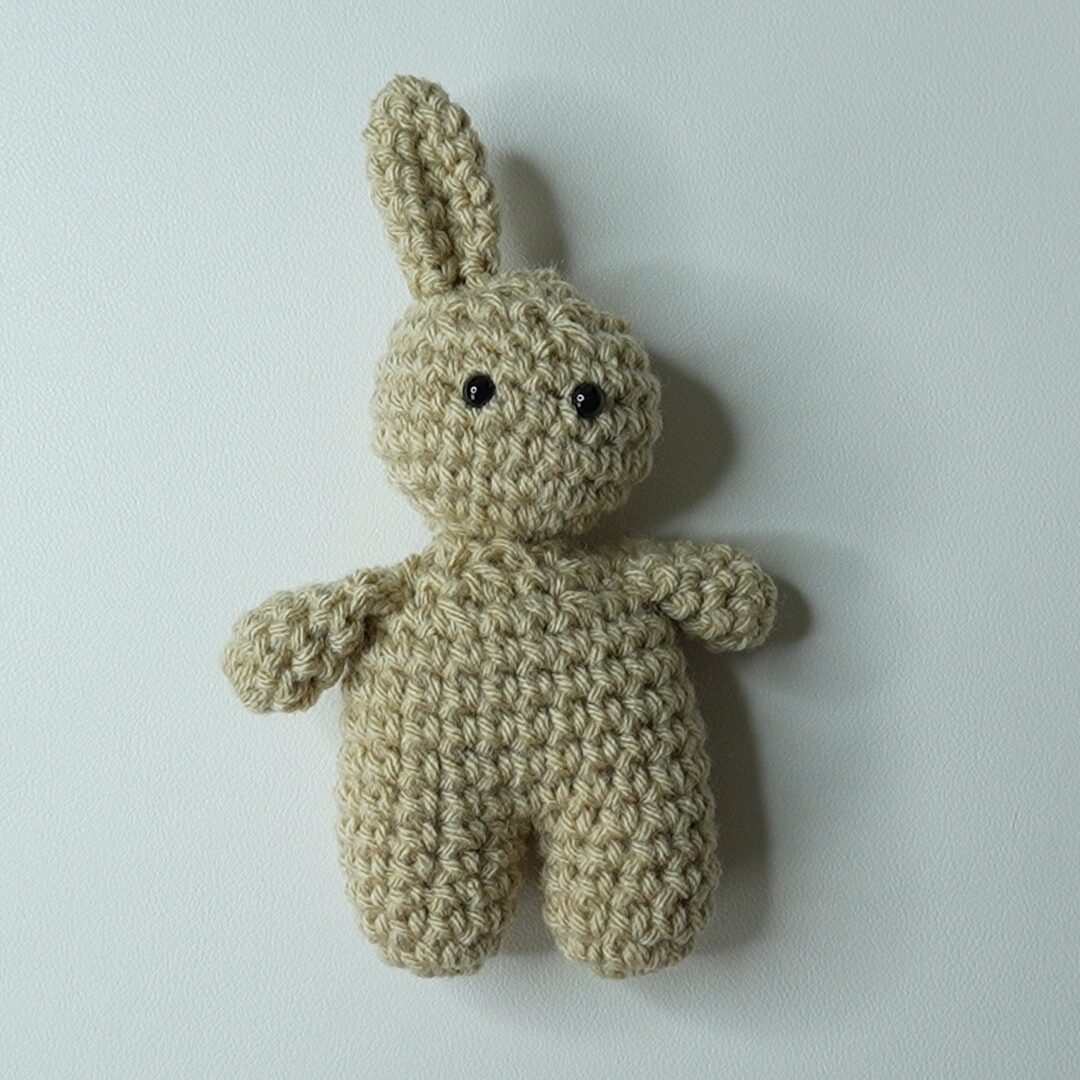
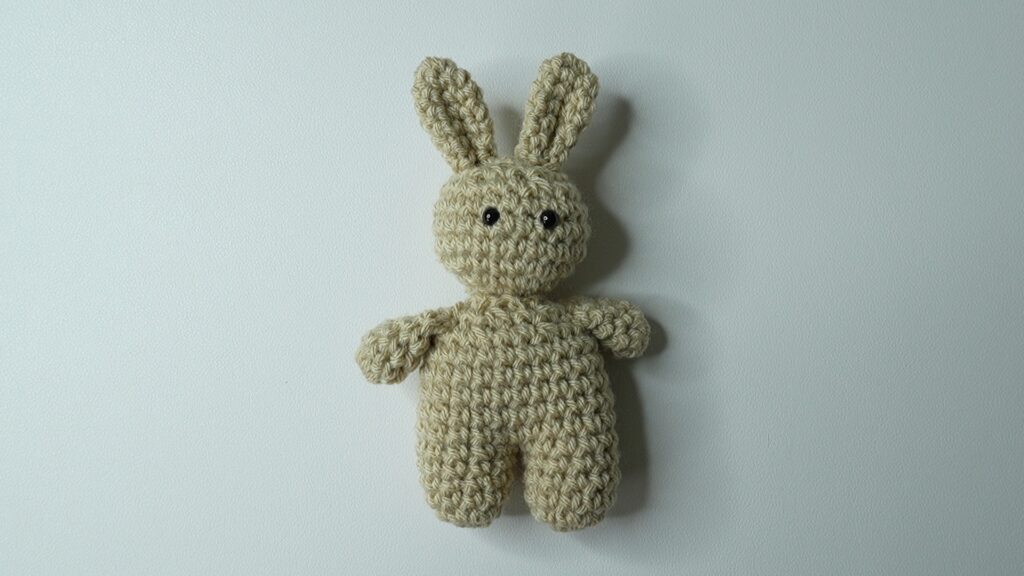
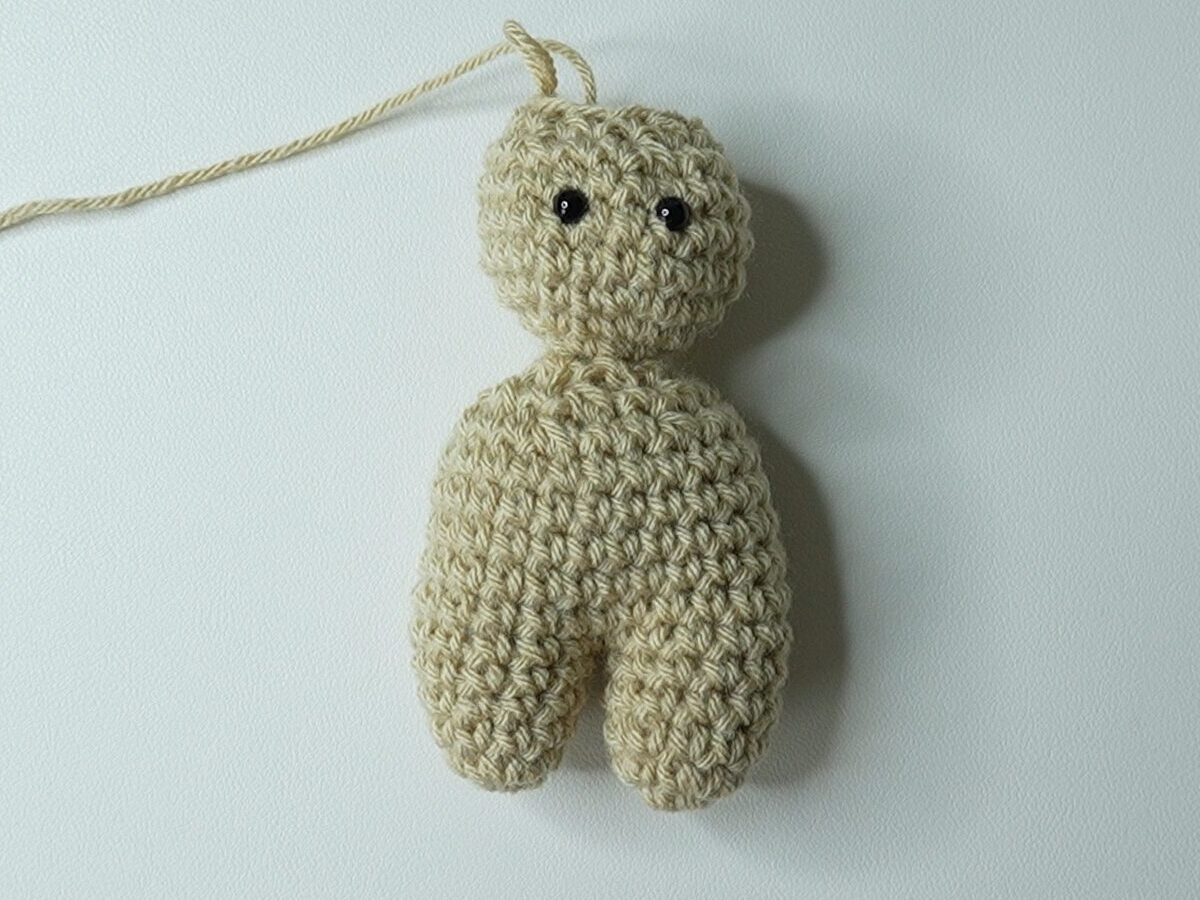
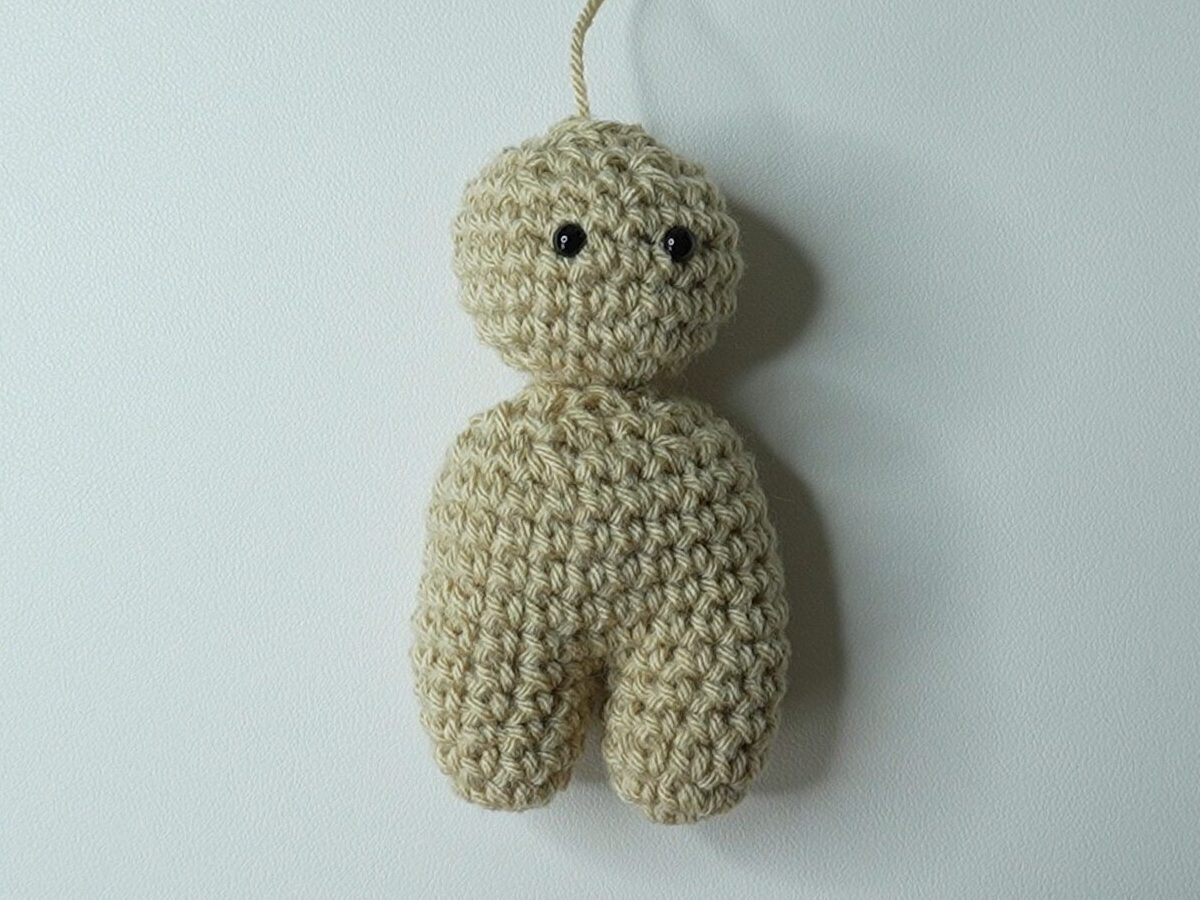
Finished Crochet Bunny
And your crochet bunny is finished!


Dear Viv,
I love this pattern soo much the finished product is sooo
adorable its soo beginner friendly and so easy to make.
Im so thankful that you have this website if you never
had this website a majority of my projects would never exist thanks for sharing this pattern.😊
Hi Viv,
Thank you so much for sharing this pattern!!
I started crocheting less than 3 weeks ago, so I am an absolute beginner.
I made 3 of those bunnies, they are so adorable!! I couldn’t figure out how to connect at the end of the each rounds, so I just crocheted spiral, but it still worked!! I am looking forward to make more projects from yoyr website🩵
Dear Viv,
Thank you for creating this website and making these patterns and tutorials, I am so happy and glad I found your page! Wish you all the best <3
I’m happy you’re here as well! Thank you for your support ❤️