Easy Crochet Off-Shoulder Cropped Sweater | Free Pattern & Tutorial
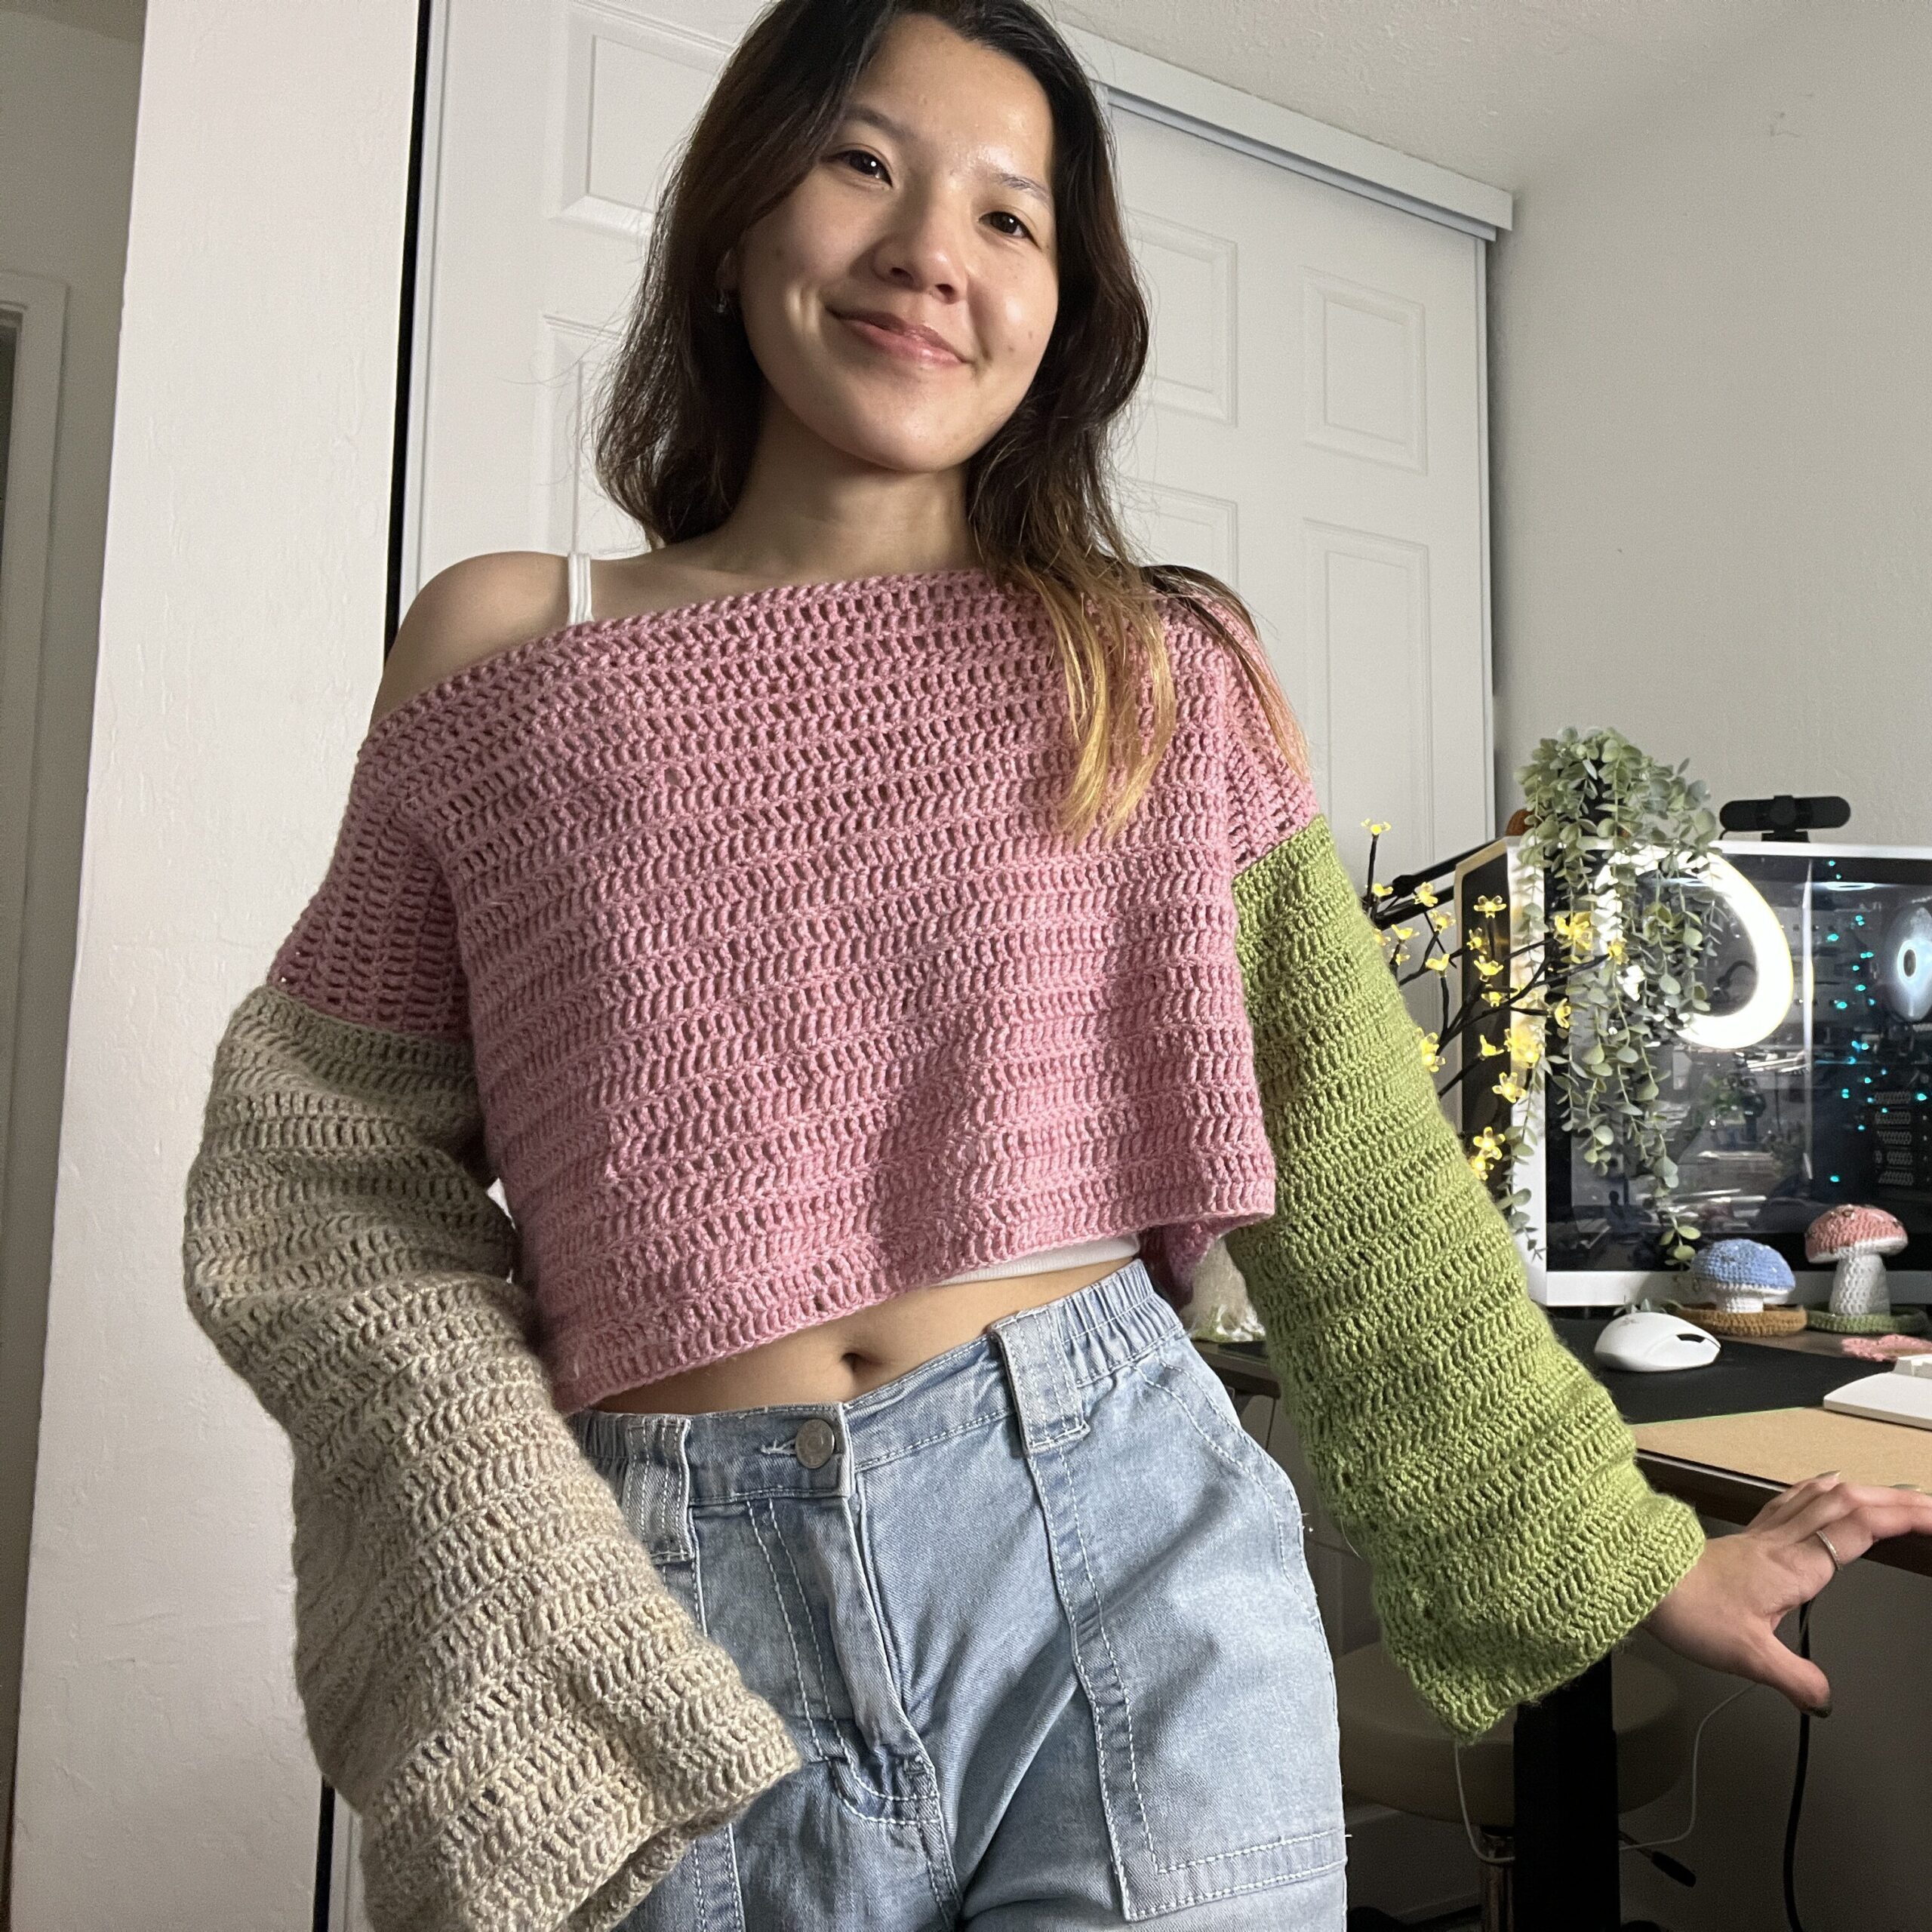
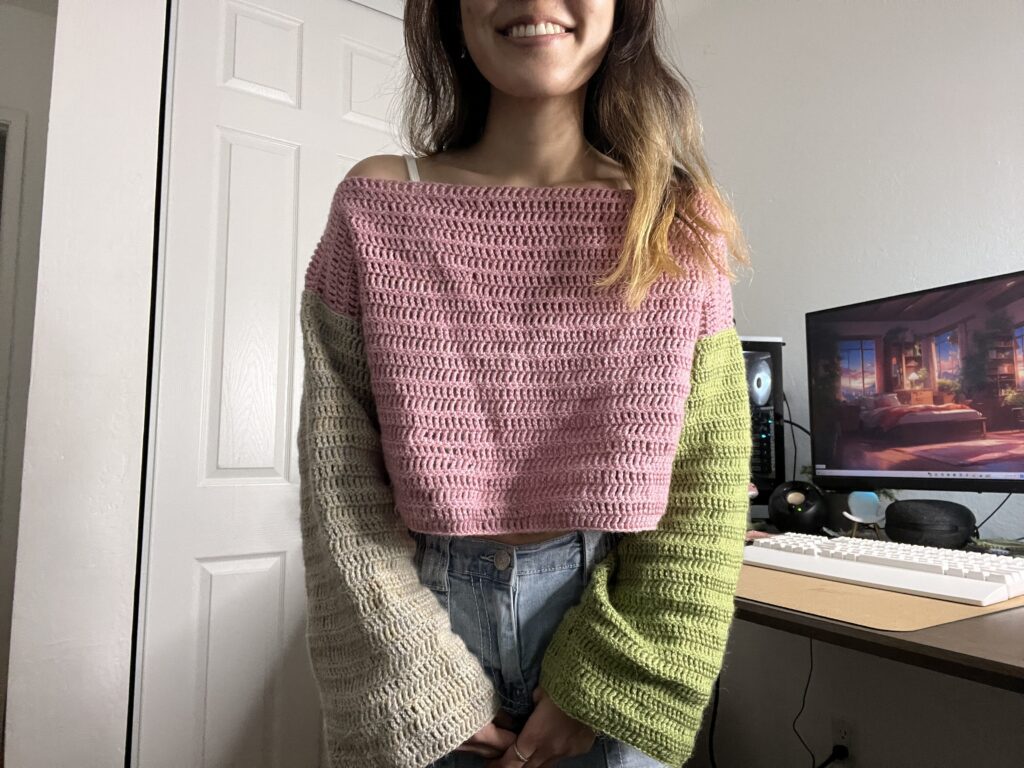
If you’re looking to crochet your first sweater, this is the perfect pattern for you! The size is super easy to adjust and the assembly uses a basic technique. While I’ll be making mine off-shoulder and cropped, you can make it on-the-shoulder and/or longer!
Crochet Your First Sweater
Crocheting a project as big as a sweater can be very intimidating. I never ventured into crocheting sweaters even after years of crocheting because it seemed difficult and I was scared of it not fitting right. I never knew it could be so simple, especially crocheting drop shoulder sweaters.
Crochet Drop Shoulder Sweater
This is a very basic crochet drop shoulder sweater pattern and is assembled in the typical way. This makes it the foundation for many crochet sweater possibilities. You can make the sweater as wide or as long as you want. You can make the neckhole as small or as big as you want. And you can make the sleeves as wide or as long as you want. It can be fitted or oversized, depending on your style.
3 Pieces Instead of 4
Typical drop shoulder sweater crochet patterns have you make 4 separate pieces and sew them together. This pattern has only 3 pieces, so the sewing is much more minimal, which is what I prefer and I think most people do as well.

Another pro for using this 3-piece-method is that even though there is no neck shaping, the extra row we do between the front and back panels allow for more space for your neck. Other patterns tend to have no spacing between the front and back panels, so the front of the sweater ends up right against your neck. It might not literally be choking you, but it can be very uncomfortable.
Yarn Alternative: Medium Weight Yarn Pattern & Measurements
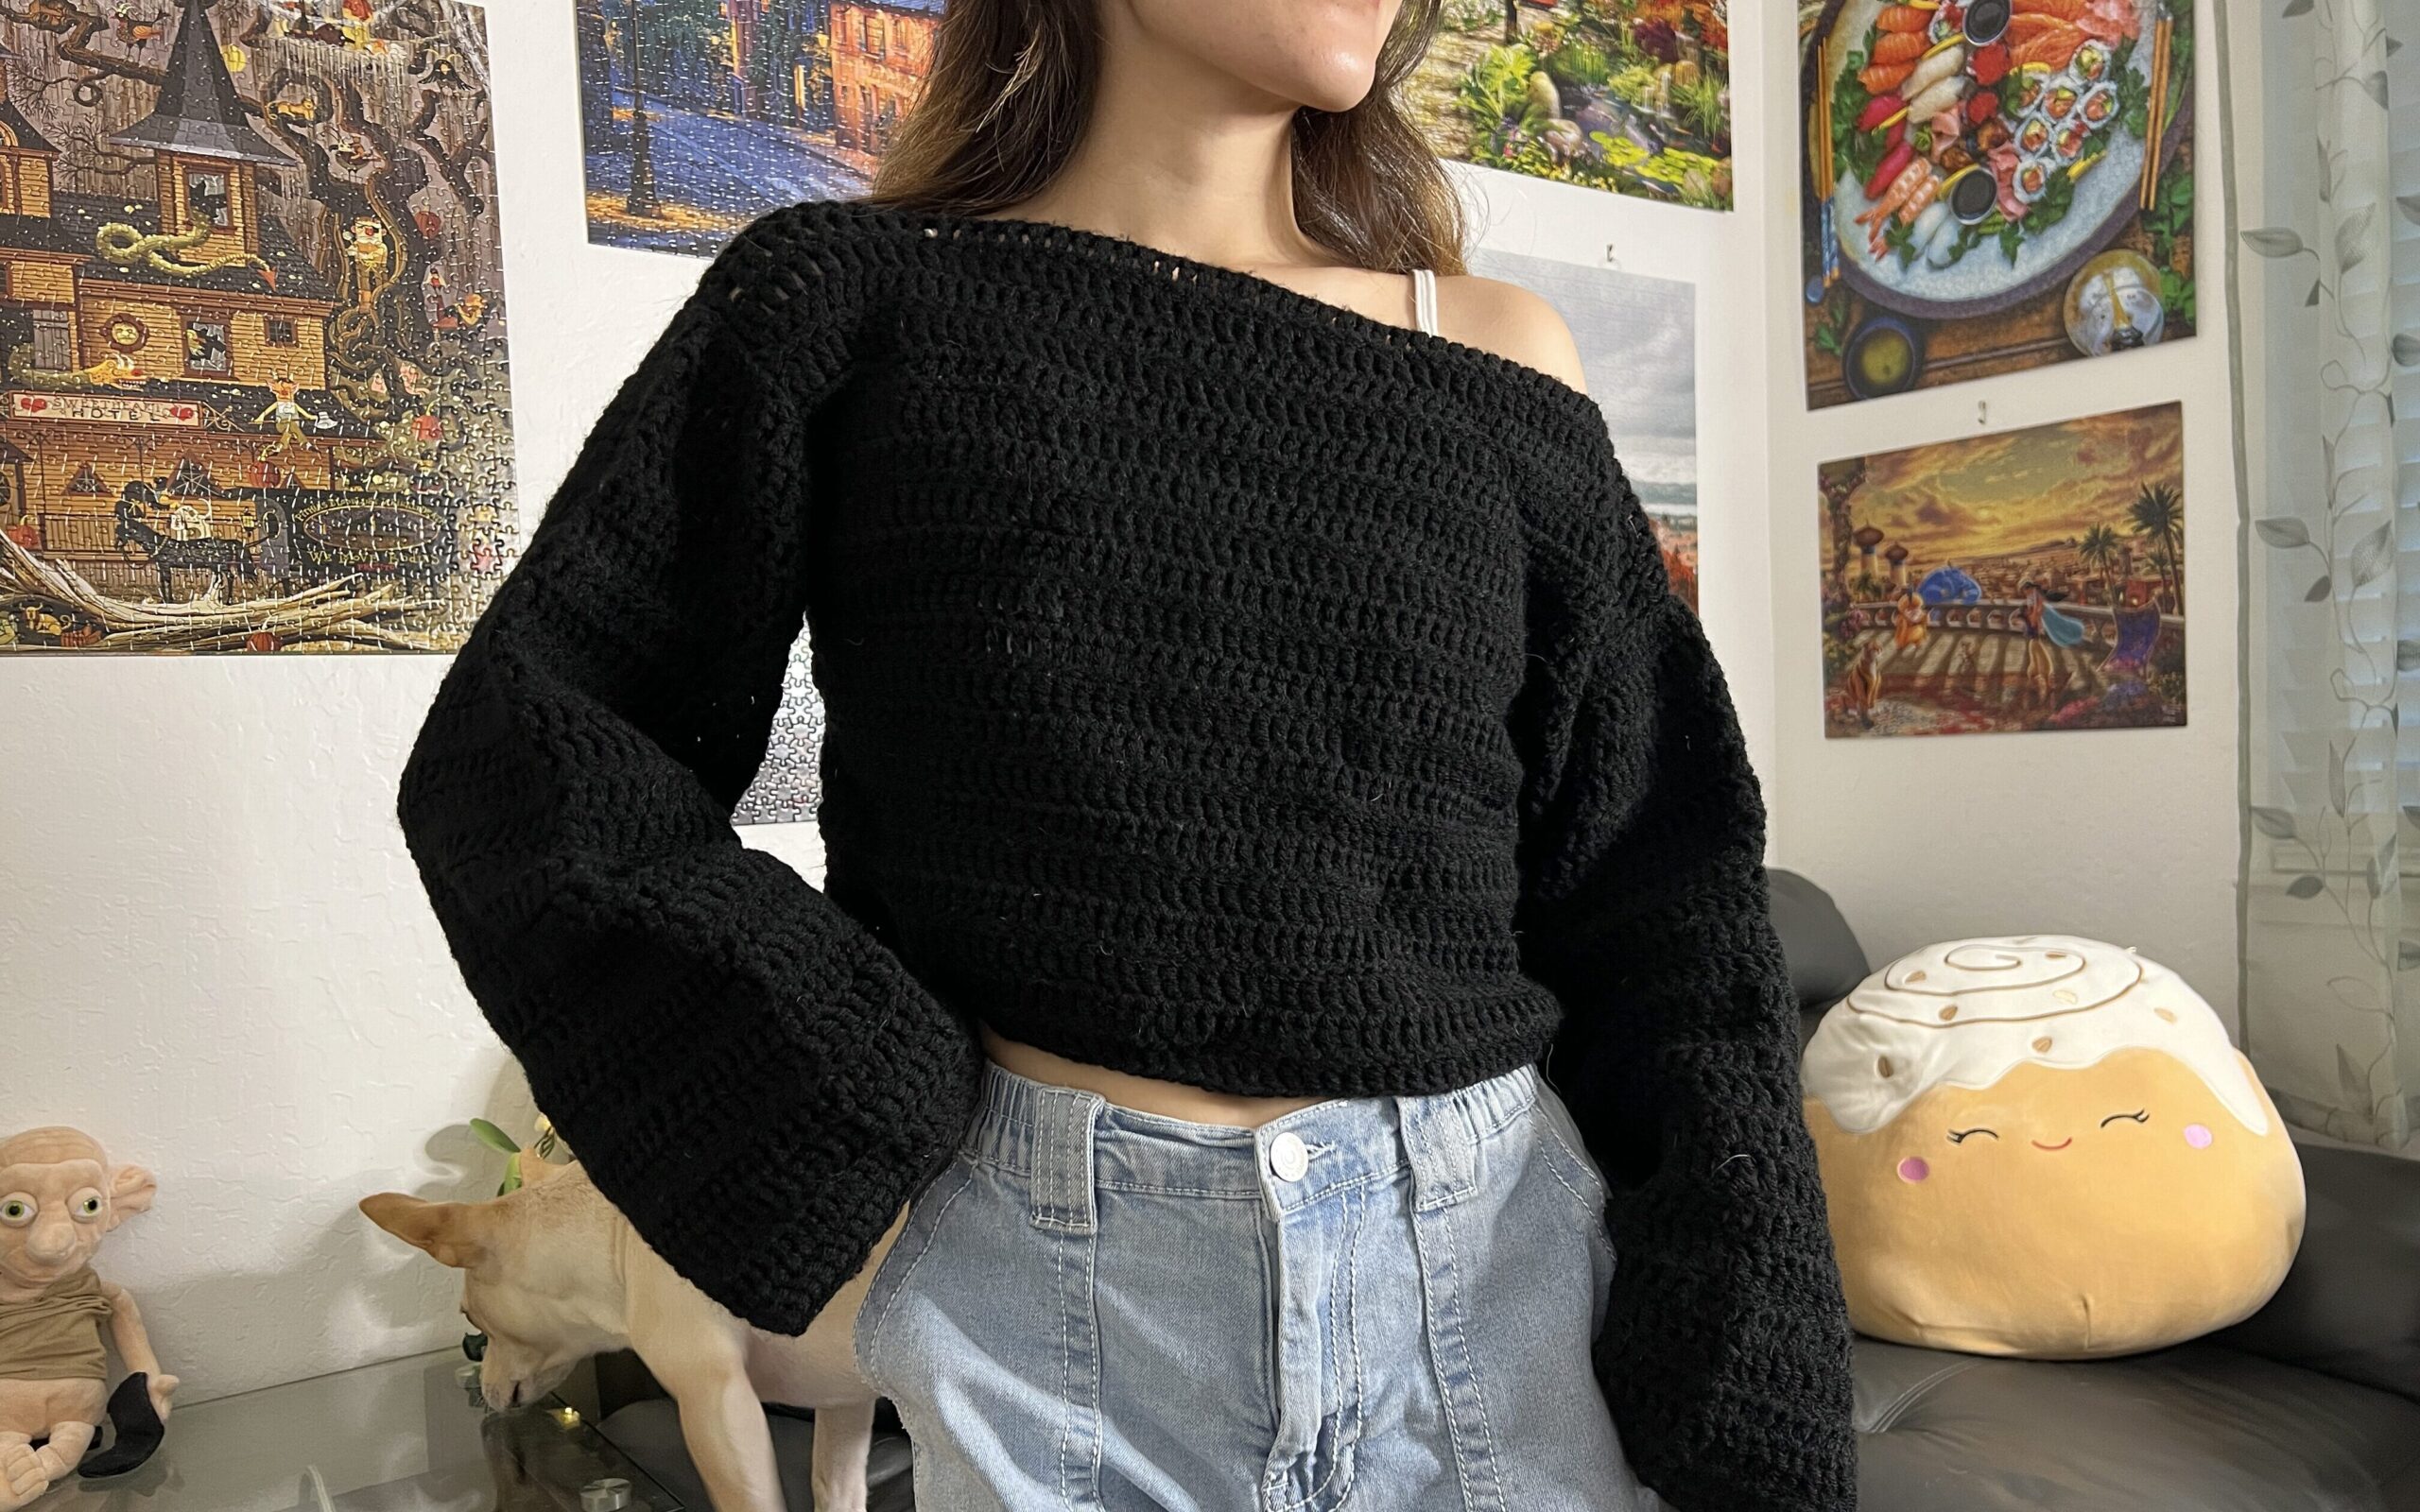
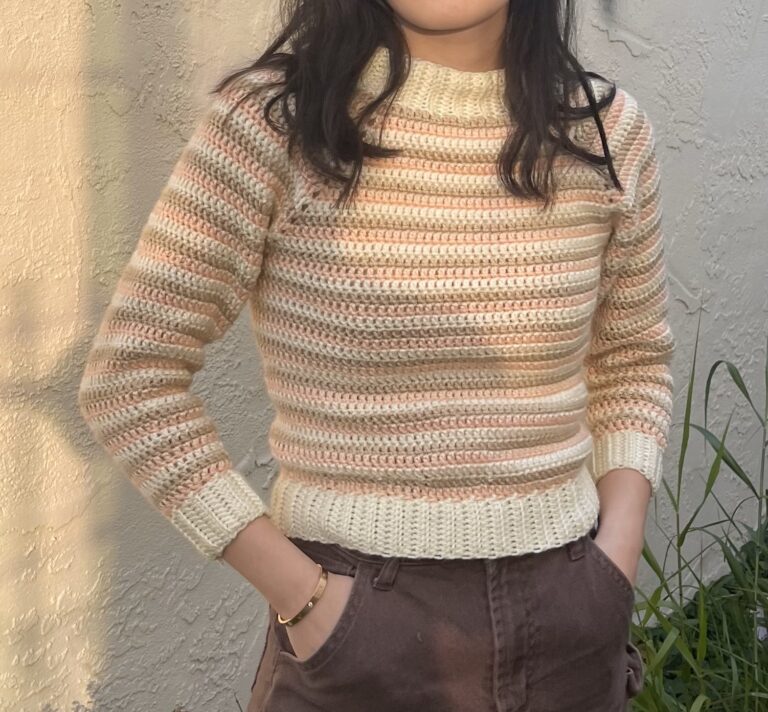
For this project, you can use any yarn you want as long as you adjust the pattern accordingly. I made a very similar sized sweater in medium weight acrylic yarn (Red Heart Super Saver). I used 420 grams or just over 2 skeins of yarn.
Since this is a much thicker yarn than the DK weight one I used for the tutorial, this sweater took me about 7 hours, which was about 3.5 hours less than the other one.
My gauge for this yarn is 5.5 rows of 16 treble crochets makes a 10 x 10 centimeter square.
For the sleeves, I did 50 chains and 26 rows of treble crochets. This gave me 40 centimeters wide by 45 centimeters long (15.75 x 17.32 inches) sleeve panels.
For my front and back panels, I did 55 chains and 20 rows of treble crochets. Each panel is 44 centimeters wide by 36 centimeters long (17.32 x 14.17 inches).
For the neck hole, I did 10 treble crochets, chained 35, then 10 more treble crochets. This was a 29 centimeters wide (11.42 inches) neck hole.
Pin this for later!

Video Tutorial
You can follow along with my YouTube video to crochet your sweater! I have timestamps included to section the video and help you jump to any point you need to!
This post may contain affiliate links. I may earn a small commission on qualifying purchases at no additional cost to you!
Materials
- 290 grams of DK weight yarn (Stylecraft Life DK in “Fern,” “Rose,” and “Oatmeal“)
- 4mm Clover Amour crochet hook
- Scissors
- Yarn needle
- Stitch markers (optional)

Dimensions
Sleeve Panels: 36.5 centimeters wide x 40 centimeters long (14.37 x 15.75 inches)
Front/Back Panel: 49 centimeters wide x 32.5 centimeters long (19.29 x 12.80 inches)
Note: The width measurements for the sleeve is the entire circumference, while the width for the front/back panel is just one side (half the entire circumference).
Gauge
8 rows of 19 treble crochets makes a 10 x 10 centimeter square
Notes and Tips
- This pattern is written using US crochet terms
- The chain 3 at the beginning of each round does NOT count as a treble crochet
- Use stitch markers to line up your rows before sewing
- If you dont have stitch markers, bobby pins and safety pins work, too!
Abbreviations
ch = chain
sk = skip
tr = treble crochet
st = stitch
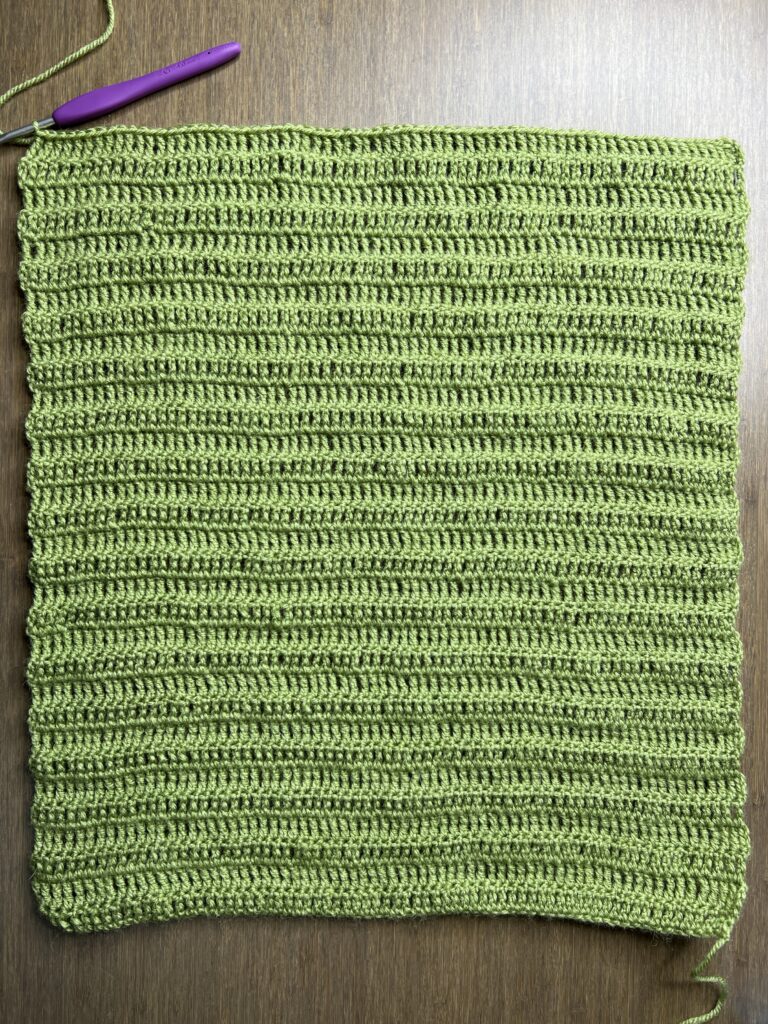
Sleeves
Foundation: Slipknot, ch70 + 3 turning ch
Adjust the number of chains depending on yarn, hook, tension, and desired fit. The length of this foundation chain will determine the circumference of your sleeve.

Row 1: tr across, starting in 4th ch from hook (70)

Rows 2 – 32: ch3, turn, tr across

The number of rows you do determines the length of your sleeve. For a shorter sleeve, do less rows. For a longer sleeve, do more rows.
Fasten off with an extra long loose end to sew the sleeve to the main panel. I like to do twice the length we’re sewing, so twice the width of the sleeve.
Make an identical sleeve, with the same number of chains and rows and long loose end.

Dimensions: 36.5 centimeters wide x 40 centimeters long (14.37 x 15.75 inches)
Main
Front Panel
Foundation: Slipknot, ch85 + 3 turning ch
The length of this foundation chain will determine the width of your front panel. The front and back panel are worked separately, so this is NOT the circumference of the sweater.
If you plan to make it cropped, I would recommend not making this too wide or the extra fabric will bunch up at your back!
Row 1: tr across, starting in 4th ch from hook (85)
Rows 2 – 25: ch3, turn, tr across
The number of rows you do determines the length of your sweater. For a shorter sweater, do less rows. For a longer sweater, do more rows.
Dimensions: 49 centimeters wide x 32.5 centimeters long (19.29 x 12.80 inches)
Do not fasten off.
Shoulders & Neck Hole
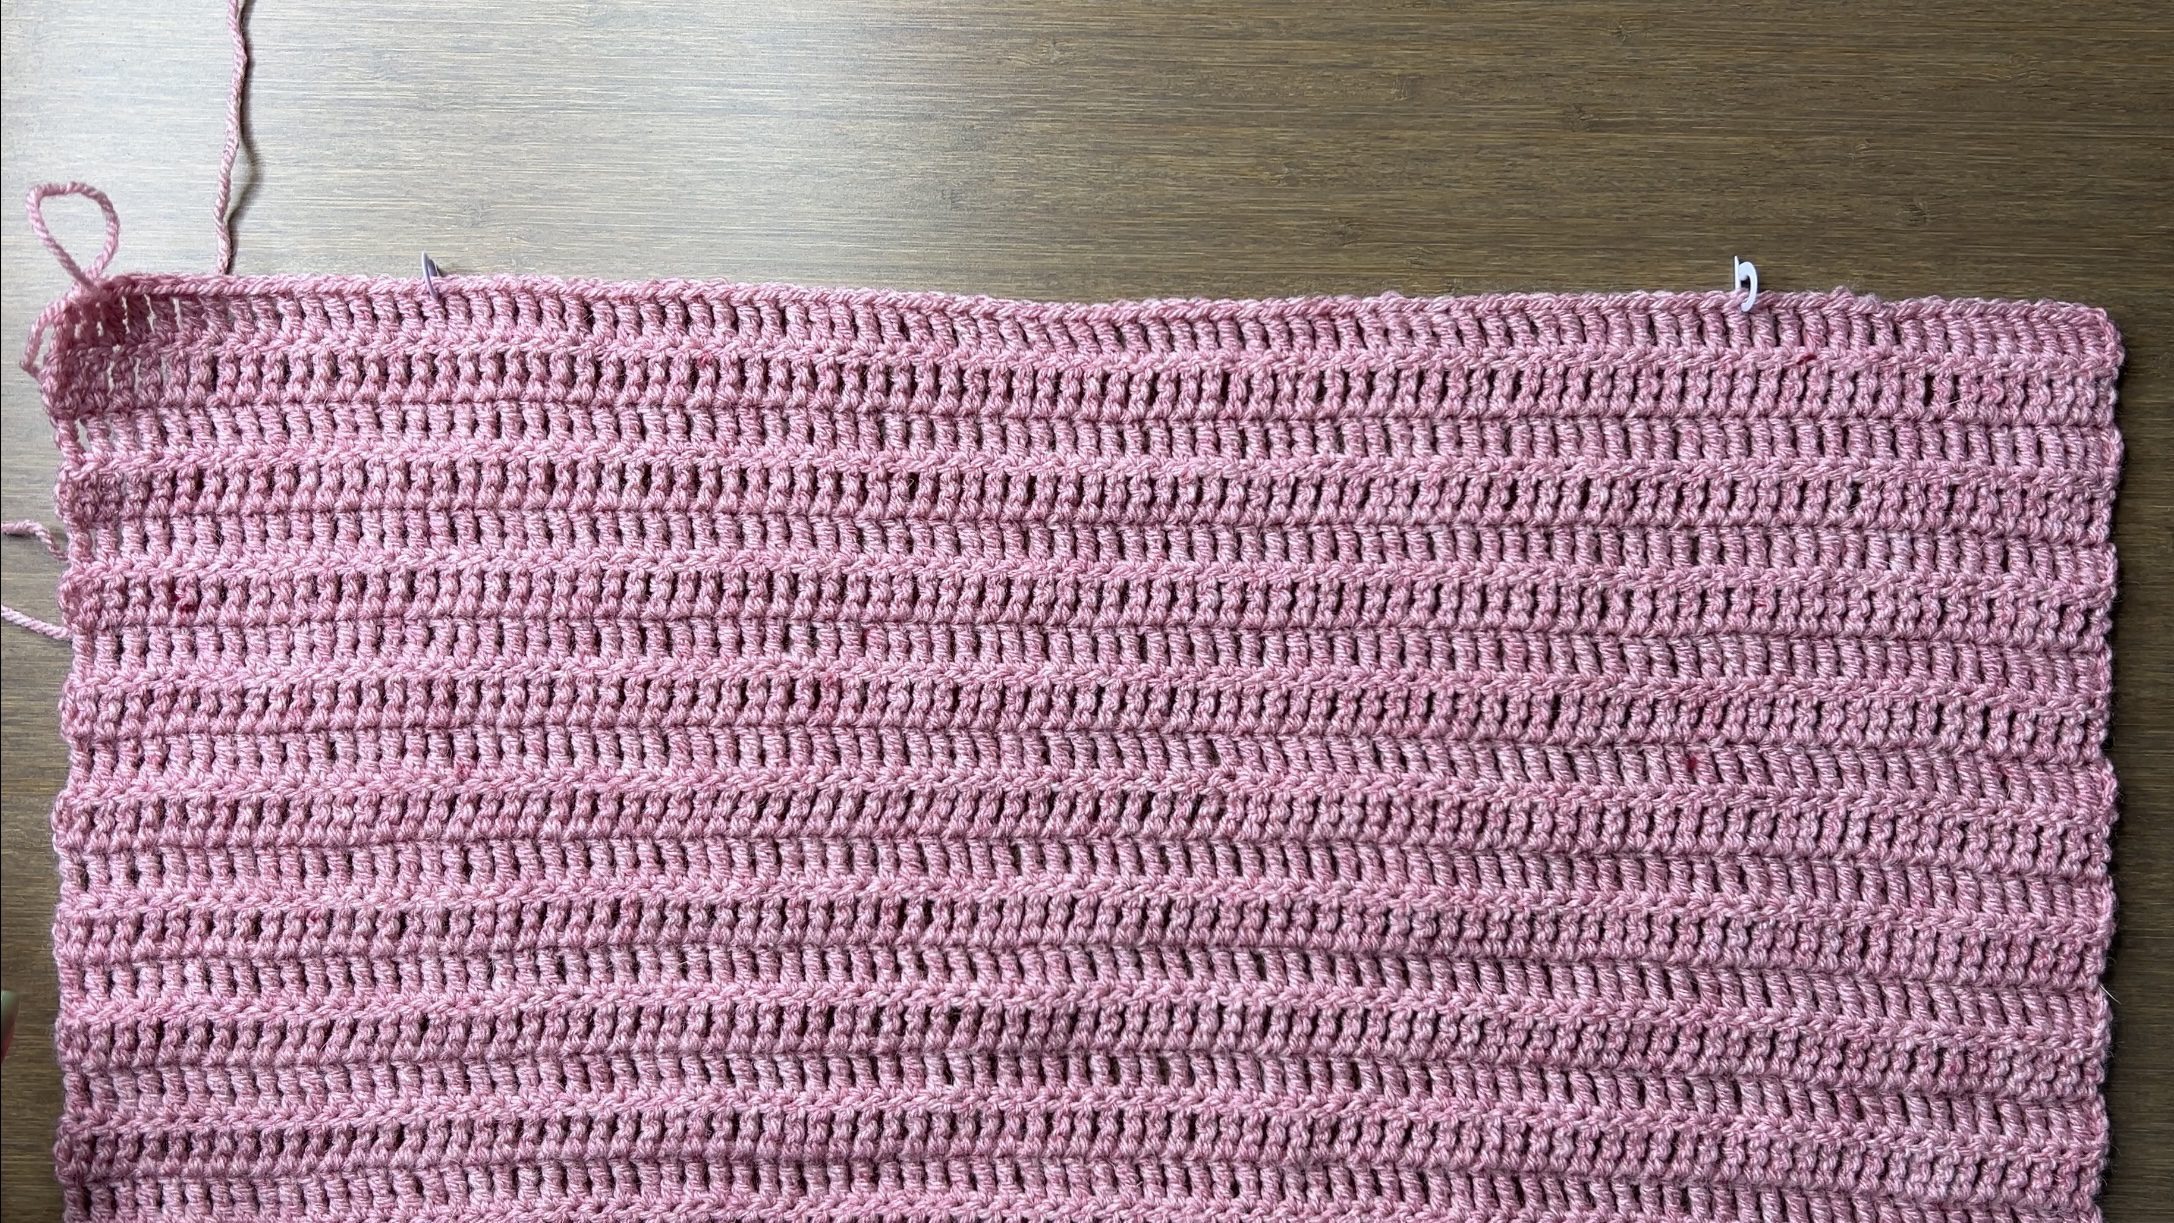
Mark how wide you want the neck hole to be. If you want to be able to wear it on both shoulders and off one shoulder, I would recommend measuring the space between your underarms and marking that length like you see below.
Make sure that the stitches you marked are centered. For example, I marked the 16th stitch from either side, so I can have a 32 centimeter wide neck hole.
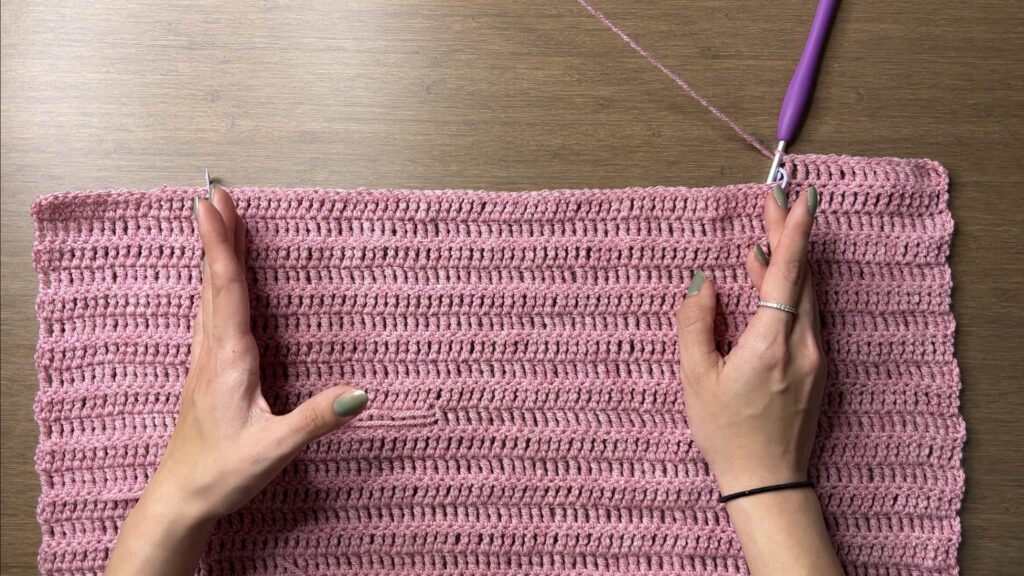
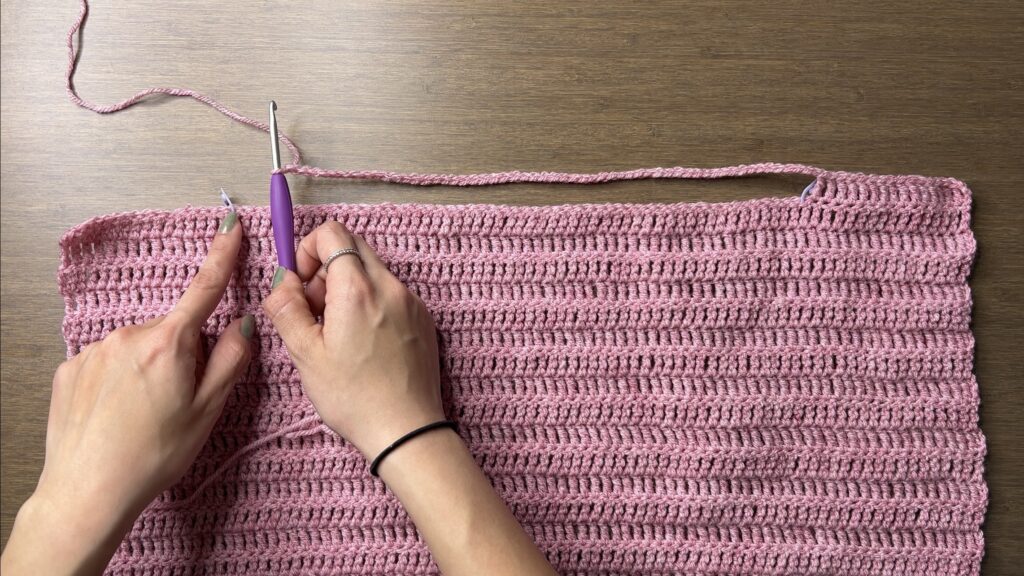
For the neck hole row, we’ll do treble crochets until our stitch marker, chain the amount of stitches in between, and treble crochet until the end. Since I have 85 stitches in row 25, I will chain 85 – 15 – 15 = 55.
Row 26: tr in each of the next 15 st, ch55, sk55, tr in each of next 15 st
Back Panel
Row 27: tr in each of the next 15 st, tr in each of the 55 ch, tr in each of next 15 st (85)

Rows 28 – 51: ch3, turn, tr across
Make sure that the back panel has the same number of rows as the front panel.
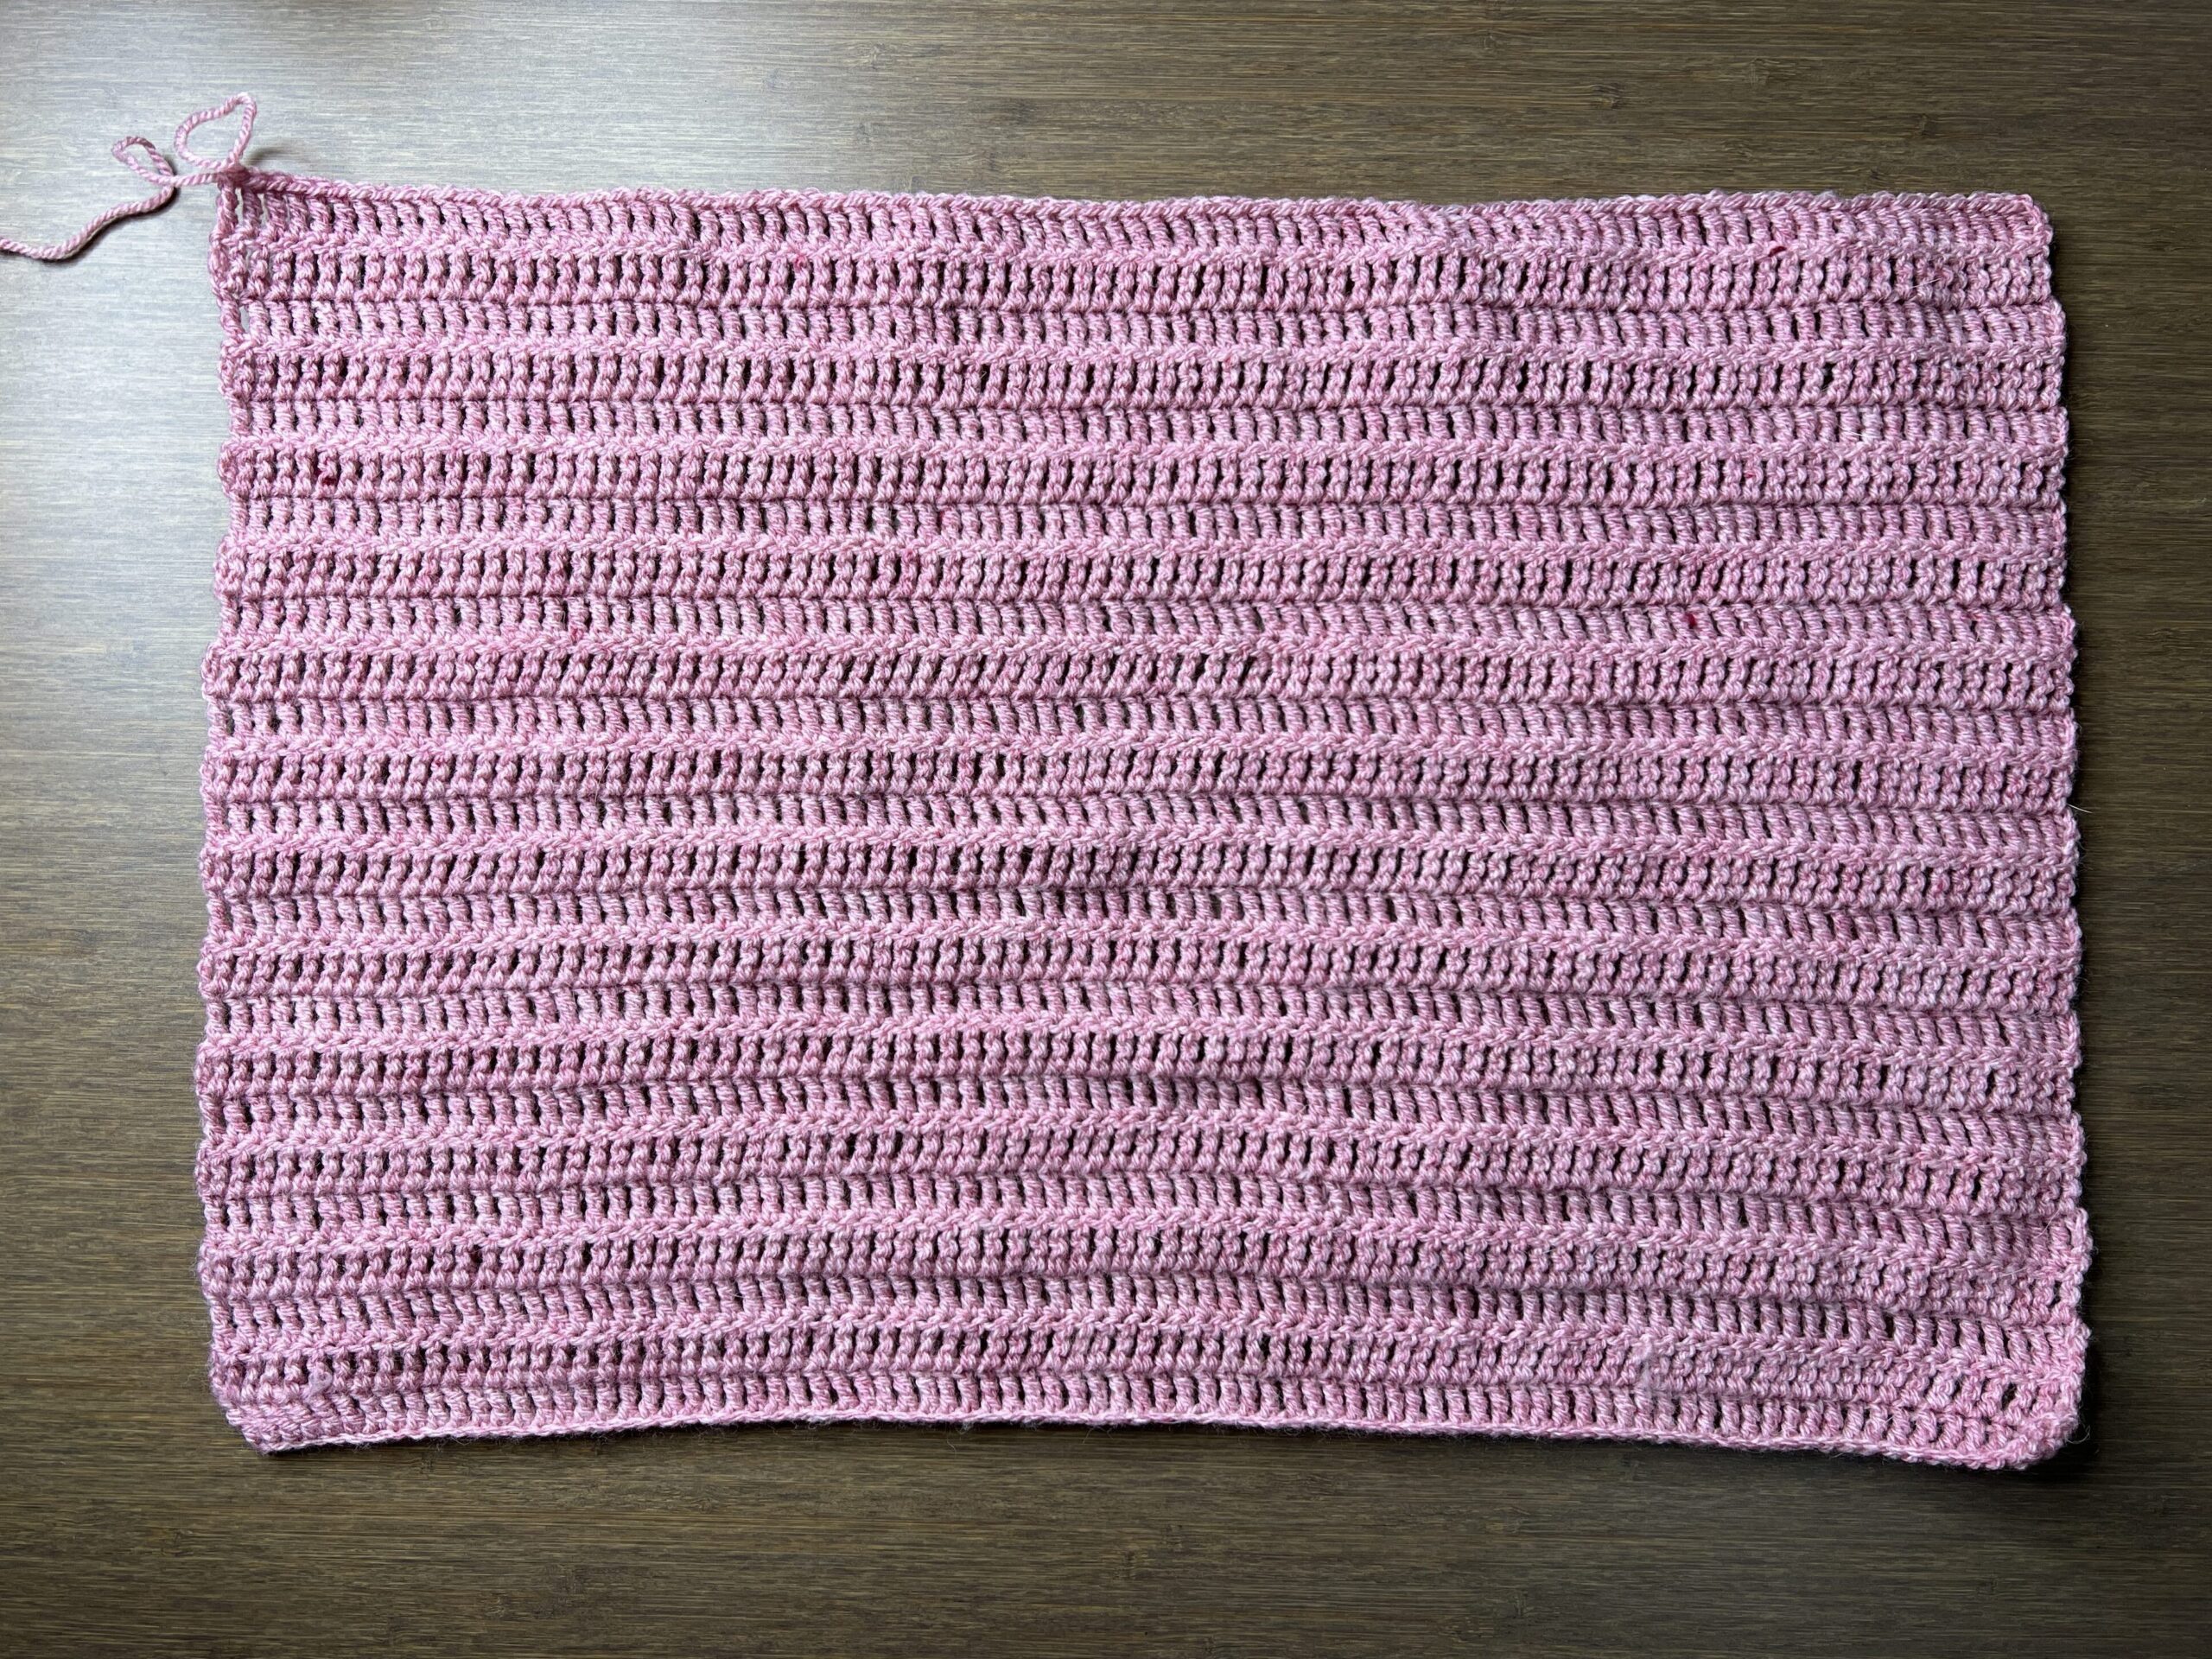
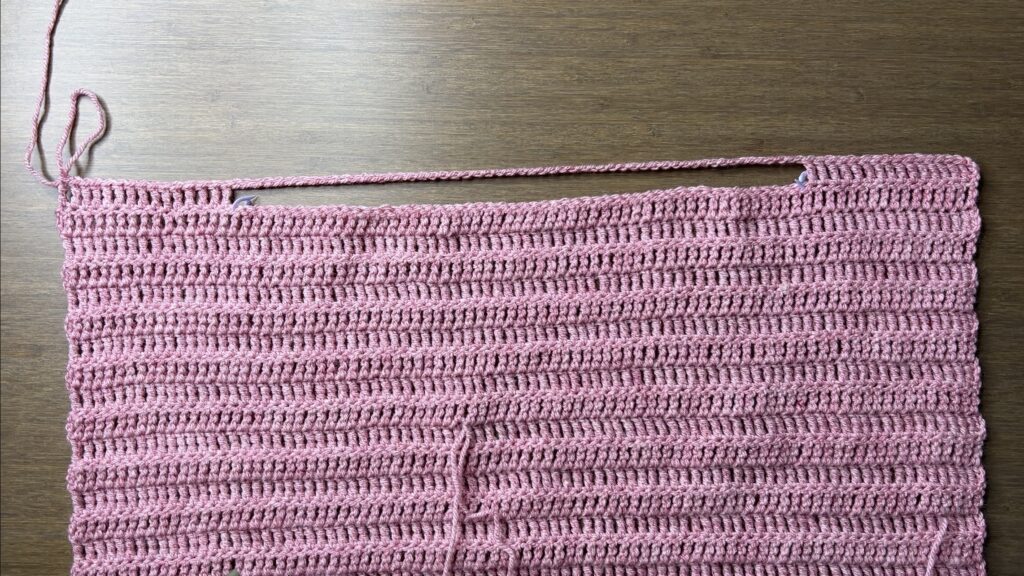
You should end up with something like the image below. The front panel, neck hole, then back panel. The front and back panels are identical, so either one can be front or back.

Fasten off with an extra long loose end to sew up one side of the sweater. View the image below with the arrows to determine the length you’ll need.
Sewing
Lay the main panel open, with the sleeve panels on either side. Make sure that the last row you did on the sleeves is adjacent to the main panel.

Center the sleeve panels using the neck hole row and use stitch markers to hold it in place.

Using the whip stitch or whichever sewing method you prefer, sew the sleeve panels to the main panel with the loose end we left there previously. Tie a double knot so it doesn’t come loose.
Note: If you are using different colors for your main panel and your sleeves, I recommend doing the mattress stitch instead of the whip stitch so the color of the yarn you’re sewing with doesn’t show in the seam.

Fold your project in half along the neck hole row. Sew along the lines in the image below to close up the sides of the sweater and the sleeves. For one side, use the long loose end we left after we finished the main panel. Attach a strand of yarn to sew up the other side.
Tie a double knot at the corners and at the end of the sleeves.

Weave in your loose ends and your easy crochet sweater is complete!


Just finished making this in lavender, white and grey, and it is absolutely my new favorite sweater! Thank you!
What hook size should I use if using the medium weight yarn?
I have not started making this but I already know it’s going to be easier because of this.
Thanks Viv, God bless 🤍
Happy to hear that!! 💕