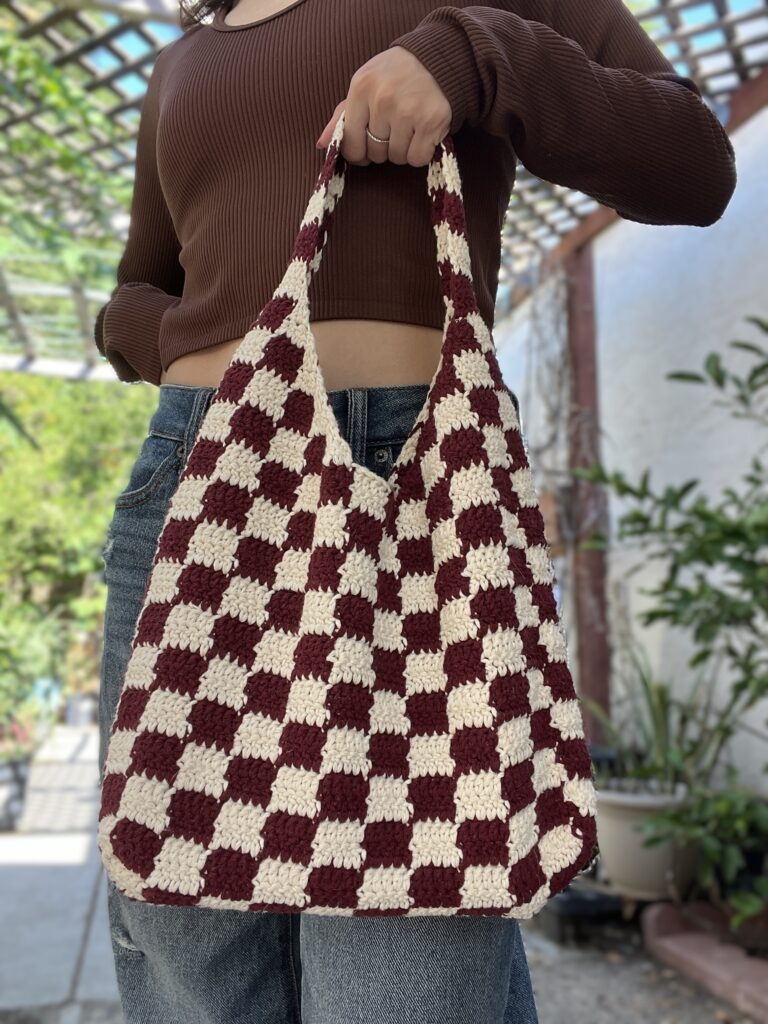
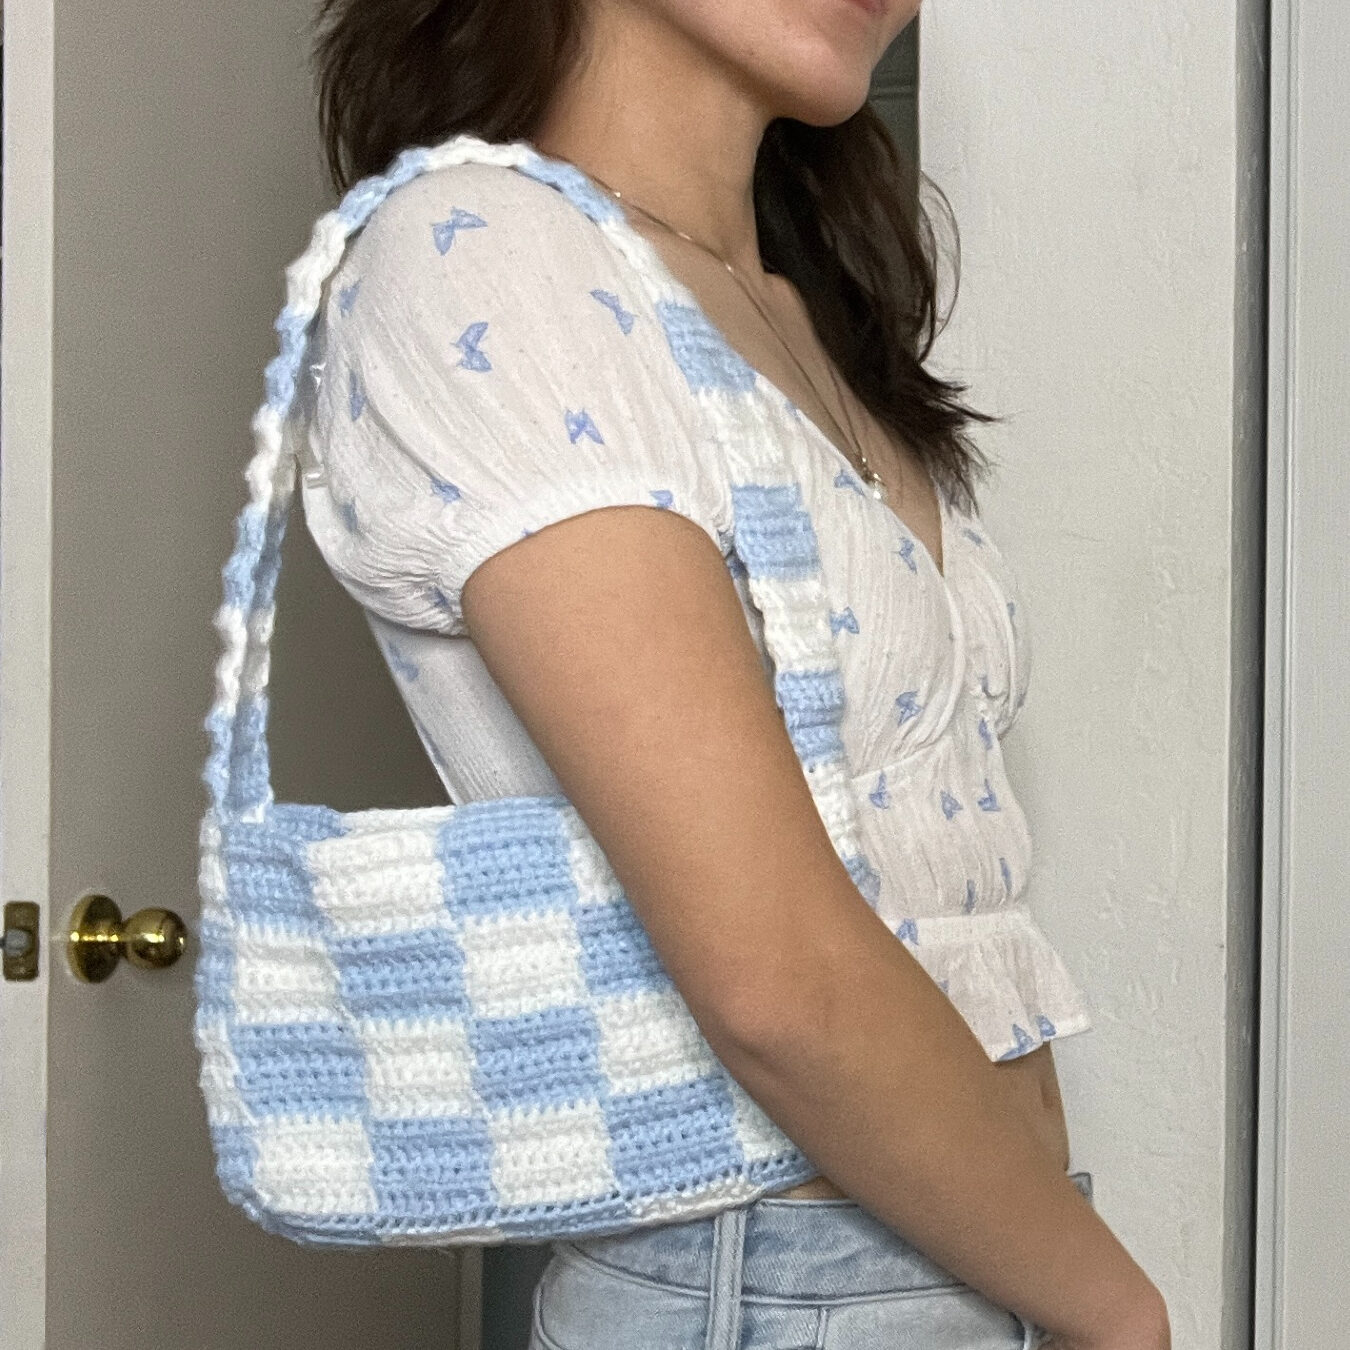
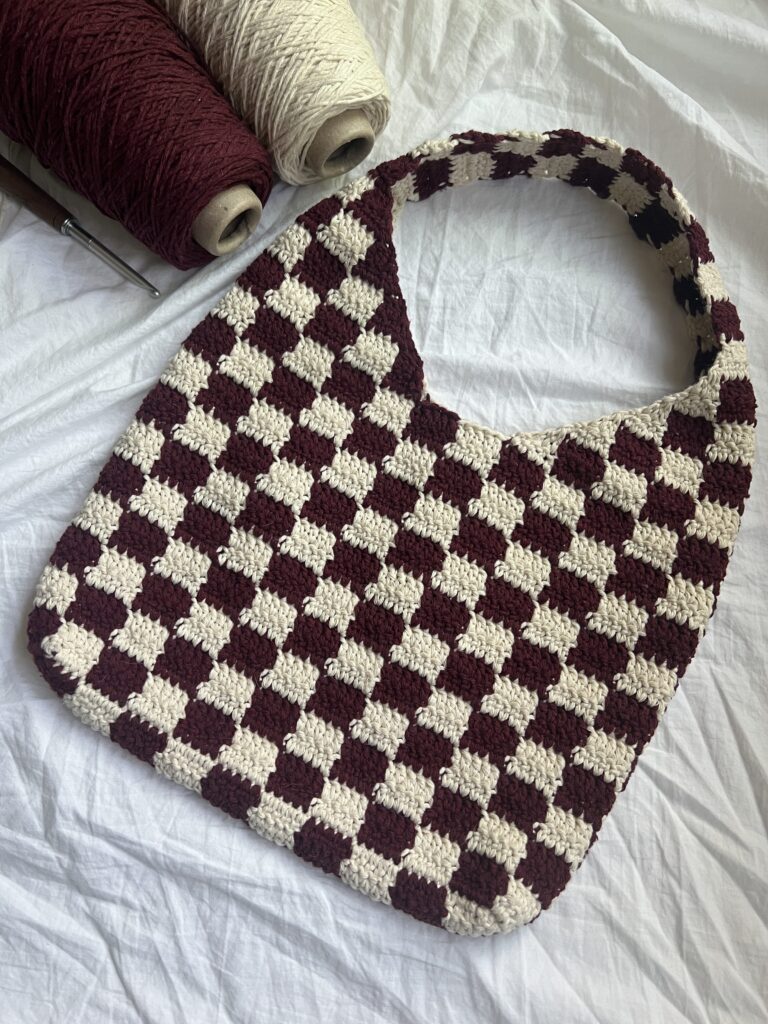
Crochet Checkered Tote Bag | Free Pattern & Video Tutorial
Scroll to see the free crochet checkered tote bag pattern and video tutorial. Or purchase an ad-free, printable PDF file of this pattern!
The crochet checkered tote bag is a fall classic. Start this new season off with this functional and fashionable accessory! Although more suitable for intermediate crocheters, beginners can also tackle this project with the help of the video tutorial. And if you prefer a smaller or larger bag, this pattern lets you know what you need to change!

Intermediate Crochet Project
This pattern is most suitable for more experienced crocheters because it includes color changes, decreases, and a little bit of sewing.
If you want to take on this project as a beginner, make sure to view the tutorial if any part of the written pattern is confusing for you! Also, please leave any questions in the comments if you have any.
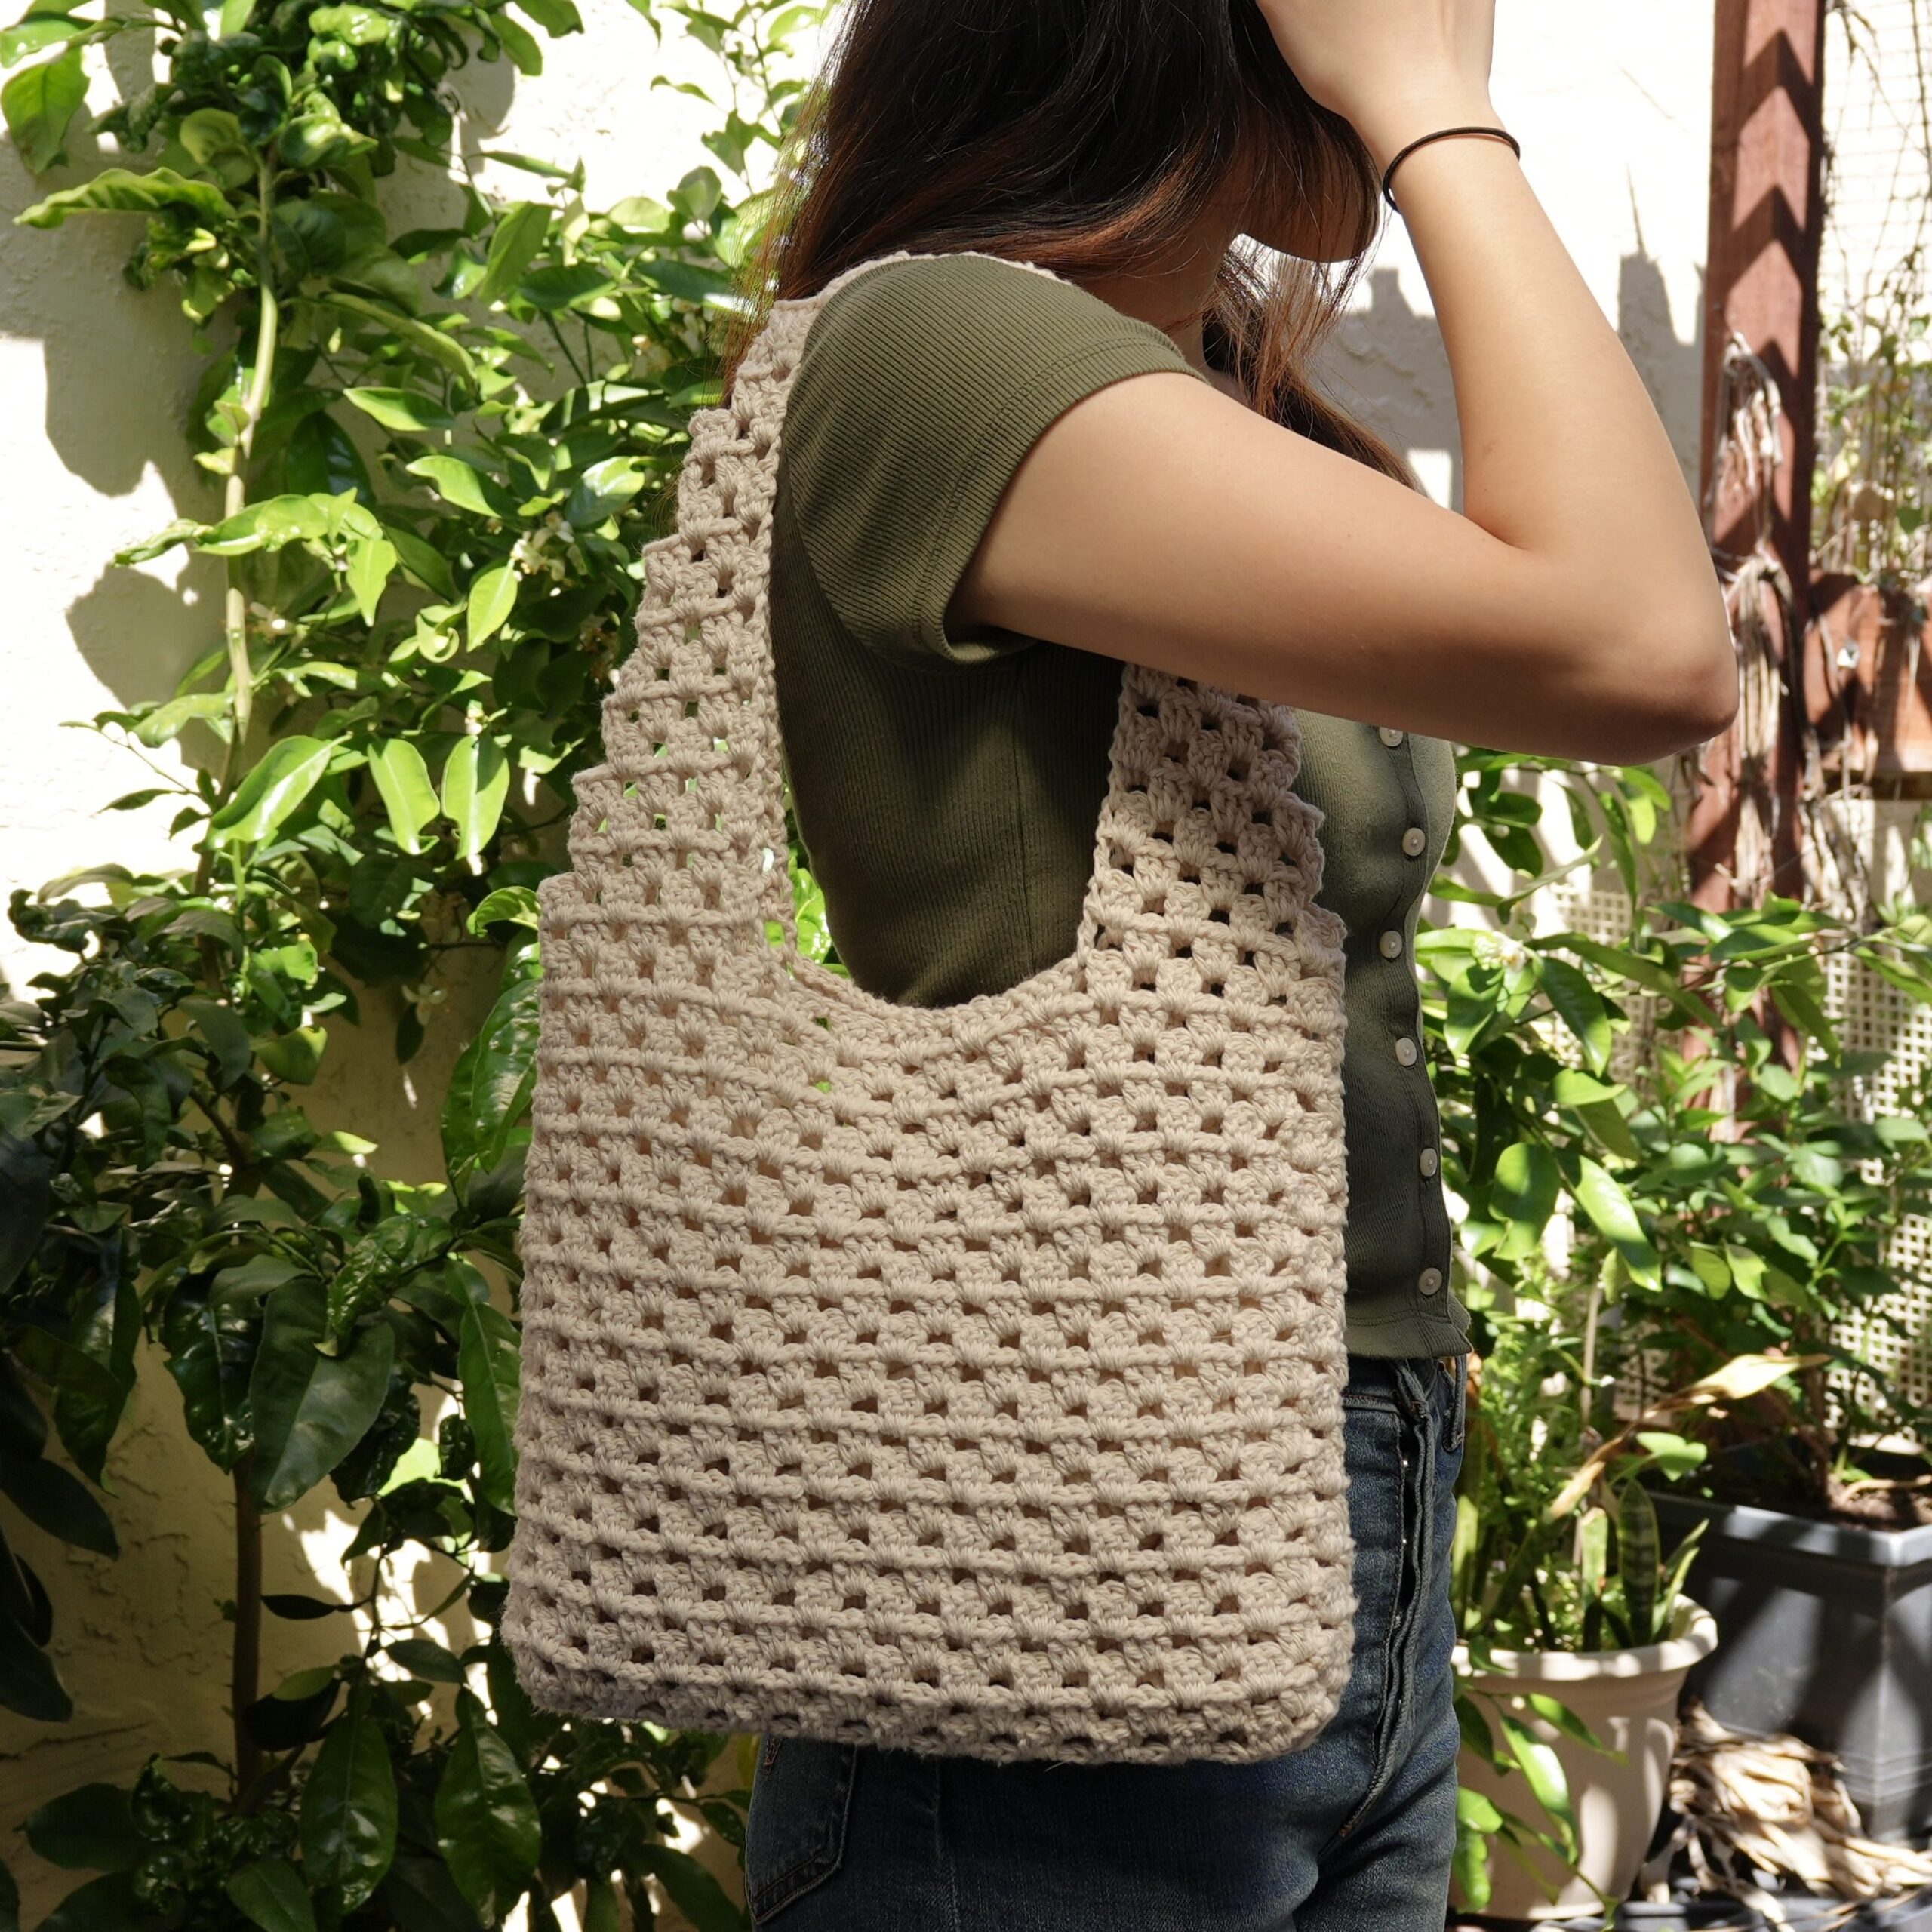
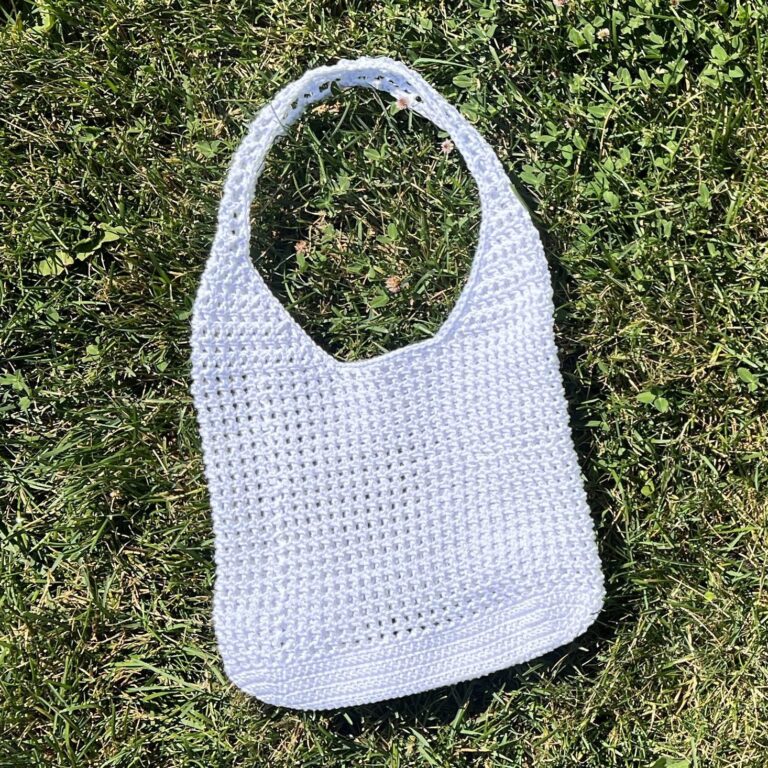
To make it more beginner-friendly, you can skip the color changes and make a solid-colored bag! Or, you can try this mesh tote pattern, which is slightly easier.
Customizing Bag Size
This pattern produces a 31 centimeters wide x 42 centimeters long (12.2 x 16.5 inches) tote bag. But, if you use a different yarn, hook size, or tension, you can end up with a slightly different size.
There are a few things that you can change to adjust the size of the bag to your liking:
- The foundation chain in the very beginning to change the width of the bag
- The number of rows for the base to change the depth of the bag
- The number of rows you do for the body to change the height of the bag
- The number of decrease rows in the strap to change the width of the straps
- The number of rows in the strap to change the length of the strap
The italicized notes within the pattern let you know what you can change to adjust the size of the bag. Keep in mind that changing parts of the pattern may require you to change the pattern for the straps later on. The only part you can change without having to change the pattern for the straps is the number of rows in the body.
Project Overview


Choosing Yarn & Hook Size
My go-to yarn for crocheting bags is always cotton. It’s a relatively affordable, non-stretchy fiber. It’s important to choose a fiber that doesn’t stretch too much, especially if you don’t plan to line the bag.
As for hook size, I tend to size down when crocheting bags for tighter stitches. This minimizes any holes in the bag and I also feel like it makes it sturdier.

How to Change Colors – Checkered Pattern
In this pattern, each square is made by 2 rows of 5 double crochets. In the checkered pattern, the colors of the squares alternate, so you need to change colors every 5 stitches.
My preferred method of changing colors with double crochets is to pull through the last two loops of the double crochet with the new yarn. We’ll do this every fifth stitch, so the fifth stitch is in the old color and the next stitch will be in the new color.
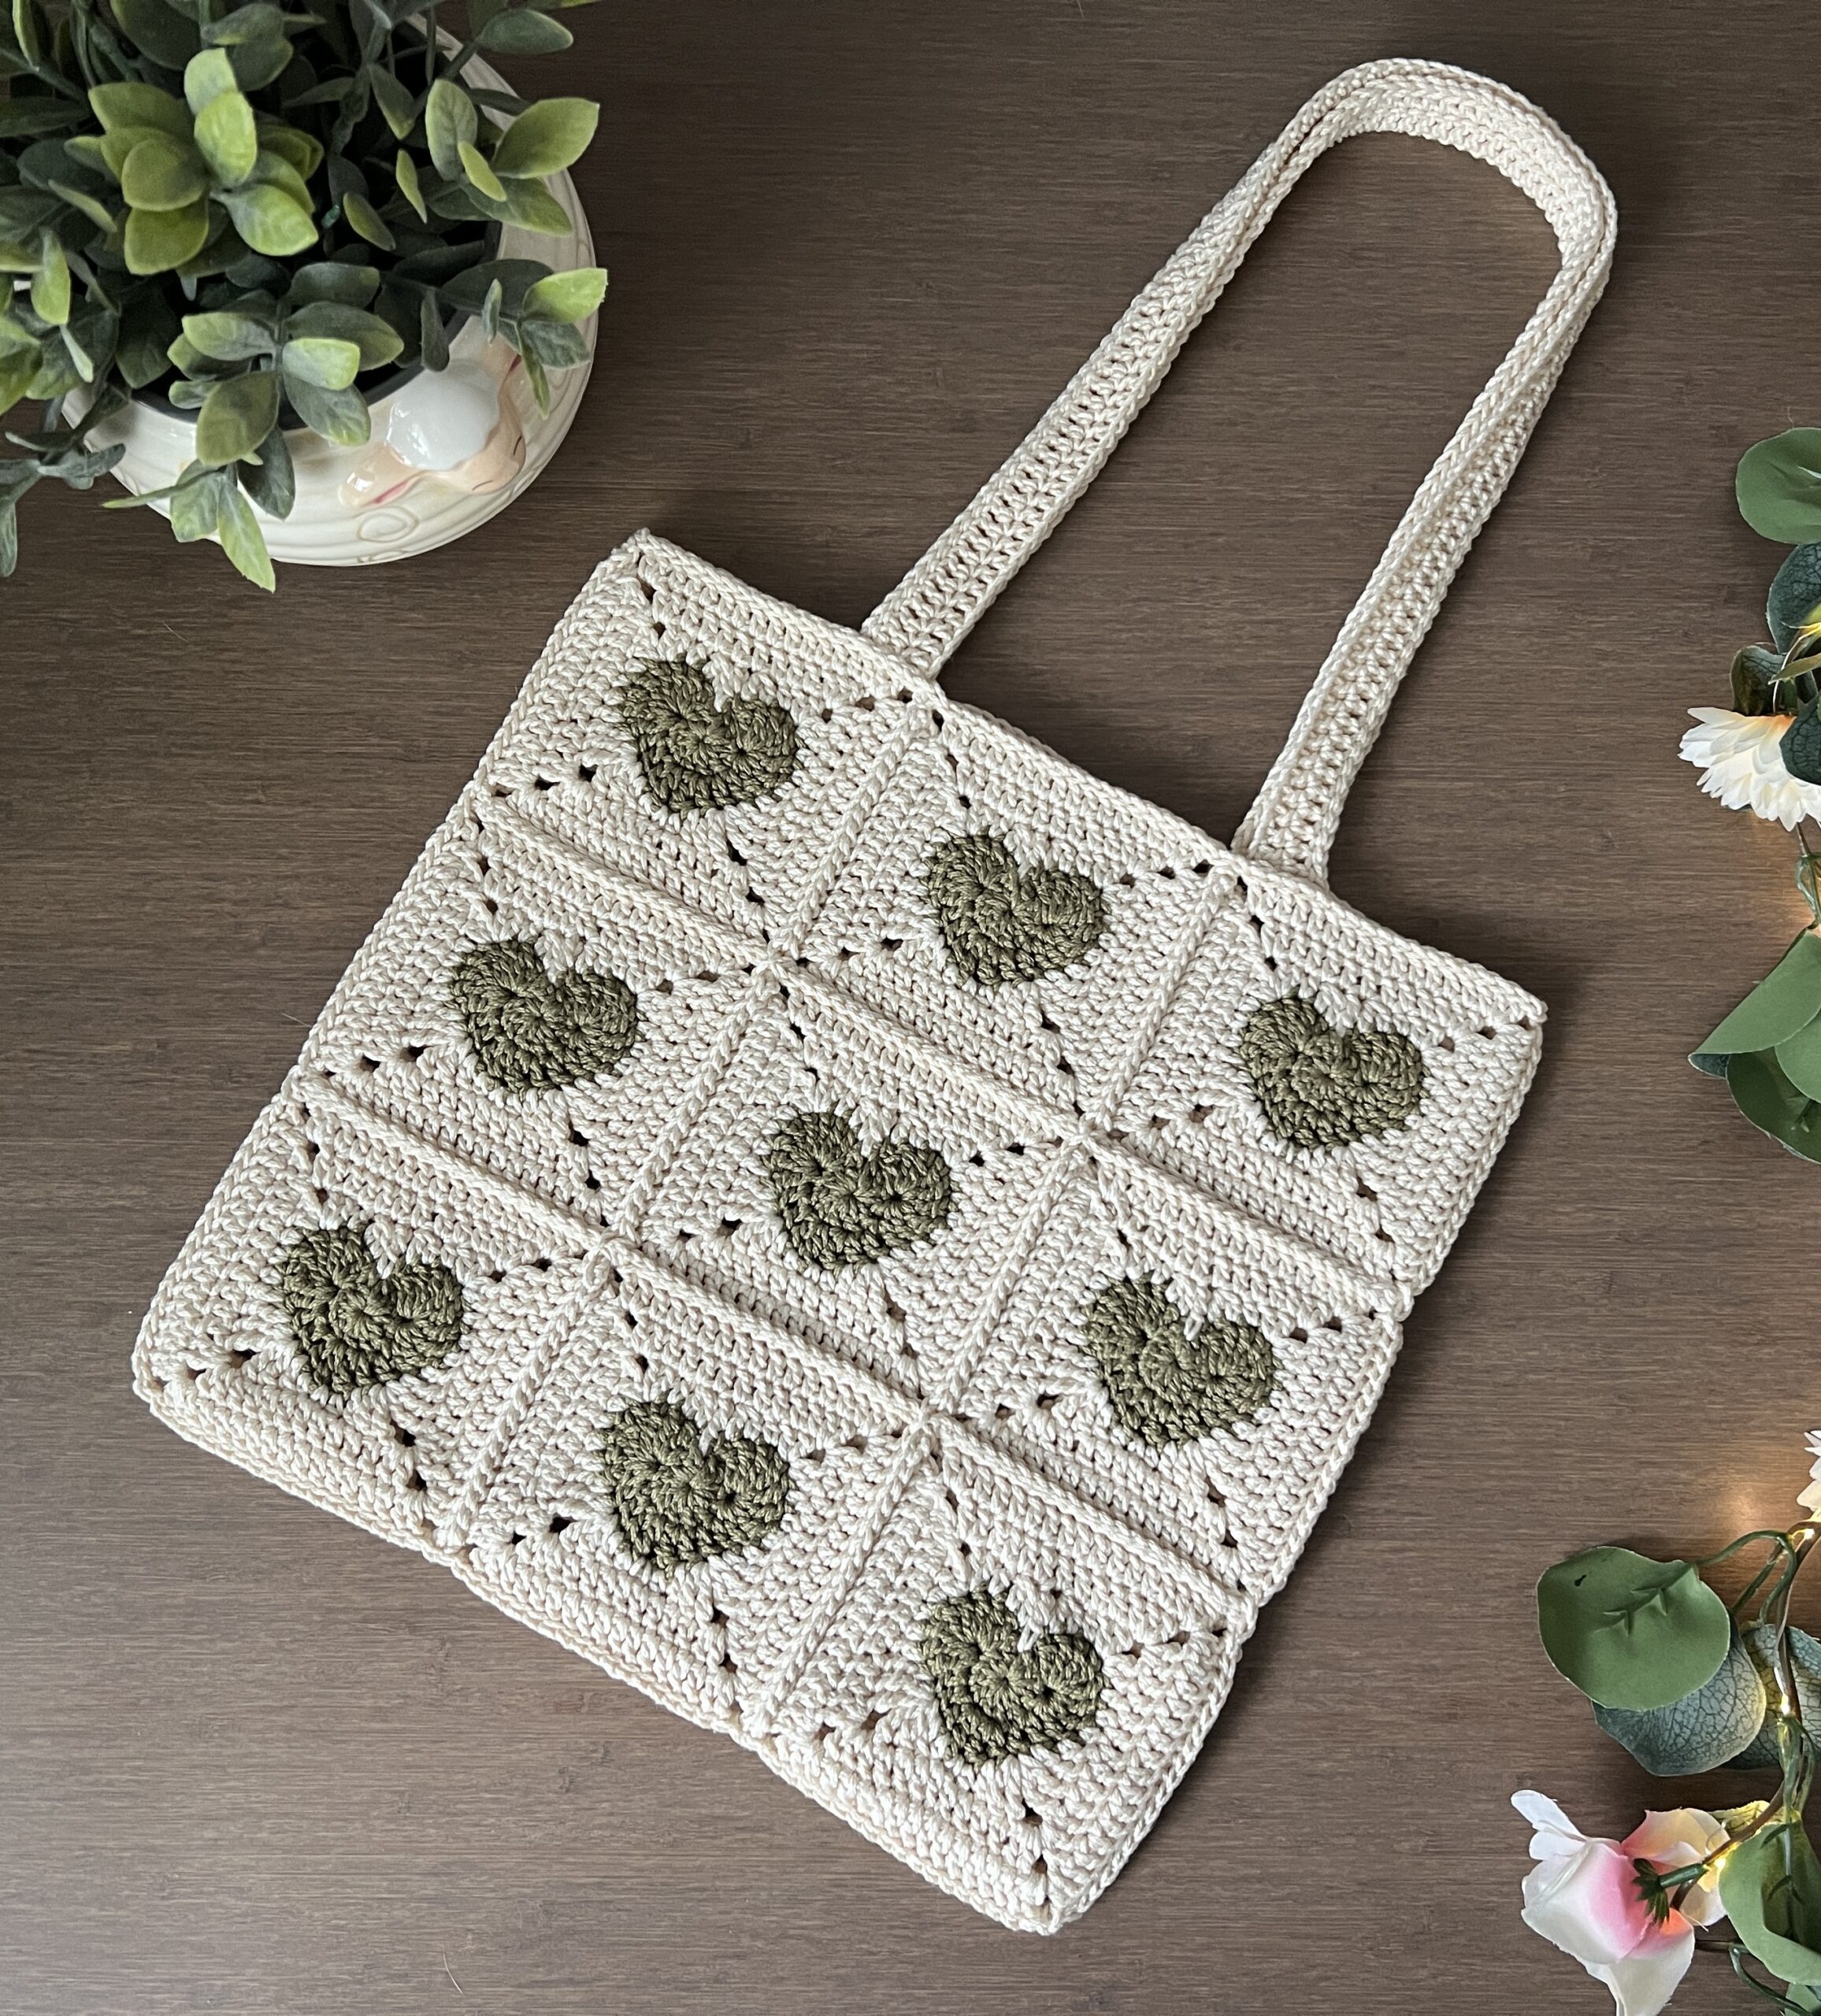
Other Projects You Might Like

Crochet Checkered Tote Bag Video Tutorial
Become a member to get early access to new videos!
You can follow along with my YouTube video to make your own crochet checkered tote! I have timestamps included to section the video and help you jump to any point you need to!
This post may contain affiliate links. I may earn a small commission on qualifying purchases at no additional cost to you!
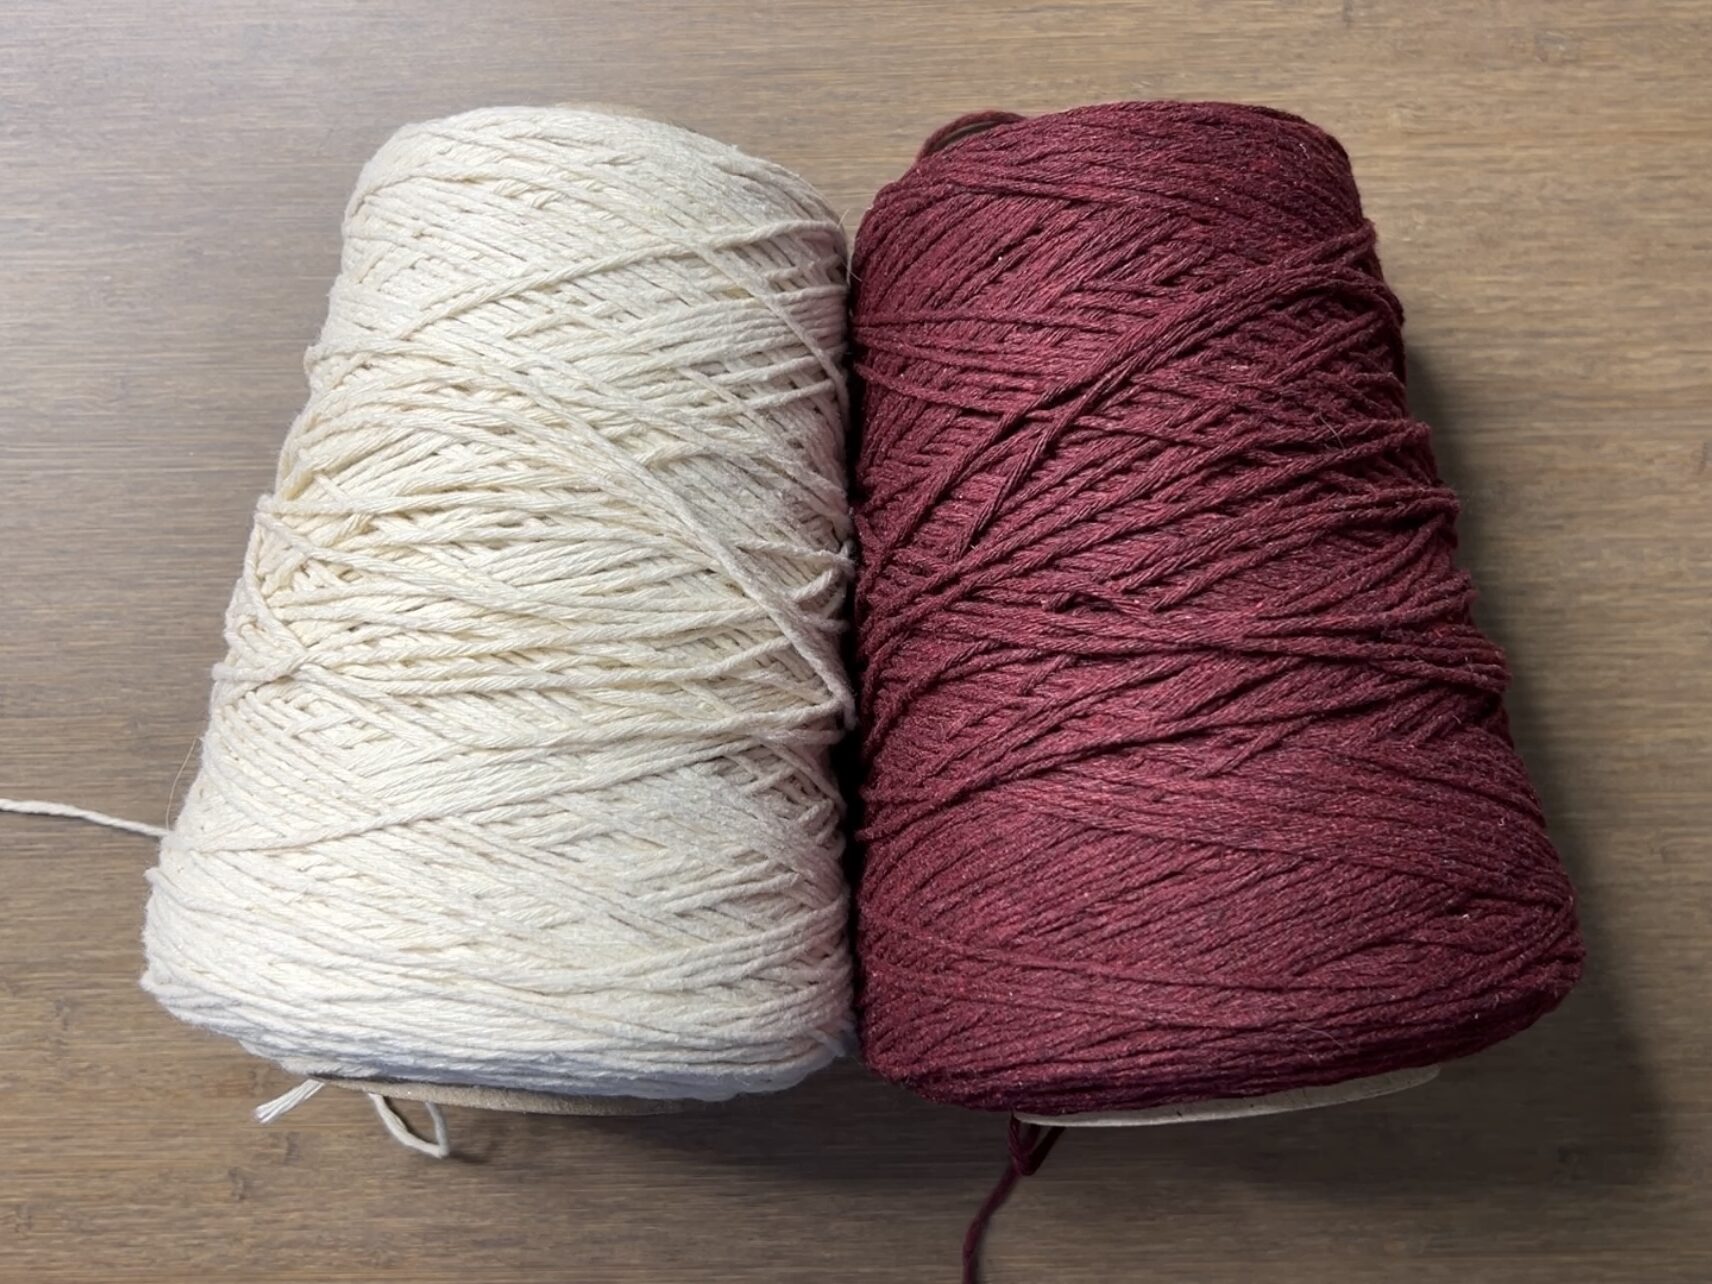
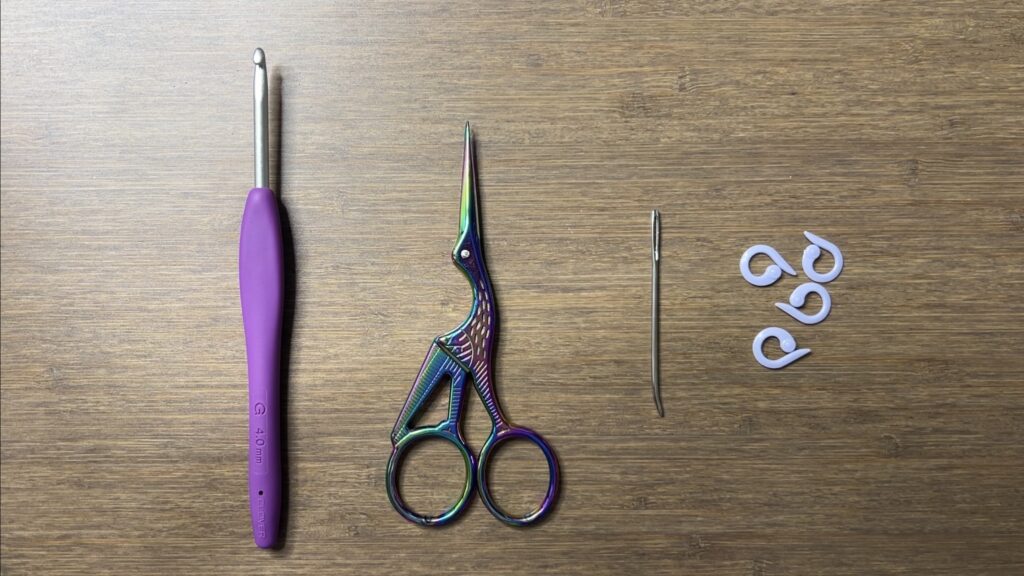
Materials
- 250 grams of medium weight yarn (Re-Up in “Full Moon” & “Pomegranate“)
- 4mm Clover Amour crochet hook
- Scissors
- Yarn needle
- Stitch markers
- Yarn bowl (optional)
Dimensions
Base: 26.5 centimeters wide x 5 centimeters deep (10.4 x 2 inches)
Body: 25.5 centimeters wide x 21.5 centimeters tall x 5 centimeters deep (10 x 8.5 x 2 inches)
Overall: 31 centimeters wide x 42 centimeters long (12.2 x 16.5 inches)
Gauge
10 rows of 20 double crochets makes a 10 x 10 centimeter square
Notes and Tips
- This pattern is written using US crochet terms
- Before changing colors, tighten the yarn you just carried so it’s not loose
- The chain 2 at the beginning of each row/round does NOT count as a double crochet
- Before slip stitching, pull the yarn you’re not working with to the front, and slip stitch over it
- If you don’t have stitch markers, bobby pins and safety pins work, too!
- When working the straps, carry the yarn from the inside of the strap to hide the color being carried up the row
- Italicized notes tell you what to change to adjust the size
Color Notation
For this pattern, I wrote “switch colors” instead of “switch to color A” because many of the rows/rounds are the same, just with a different color. I think writing it this way makes it a little easier to comprehend the pattern.
If you have any questions, please leave them in the comments!
Abbreviations
ch = chain
dc = double crochet
dc2tog = double crochet 2 together
dc3tog = double crochet 3 together
dc4tog = double crochet 4 together
rep = repeat
sk = skip
sl st = slip stitch
st = stitch
Base
Foundation: With either color, make a slipknot, ch52
Note: Do fewer chains to make the bag less wide or do more chains for a wider bag. The number of chains you do must be a multiple of 5, plus 2.
Row 1: dc in 3rd ch from hook and in next 4 ch, rep[switch colors, dc in next 5 ch] across (50)
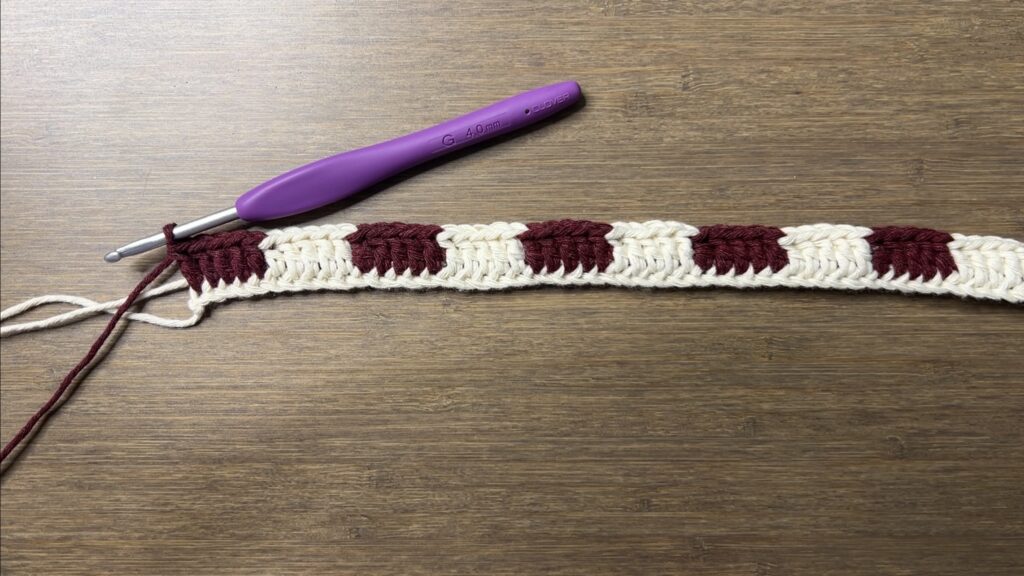
Row 2: ch2, turn, dc in next 5 st, rep[switch colors, dc in next 5 st] across, switch colors (50)

Row 3: ch2, turn, dc in next 5 st, rep[switch colors, dc in next 5 st] across (50)
Row 4: rep[Row 2] (50)
Note: Do fewer rows for a smaller bag base or do more rows for a bigger bag base.
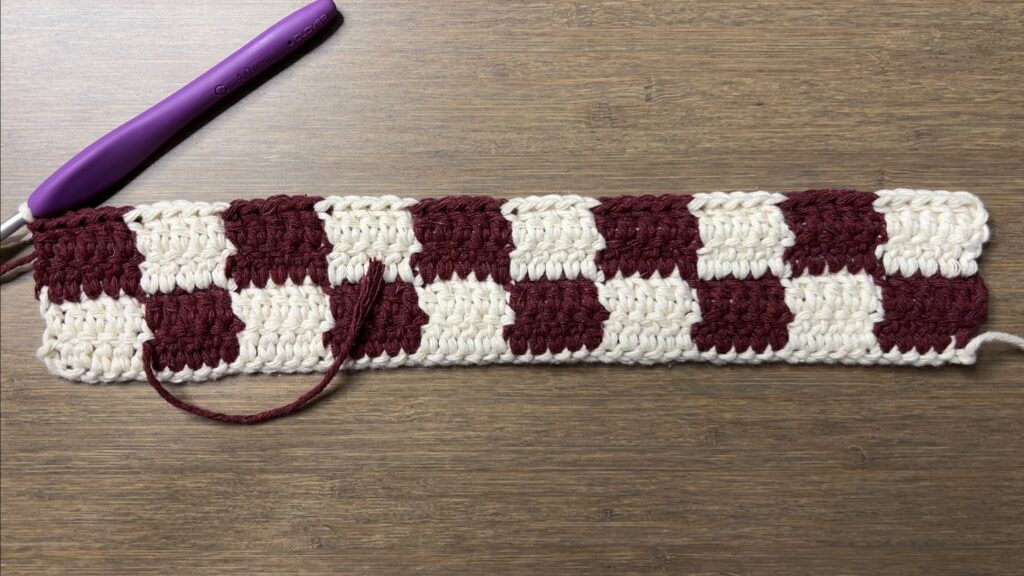
Body
Next, we’ll work around this rectangular base, crocheting over the top, sides, and bottom.
Round 1: ch2, turn, dc in next 5 st, rep[switch colors, dc in next 5 st] around, sl st (120)
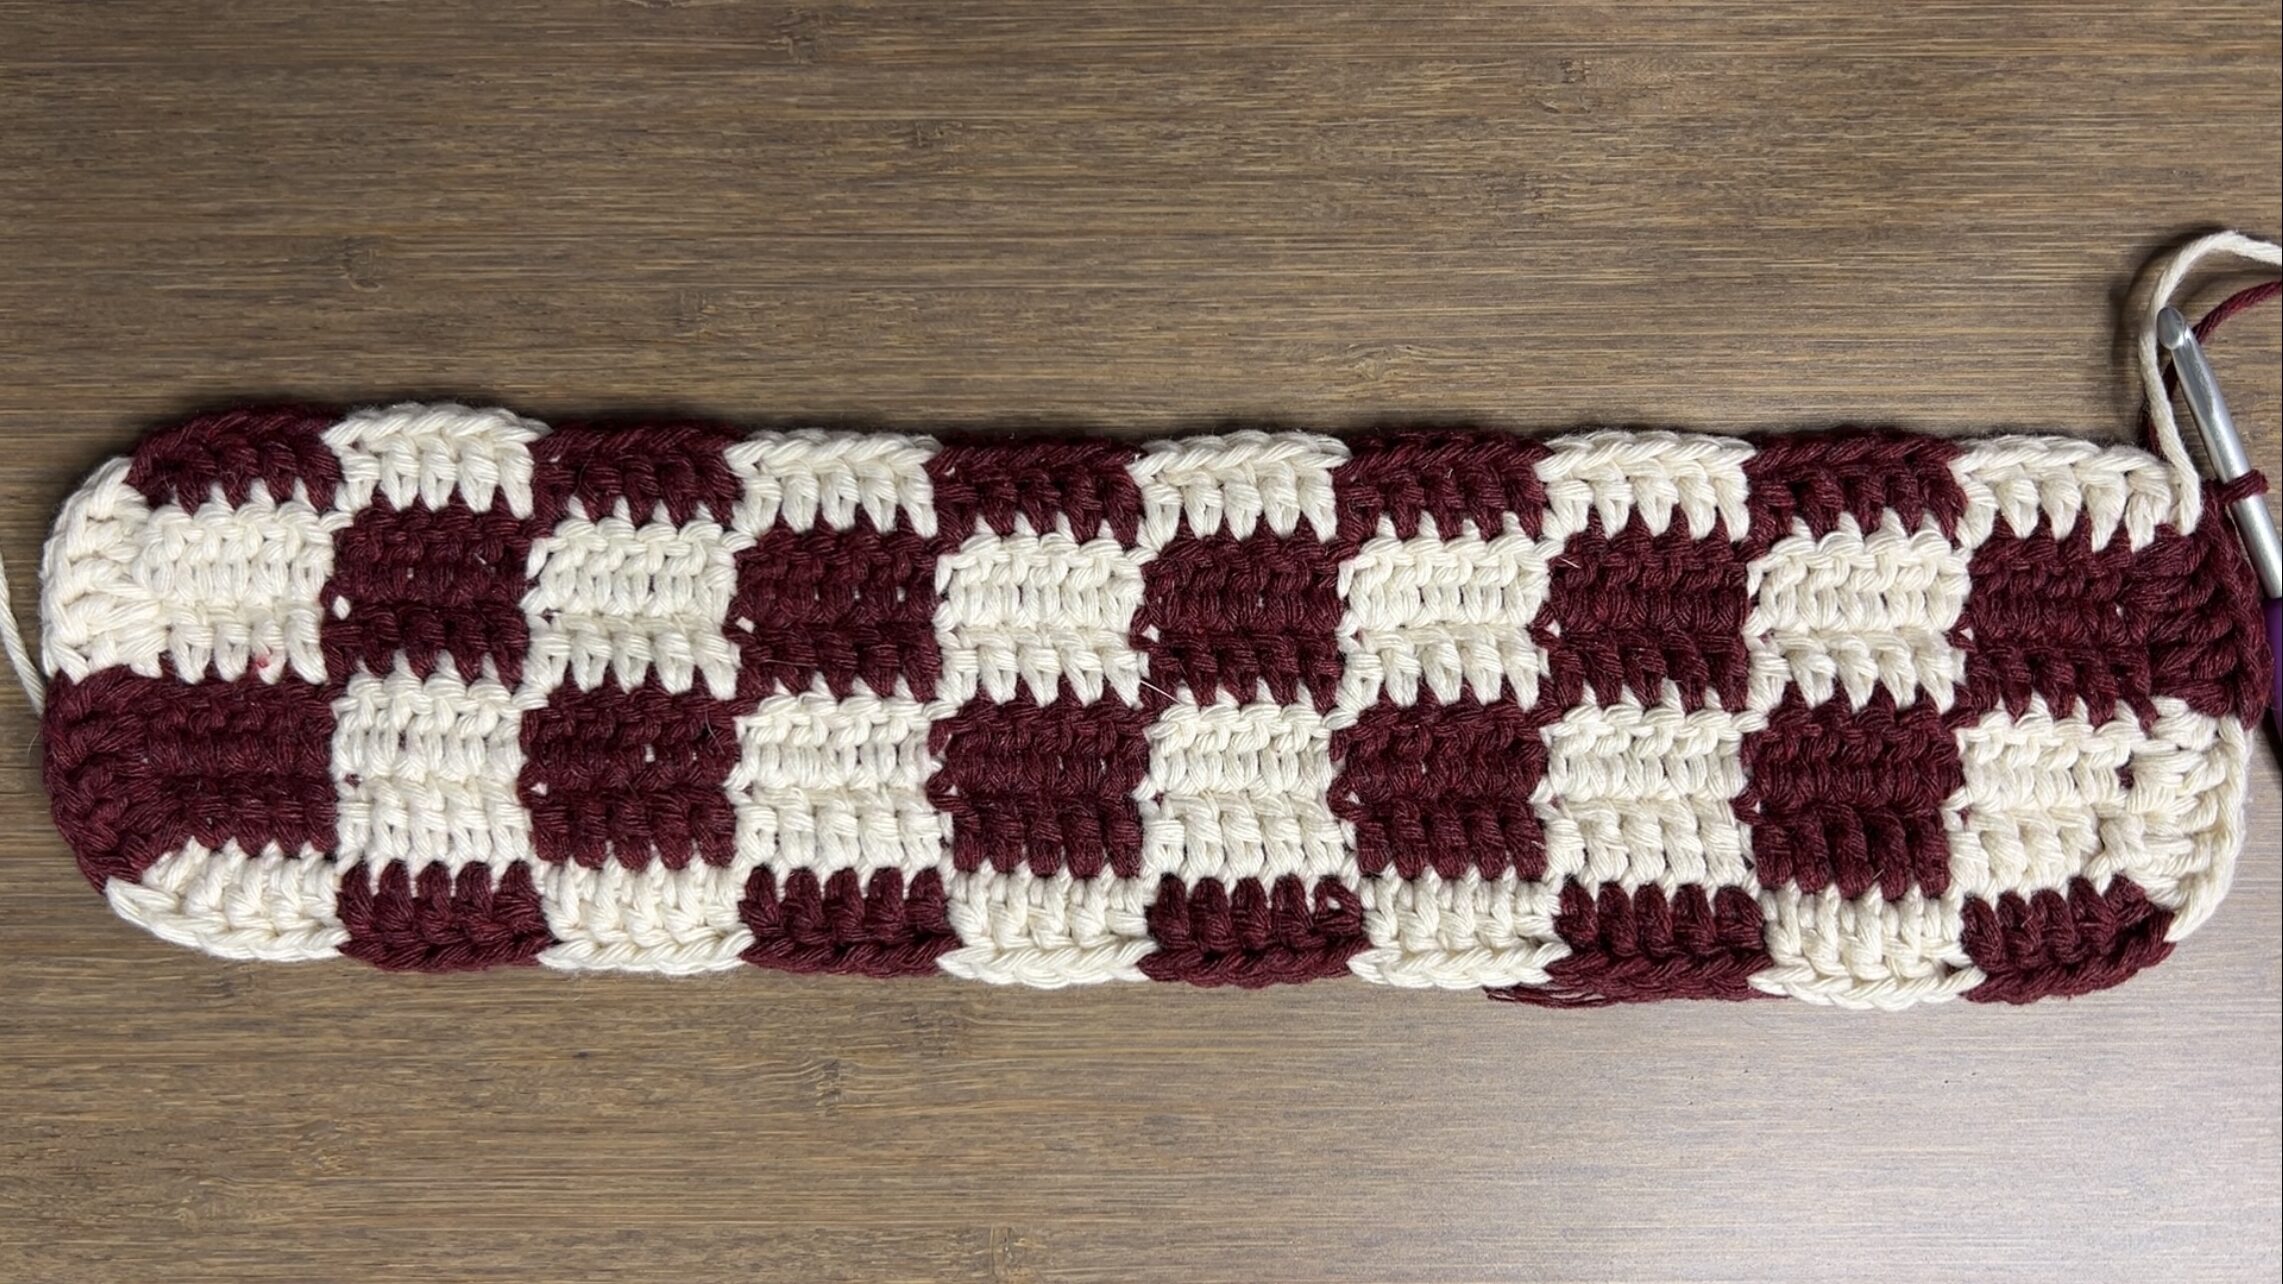
Round 2: ch2, turn, rep[dc in next 5 st, switch colors] around, sl st (120)

Rounds 3-20: rep[Round 1, Round 2] (120)
This means Round 3 is a repeat of Round 1, Round 4 is a repeat of Round 2, Round 5 is a repeat of Round 1, and so on.
Note: Do fewer rounds for a shorter bag or do more rounds for a taller bag. End on an even number round to have a full row of squares.
Fasten off.

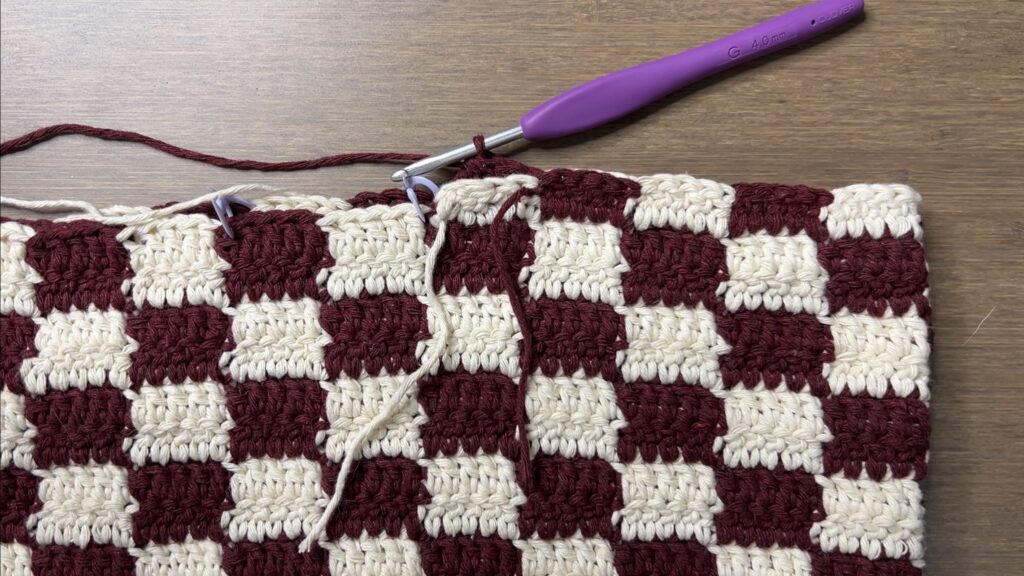
Straps
Flip the bag so the nicer side is on the outside. This is just preference; there isn’t really a “correct” side to have out.
When starting a new row on the straps, carry the yarn you’re not using from the inside of the strap, so it doesn’t show on the outside. View the video tutorial for help.
Mark where you want the straps to start and end. I chose to have a two-square wide gap between the straps.

With the opposite color, attach your yarn to the first stitch outside the stitch marker.
If the last round of the body was done from the outside, attach the yarn from the inside. If it was done from the inside, attach it to the outside.
Row 1: ch2, dc3tog, dc in next 2 st, rep[switch colors, dc in next 5 st] until last square before st marker, switch colors, dc in next 2 st, dc3tog (46)
Row 2: ch2, turn, dc3tog, rep[switch colors, dc in next 5 st] until last square, switch colors, dc3tog (42)

Row 3: ch2, turn, sk1, dc3tog, dc in next 2 st, rep[switch colors, dc in next 5 st] until last square, switch colors, dc in next 2 st, dc4tog (36)
Rows 4-8: rep[Row 2, Row 3] (32, 26, 22, 16, 12)
Note: Do fewer decrease rows for a wider strap or do more rows for a thinner strap. If you made a larger bag, you will need to repeat Rows 2 and 3 more times to get your strap width down to 2 squares wide.

Row 9: ch2, turn, sk1, dc in next 5 st, switch colors, dc in next 4 st, dc2tog (10)
Row 10: ch2, turn, rep[dc in next 5 st, switch colors] across (10)
Row 11: ch2, turn, dc in next 5 st, switch colors, dc in next 5 st (10)
Rows 12-20: rep[Row 10, Row 11] (10)
Note: Do fewer rows for a shorter strap or more rows for a longer strap. Don’t forget to account for stretching!
Fasten off.

Replicate the rows for the other strap. Fasten off with a long loose end to sew straps together.

With the long loose end left on one of the straps, whip stitch the last rows of the straps together to connect them. Tie a double knot to secure the seam.

Finished Crochet Checkered Bag
Weave in your loose ends and your crochet tote is finished!


Hii! I just made this bag and I absolutely love it! Would it be alright for me to sell the bags I make with this pattern? (With credit of course)