Gingham Crochet Tote Bag | Free Pattern & Video Tutorial
See the free crochet gingham tote bag pattern and video tutorial below or purchase an ad-free, printable PDF file of this pattern!
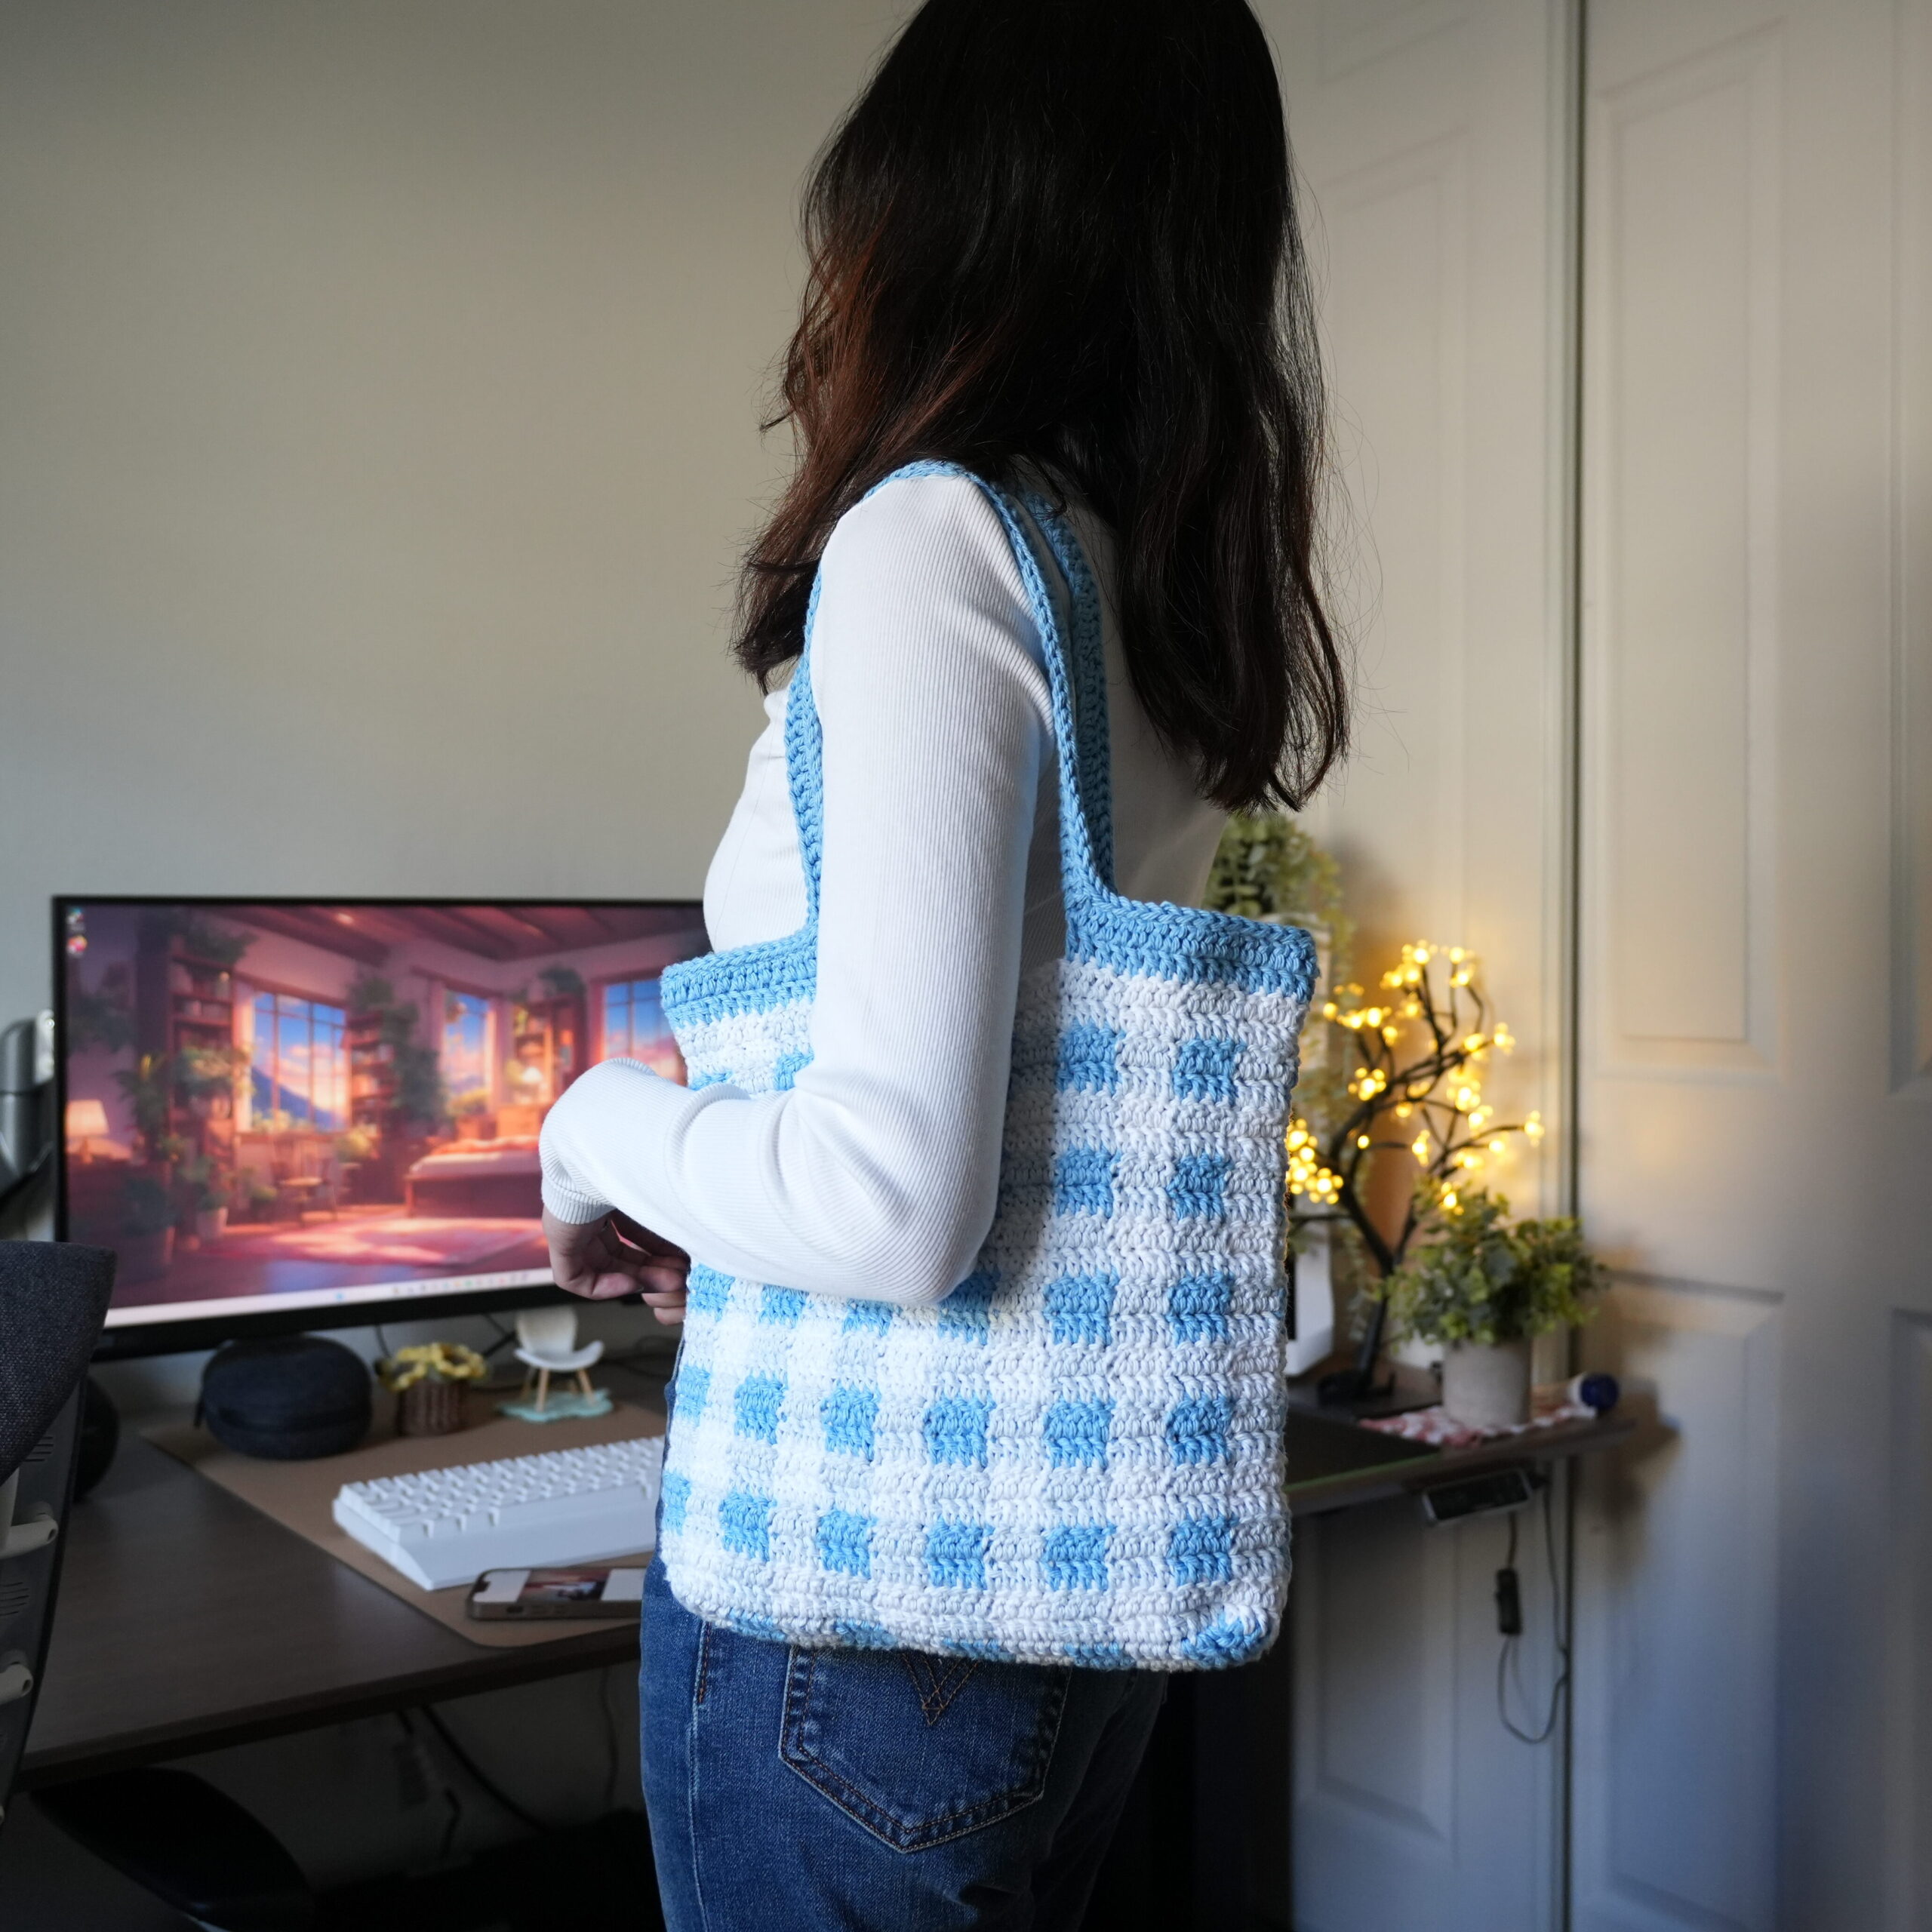
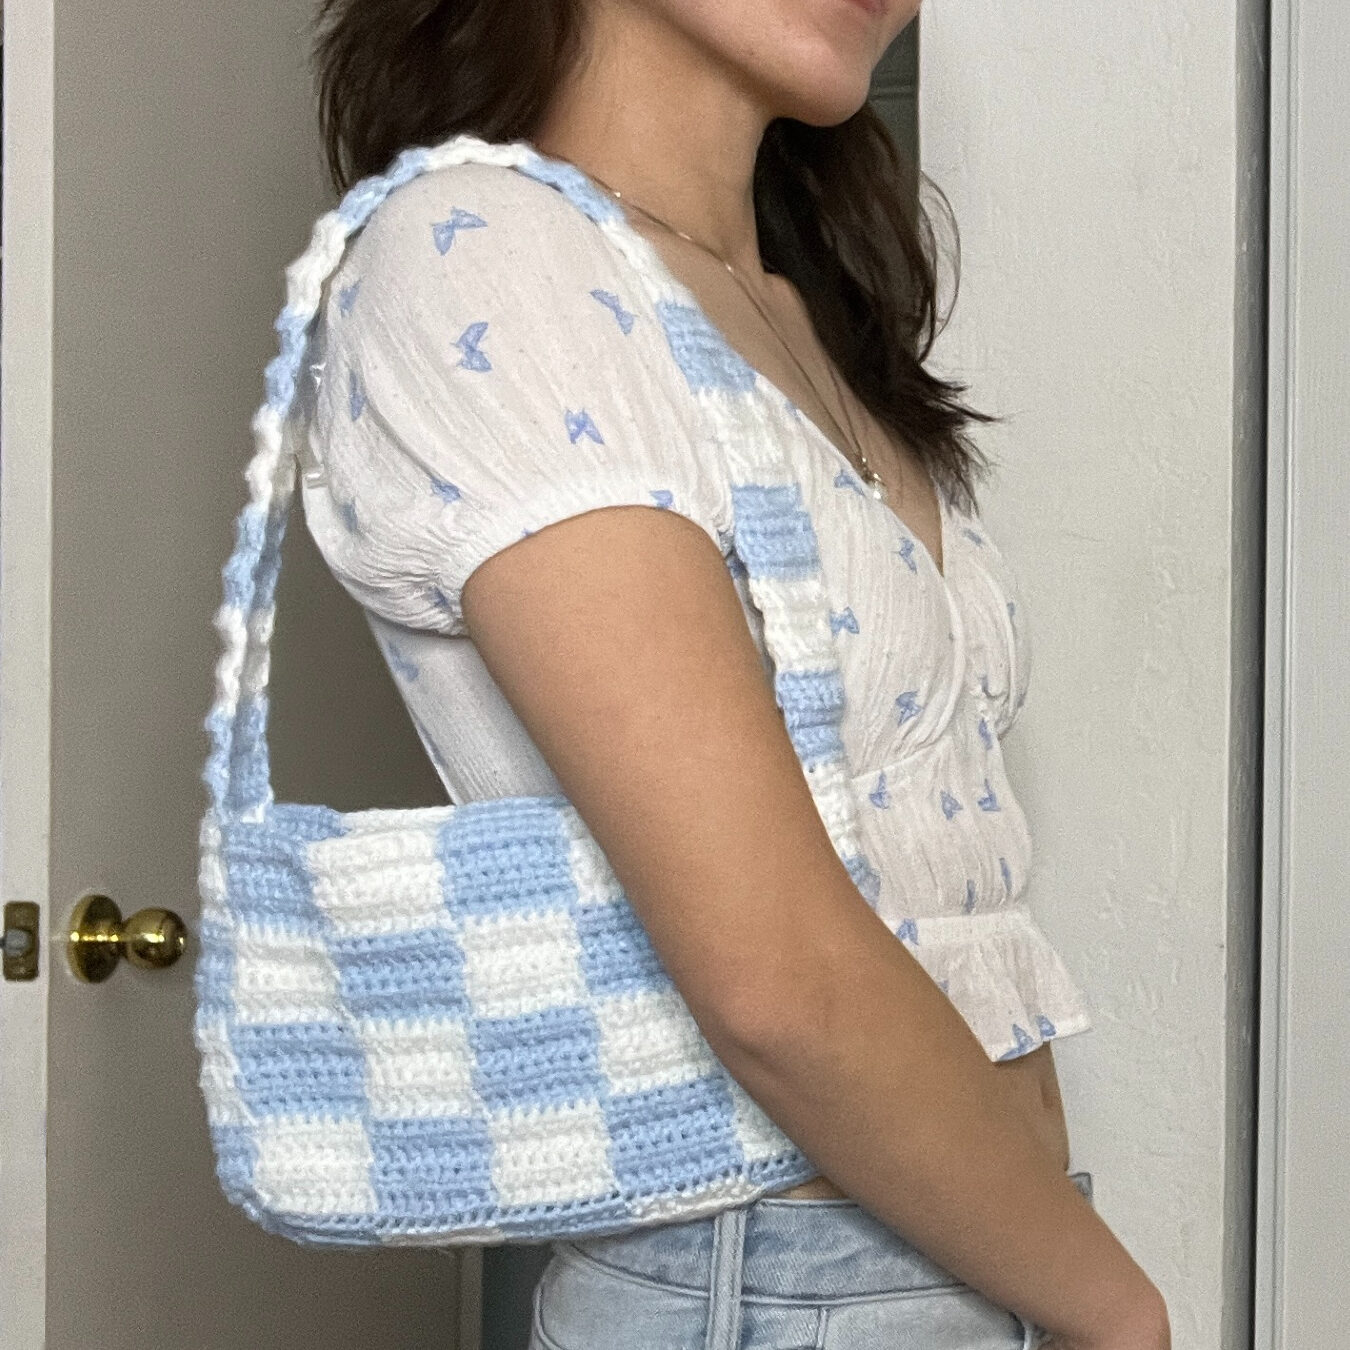
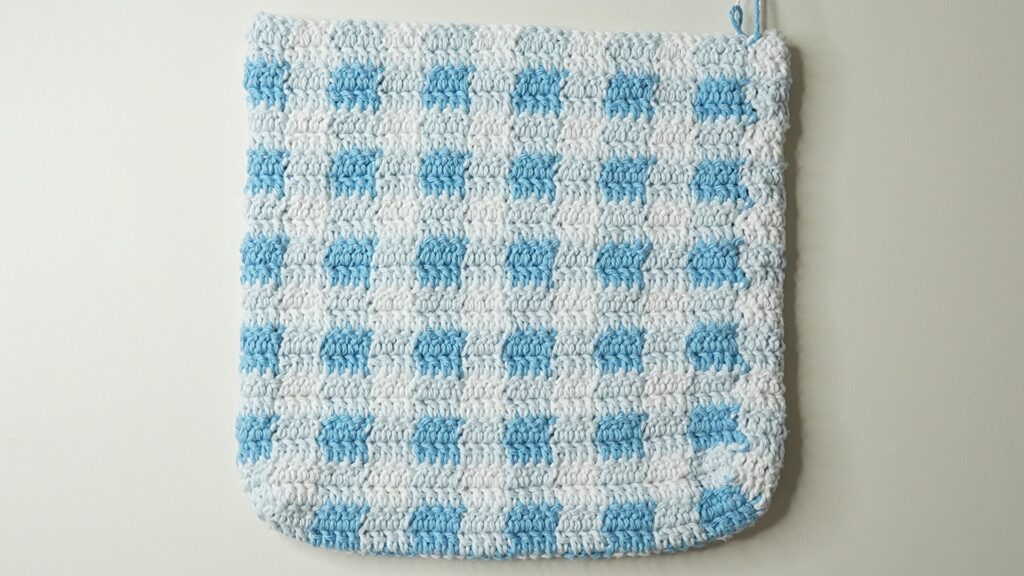
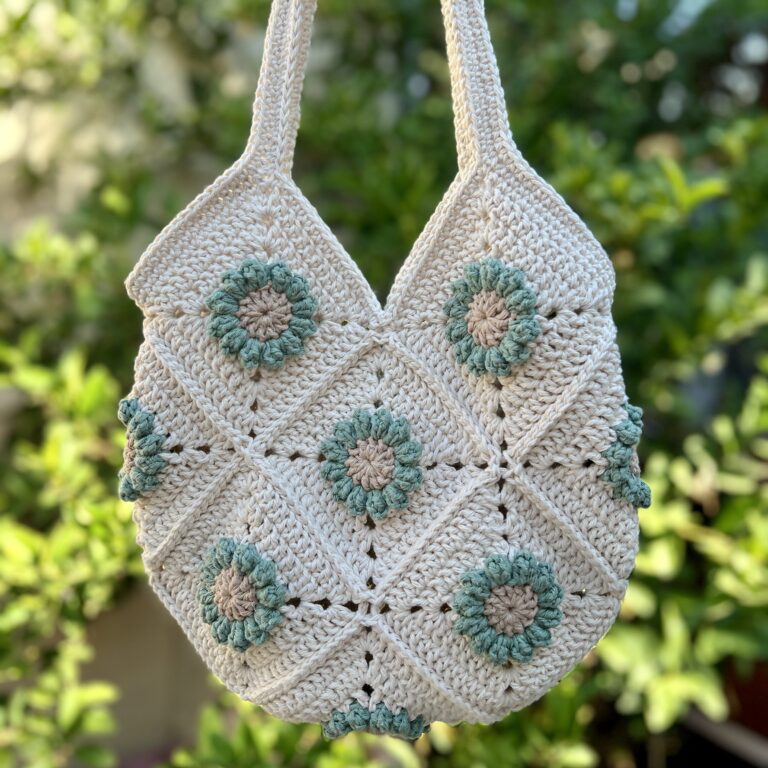
Learn how to crochet this beautiful gingham tote bag! This crochet tote bag is crocheted in one piece, has no sewing, and has very few loose ends. Customize your bag with the color and pattern, whether you choose to do a gingham pattern, checkered pattern, stripes, or solid color!

Table of Contents
Sizing
All dimensions of this bag are easily adjustable by adding more rounds/rows. The only caveat is that the colors might shift, so you’ll have to keep track of the gingham pattern on your own if you choose to edit the size. The italicized notes within the pattern will let you know what to change to adjust the size of the bag.

This post may contain affiliate links. I may earn a small commission on qualifying purchases at no additional cost to you!
Choosing Yarn and Hook Size
You typically want to use cotton yarn when crocheting bags because it’s non-stretchy and relatively affordable. If you plan to line your bag, the stretchiness of the fiber you use doesn’t matter as much. If you don’t plan to line it, I would strongly recommend using cotton yarn, especially if you plan to use your bag often.
For the hook size, you can just follow the recommended size on your yarn label. If you generally crochet on the looser side, I would suggest sizing down on your hook size to reduce gaps between your stitches. This is especially important for this pattern because of the colorwork. You don’t want the yarn you’re carrying to poke through your stitches.
Crochet Gingham Pattern
The color pattern for this gingham crochet tote bag might seem intimidating, but it’s actually very simple. Just remember that the medium shade is used in every row and forms a checkered pattern on its own. Then, the two other shades take turns appearing in every other row.
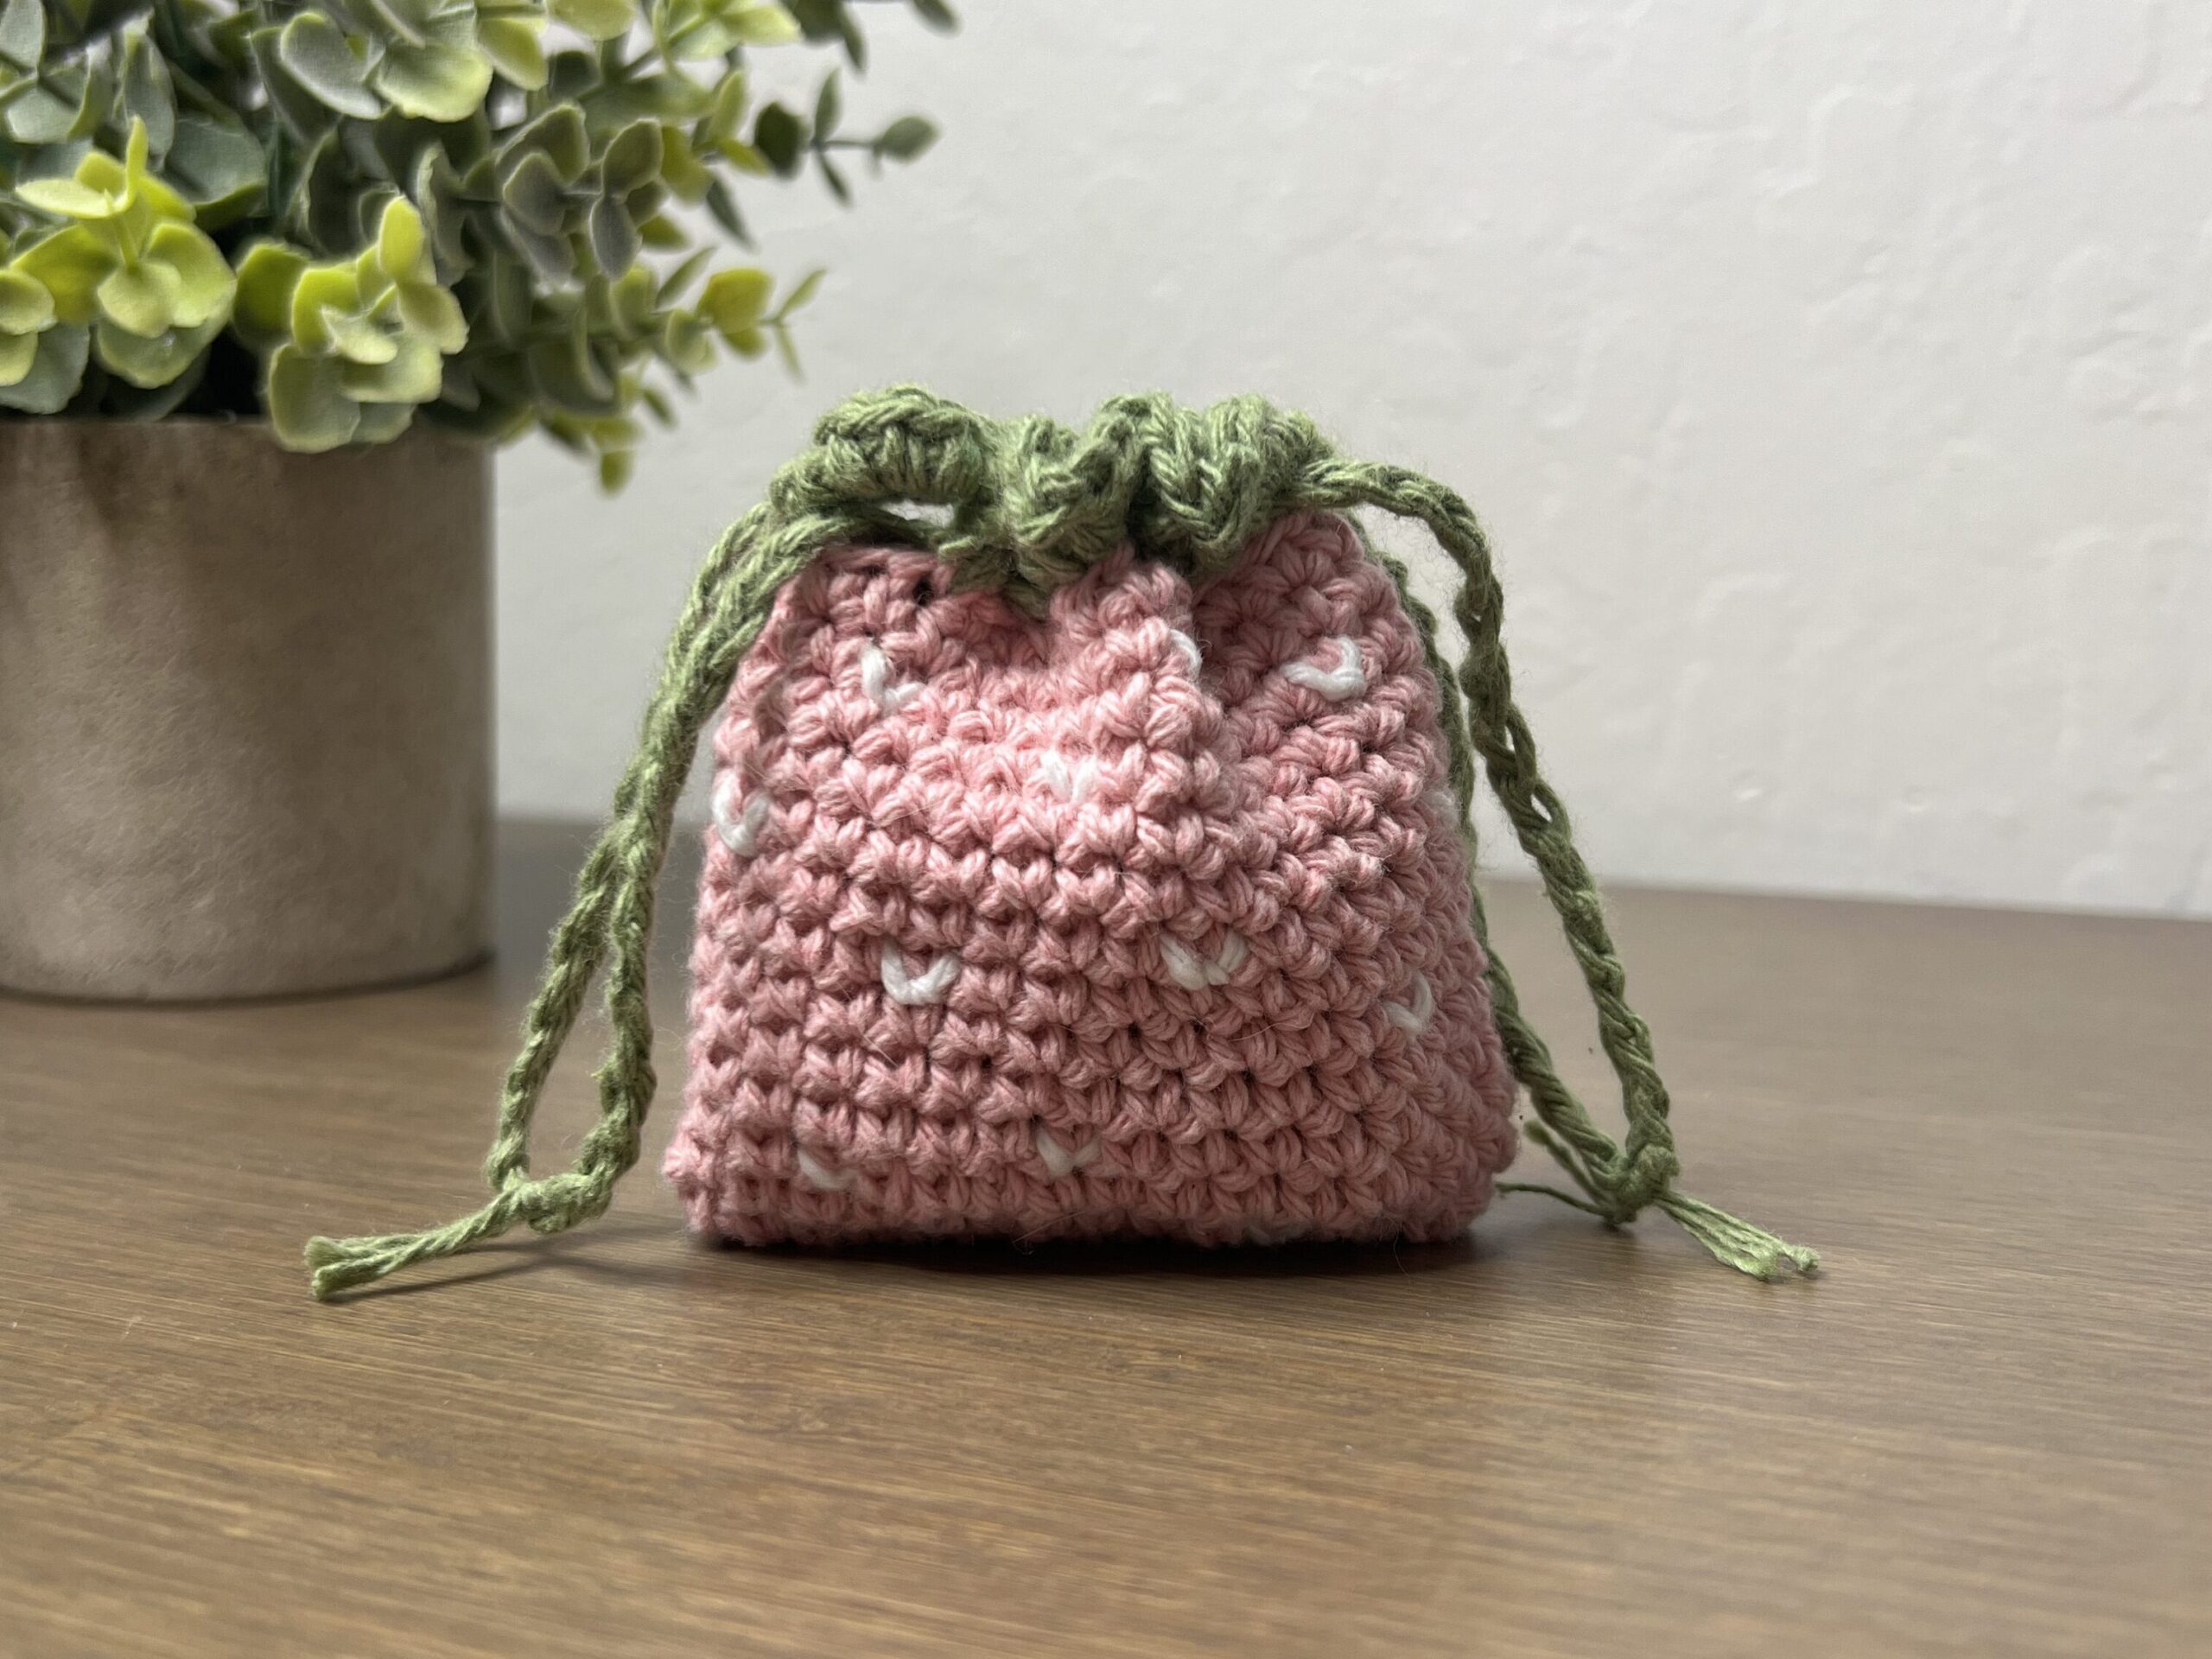
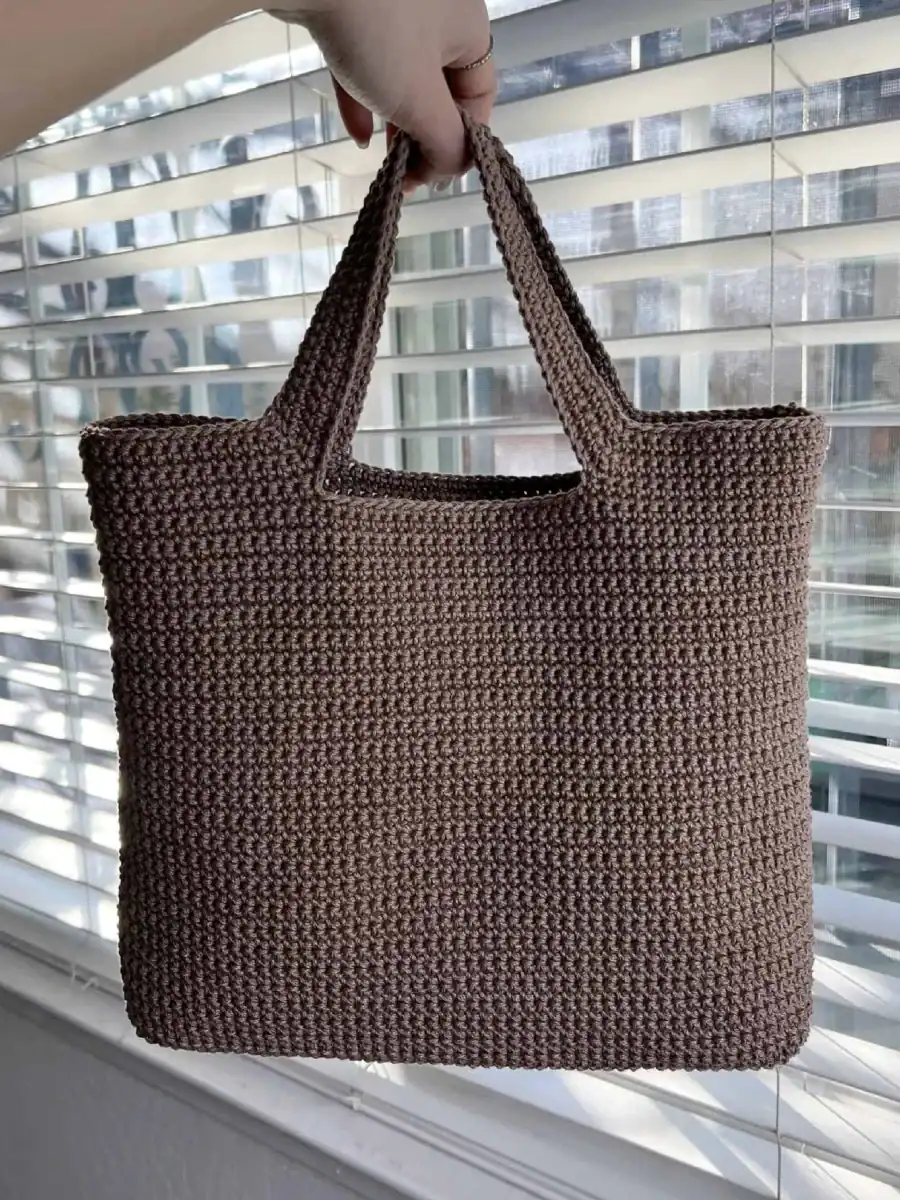
If you prefer a simpler color pattern or only have two different colors of yarn, you might like this crochet checkered tote bag pattern!
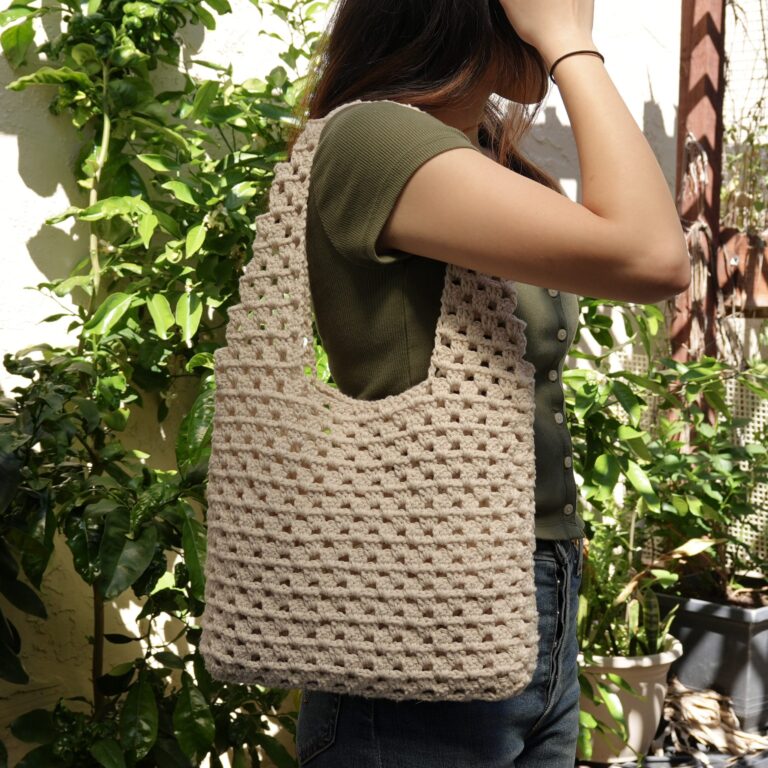
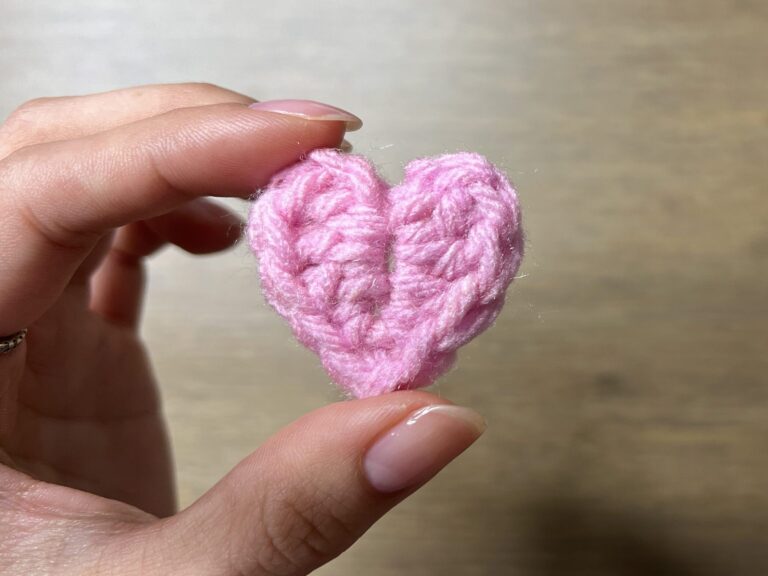
Other Projects You Might Like

Crochet Gingham Tote Bag Video Tutorial
Become a member to get early access to new videos!
You can follow along with my YouTube video to make your own gingham crochet tote bag! I have timestamps included to section the video and help you jump to any point you need to!
Pattern Information
Materials
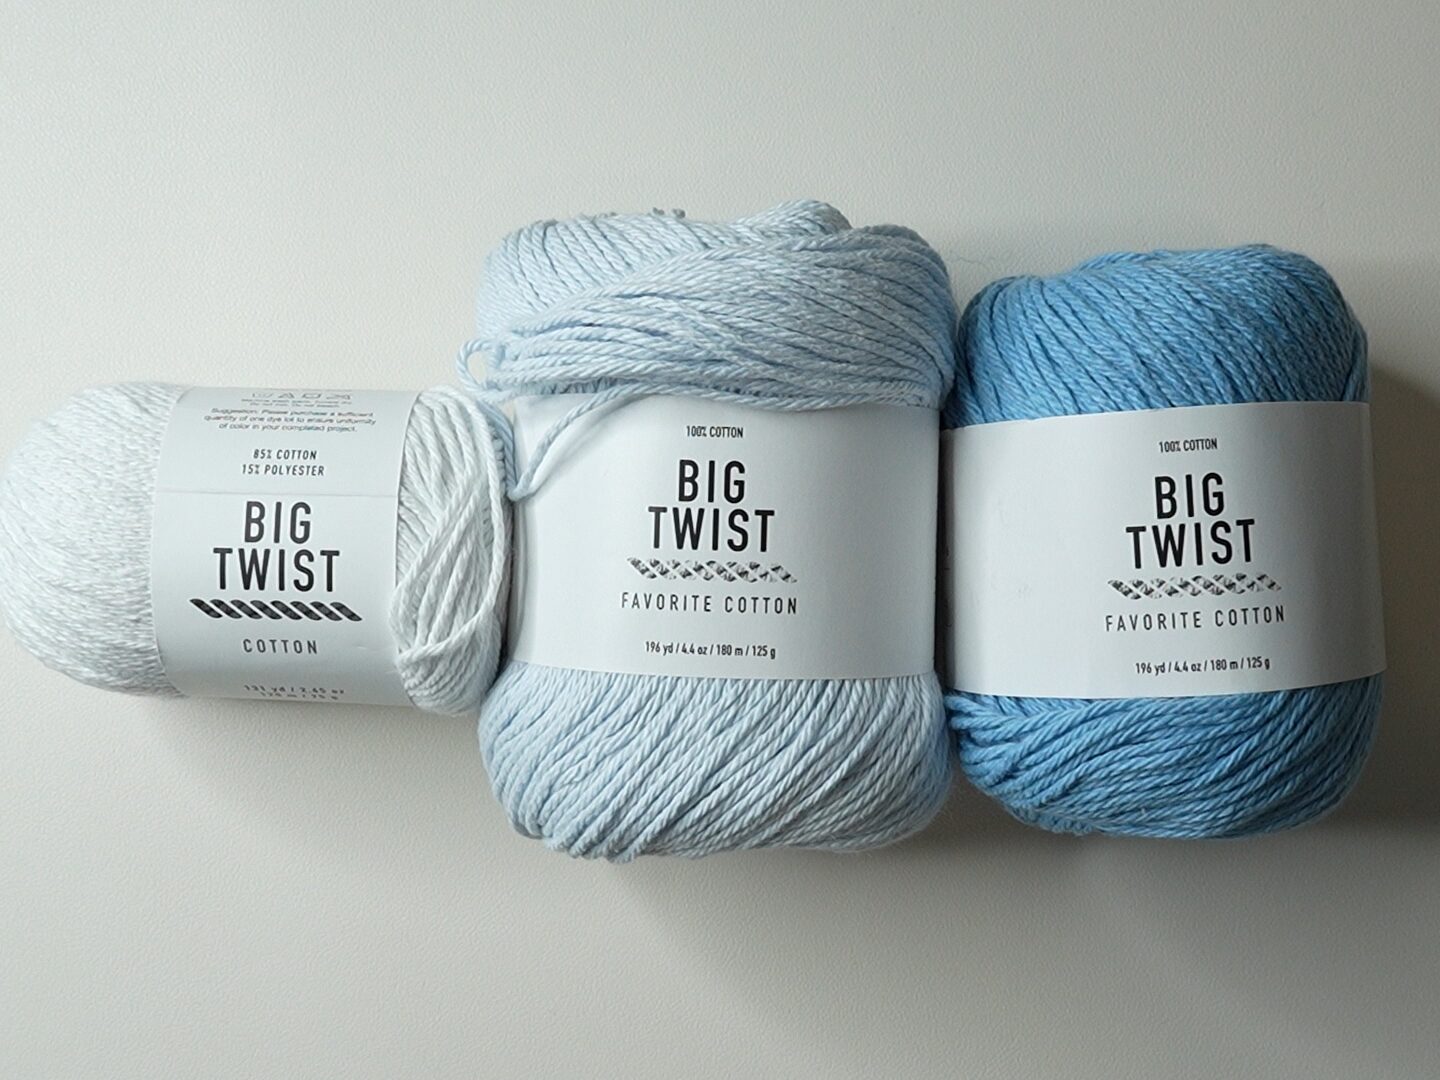
- 195 grams of medium weight yarn in a light, medium, and dark shade (Big Twist Cotton in “White” and Big Twist Favorite Cotton in “Tranquil Blue” and “Daylight Blue”)
- 4.5mm Clover Amour crochet hook
- Scissors
- Yarn needle
- Stitch markers (optional)
- Tension ring (optional)
- Yarn bowl (optional)

Color Notation
A = Light color yarn (white)
B = Medium color yarn (light blue)
C = Dark color yarn (blue)
Crochet Abbreviations
ch = chain
dc = double crochet
rep = repeat
sk = skip
sl st = slip stitch
st = stitch
Gauge
8 rows of 15.5 double crochets makes a 10 x 10 centimeter (4″ x 4″) square
Dimensions
*Includes instructions to adjust sizing. Note that adjusting the pattern will likely shift the colorwork, so you’ll need to keep track of it on your own.
Base: 24cm wide x 5.5cm deep (9.4″ x 2.2″)
Bag, not including straps: 27.5cm wide x 27cm tall (10.8″ x 10.6″)
Notes and Tips
- This pattern is written using US crochet terms
- The number in (parentheses) at the end of each row is the stitch count after finishing that row
- Italicized notes tell you what to change to adjust the size
- The chain 2 at the beginning of each row/round does NOT count as a double crochet
- Carry the yarn you’ll need for the row/round when not in use
- Before changing colors, tighten the yarn you just carried so it’s not loose
- Change colors by pulling the new color through the last two loops of the last double crochet in the old color
- Before slip stitching, pull all yarn strands to the wrong side–and you can choose any side as your “wrong side”–and slip stitch over them
- The slip stitch at the end of each round goes into the first stitch of that round
Gingham Crochet Tote Bag Pattern
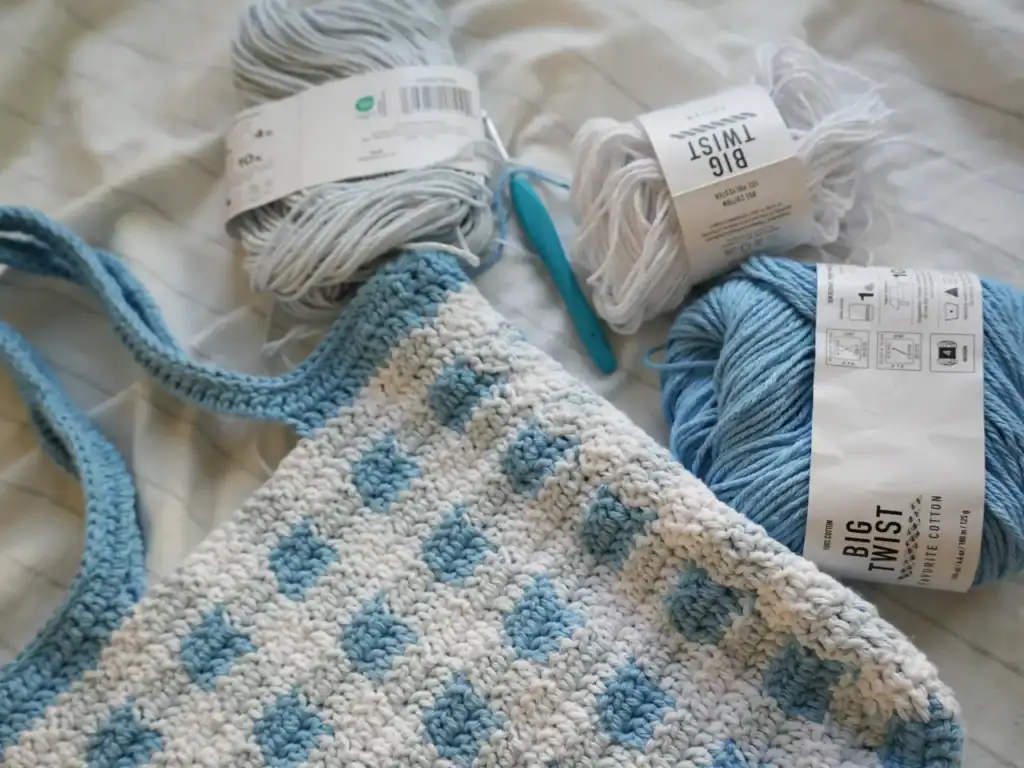
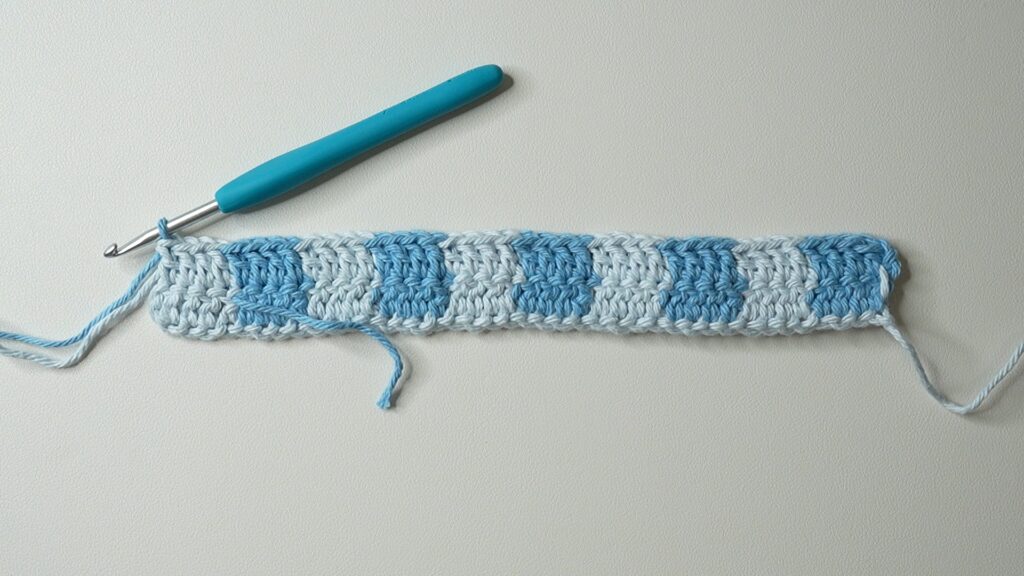
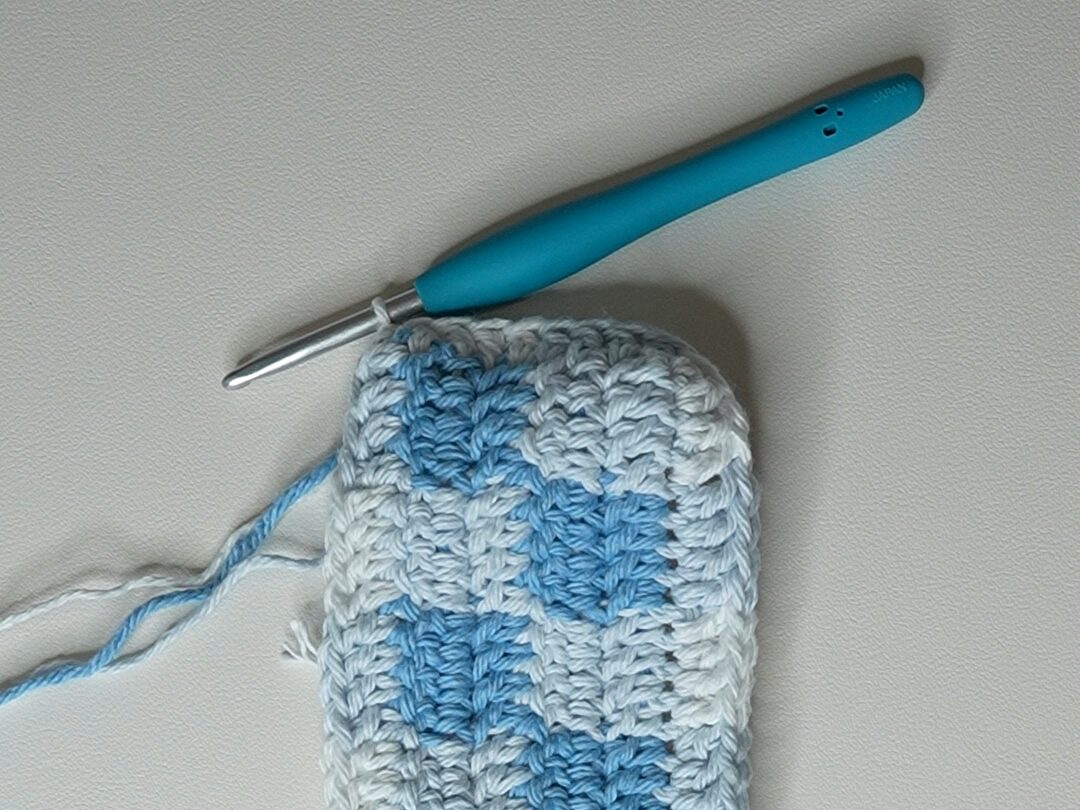
Base
We are only working with colors B and C for the entire base (Rows 1-4). Only switch between these two colors for the base.
Foundation: With color B, make a slipknot, ch42
Note: Do fewer chains to make the bag less wide or do more chains for a wider bag. The number of chains you do must be a multiple of 4, plus 2.
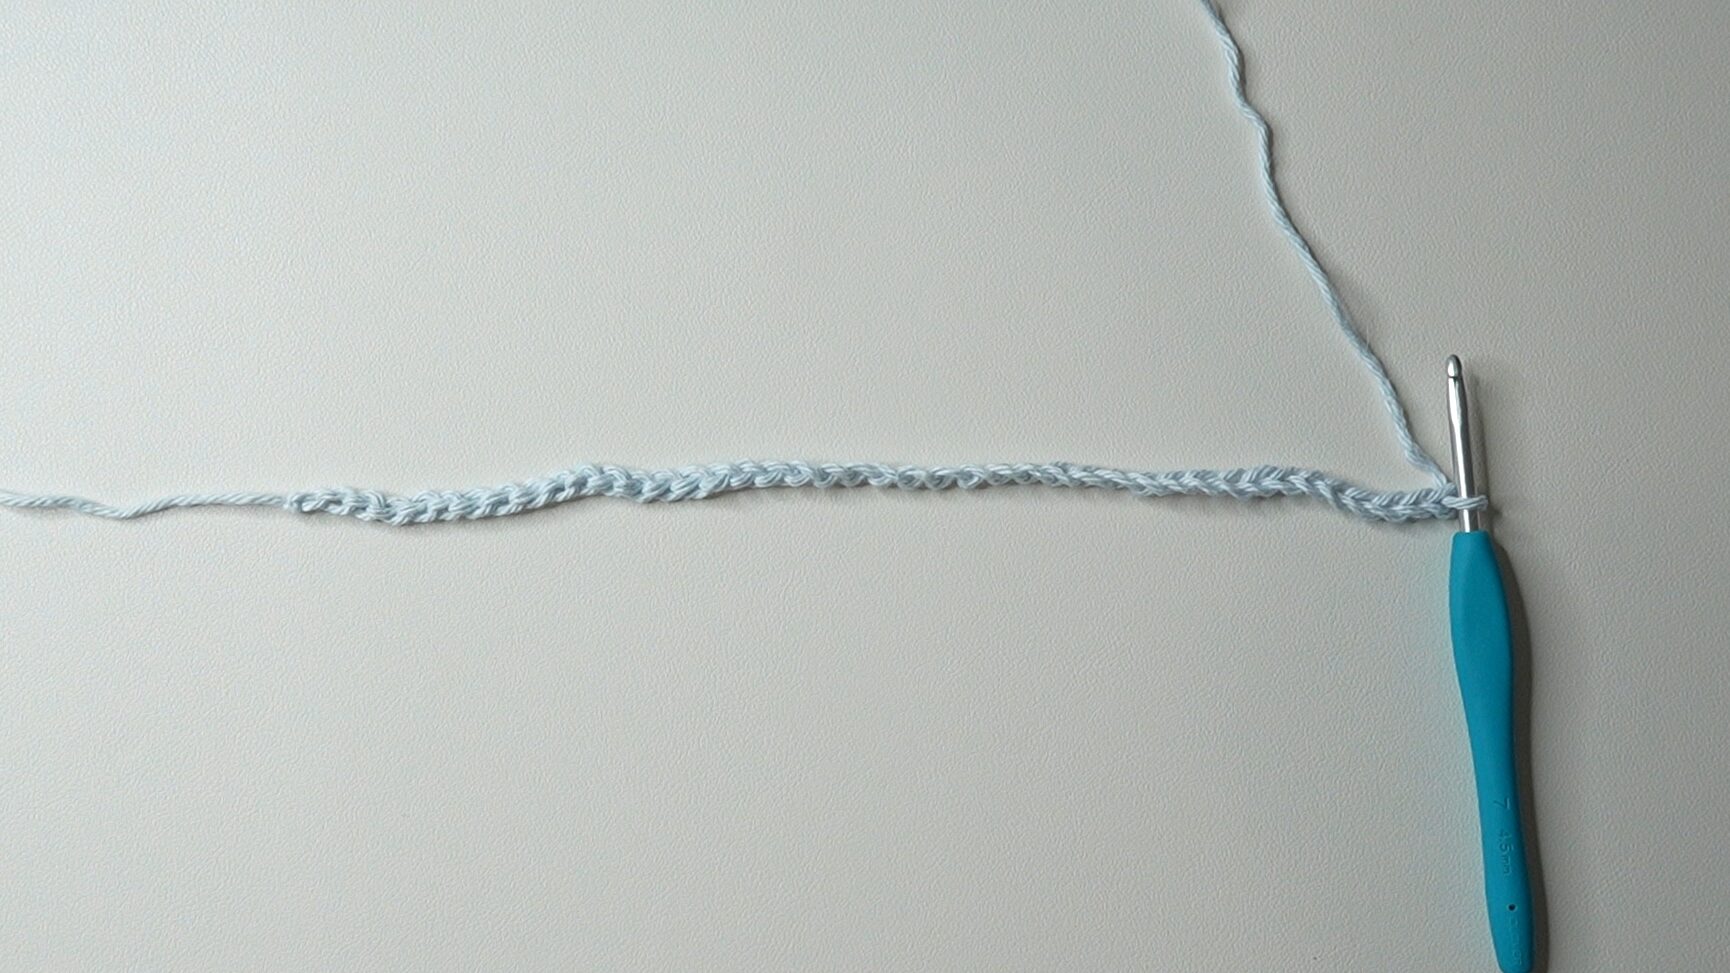
Row 1: dc in 3rd ch from hook and in next 3 ch, rep[switch colors, dc in next 4 ch] across (40)
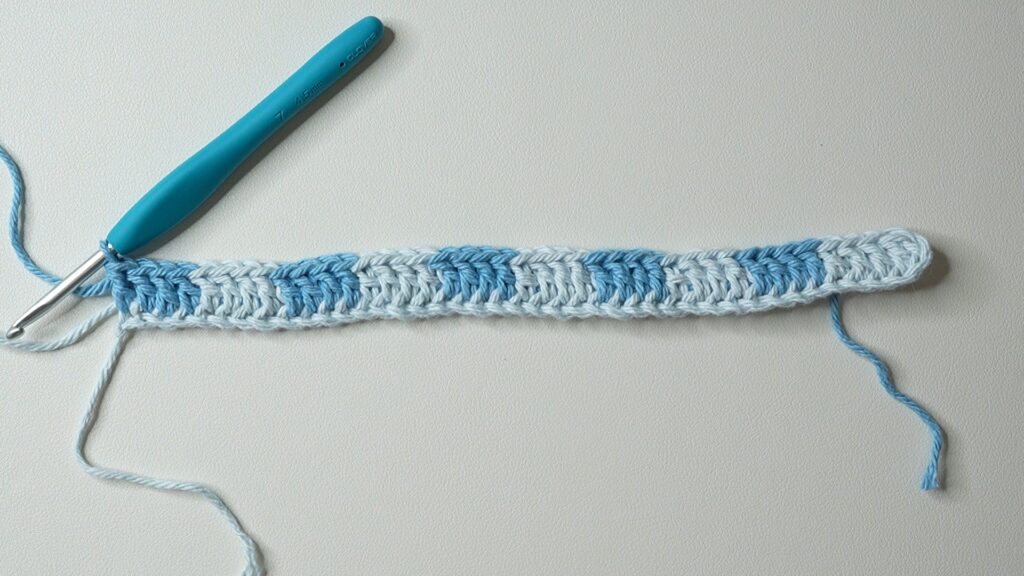
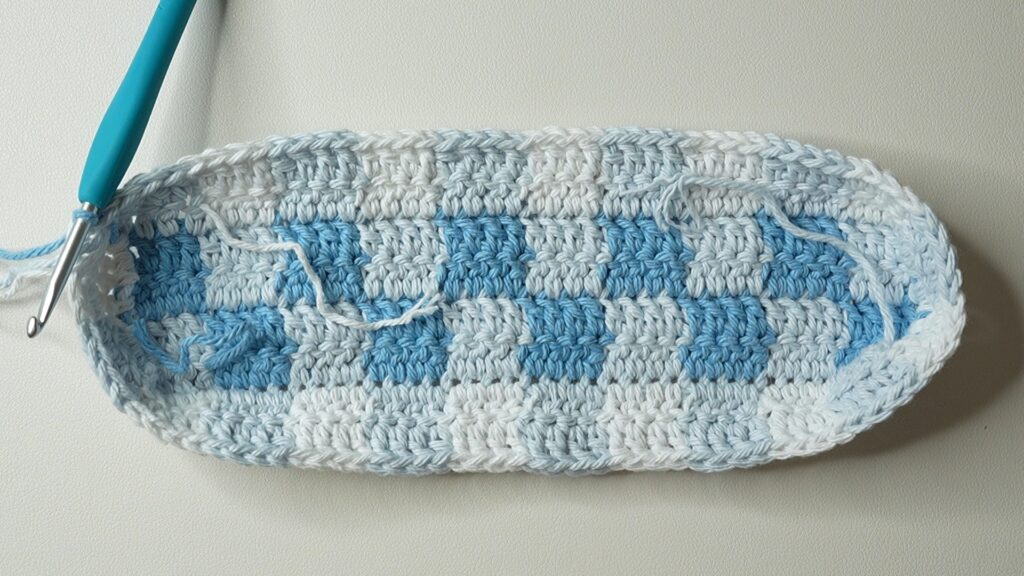
Row 2: ch2, turn, dc in next 4 st, rep[switch colors, dc in next 4 st] across, switch colors (40)
Note: For a smaller bag with less depth, skip the rest of the base and move on to the body of the bag.
Row 3: ch2, turn, dc in next 4 st, rep[switch colors, dc in next 4 st] across (40)
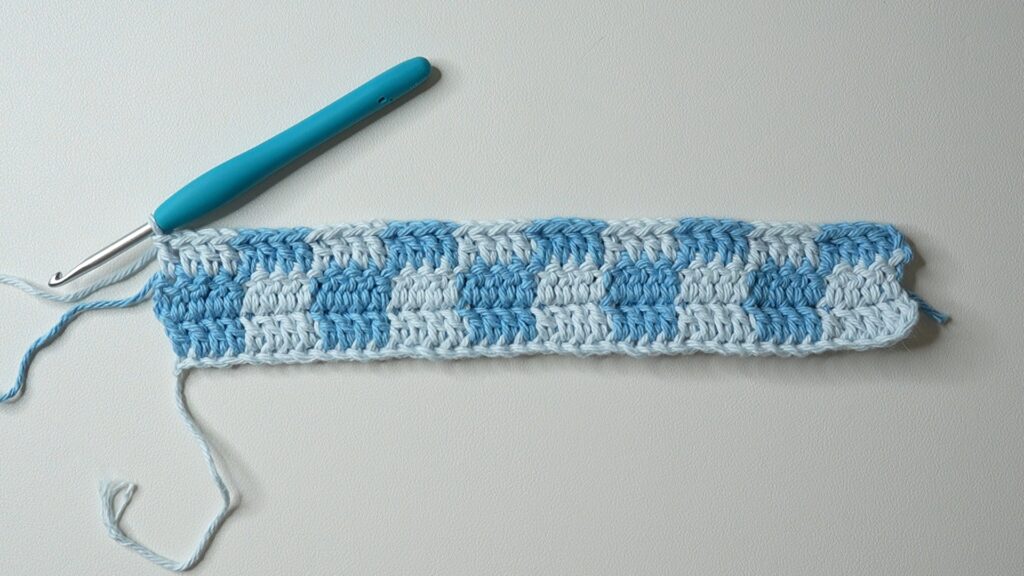
Row 4: rep[Row 2] (40)
Note: For a larger bag with more depth, repeat Rows 3-4. Stop after an even row for a full row of squares.

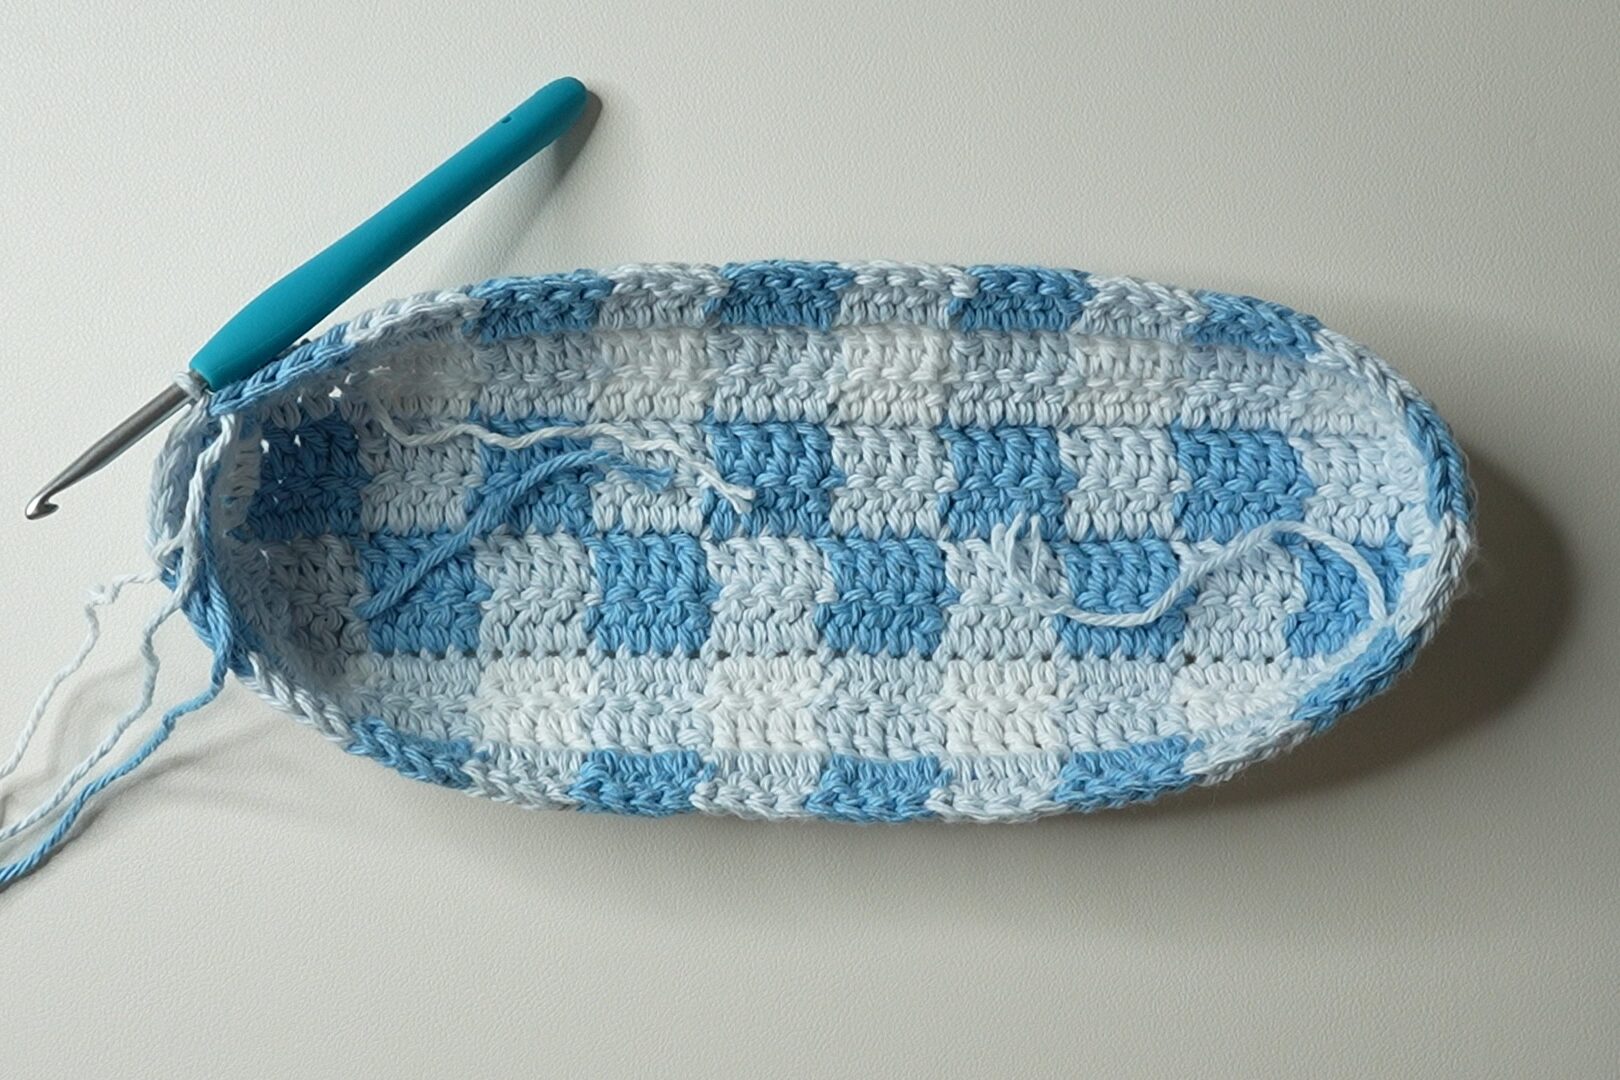
Body
Next, we’ll work around this rectangular base, rotating to crochet over the top, sides, and bottom. When crocheting along the sides, treat the side of each row as two stitches.
We are only working with colors A and B for the next 2 rounds (Rounds 1-2). Only switch between these two colors for the next 2 rounds, except for the very last stitch. Leave color C attached, but don’t carry it in your stitches.
Round 1: ch2, turn, dc in next 4 st, rep[switch colors, dc in next 4 st] around, sl st (96)
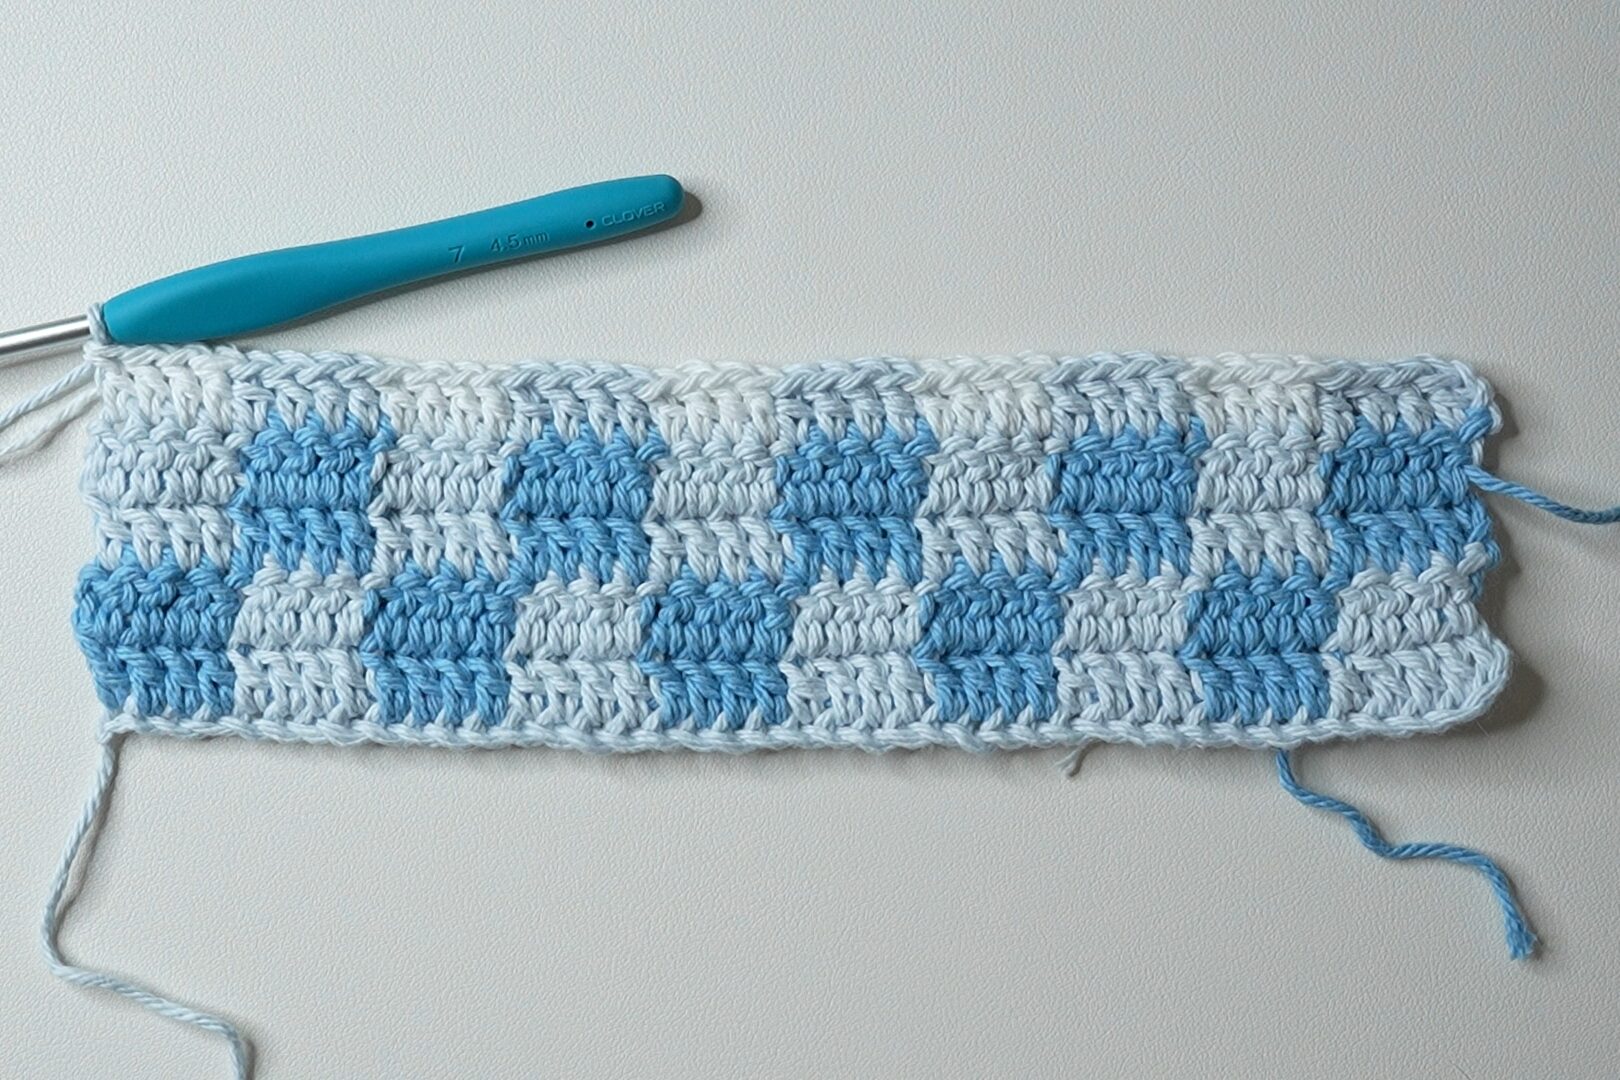

Round 2: ch2, turn, dc in next 4 st, rep[switch colors, dc in next 4 st] around, switch to color C, sl st (96)
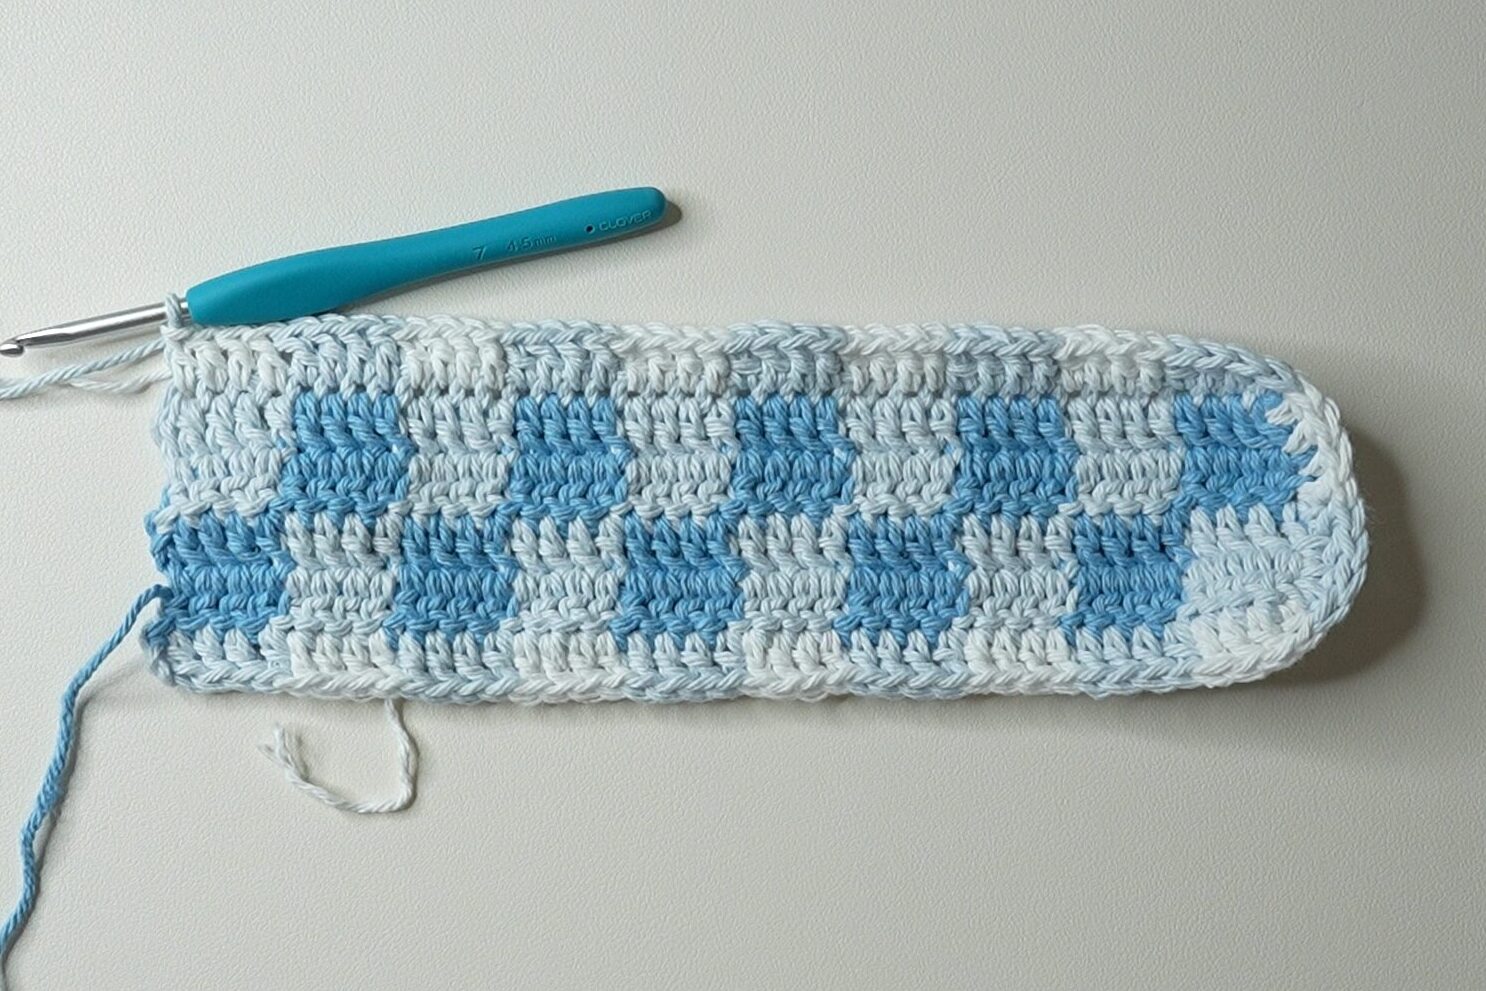
We are only working with colors B and C for the next 2 rounds (Rounds 3-4). Only switch between these two colors for the next 2 rounds. Leave color A attached, but don’t carry it in your stitches.
Round 3: ch2, turn, dc in next 4 st, rep[switch colors, dc in next 4 st] around, sl st (96)
Round 4: ch2, turn, rep[dc in next 4 st, switch colors] around, sl st (96)
Rounds 5-22: rep[Rounds 1-4] (96)
This means Round 5 is a repeat of Round 1, Round 6 is a repeat of Round 2, Round 7 is a repeat of Round 3, Round 8 is a repeat of Round 4, Round 9 is a repeat of Round 1, and so on.
Basically, two rounds use the colors A and B, then the next two use the colors B and C. Then, A and B, and so on.
Note: Do fewer rounds for a shorter bag or more rounds for a taller bag. Stop after an even number round to have a full round of squares.
Switch to the strap color (color C) and fasten off the two other colors.
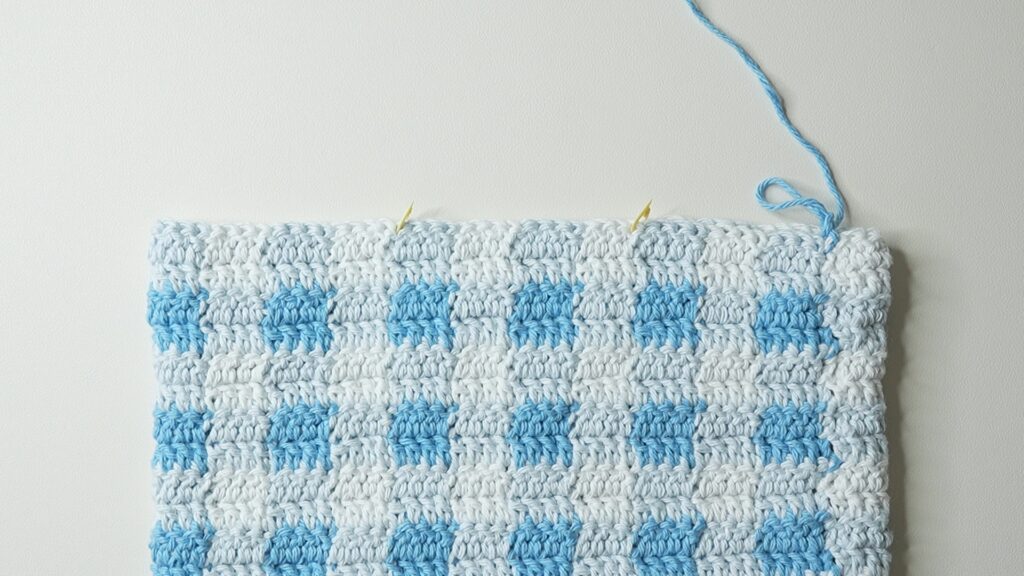
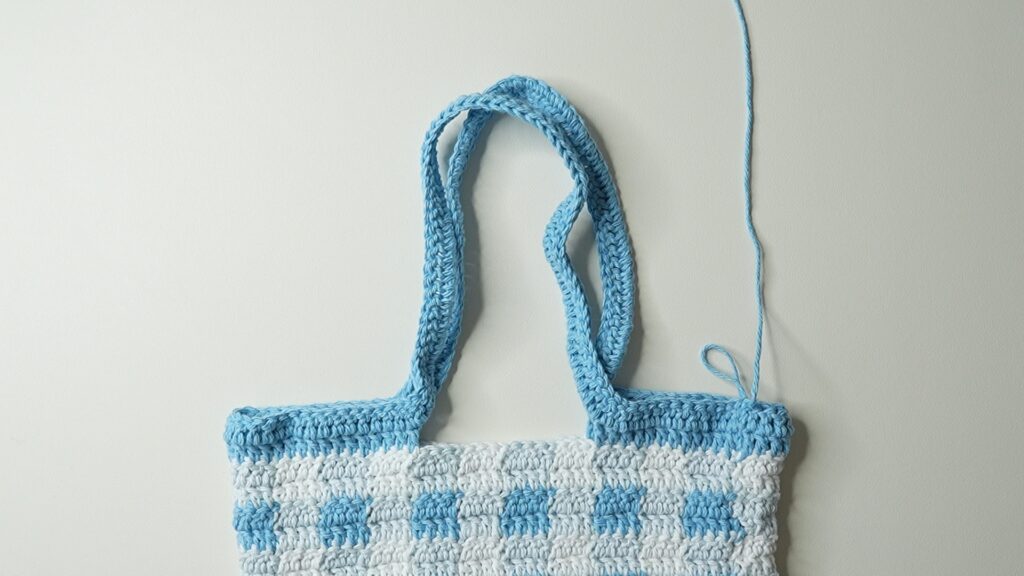
Marking Straps
Flatten your bag along the foundation chain. Mark the outermost stitches of the four squares in the middle. Flip and repeat on the other side of the bag. We will not be working into these 32 stitches.
Note: To change the size of the space under the strap, move the stitch markers to the width you want it to be. Make sure that they are centered.
Straps
Round 1: ch2, turn, rep[dc until st marker, ch60, sk16] 2 times, dc in last 20 st, sl st (64 st, 2-60 ch straps)
Note: Do fewer chains than 60 for a shorter strap or more chains for a longer strap.

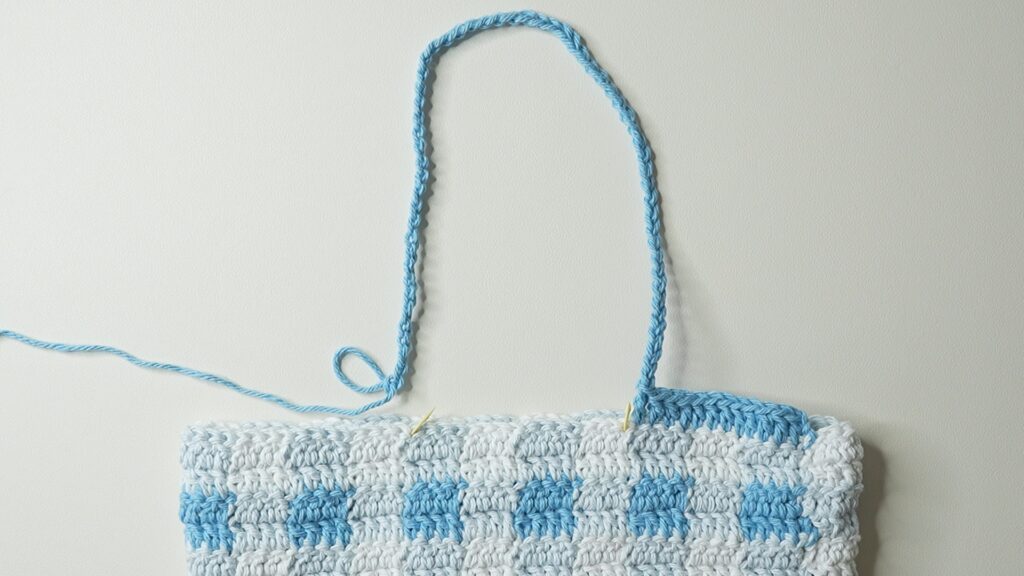

When working double crochets into the chains for Round 2, work under the top AND back loop of each chain to minimize the holes.
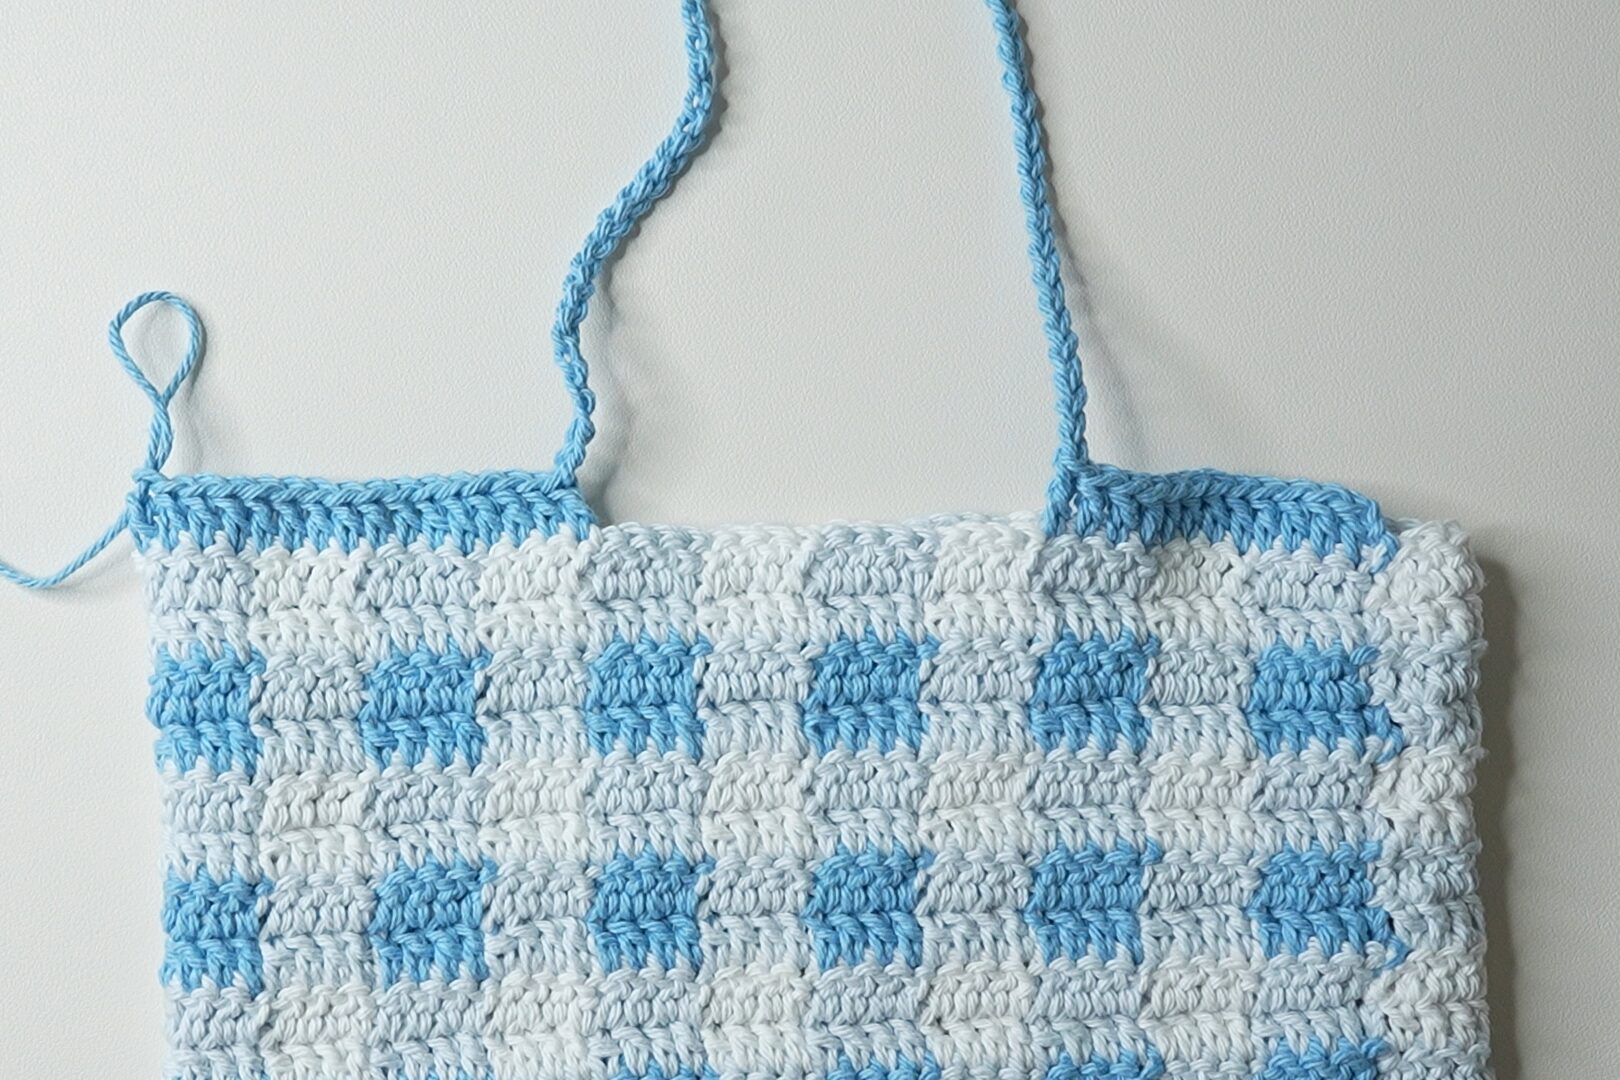
Round 2: ch2, turn, dc around in each st and ch, sl st (184)
Round 3: ch1, turn, sl st around, sl st (184)
Fasten off.
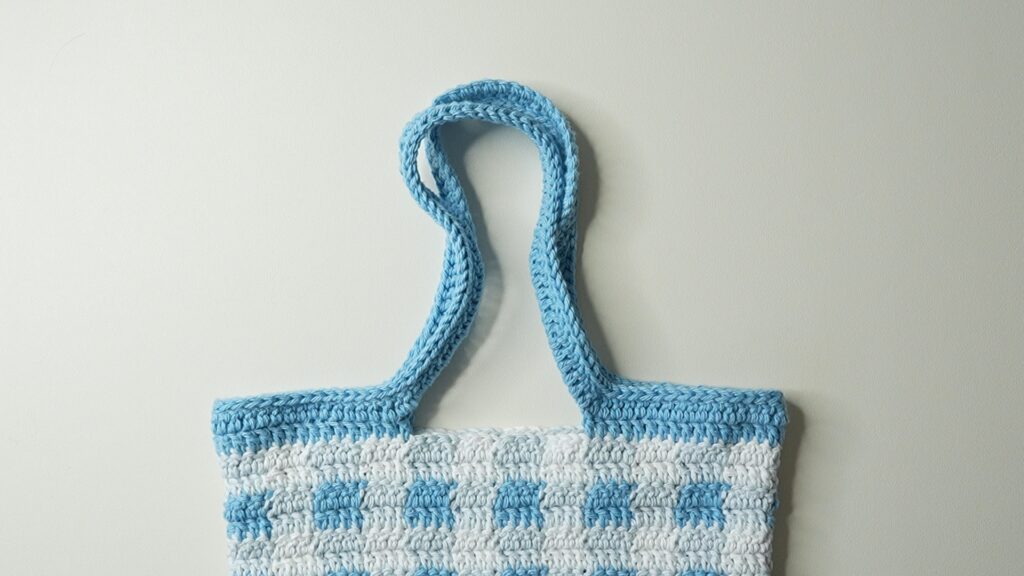
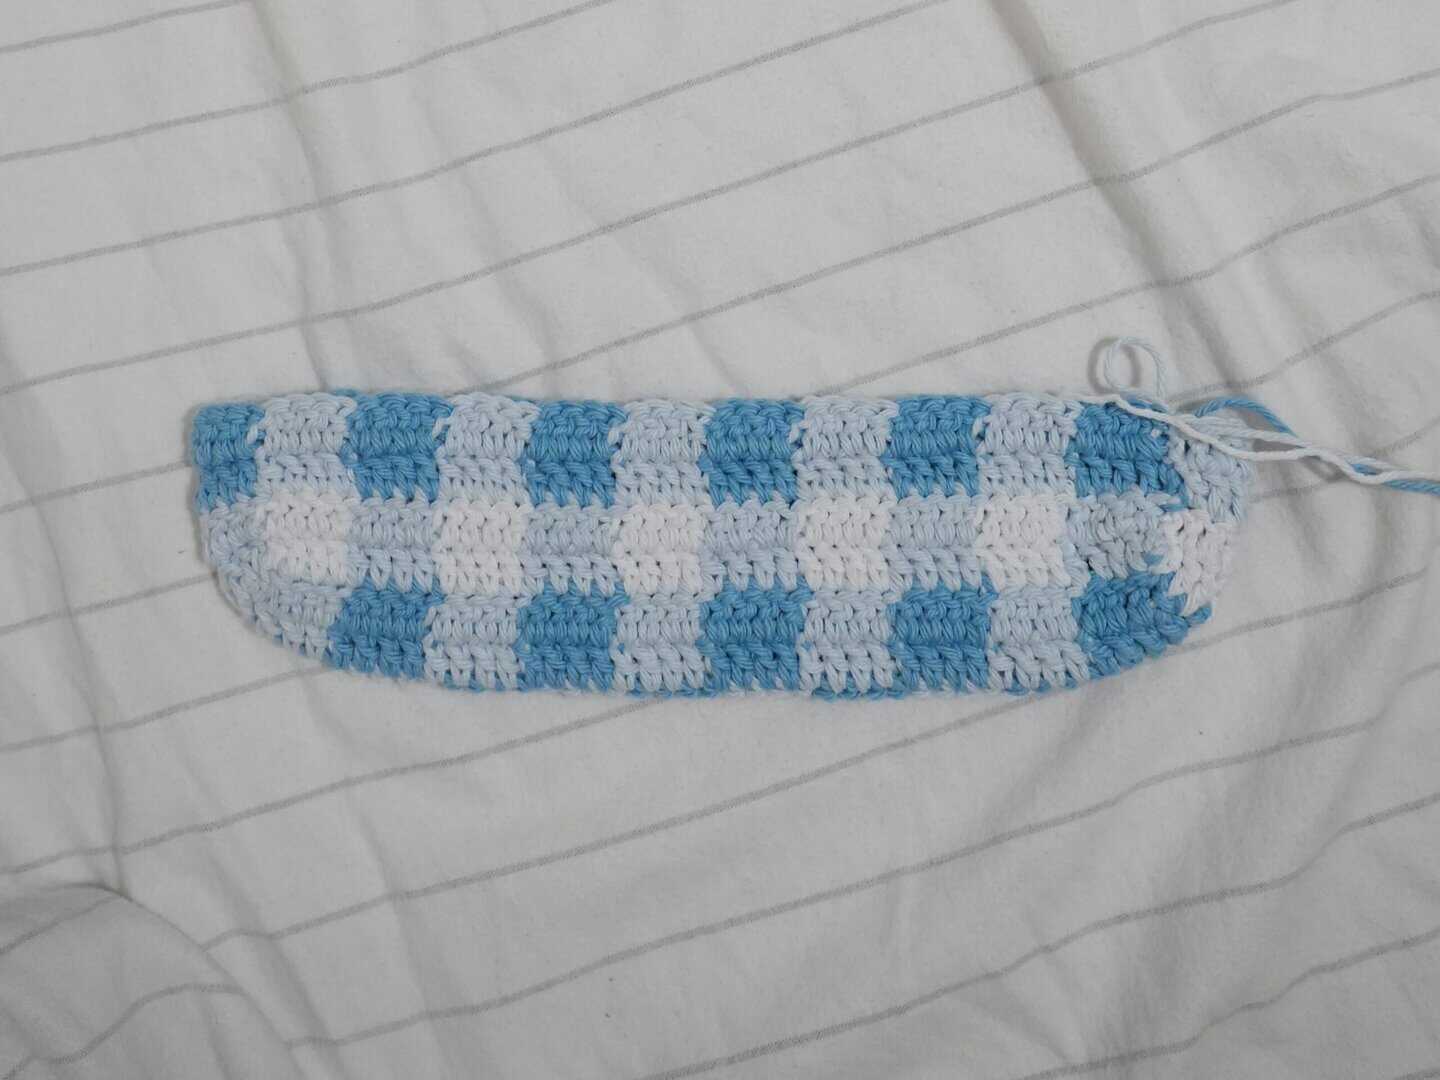
Finished Gingham Crochet Tote Bag
Weave in your loose ends and your gingham crochet tote bag is finished!

Your videos and written instructions are simply fantastic! I just finished the single crochet tote bag and, as a first time crocheter, found your instructions clear, concise and accurate. The end result looks really great. Question: could one do the single crochet handles on the gingham bag rather than the double crochet? Will it be as strong? Thanks again!
Hello! This pattern is beautiful 🙂 I’m looking forward to trying it, is it possible to know the amount of yarn in each colour that is needed? You mention 195g, is it fair to do maybe 50g of each lighter colour and the remainder of the darker colour? Thank you!
Thank you! It was pretty equal, about 65g each. I did use a little more in the medium shade!