Crochet Heart Scarf | Free Pattern & Video Tutorial
See the free crochet heart scarf pattern and video tutorial down below or purchase an ad-free, printable PDF file of this pattern!
This cute crochet scarf is made with large heart granny squares. This scarf pattern uses many different stitches of varying heights to achieve the heart (then square) shape, but they are all basic stitches. The length of this scarf with 10 squares is perfect to wear 3 different ways; however, it’s relatively easy to adjust the width and length if you want.
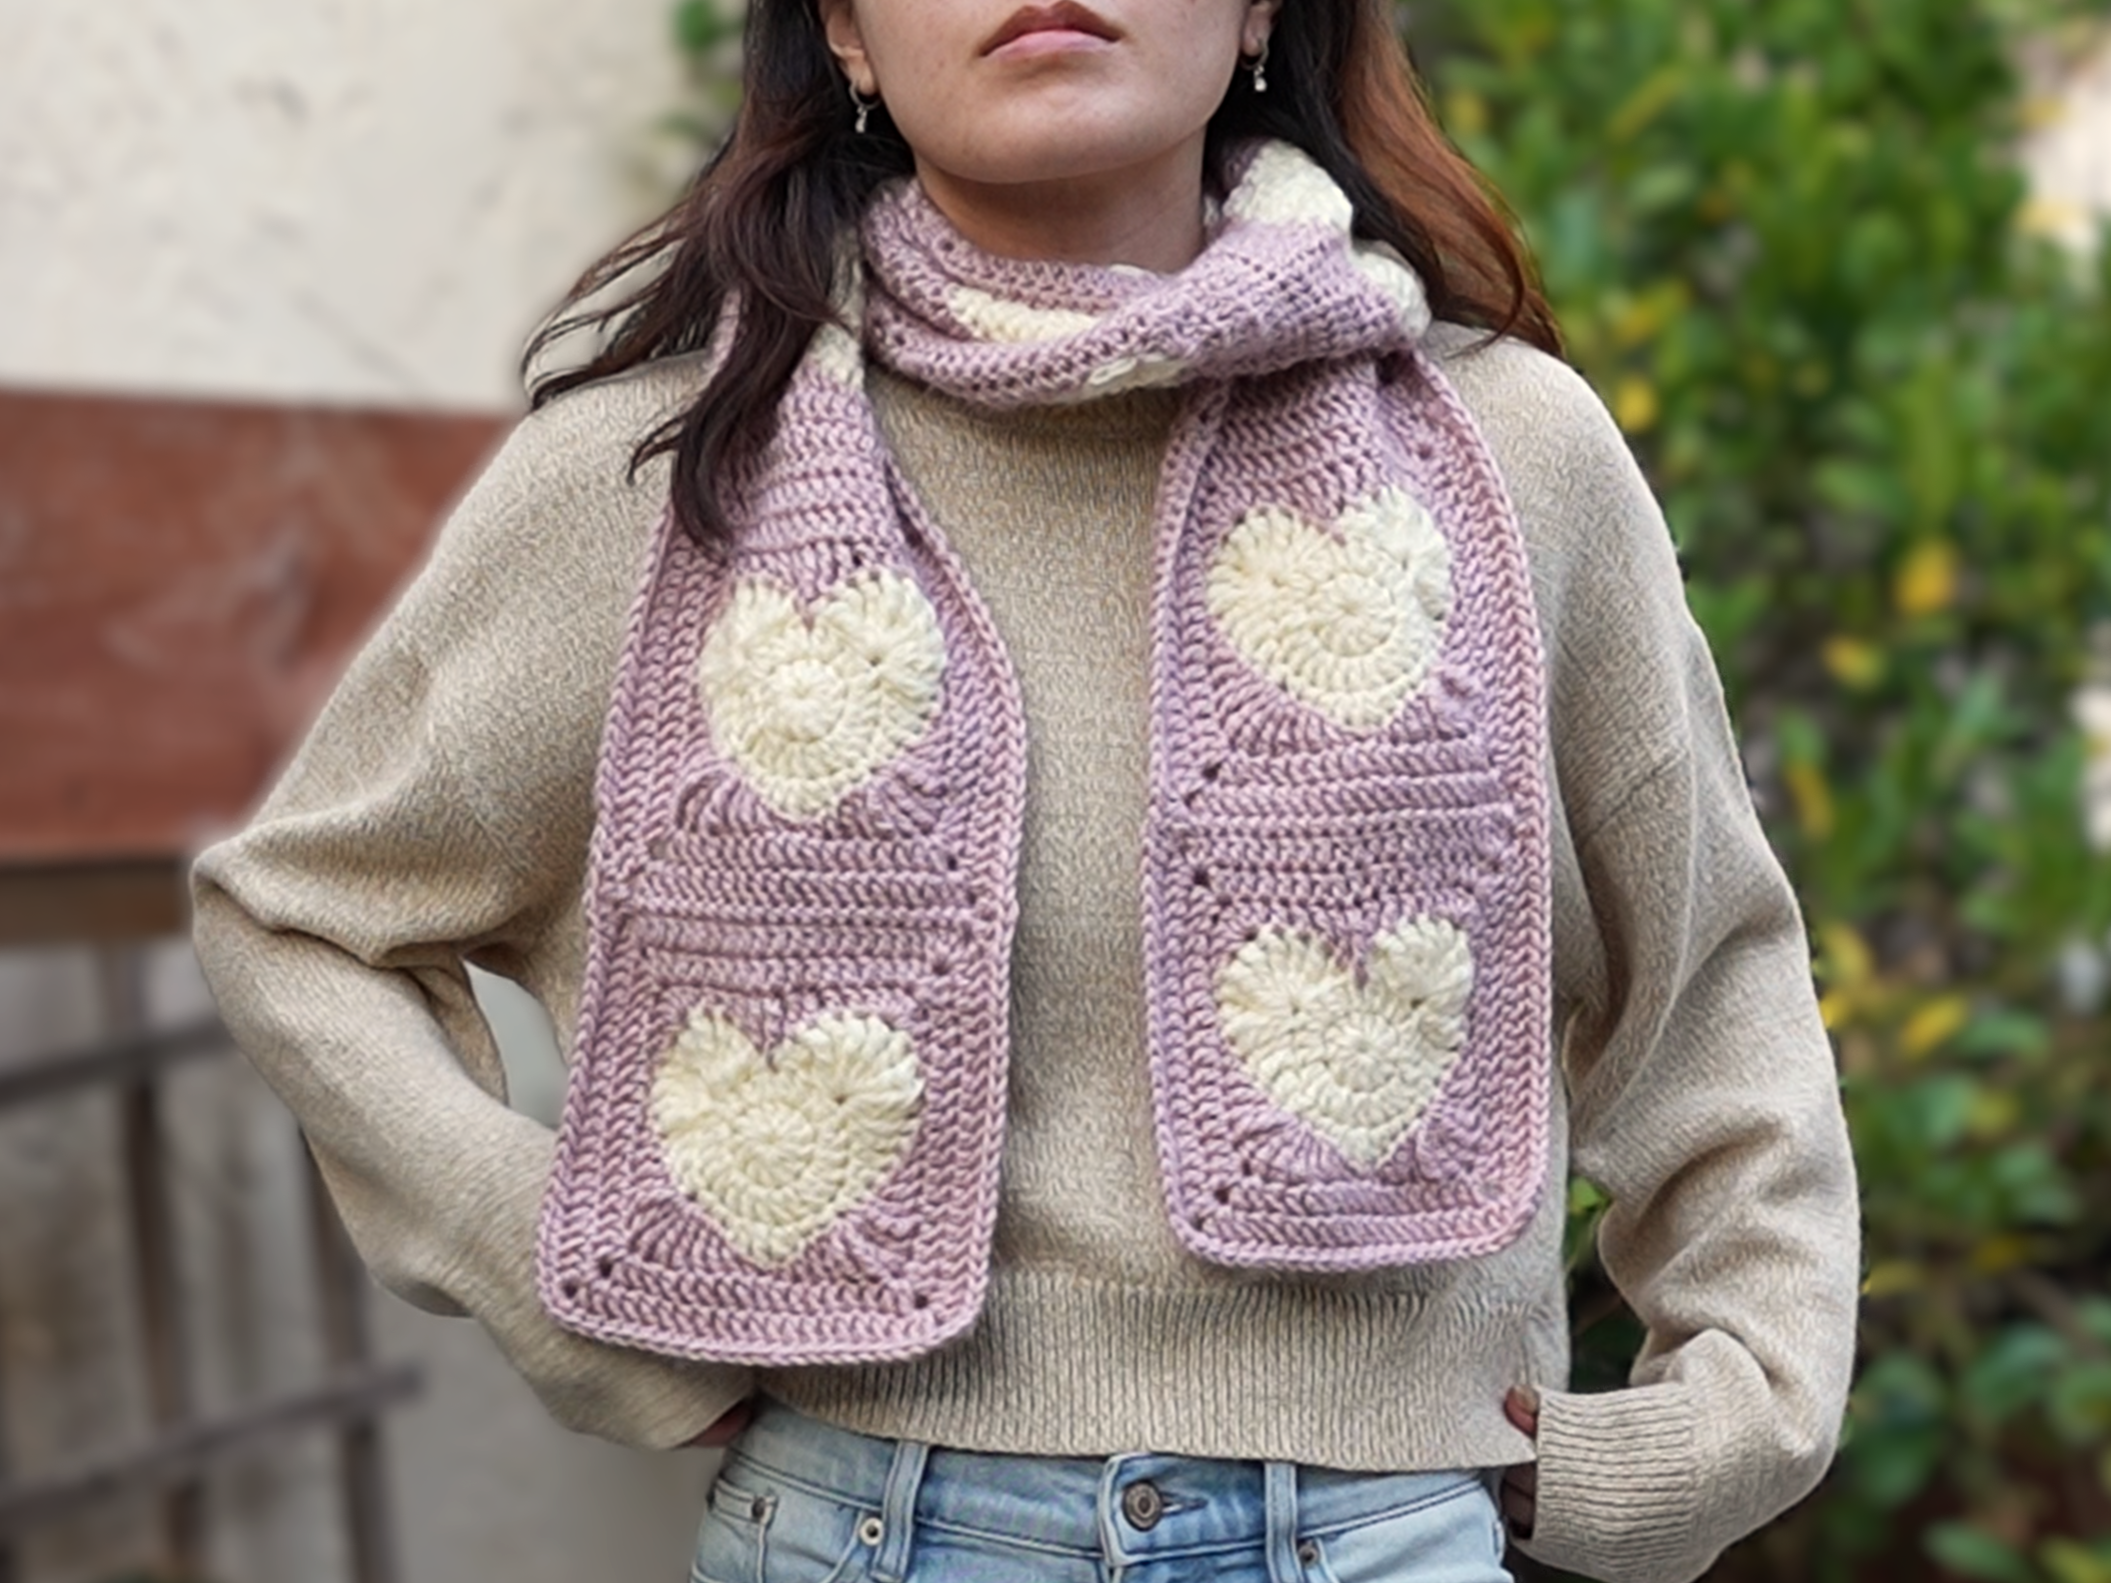
Project Overview


Other Projects You Might Like
Crochet Heart Scarf Video Tutorial
Become a member to get early access to new videos!
You can follow along with my YouTube video to make your own crochet scarf! I have timestamps included to section the video and help you jump to any point you need to!
This post may contain affiliate links. I may earn a small commission on qualifying purchases at no additional cost to you!
Materials
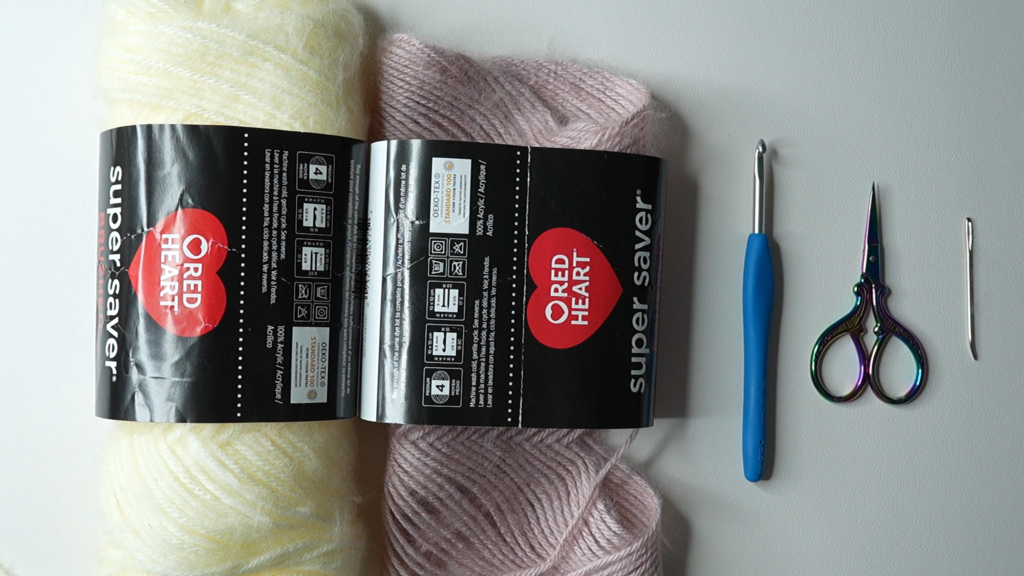
- 60 grams of medium weight yarn in heart color (Red Heart Super Saver Brushed in “Cream”)
- 140 grams of medium weight yarn in base color (Red Heart Super Saver Brushed in “Dusty Pink”)
- 5mm Clover Amour crochet hook
- Scissors
- Yarn needle
- Tension ring (optional)
Dimensions
*includes instructions to adjust sizing
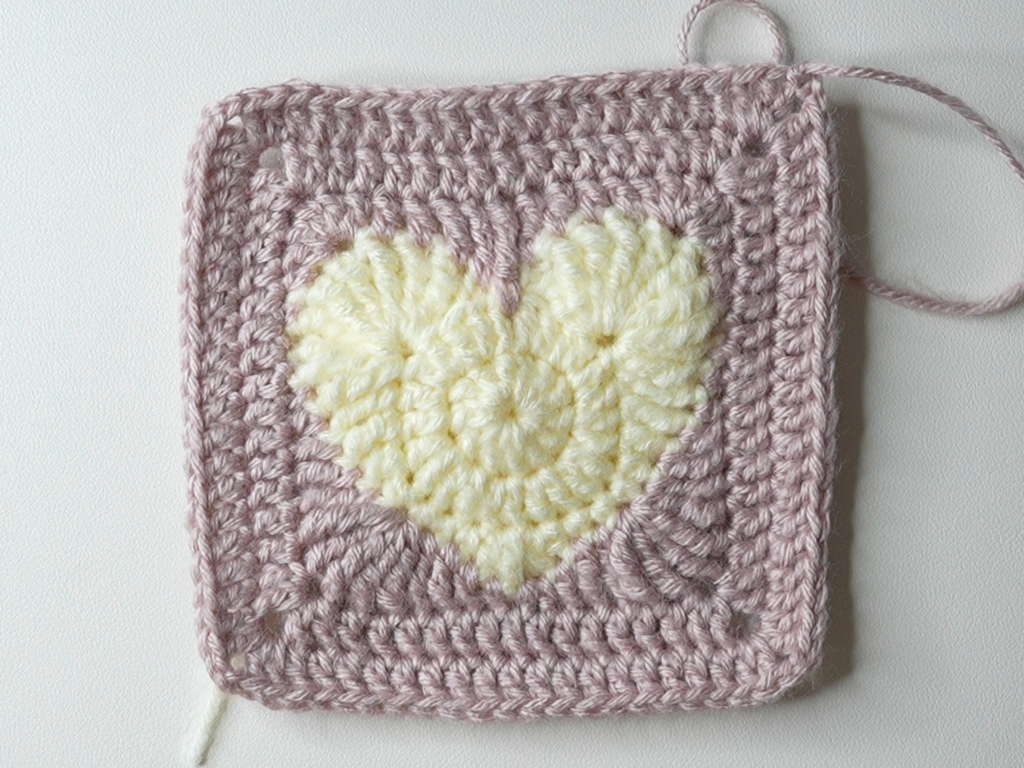
Heart granny square: 14.5 centimeters wide x 14.5 centimeters tall (5.7 x 5.7 inches)
Overall: 15 centimeters wide x 150 centimeters long (5.9 x 59.1 inches)
Notes and Tips
- This pattern is written using US crochet terms
- Italicized notes tell you what to change to adjust the size
- The chain 2 at the beginning of each round does NOT count as a double crochet
- Hide your loose ends in the outline round
Crochet Abbreviations
ch = chain
ch1-sp = chain-1-space (space under ch1)
ch2-sp = chain-2-space (space under ch2)
dc = double crochet
dtr = double treble crochet
hdc = half double crochet
rep = repeat
sc = single crochet
sk = skip
sl st = slip stitch
sp = space
st = stitch
tr = treble crochet
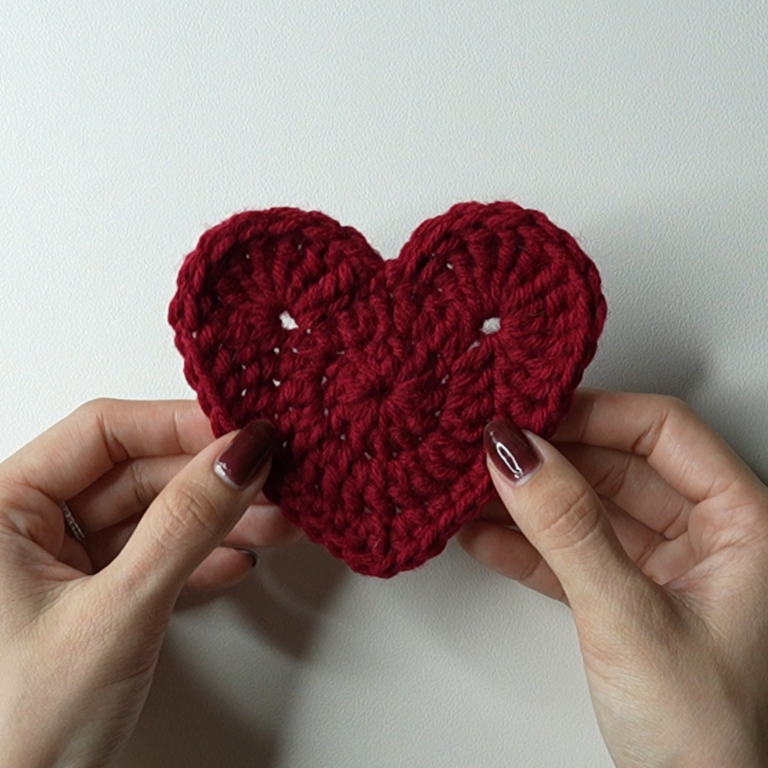
Heart Appliqué
Foundation: Make a magic ring or make a slipknot, ch4, sl st to 1st ch to form a ring
Round 1: ch2, dc12 into ring, sl st (12)

Round 2: ch2, dc2 in each st around, sl st (24)

The bolded ch1 in Round 3 and sc in Round 4 mark the point at the bottom of the heart. The stitches are mirrored on either side.
Round 3: sk3, [dtr8, tr2] in next st, tr in next 2 st, dc, hdc, sc in next 3 st, [hdc, dc] in next st, ch1, [dc, hdc] in next st, sc in next 3 st, hdc, dc, tr in next 2 st, [tr2, dtr8] in next st, sl st between first and last st of round 2 (38 st, ch1 at bottom point)
Fasten off.


Forming Square Around Heart
Attach your base color yarn to the fifth to last stitch from Round 3.
Round 4: ch2, dc3 in same st, dc in next 2 st, tr in next 2 st, dtr in sp between first and last st of round 2, tr in next 2 st, dc in next 2 st, dc5 in next st, hdc, sc, sl st in next 2 st, sc, hdc, dc, tr in next 2 st, dtr5 in next st, tr in next 2 st, dc, hdc, sc in ch1-sp, hdc, dc, tr in next 2 st, dtr5 in next st, tr in next 2 st, dc, hdc, sc, sl st in next 2 st, sc, hdc, dc2 in next st,* sl st (56)
*The [dc2 in next st] at the end of Round 4 goes into the same st as the 3 double crochets at the beginning of the round.
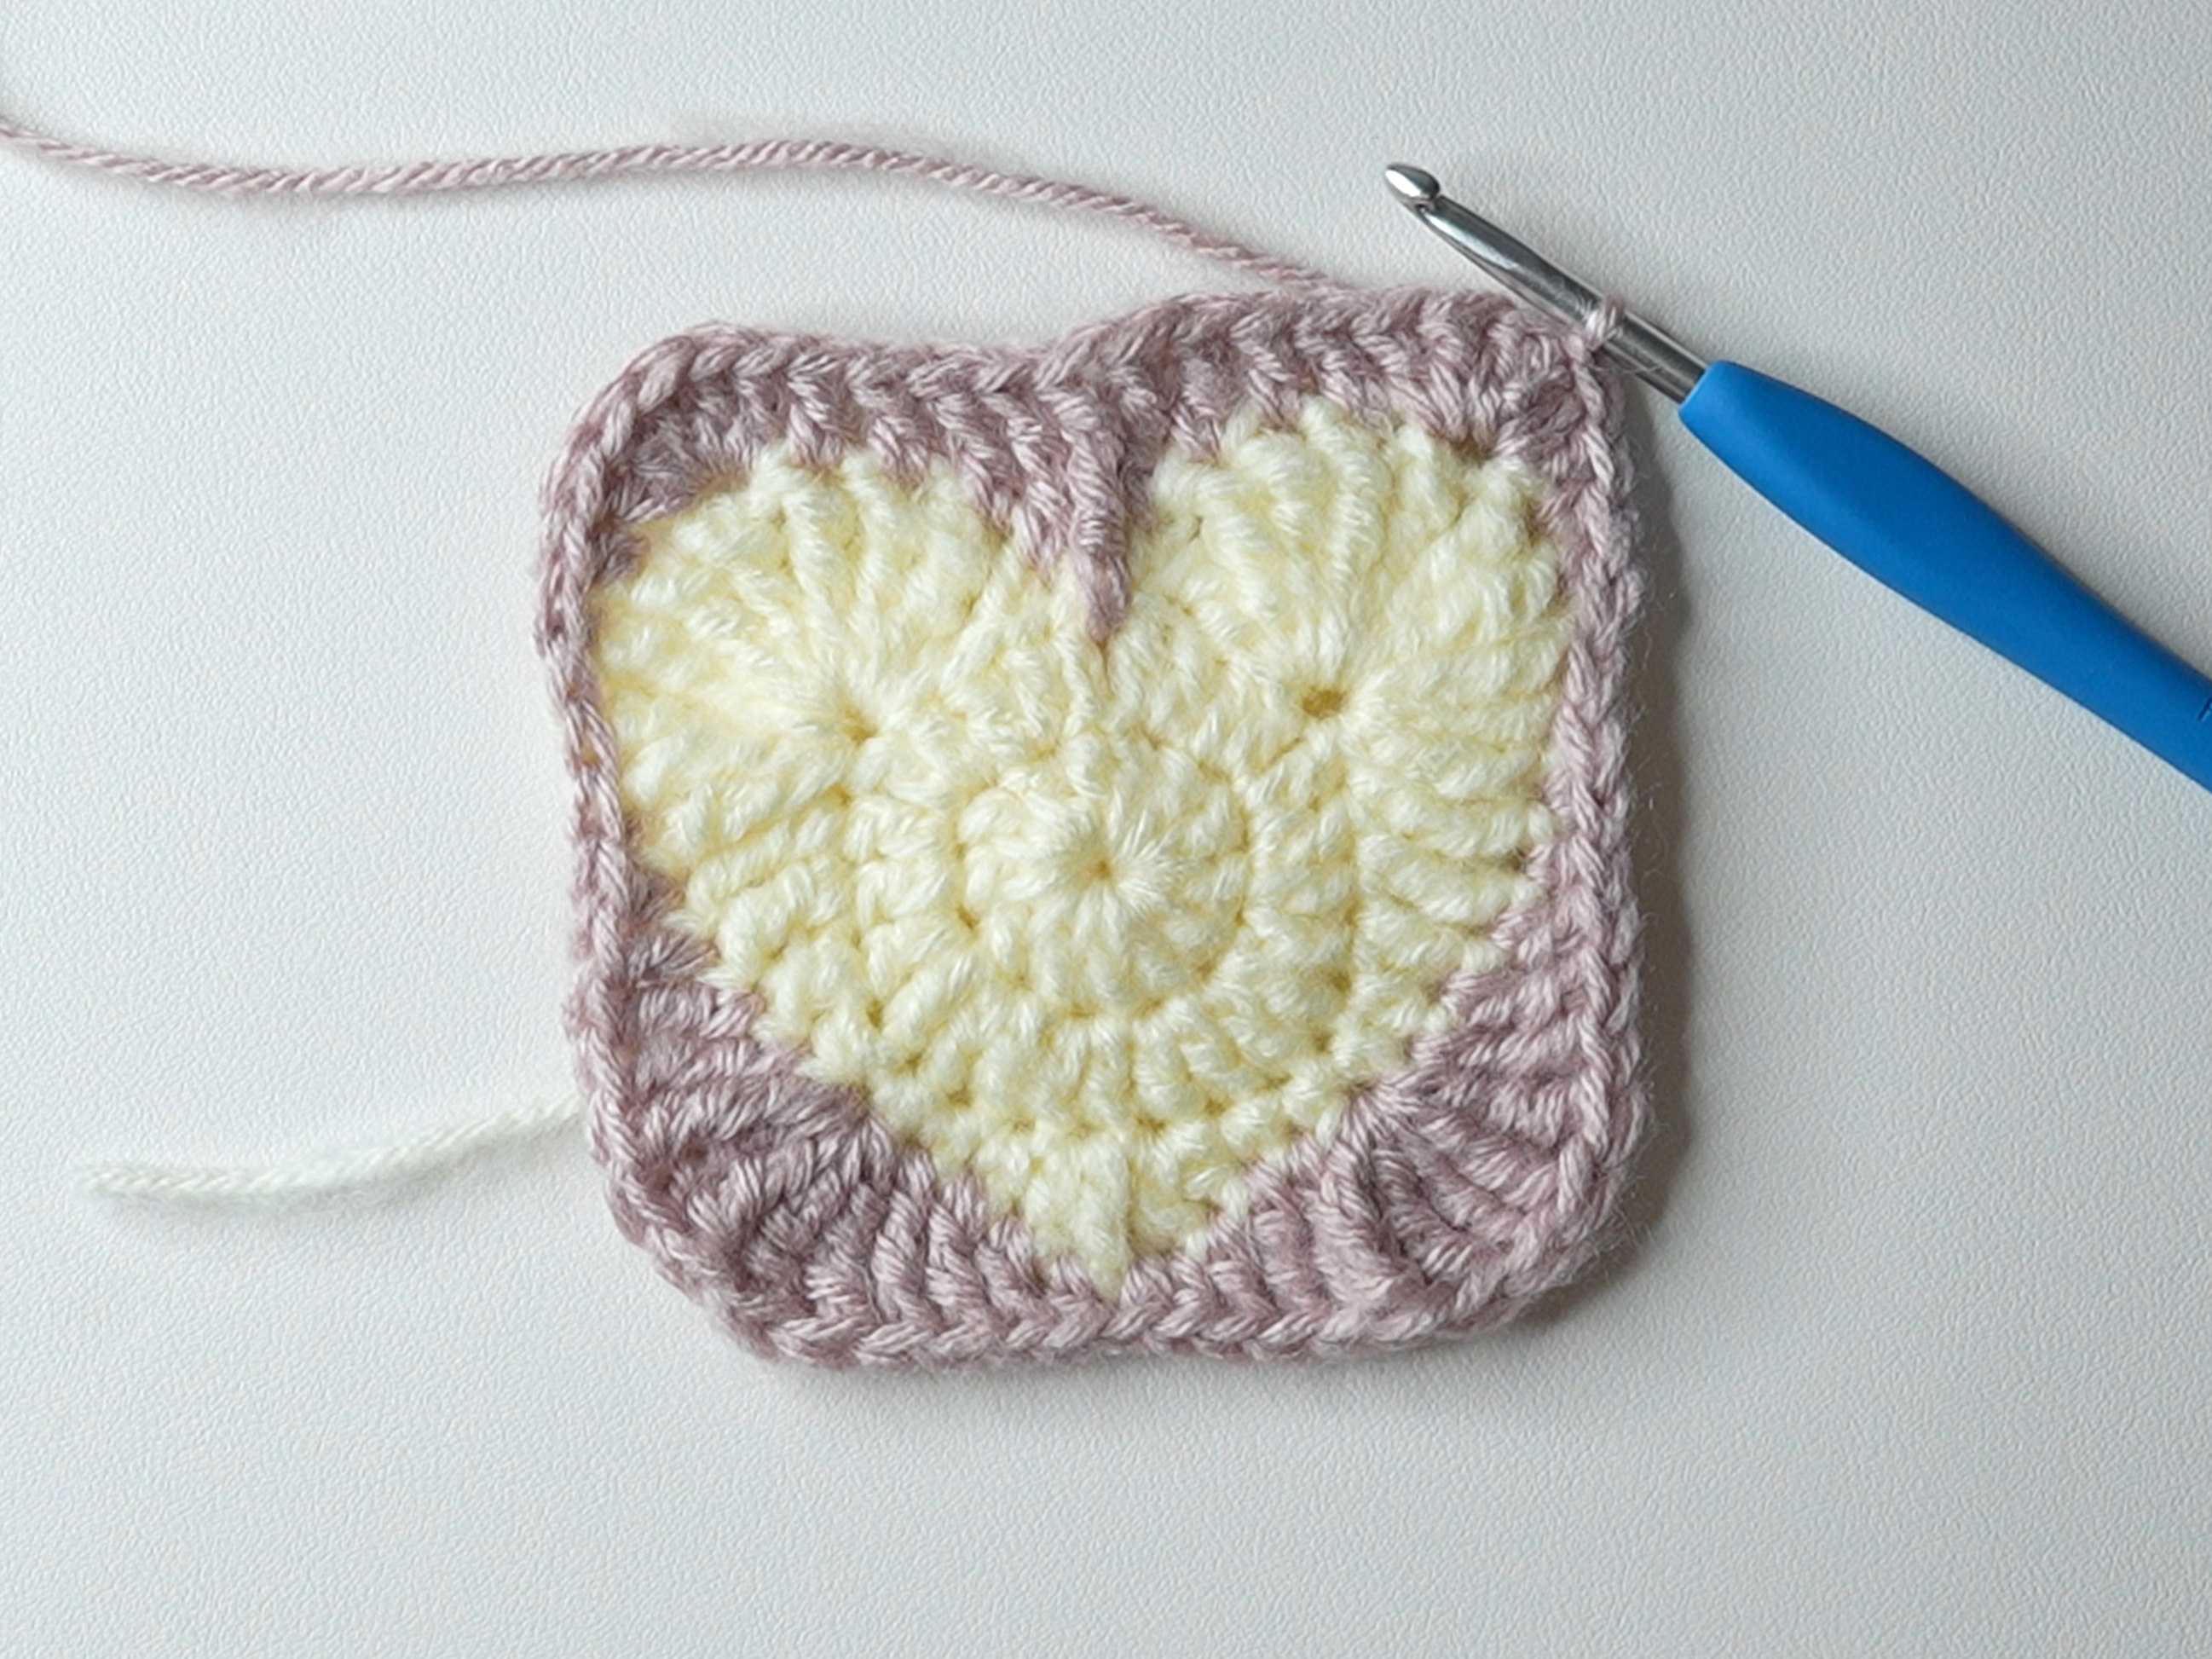
Round 5: ch2, dc2 in same st, *dc in next 13 st, [dc2, ch2, dc2] in next st,* rep between ** 3 more times, but only [dc2, ch2] on last rep,* sl st (17 st on each side of square, ch2 in each corner)
*The [dc2, ch2] at the end of Round 5 goes into the same st as the 2 double crochets at the beginning of the round.
Note: After Round 5, my square is 12.5 cm (4.9 in) wide. With the outline, the scarf will be about 13 cm (5.1 in) wide. If you want your scarf to be this wide, skip Round 6.

Round 6: ch2, dc2 in ch2-sp below, *dc in next 17 st, [dc2, ch2, dc2] in ch2-sp,* rep between ** 3 more times, but only [dc2, ch2] on last rep, sl st (21 st on each side of square, ch2 in each corner)
Note: If you want a wider scarf, you can add a 7th round by repeating Round 6, but with 4 more dc before the corner (21 instead of 17). If you want an 8th round, do 4 more dc than the last round (25 instead of 21).
Fasten off with a loose end 3 times the length of the side of the square.

Your first heart granny square is finished! Make a total of 10 squares and don’t forget to leave the extra long loose end.
Note: Do fewer squares for a shorter scarf or more squares for a longer scarf. Calculate how many squares you need by taking the length of the scarf you want and dividing it by the height of one square. Make an even number of squares.
Assembly
You can block your squares before assembling them to straighten the edges or do an outline after assembling your squares.
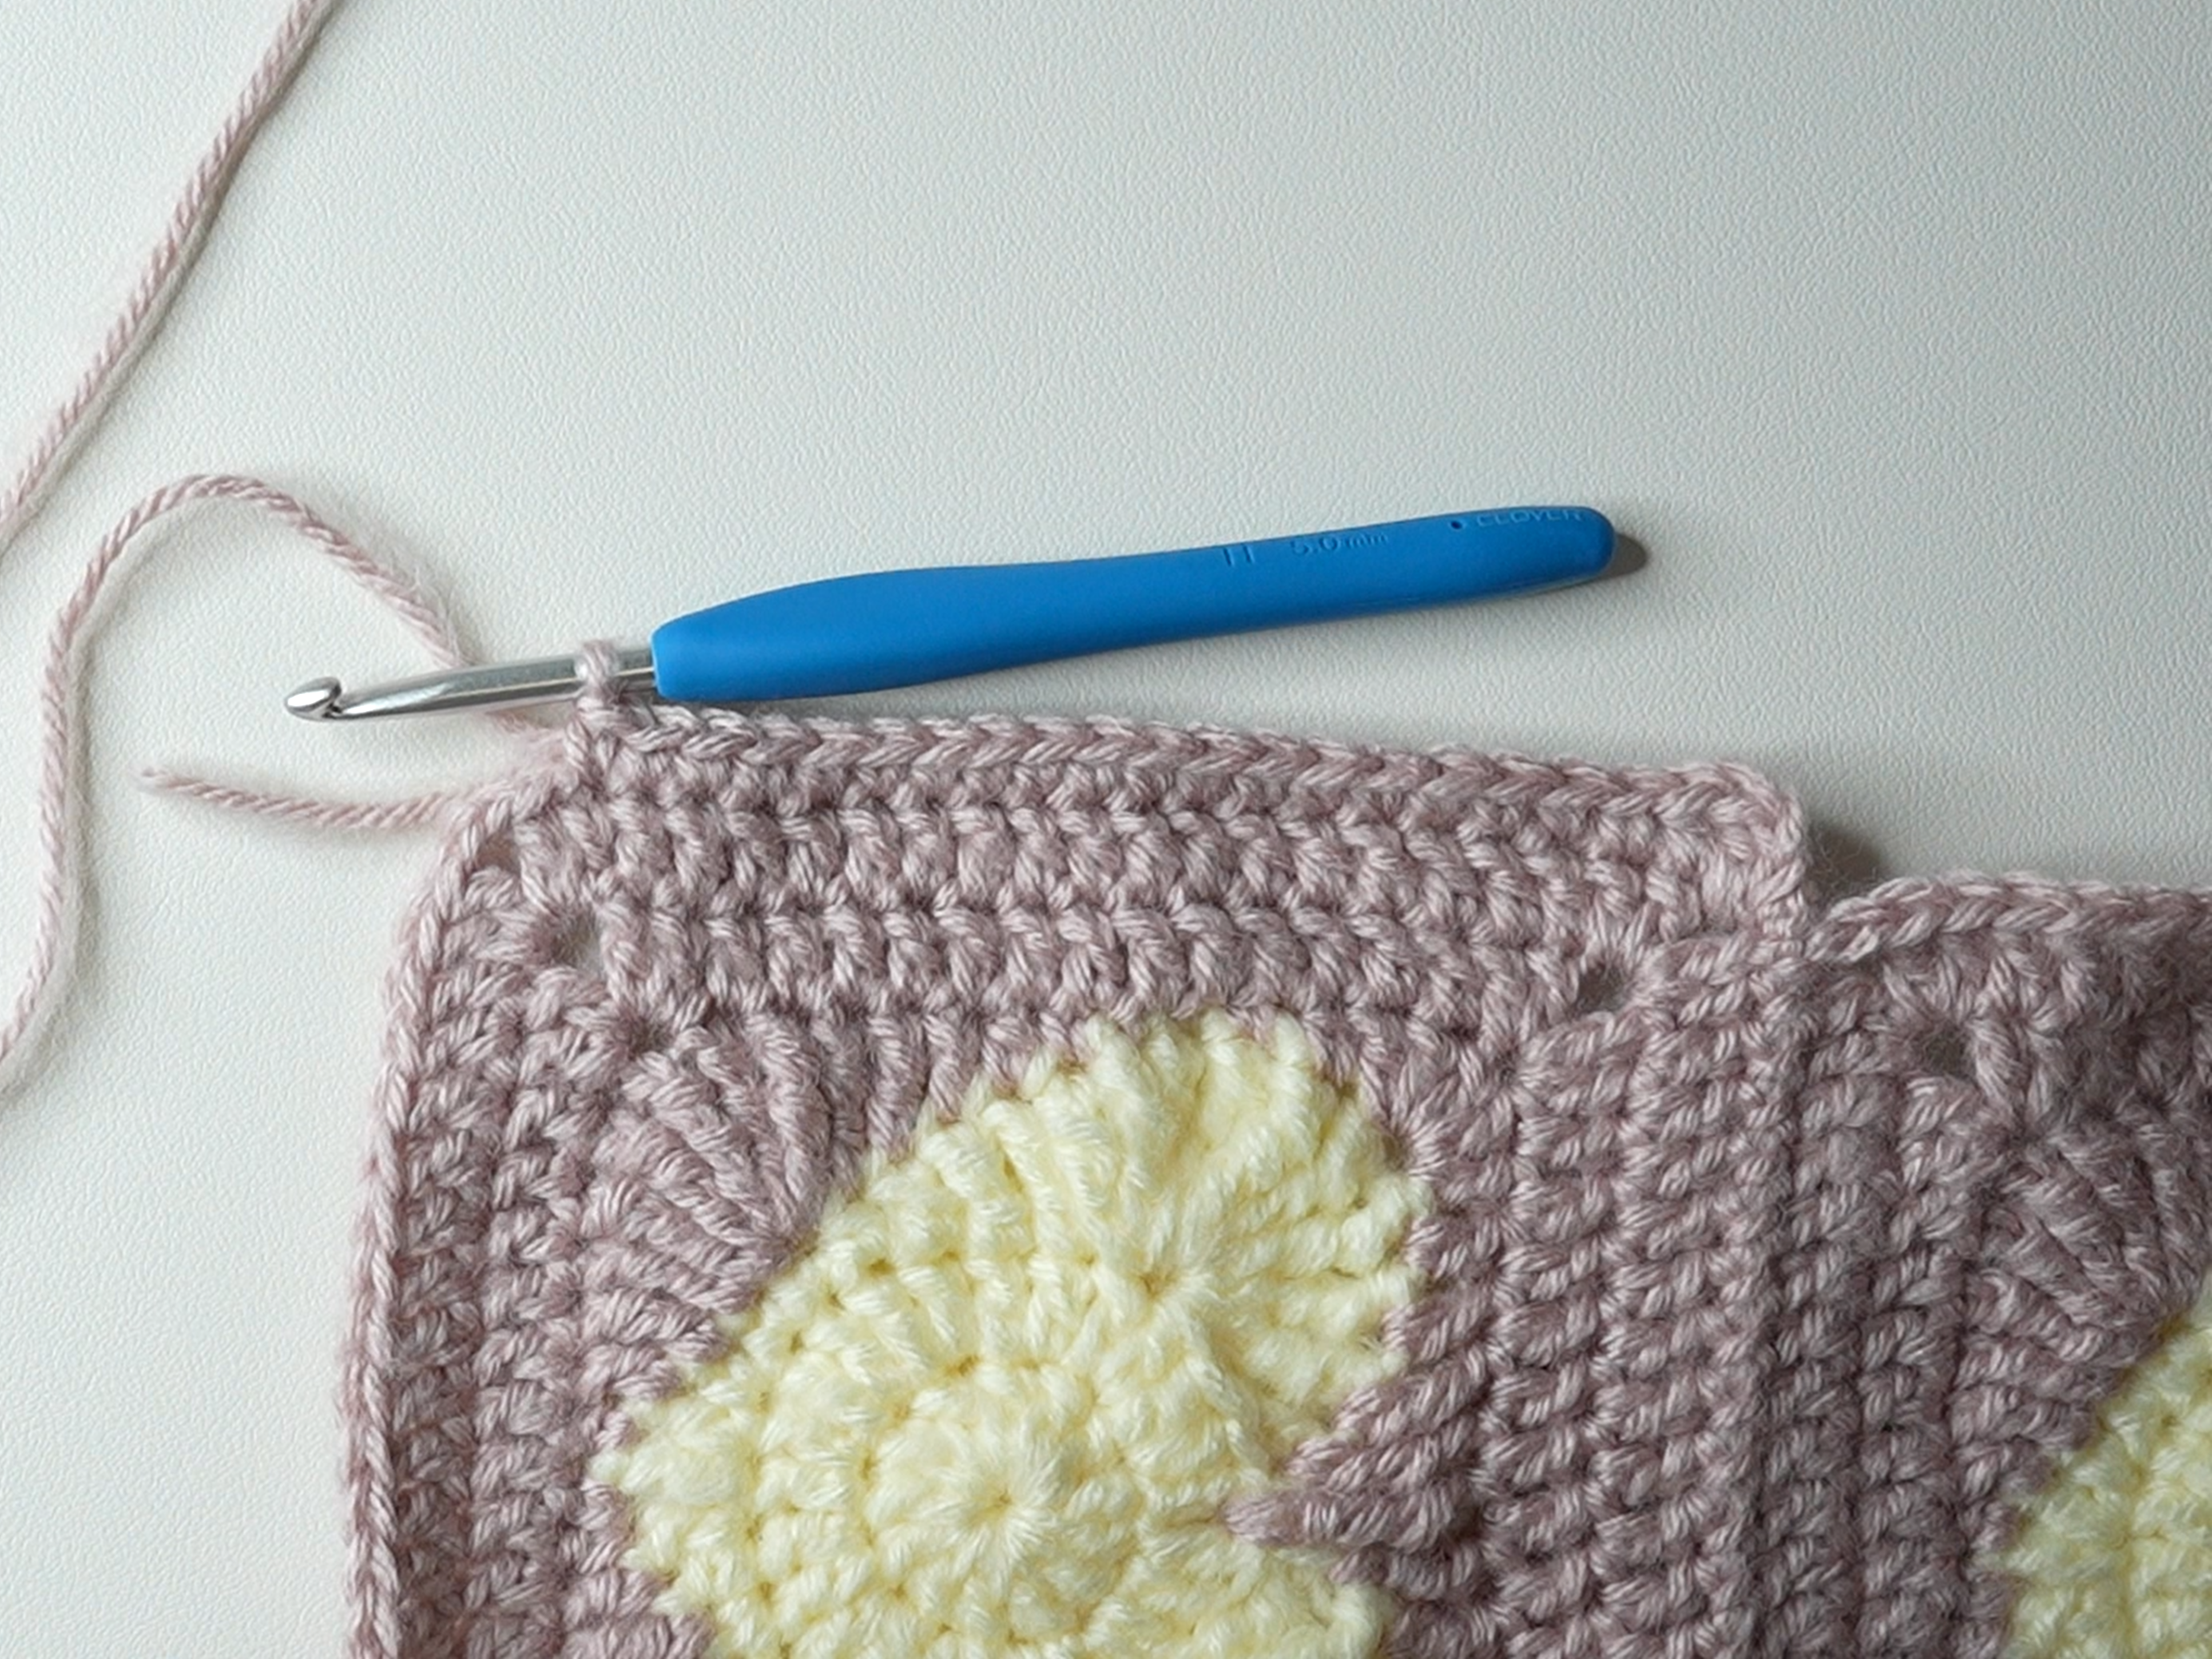
1. Stack two squares like in the image below with the right sides up and the hearts right-side-up.
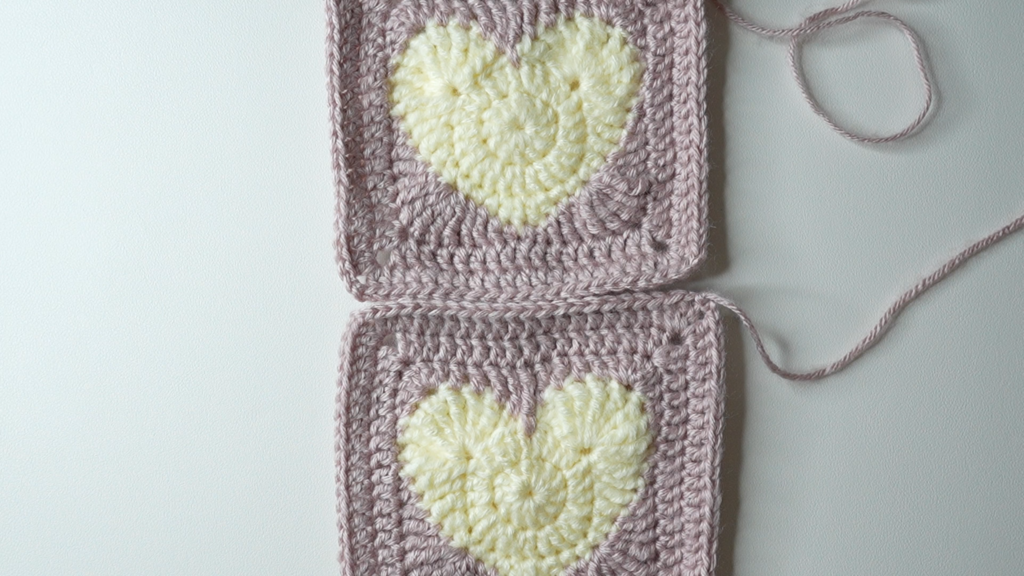
2. Use any method you prefer (I used the whip stitch) to sew the squares together using the long loose end left on the bottom square. Tie a double knot to secure the seam.

3. Stack a new square above the top square with the right side up and the heart facing the same way and repeat Step 2.

4. Repeat Step 3 until you have a stack of 5 squares. Make a second stack of 5 squares.
Note: If you did a different number of squares, divide that number by 2 and do that many squares in each stack instead of 5.
5. Attach the tops of the stacks together, so 5 hearts are facing one way and the other 5 are facing the other way.
This makes it so that when you wear it around your neck, the hearts on both ends of the scarf will be facing up!
Outline
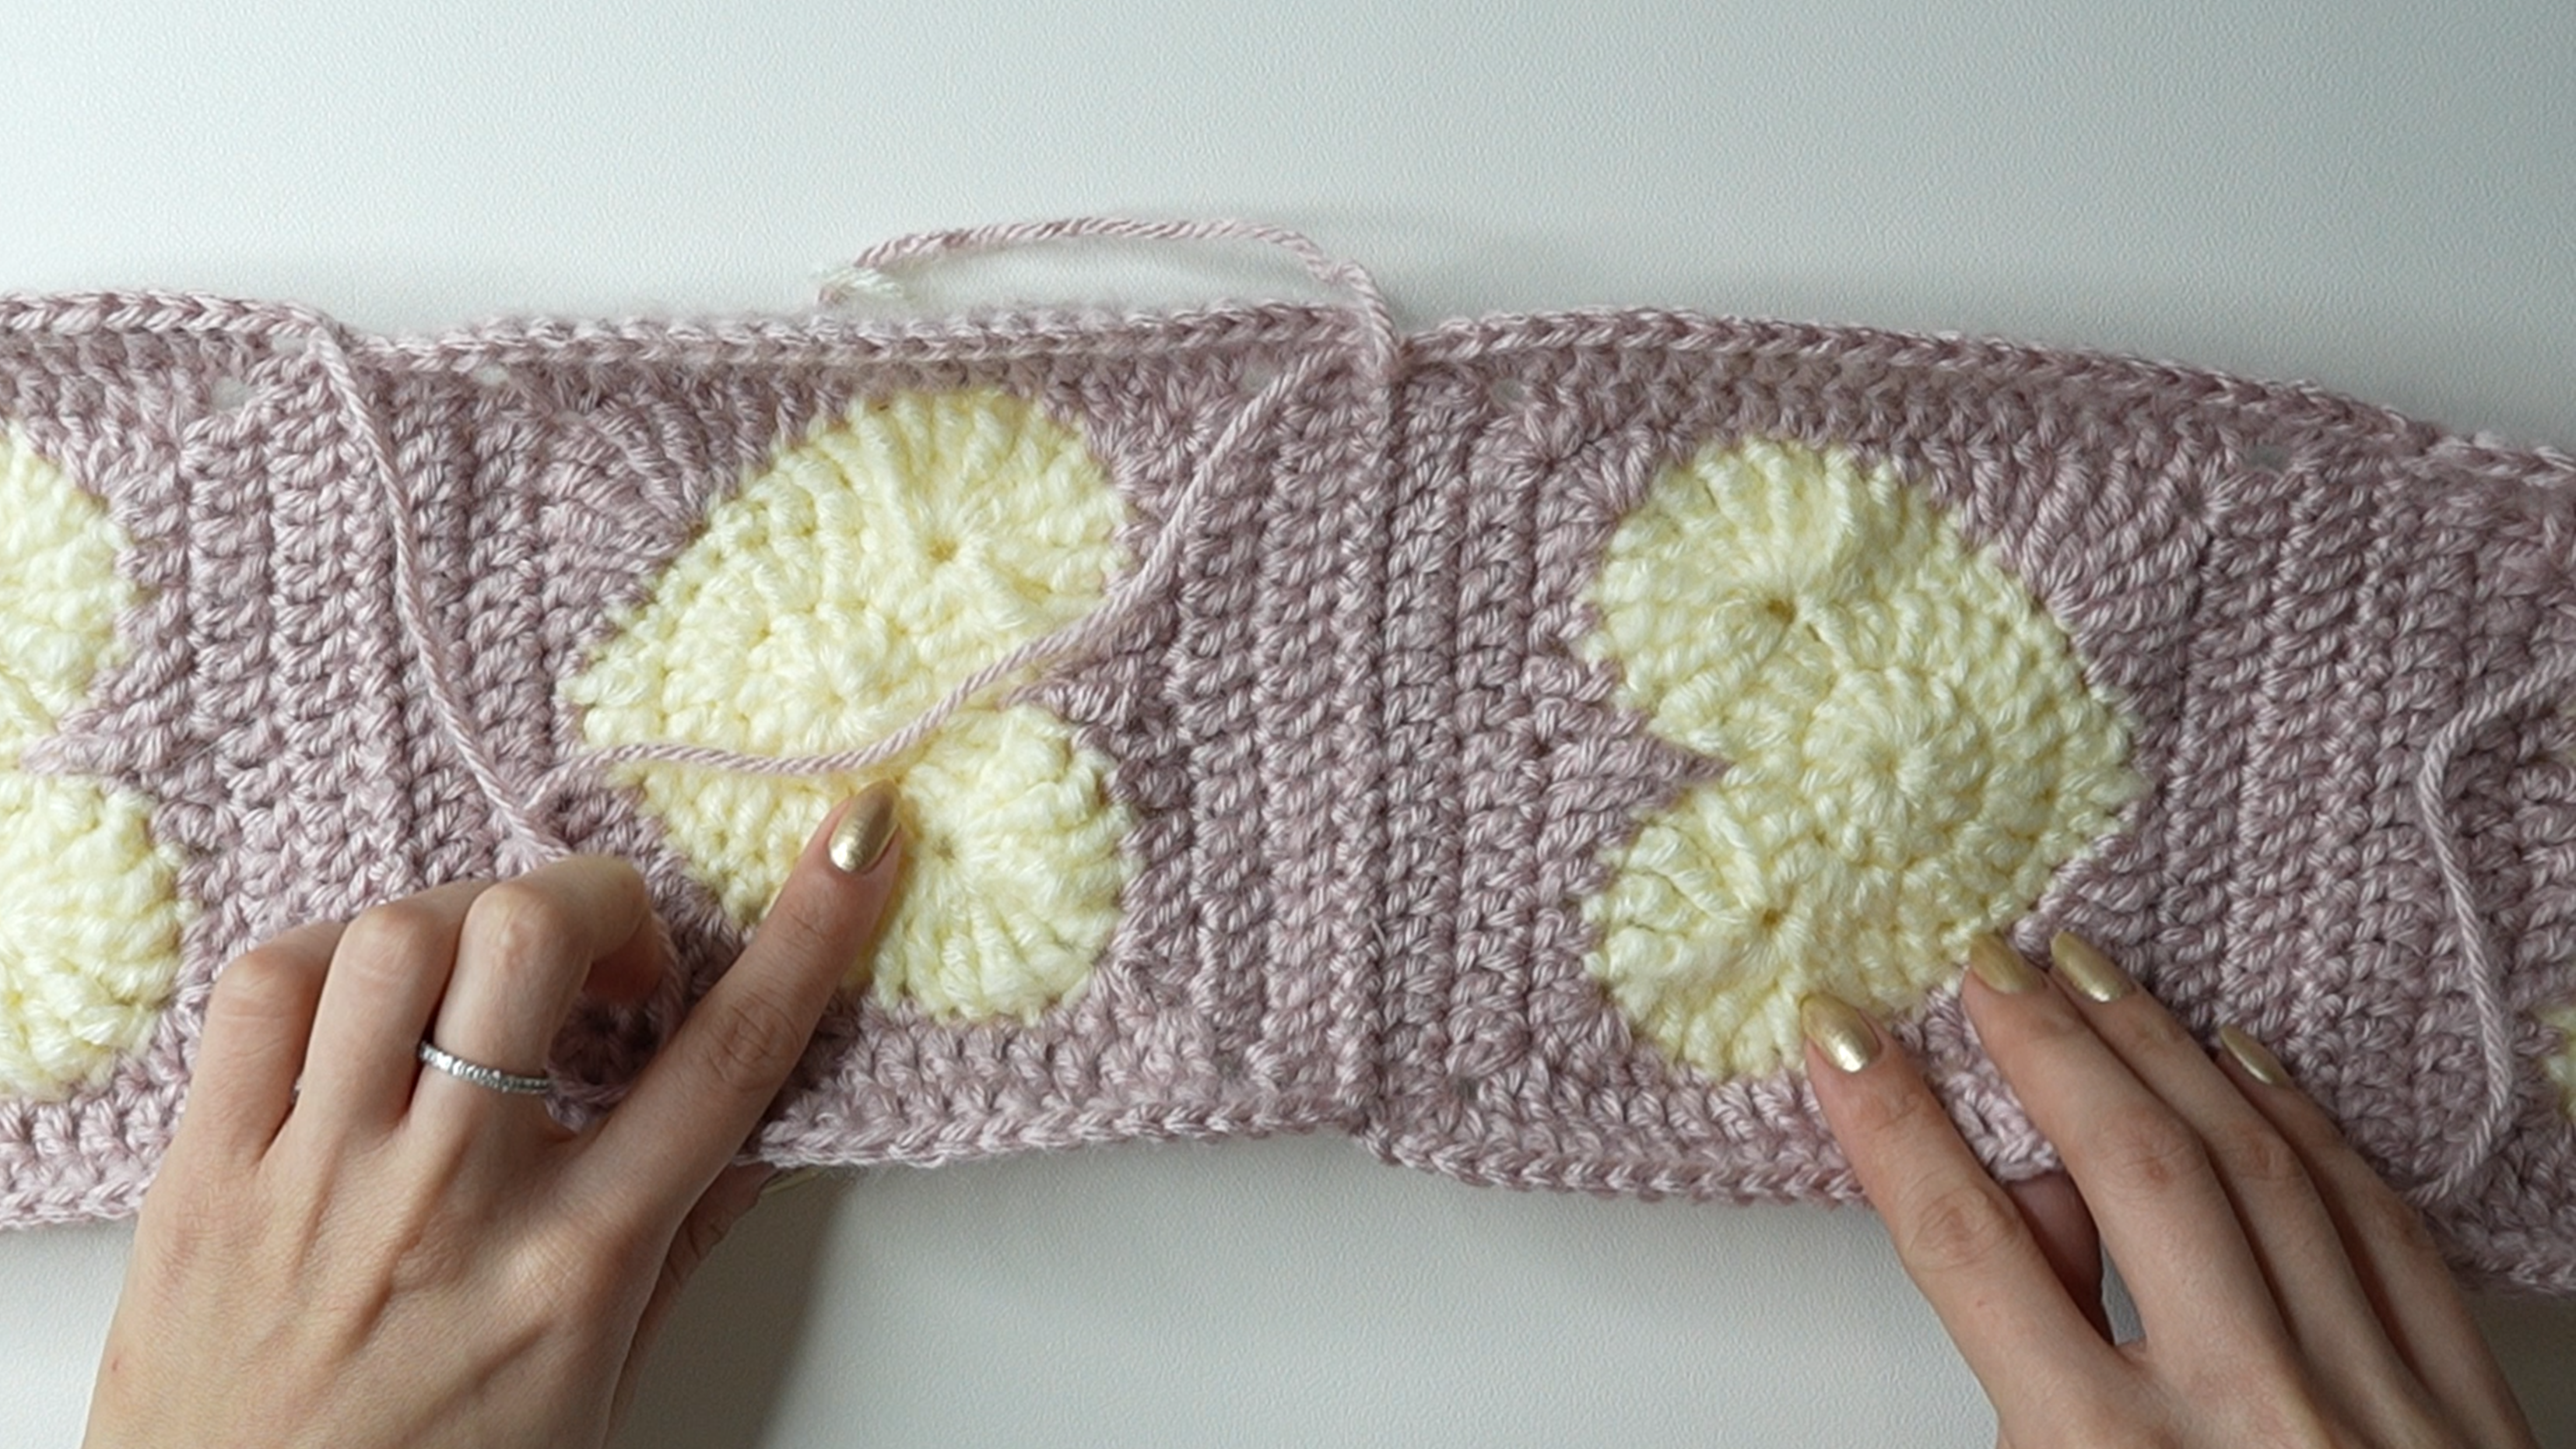
With the scarf facing right-side-up, attach your base color yarn to the ch2-sp near the left end of the scarf (see image below). You can attach your yarn anywhere you want if you just follow the Outline Notes, which is personally easier to comprehend for me!

Note: If you did a different number of rounds for your heart granny square, follow the outline notes.
If you blocked your squares or if the sides of your scarf are straight, you can switch out the hdc and dc stitches in the outline for all sc.
Outline: ch2, dc in ch2-sp below, hdc, sc in next 20 st, *sc3 in ch2-sp, sc in next 21 st, sc3 in ch2-sp, sc in next 20 st, {hdc, dc in next 2 ch2-sp, hdc, sc in next 19 st}, rep between {} 8 more times, sc, rep from * until end of round, sl st, fasten off (510)
Outline Notes:
- Carry the leftover loose ends from sewing in your stitches to hide them
- Chain spaces along the sides of the scarf will have dc
- The stitch on either end of the chain spaces along the sides of the scarf will have hdc
- The stitch pattern will look like this: …sc, hdc, dc, dc, hdc, sc…
- The 4 chain spaces on the ends of the scarf will each have 3 sc
- Every other st will have sc


Finished Heart Granny Square Scarf
Weave in the rest of your loose ends and your crochet heart scarf is finished!

What a brilliant crochet pattern! Your heart scarf came out wonderfully, and I’ve shared it on Crafts on Display – hope you enjoy it! https://craftsondisplay.com/crochet/cute-heart-granny-square-scarf-150719/
Thank you!! And thank you for sharing it!