Crochet Dainty Flower Choker Necklace | Free Pattern & Tutorial
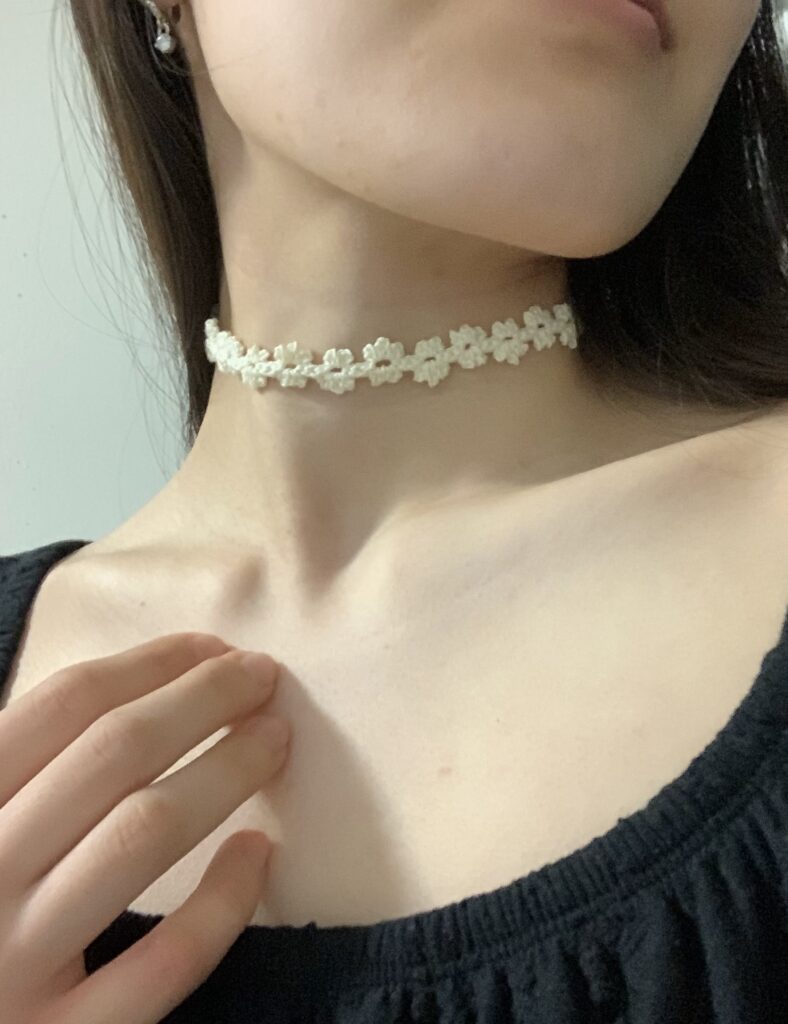
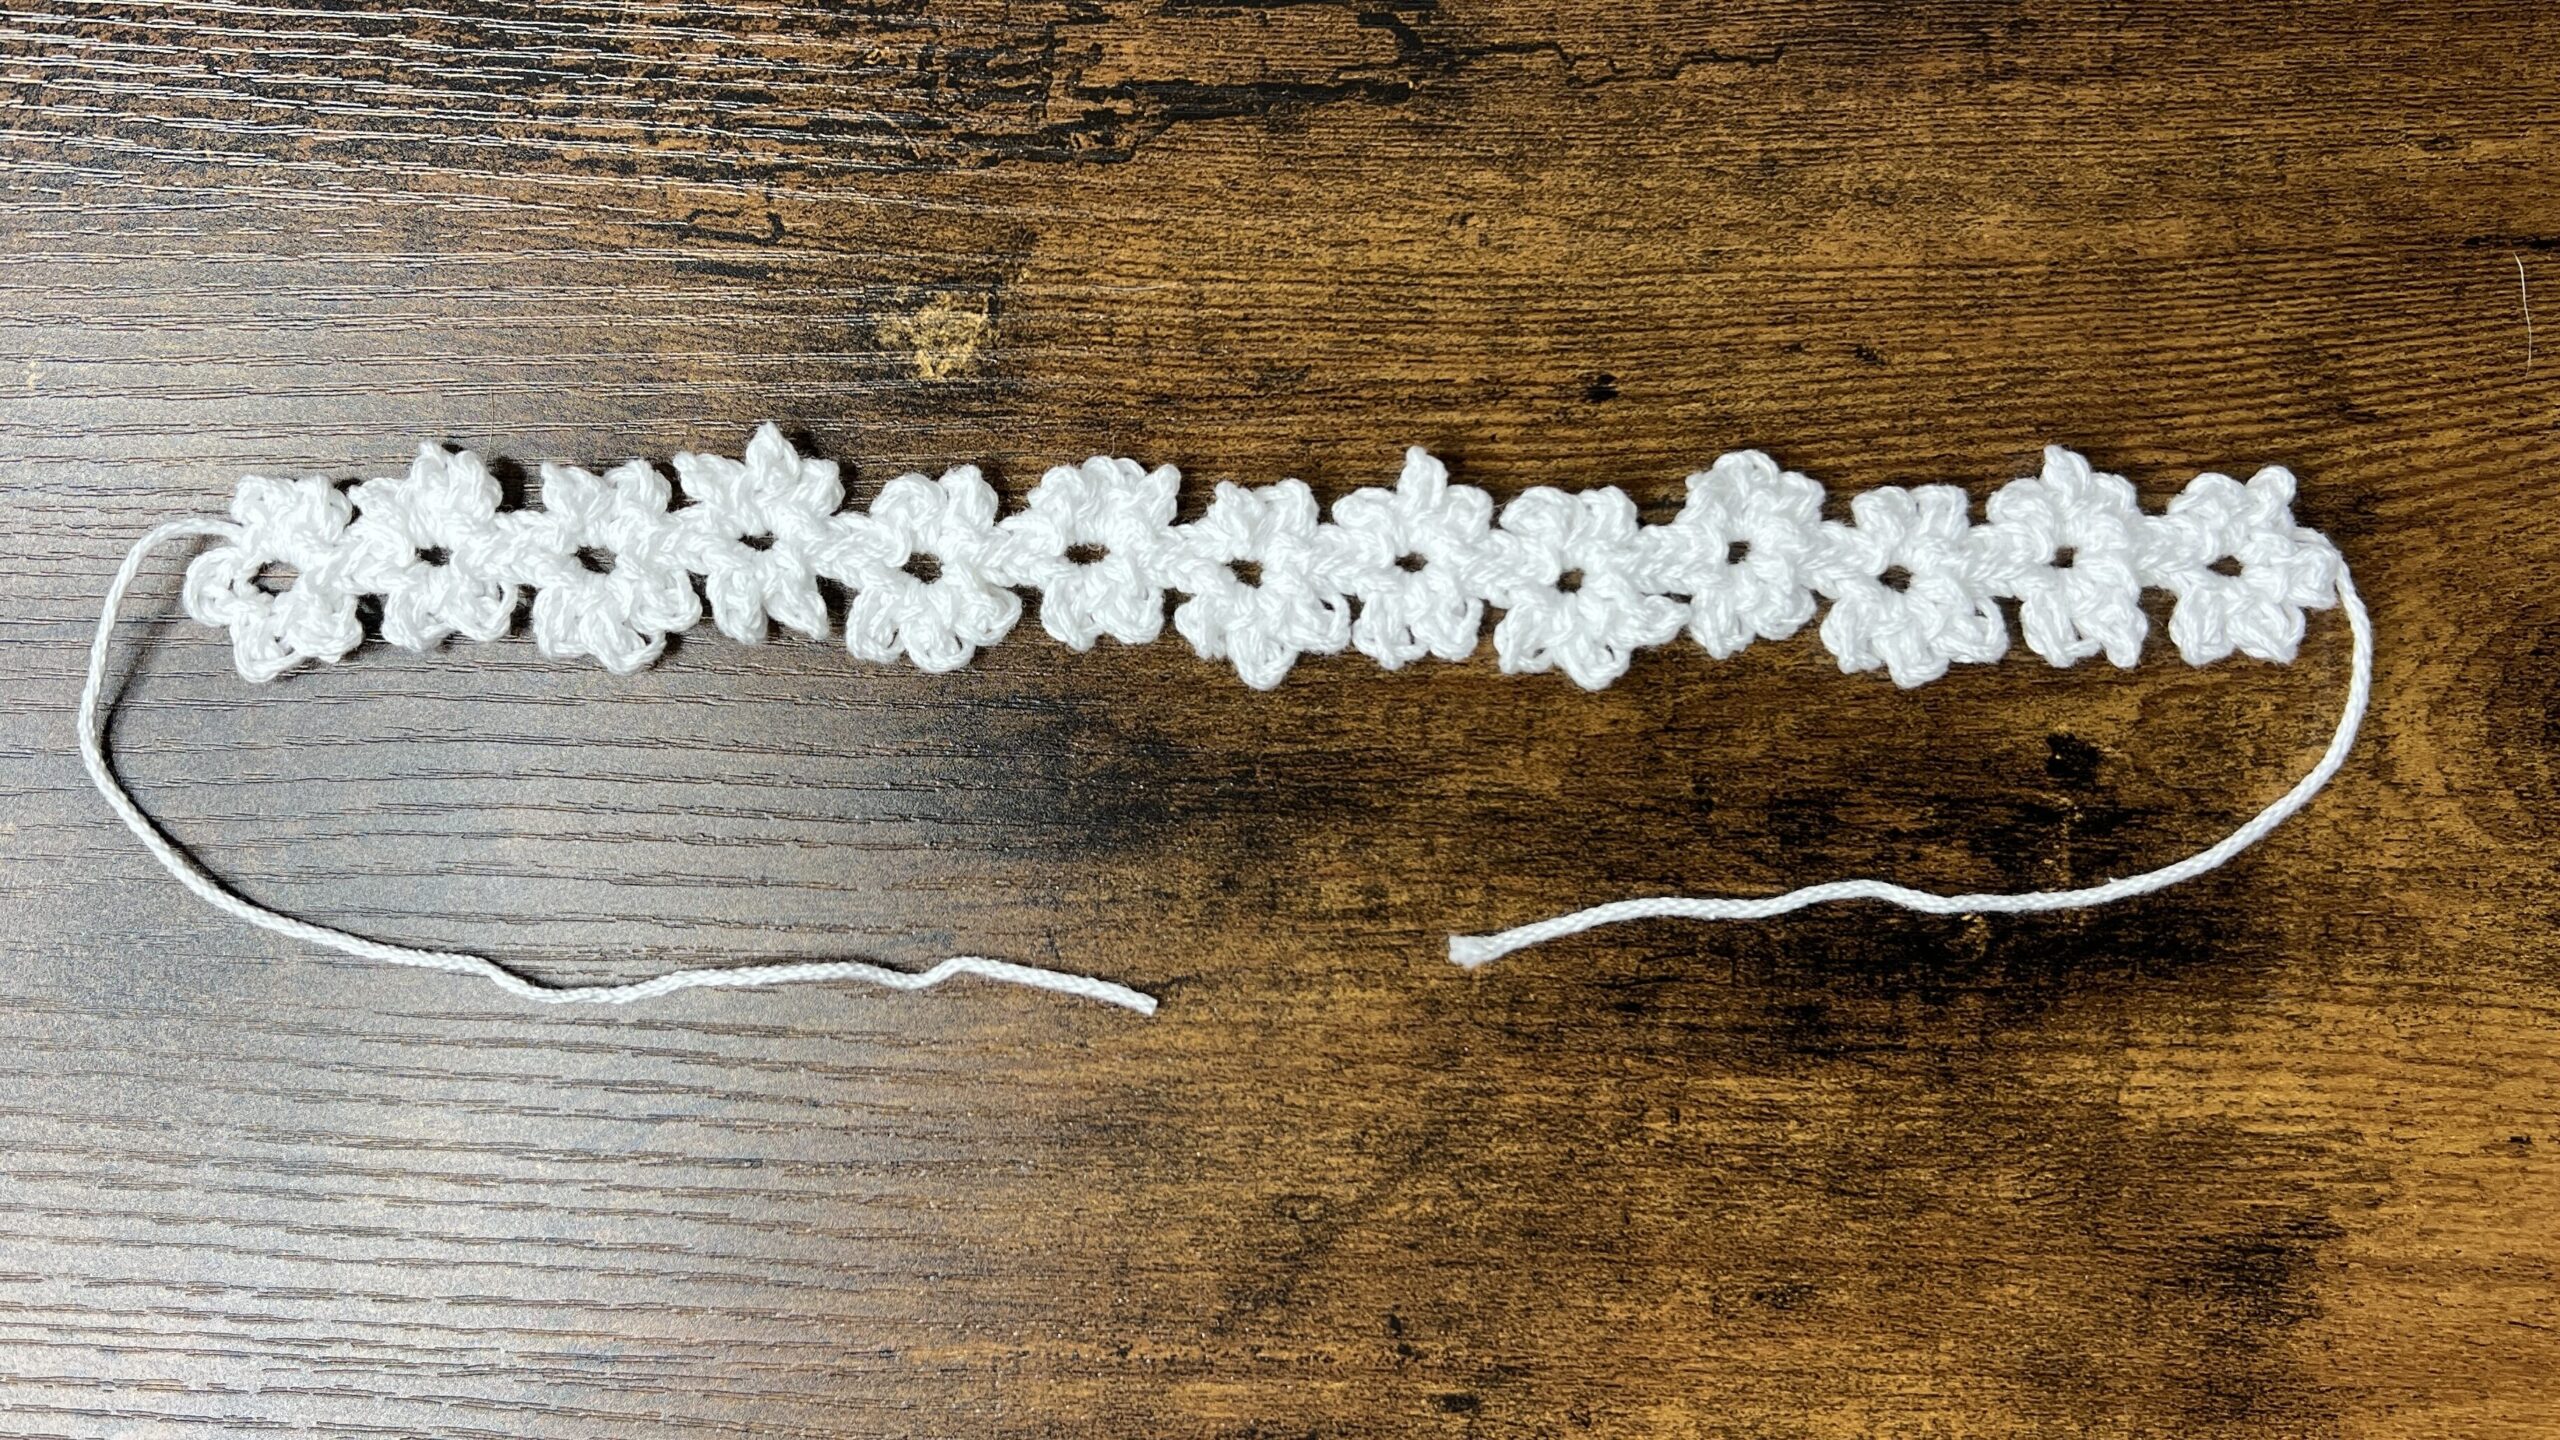
This crochet flower choker necklace is super simple and cute. I couldn’t find a pattern like this anywhere, so I made one! It’s really a very simple design, using only chains and slip stitches. It’s beginner-friendly, but also very cute and it goes with any outfit! This can be a fun and quick little DIY project for a handmade choker! This pattern can also be made to be much longer to turn it into a crochet flower garland!
This pattern helped launch my YouTube channel 3 years ago (at the time this written pattern as made)! This written pattern is the same as the video tutorial, linked below, with one minor revision, which I’ll note in the pattern.
Yarn & Alternatives
I’ve made this crochet flower choker with 3 different yarn thicknesses: Red Heart Super, 24/7 Cotton, and Aunt Lydia’s. I prefer this choker in crochet thread because it works up tiny flowers and doesn’t fit too wide on the neck. The thinner the yarn you use, the thinner the necklace you’ll end up with.
The pattern for all of these yarn types is the same except for the chain in the beginning. For the thinner yarn, you’ll need more chains to get the same length as the thicker yarn.

This project uses very little yarn! You can find other crochet patterns that use a minimal amount of yarn here on my website such as the Strawberries Charm or the Twisted Ear Warmer.
Video Tutorial
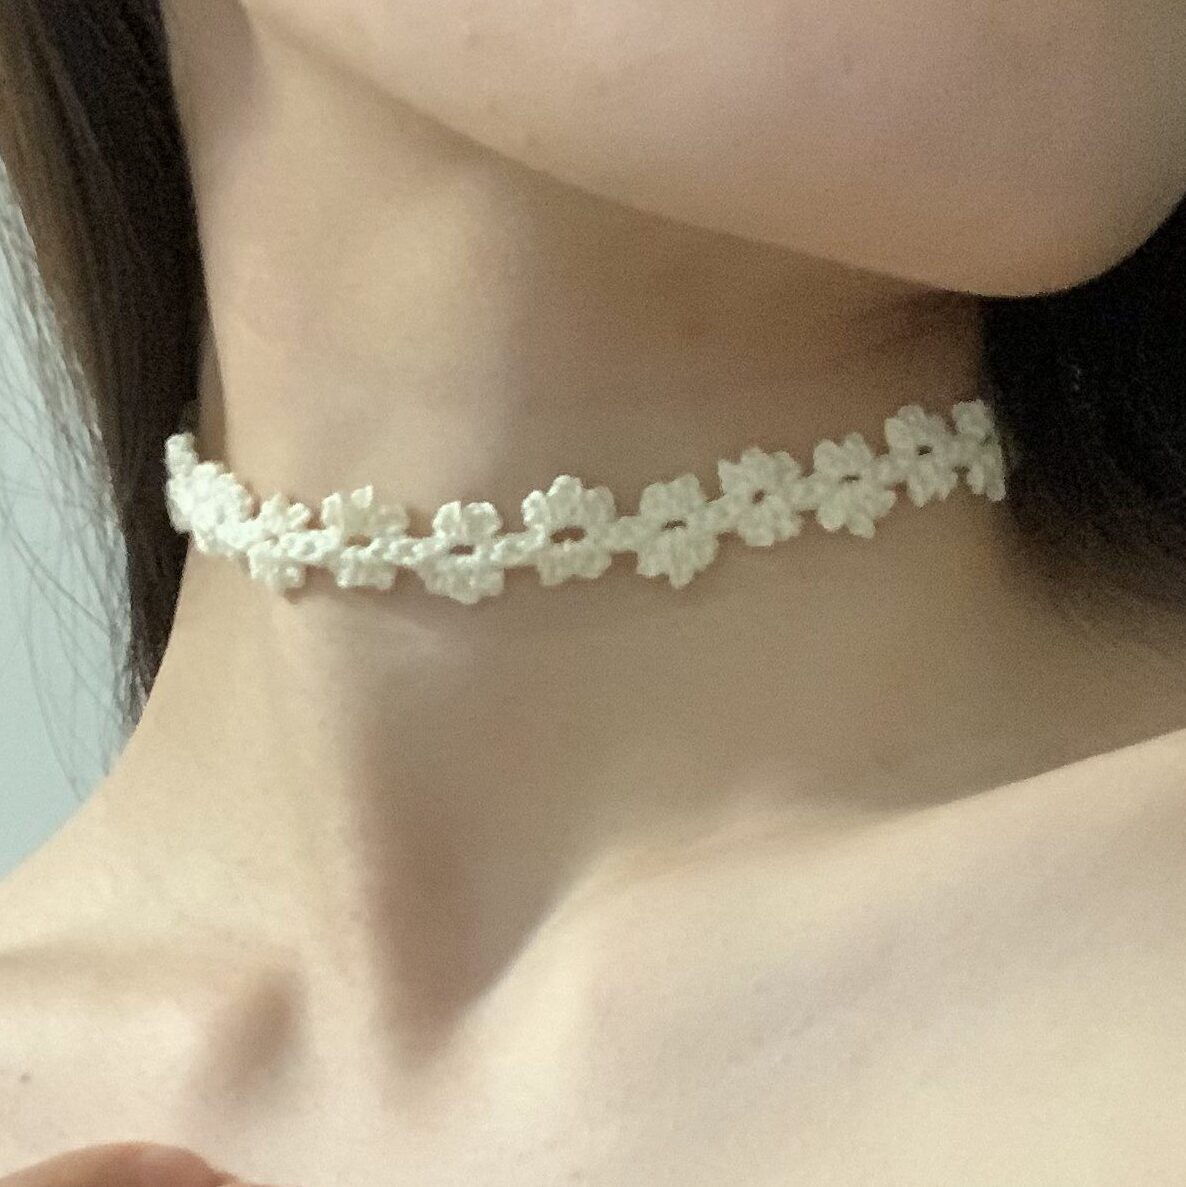
This video tutorial was made with medium weight yarn (Red Heart Super Saver) to make it easier to see, but the thumbnail and other image you see of it on my neck is made with crochet thread (Aunt Lydia’s)!
This video was made at the start of my YouTube channel, so the quality is a little rough. So, for the written pattern, I took new pictures that are much clearer!
You can follow along with my YouTube video to make you very own crochet flower choker! I have timestamps included to section the video and help you jump to any point you need to!
This post may contain affiliate links. I may earn a small commission on qualifying purchases at no additional cost to you!
Materials
- 6 grams of medium weight yarn (24/7 Cotton in “White”)
- 4mm Clover Amour crochet hook
- Scissors

Dimensions
2.5 centimeters wide x 27 centimeters long
Notes and Tips
- This pattern is written using US crochet terms
- Each petal is 3 chains long
- There are 3 slip stitches between each flower
Abbreviations
- ch = chain
- rep = repeat
- sl st = slip stitch
The concept for this pattern is to crochet half the petals of each flower as the first row on top of the chain. Then, you start working counterclockwise and finish the last half of the petals on the other side.
Foundation
Make a slipknot with a long tail end and ch52 (neck circumference, must be a multiple of 4).
Note: The video tutorial says to do a (multiple of 4) + 1, but it should actually be just a multiple of 4.

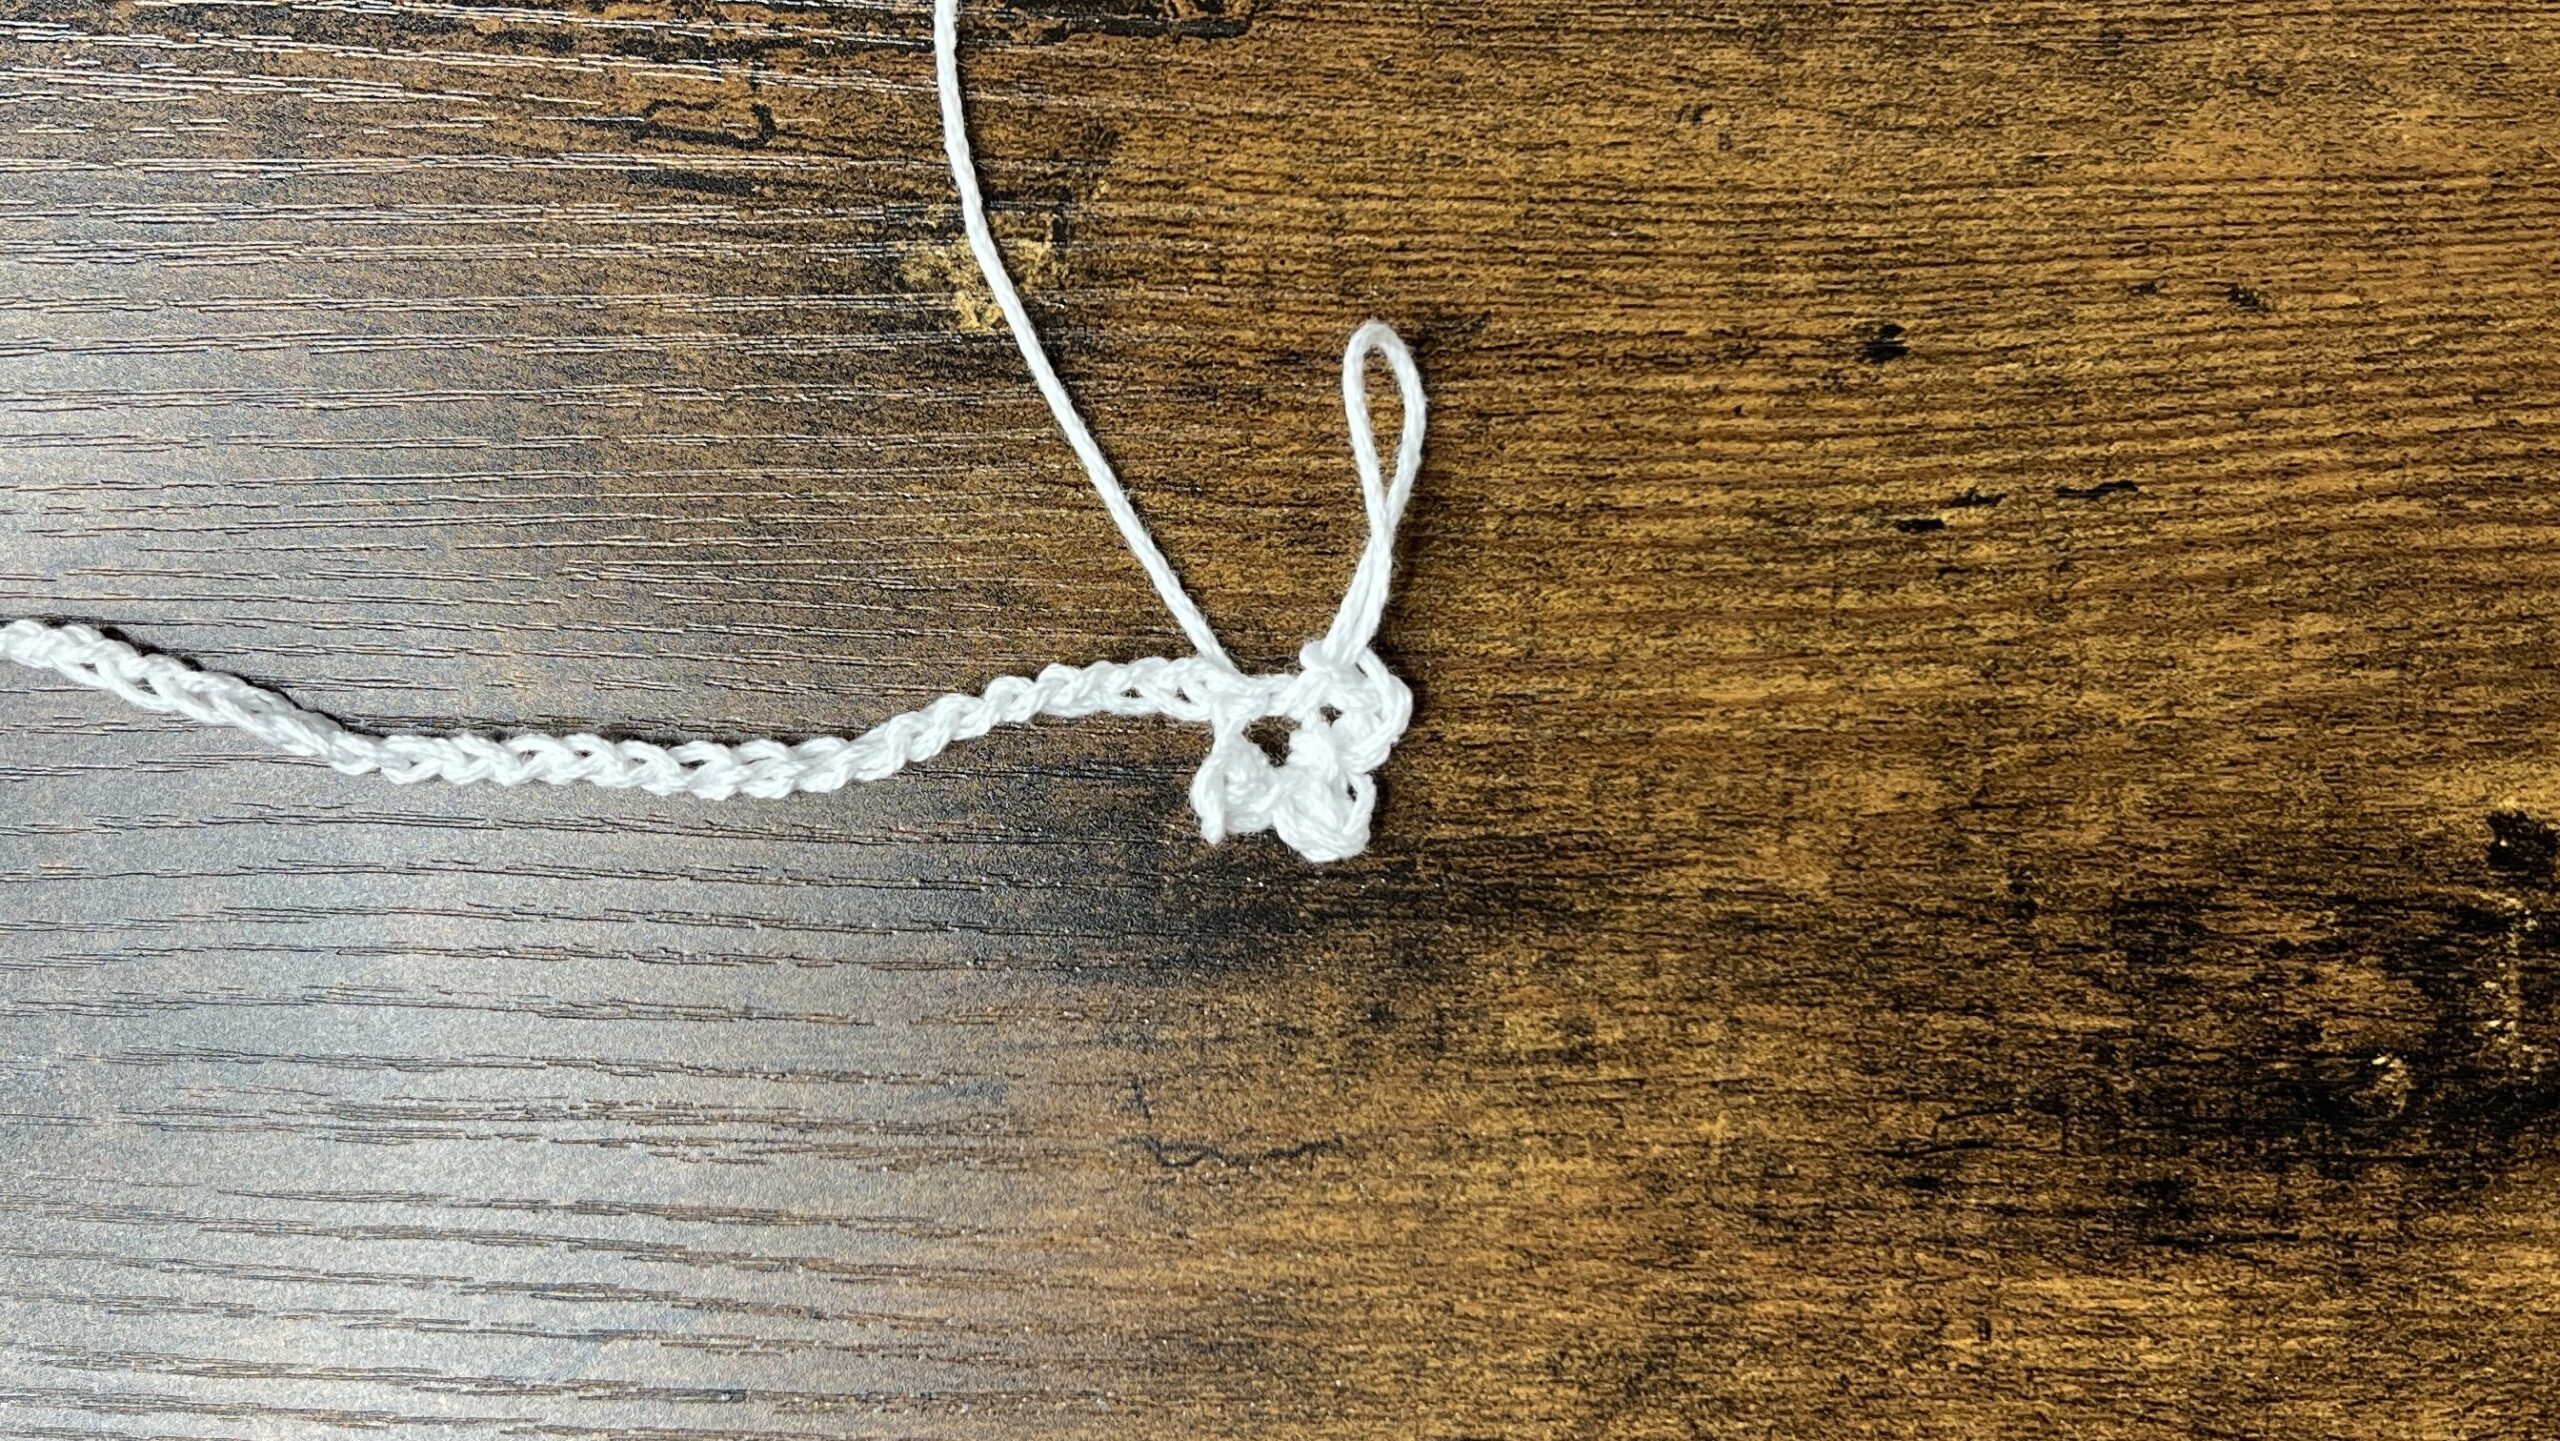
Top Half of Flowers
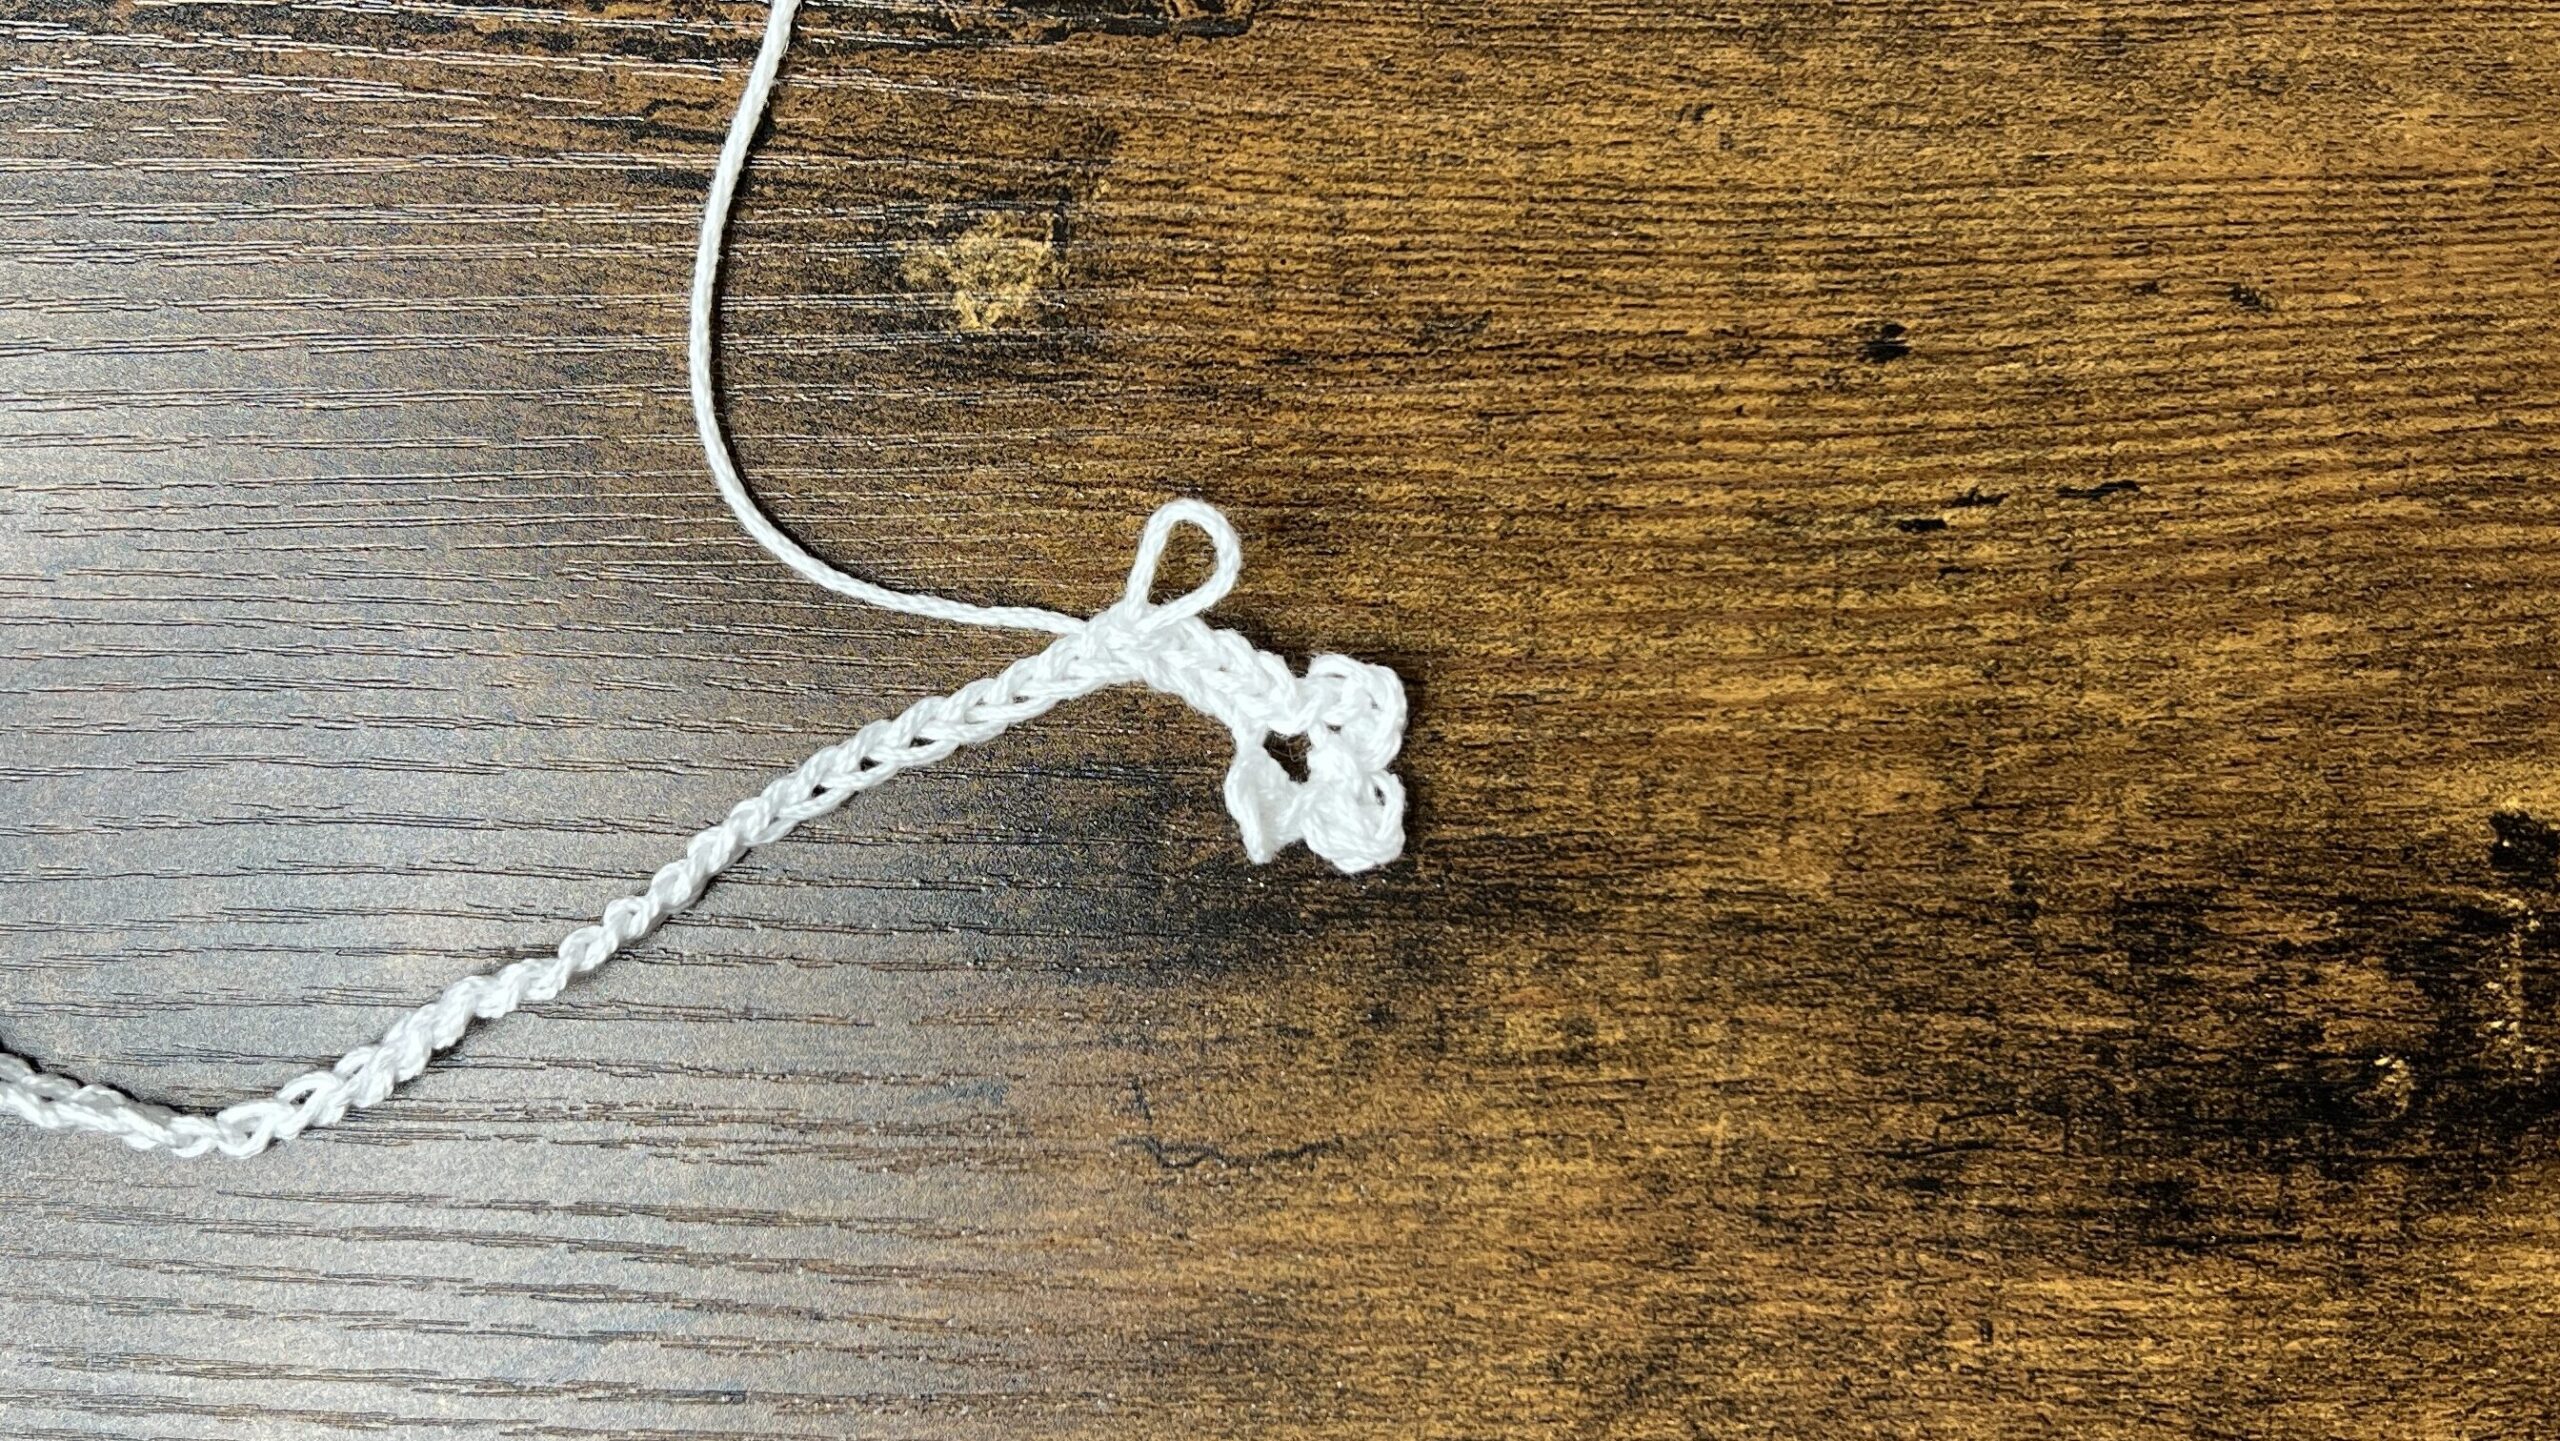
First Flower: (sl st, ch3, sl st, ch3, sl st) in 4th ch from hook
You should have 3 “petals” in the 4th ch from the hook.
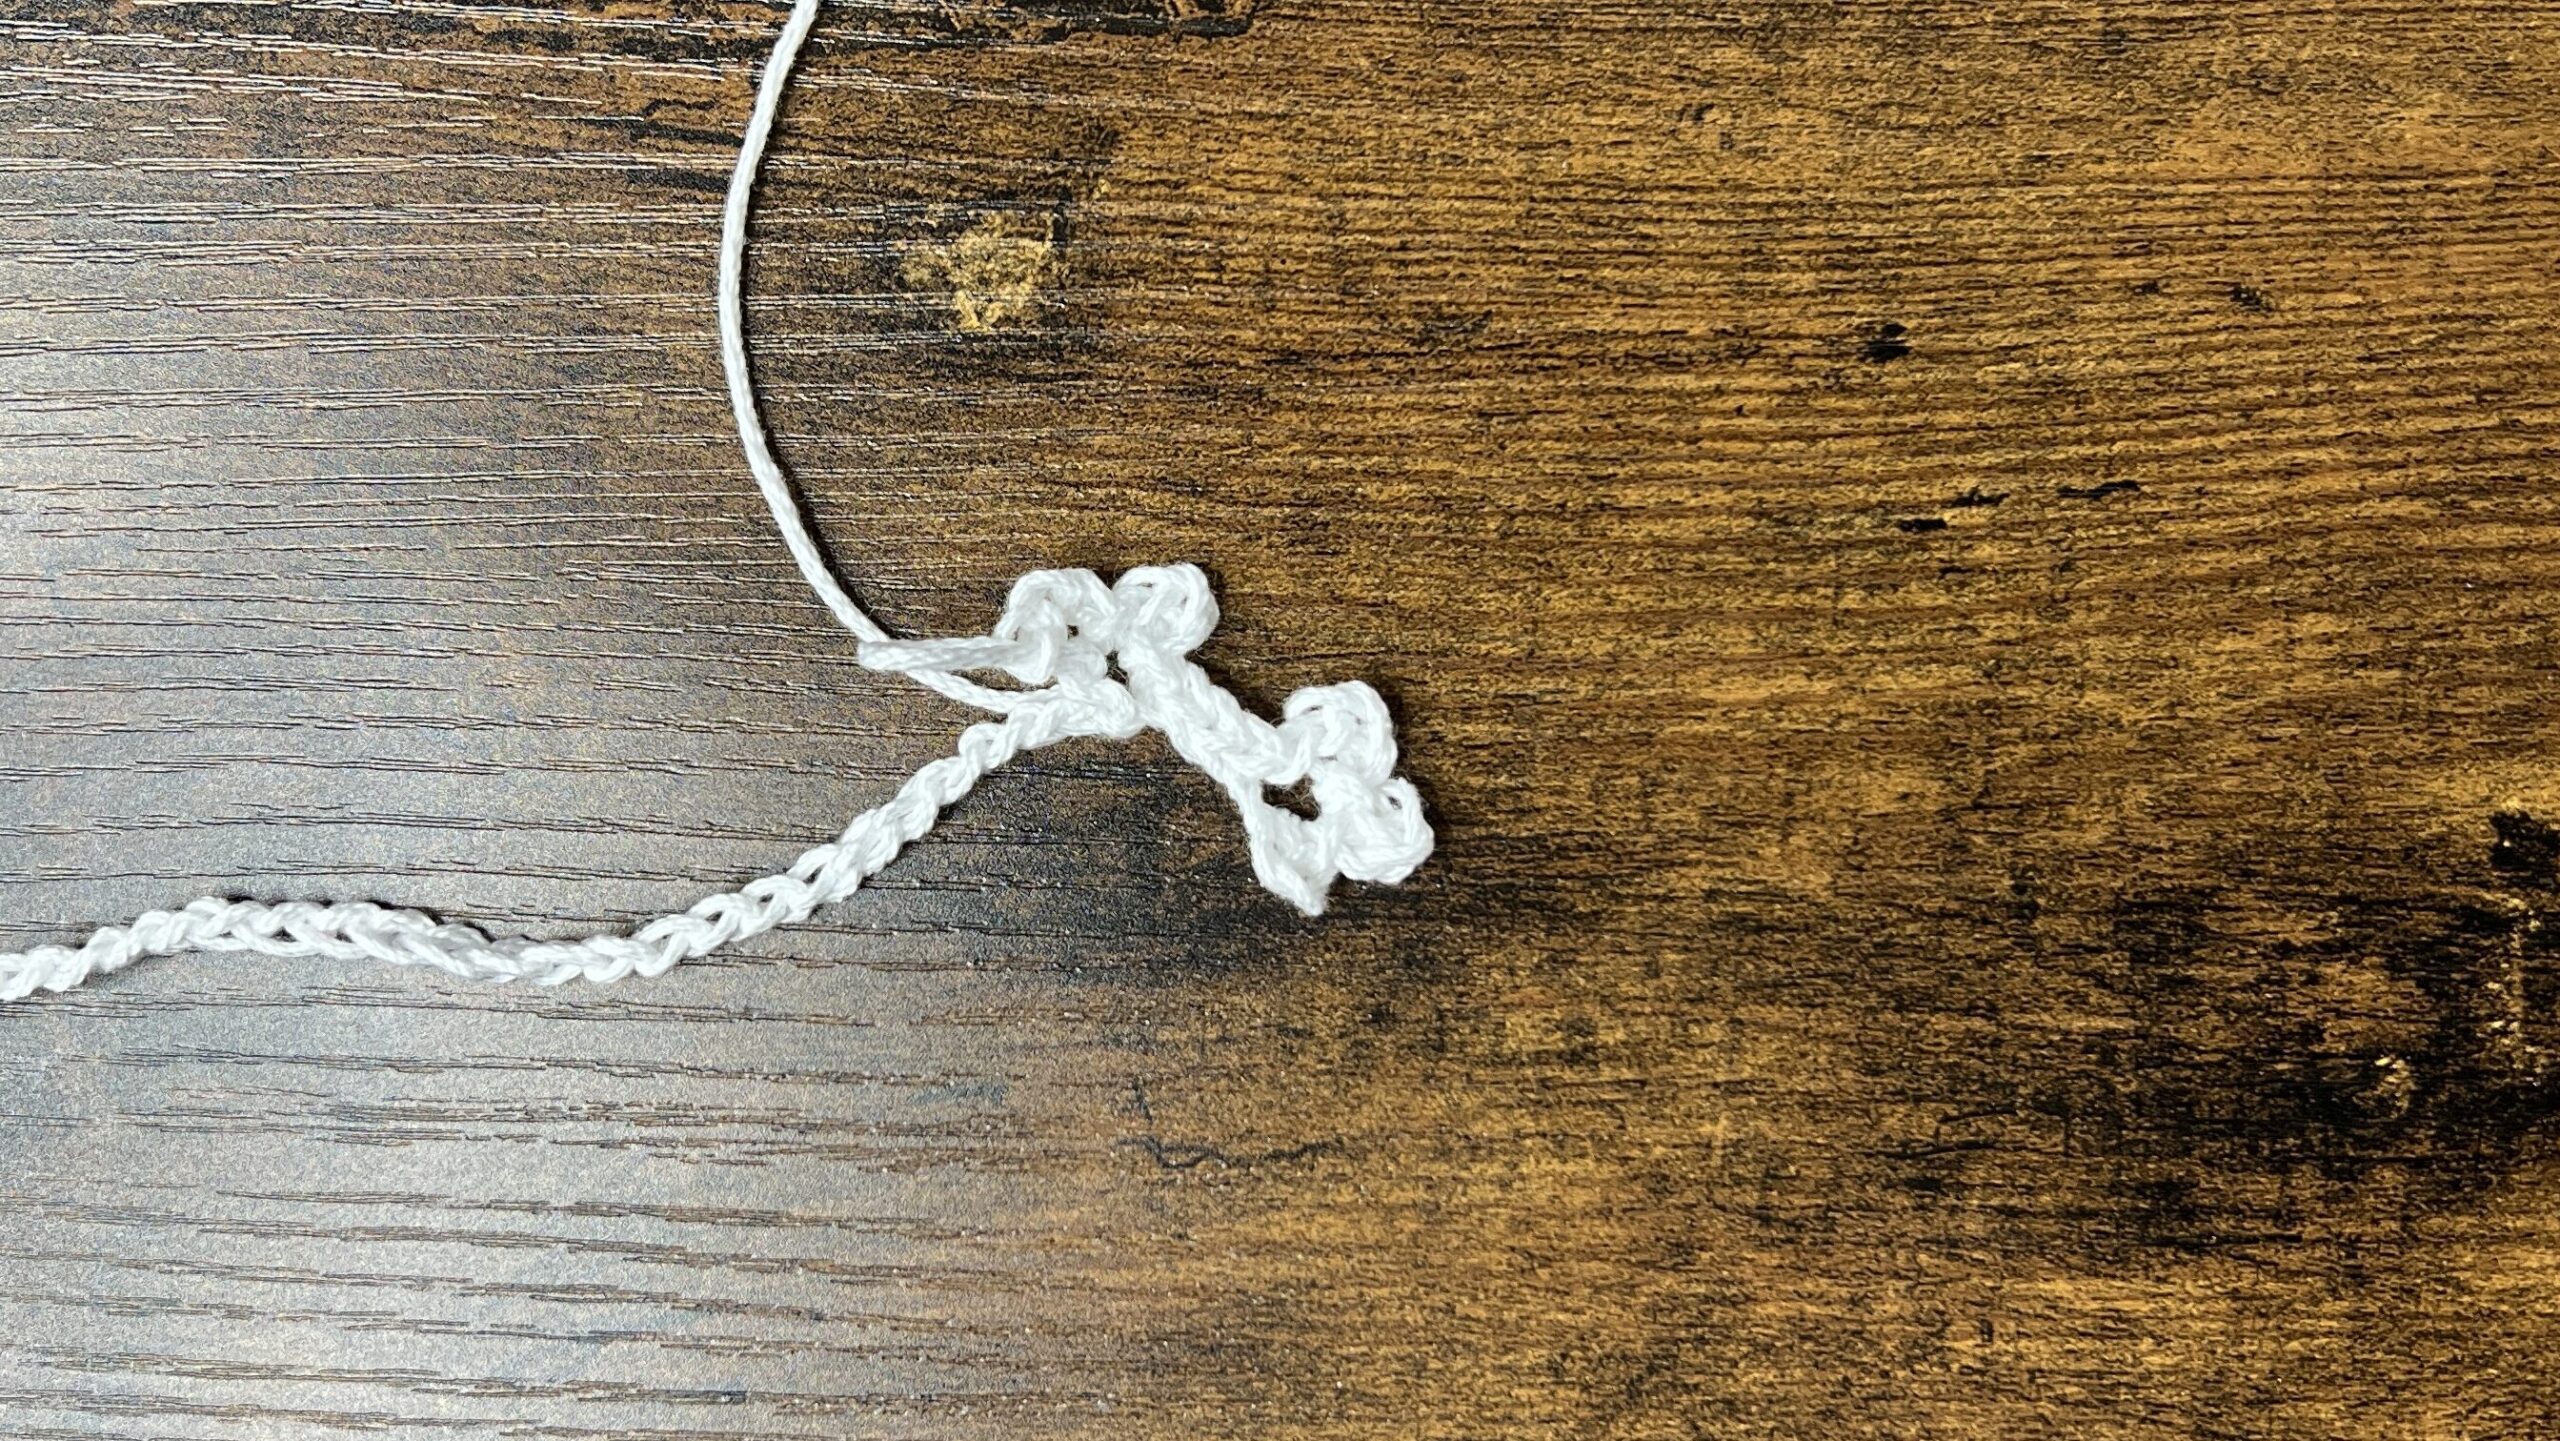
Between Flowers: sl st in each of the next 4 ch
Second Flower: rep (ch3, sl st) 2 times in same ch as 4th sl st
You should have 2 “petals.”
Between Flowers: sl st in each of the next 4 ch
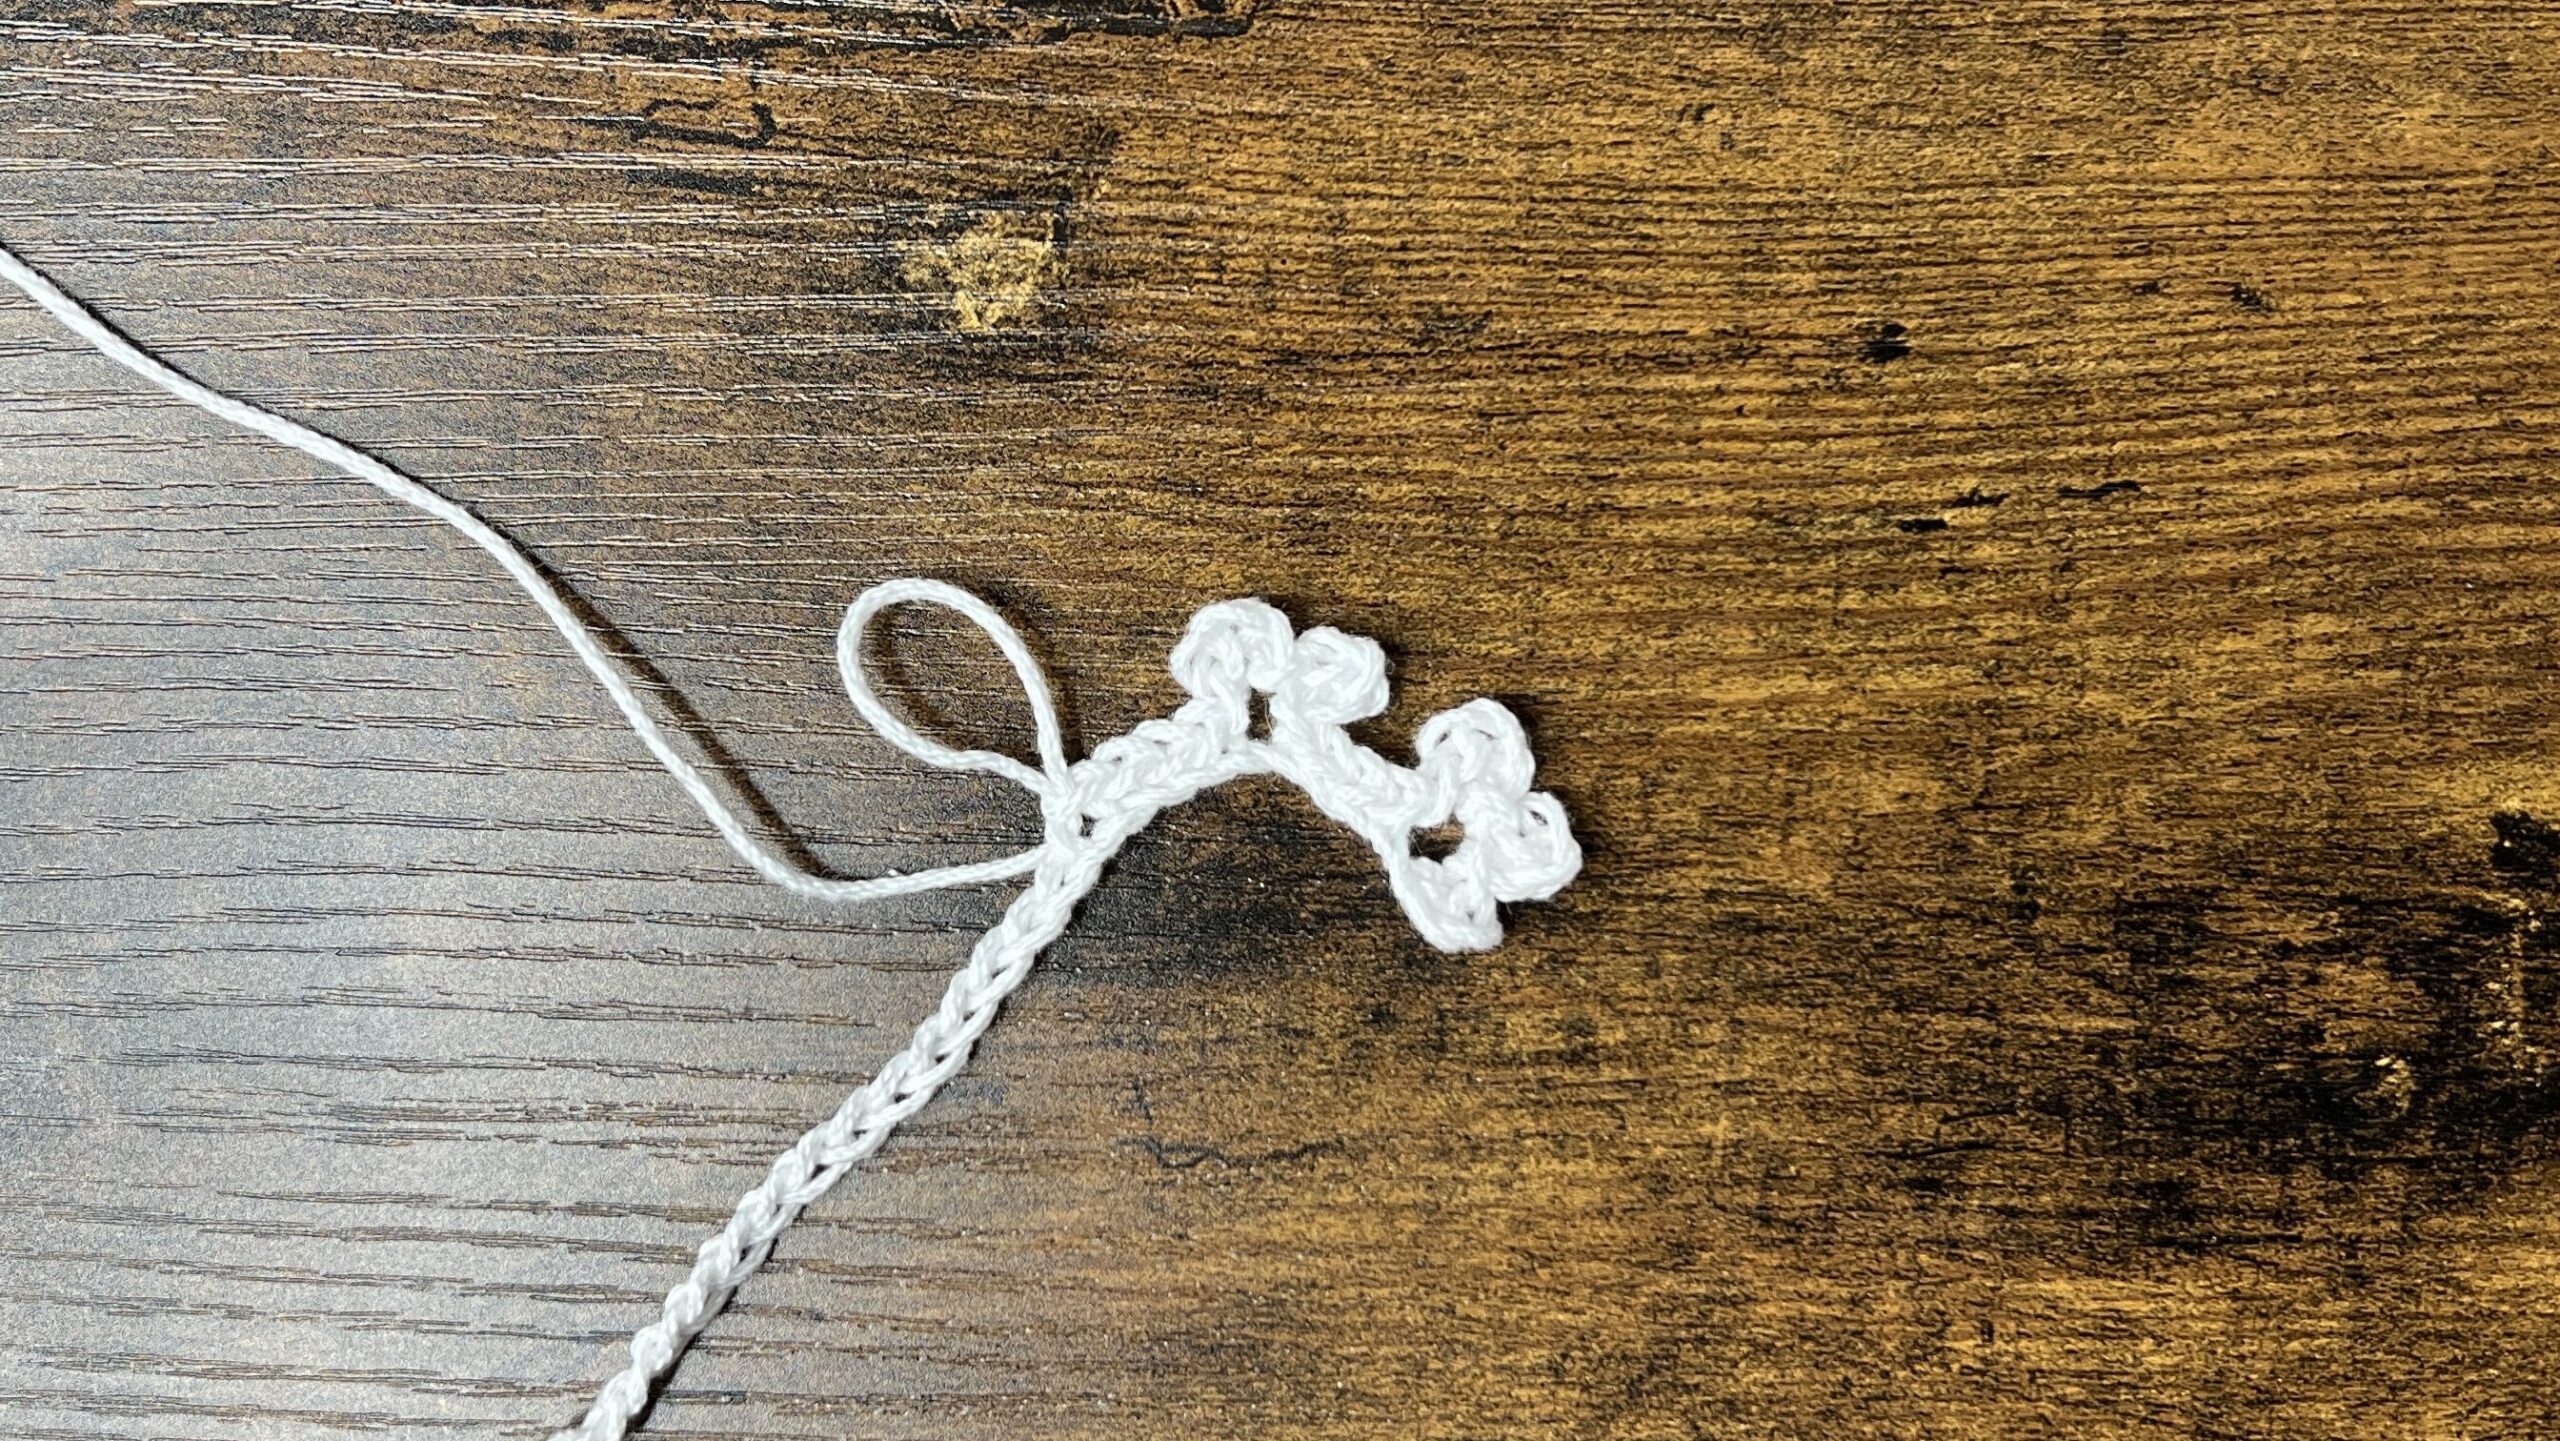
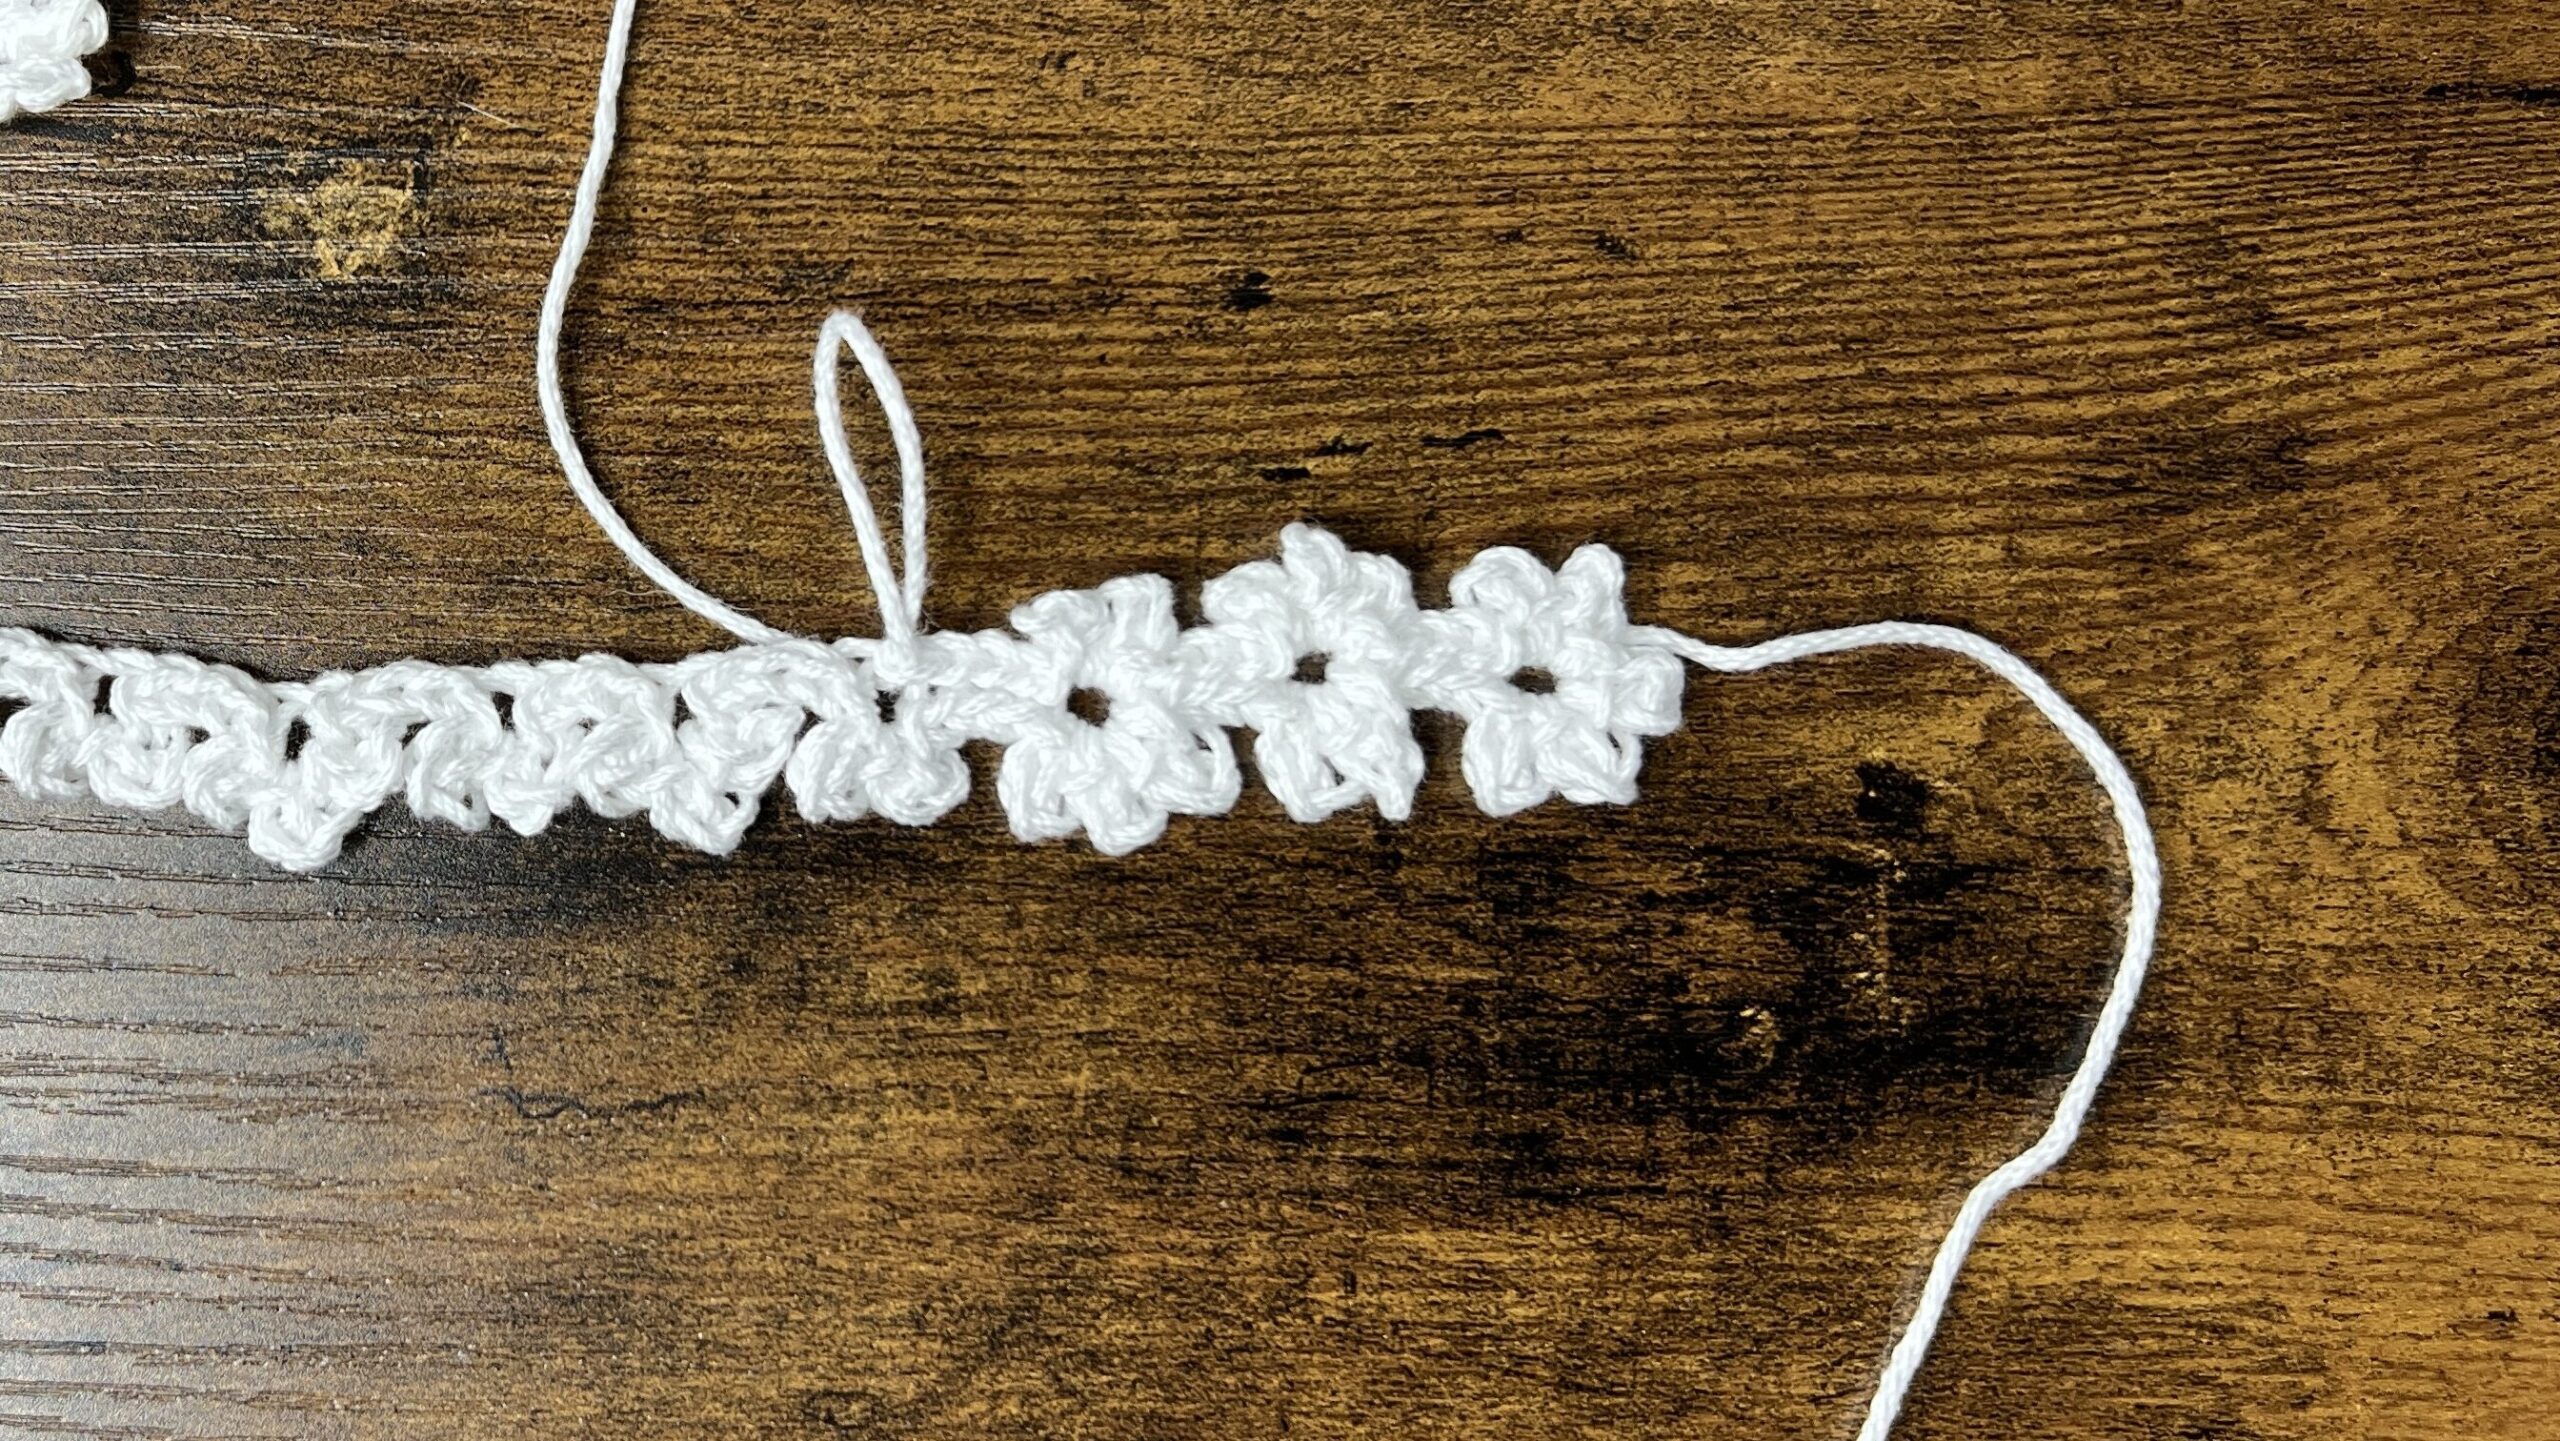
Repeat this pattern alternating 3 petals and 2 petals with 3 slip stitches in between (4th sl st is the base of the flower).
Bottom Half of Flowers
Last Flower: rep (ch3, sl st) 5 times in last ch
Make sure you don’t carry the tail end. It should stick out at the side of the last flower.
Between Flowers: sl st in underside of each of the next 4 ch

Rest of the Flowers: rep (ch3, sl st) 3 times if opposite side of flower has 2 petals and rep (ch3, sl st) 2 times if opposite side of flower has 3 petals.
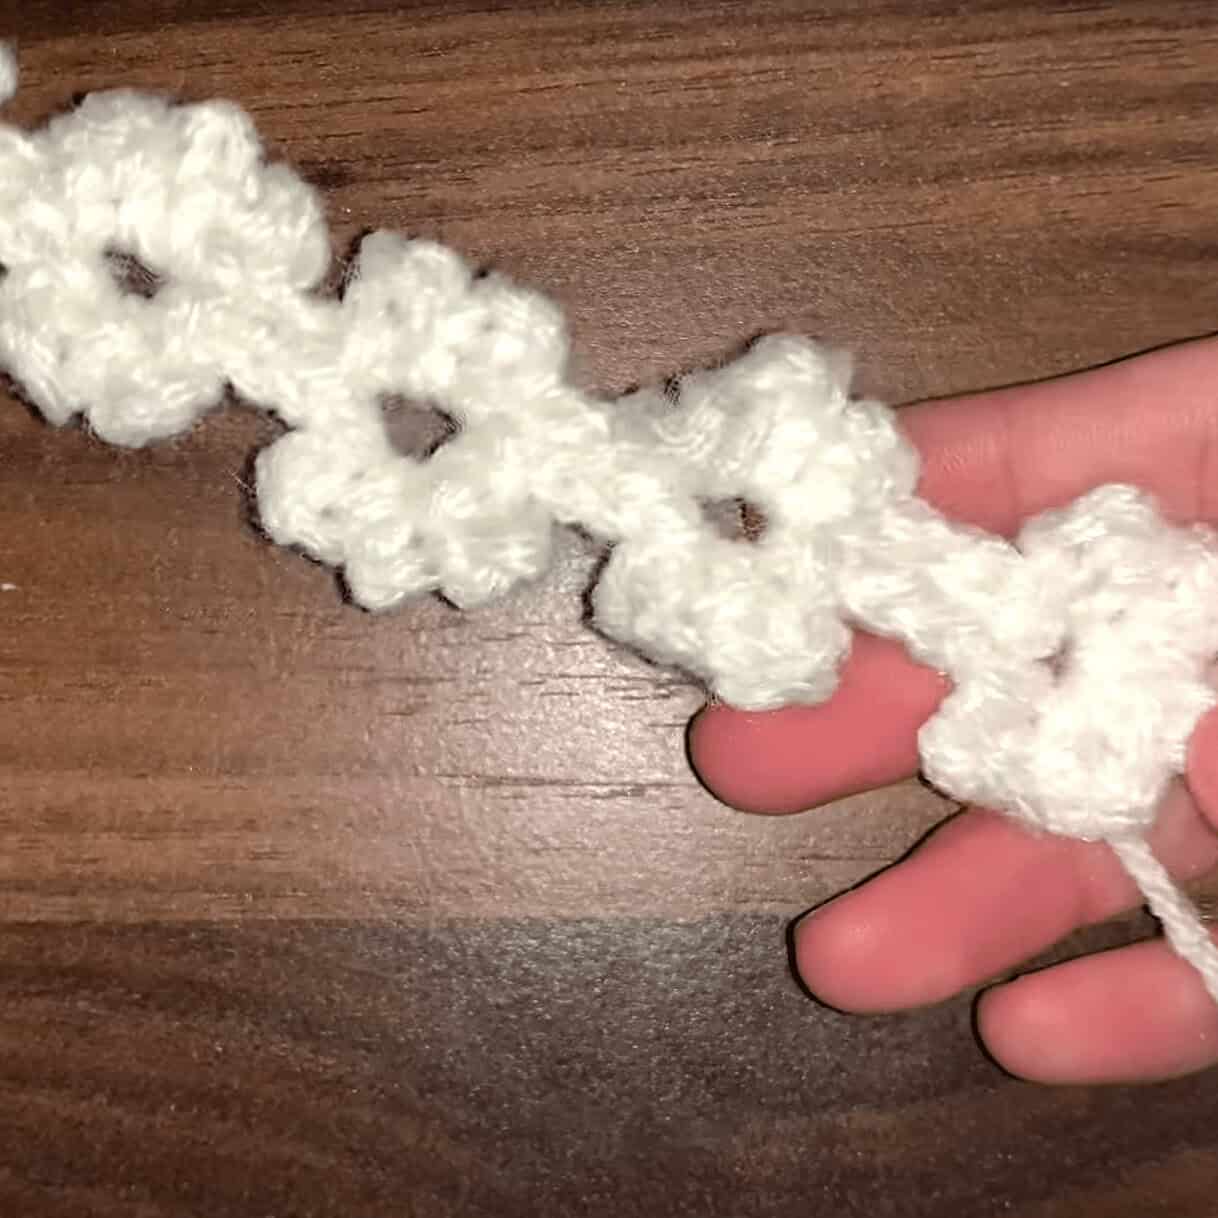
If the chain already has 2 petals on the other side, you’ll do 3 petals on this side. And if it already had 3 petals, do 2 petals on this side. Each flower should end up having 5 petals.

Fasten off with long tail end. You can use the tails ends to tie the choker necklace to your neck or you can install necklace clasps at the end.
Now you have a cute little crochet flower choker!


can i use it as a headband?