Crochet Fingerless Gloves & Beanie Set | Free Pattern & Tutorial
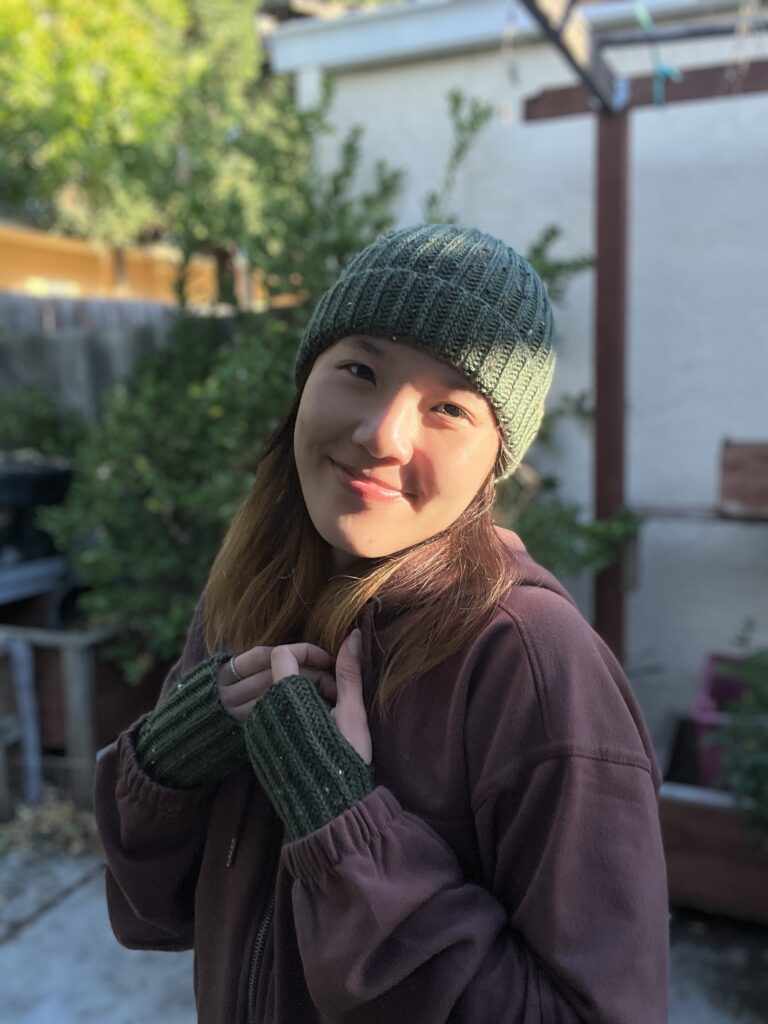
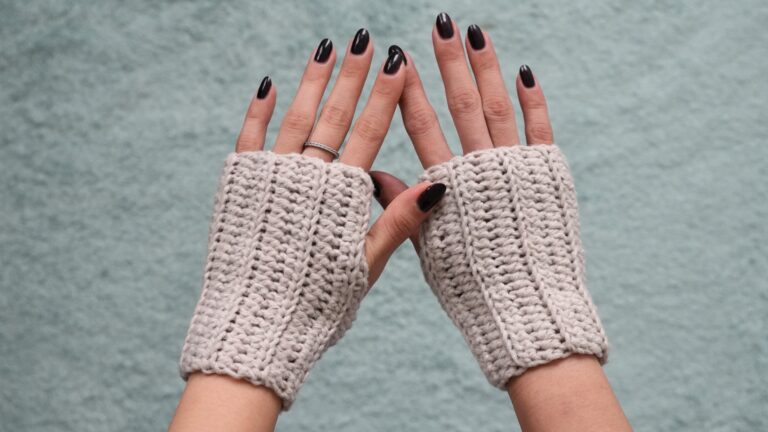
This crochet fingerless gloves and beanie set is super simple and quick to make! It’s the perfect project for a beginner looking to improve their crochet skills or crochet a gift for a friend!
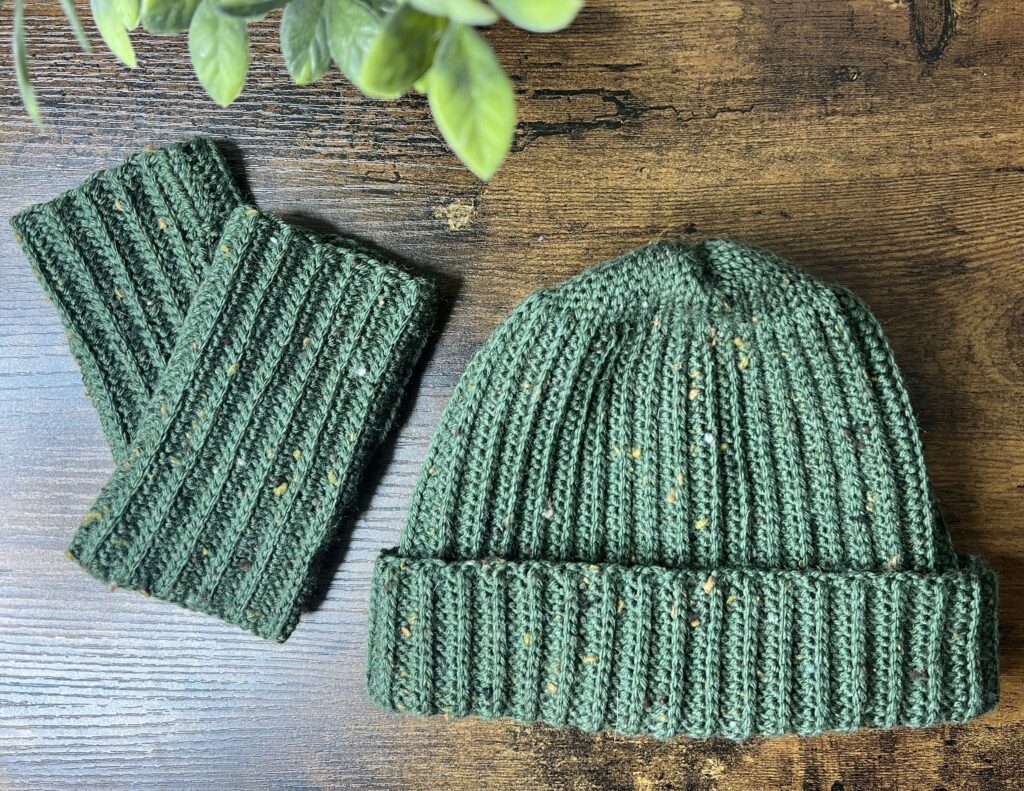
This set only takes a few hours to make and the results are some super cozy accessories to keep you warm in the colder seasons! Both the gloves and the beanie are basically rectangles where you repeat a single row, so it’s a very simple design that still looks great!
If you just want a beanie, you can follow along with just the beanie part or you can check out this other ribbed beanie pattern that uses half double crochets instead of the camel stitch. It also goes into detail on how to make the brim have a cleaner and more finished look!
Whether you’re an absolute beginner or a more seasoned crocheter, this is the project for you! The repetitive stitches and rows are not only easy to do, but they allow you to practice your tension and make the next row better than the last. If you are an absolute beginner and prefer an even easier project, I would recommend this cat ear beanie, which does not have the slip stitches on the end. This set also makes for a great Christmas gift or winter birthday present to keep a loved one warm and cozy in winter!
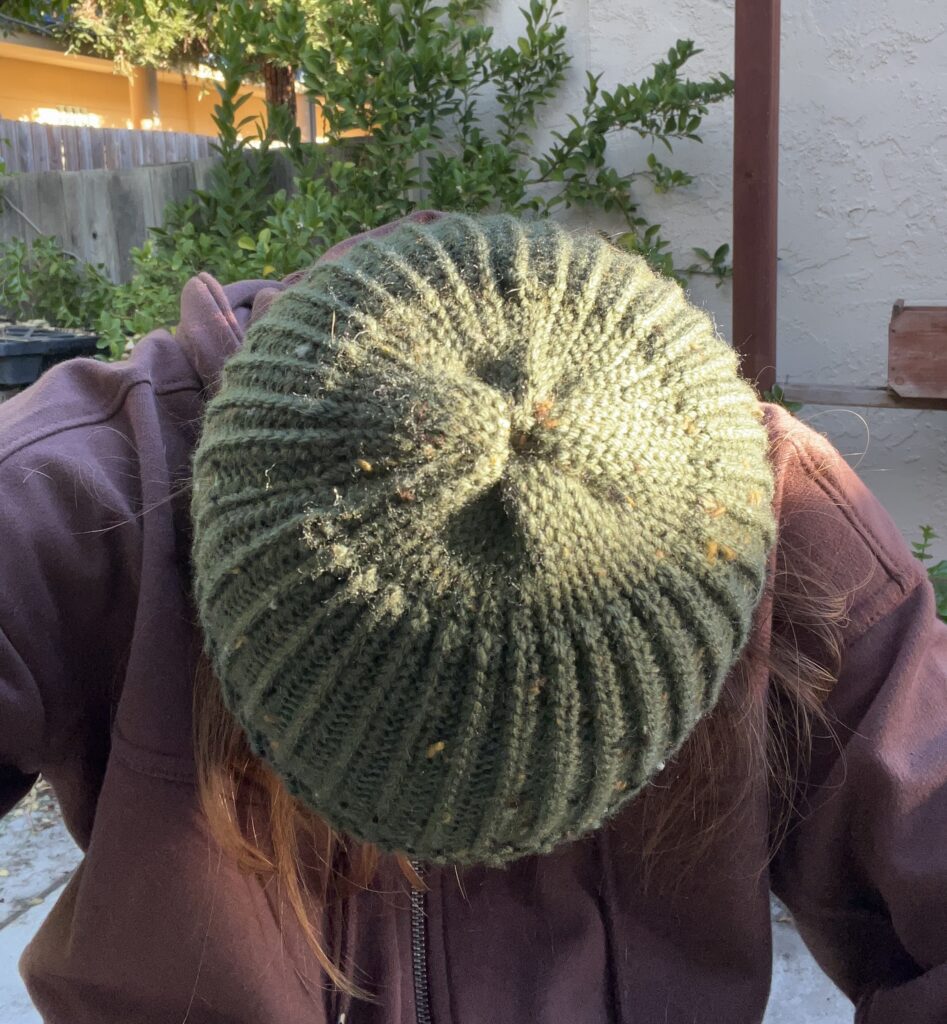
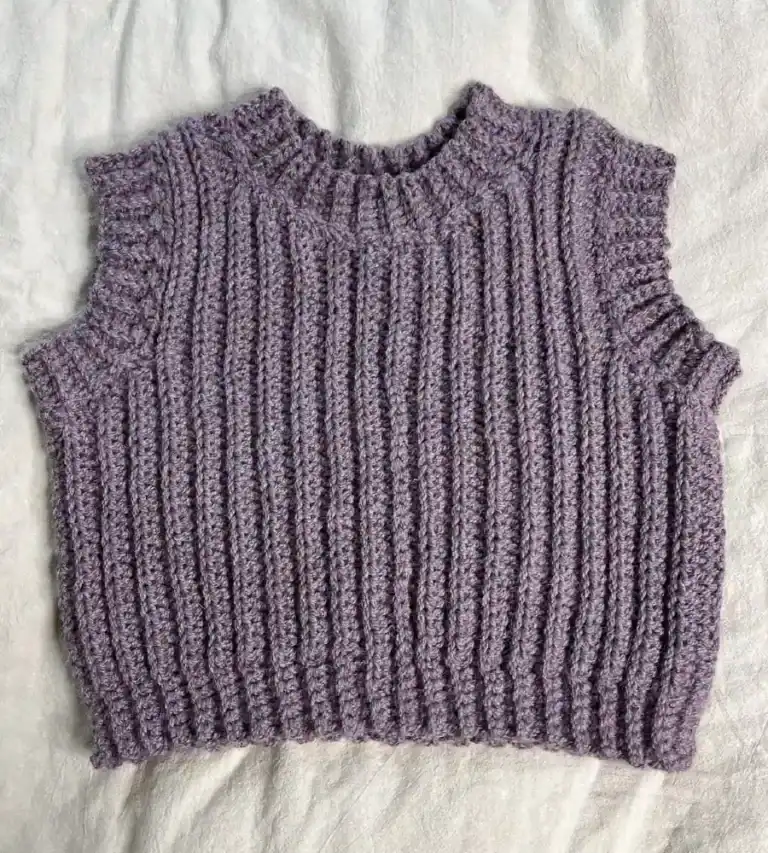
The beanie is a little more complex because it’s not actually a rectangle, it’s slightly tapered at the end. This is so the top of the beanie fits well and doesn’t have a lot of fabric bunching up at the crown of your head, which is a problem I noticed with many crochet ribbed beanies.
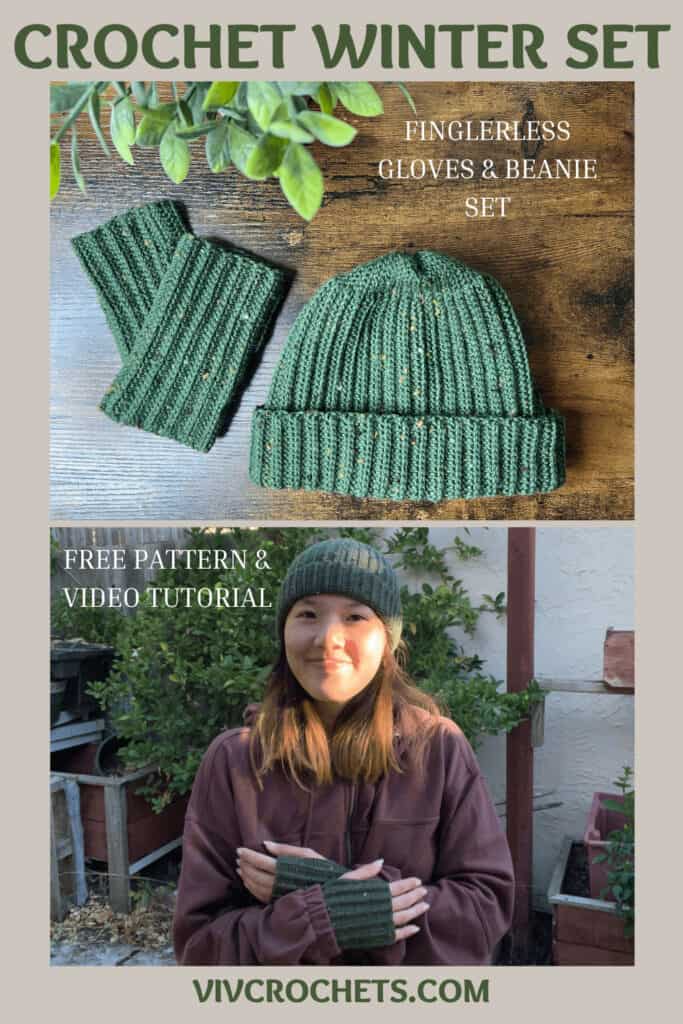
Pin this for later!
Video Tutorial
You can follow along with my YouTube video to crochet your fingerless gloves and beanie set! I have timestamps included to section the video and help you jump to any point you need to!
This post may contain affiliate links. I may earn a small commission on qualifying purchases at no additional cost to you!
Project Level
This is a great project for a beginner! It uses the camel stitch, which is basically a modified half double crochet. The rows are very simple and repetitive and both the gloves and the beanie are rectangles that we sew to form different shapes.
Materials
- 120 grams of Loops & Threads Luxe Merino yarn in “Pine Tweed” (35g for gloves, 85g for beanie)
- 4mm Clover Amour crochet hook
- Scissors
- Yarn needle
Notes and Tips
- This pattern is written using US crochet terms
- The chain 1 at the beginning of each row does NOT count as a half double crochet
- Leave a long loose end at the beginning and end of the glove to use for sewing
- Every row should have the same number of stitches — don’t miss the ones at the start and end of each row!
Abbreviations
ch = chain
hdc = half double crochet
sl st = slip stitch
flo = front loop only
st = stitch
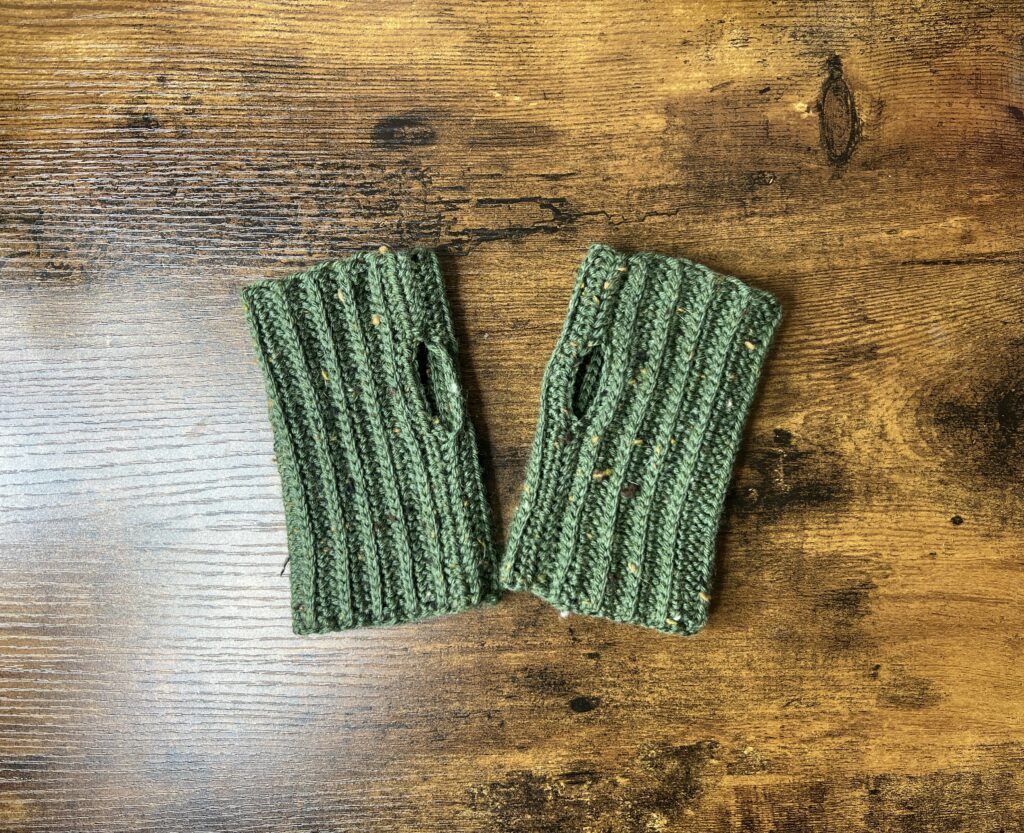
Gloves
Foundation: Slipknot with extra long tail end, ch35 (this will be the length from the base of your fingers to however far down the wrist you want your gloves)
Row 1: ch1, hdc34
Row 2-24: ch1, turn, hdc34 in 3rd loop
Fasten off and leave and extra long tail end.
Sewing: With the 2 tail ends, sew the ends together, leaving space for thumb (one for the length from the base of fingers to the top of the thumb and the other for the length from the bottom of thumb past to where the glove ends on the wrist)
Tie knots with each tail end once you’re happy with the spacing for your thumb.
Weave in Loose Ends: Hide the loose ends by pulling them inside the glove and weaving them under a few stitches using the yarn needle. Trim any excess yarn.
Make an identical glove for your other hand and you have a set of fingerless gloves!
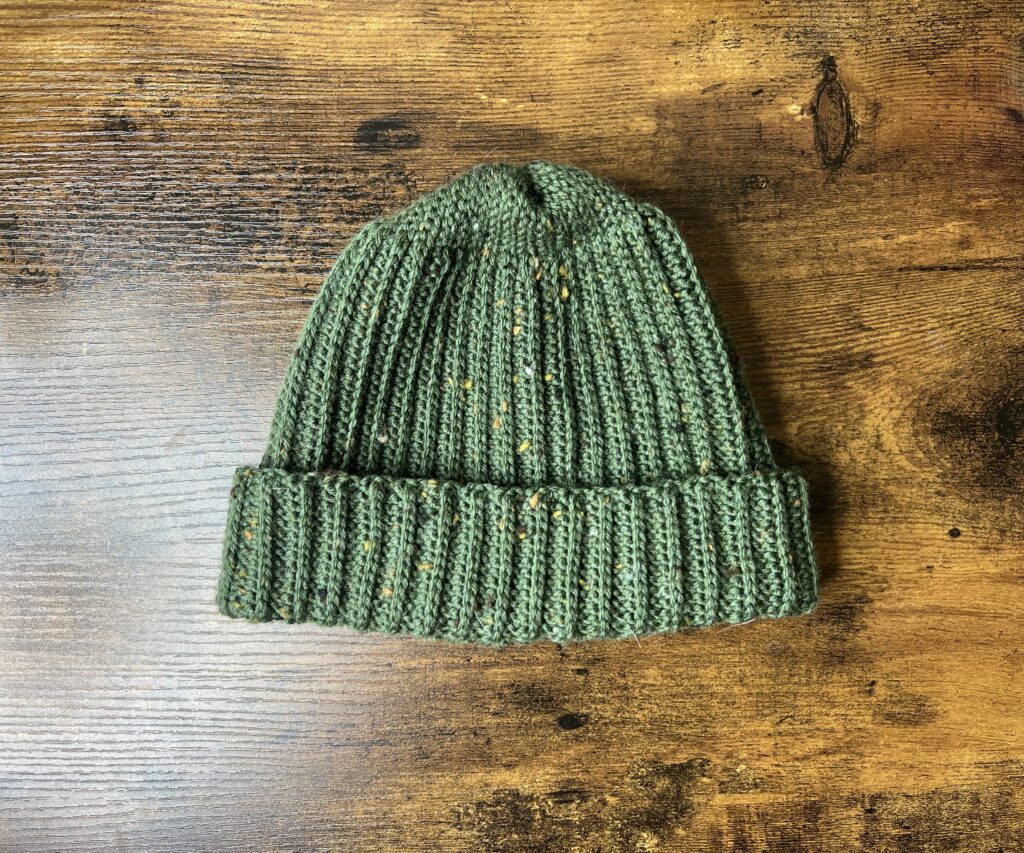
Beanie
Foundation: Slipknot, ch61 (this will be the length from your eyebrows up to the crown of your head + the brim that will fold up)
Row 1: ch1, hdc50, sl st10
Row 2: ch1, turn, sl st10 in flo, hdc50 in 3rd loop
Row 3: ch1, turn, hdc50 in 3rd loop, sl st10 in flo
Rows 4 – 72: Repeat rows 2-3 until it can wrap around your head without stretching
Seam the Beanie: ch1, turn, fold the piece in half, sl st the ends together
Close the Top: Fasten off, weave the yarn through the top stitches to gather the rows and close the hole.
Weave in Loose Ends: Hide the loose ends by pulling them inside the hat and weaving them under a few stitches using the yarn needle. Trim any excess yarn.
Turn the beanie inside out and fold up the brim and now you have a super warm beanie!


beautiful fingerless gloves..I tried it…with 3 sar yarn cause I’m broke and I have no money to buy more yarn…I need a sweater and I can’t afford one or buy yarn to make it…it’s freezing but there is nobody who would lend me yarn…but alteast I have gloves to keep my hands warm…the pattern worked perfectly….😍🥰
These instructions should be 10 sl st correct?
This is what it reads on your pattern…
Row 3: ch1, turn, hdc50 in 3rd loop, sl st5 in flo
That’s right! It should be 10; sorry about that!