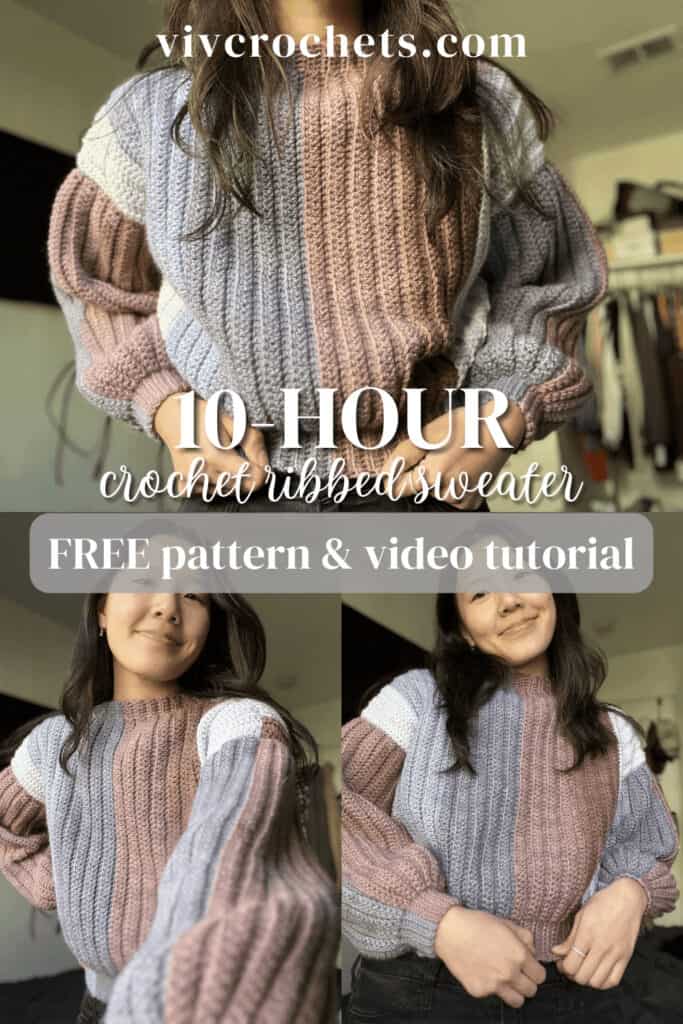
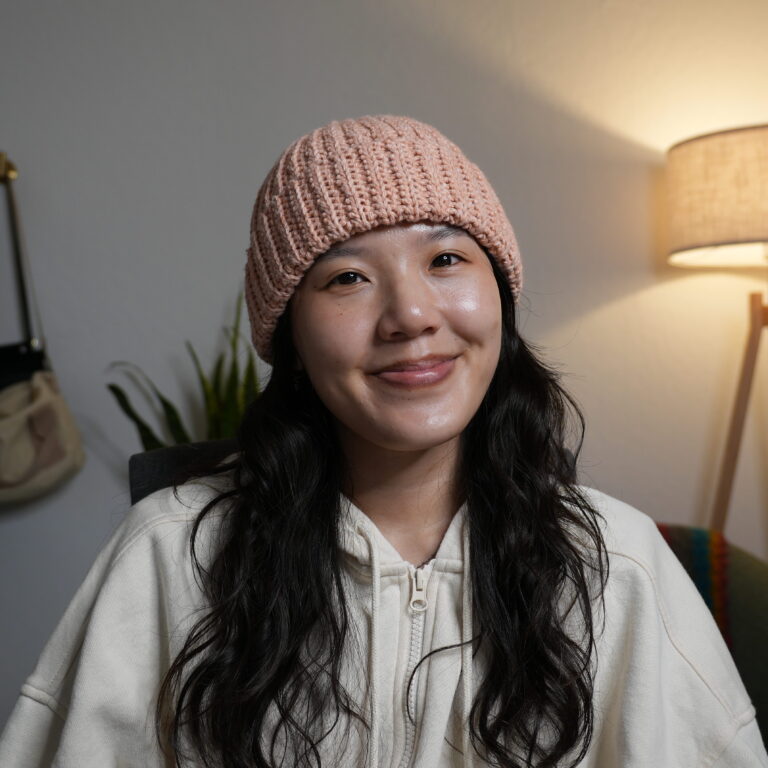
Easy Crochet Ribbed Sweater | Free Pattern & Tutorial
Here is another pullover sweater pattern for you all! This one is super fun, easy, and quick to make! This ribbed, cozy sweater is made up of four separate pieces that are slip stitched together, so I could avoid sewing. It is simple and efficient, requiring about 10 hours to complete. It offers easy customization, allowing you to adjust the size effortlessly.
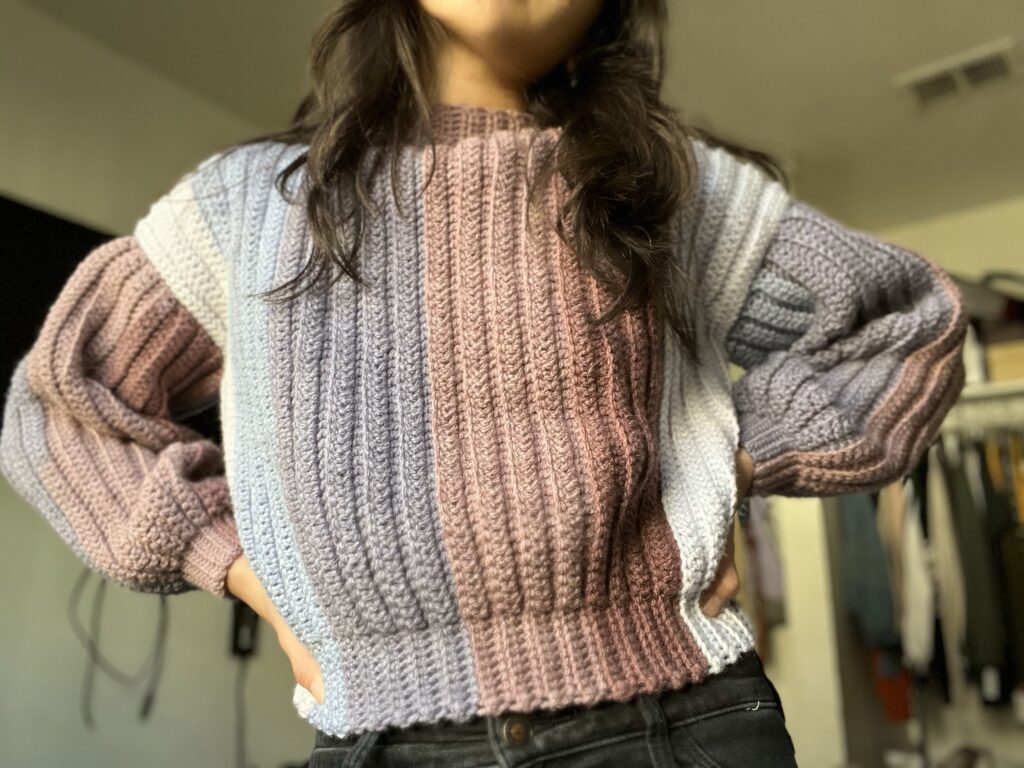
This ribbed sweater crochet pattern I’m sharing is super straightforward. It’s constructed from two identical front and back panels and two identical sleeve panels. What sets it apart is that these panels are stitched together rather than sewn, making the entire process more manageable. This is great for newer crocheters who may not be comfortable with sewing yet. This pattern is approachable and enjoyable for crocheters of all skill levels!
Quick Crochet Sweater
Also, if you’re looking for a quick project, this sweater pattern is perfect! It’s probably the fastest sweater I’ve ever made, taking only about 10 hours to complete from start to finish. This is great for beginners who have never attempted a sweater before and don’t want to spend 40+ hours on an intricate pattern! The pattern’s efficiency ensures that you can have a brand new sweater to show off in no time.

Easy to Adjust
One of the best aspects of this pattern is the size adjustability. You can easily adapt the size to suit your preferences. Want longer sleeves? Just add more chains at the beginning. Need a roomier fit? Increase the number of rows to expand the width of the front and back panels. This flexibility ensures that the sweater can be tailored to your specific measurements and style.
Crochet Ribbed Texture
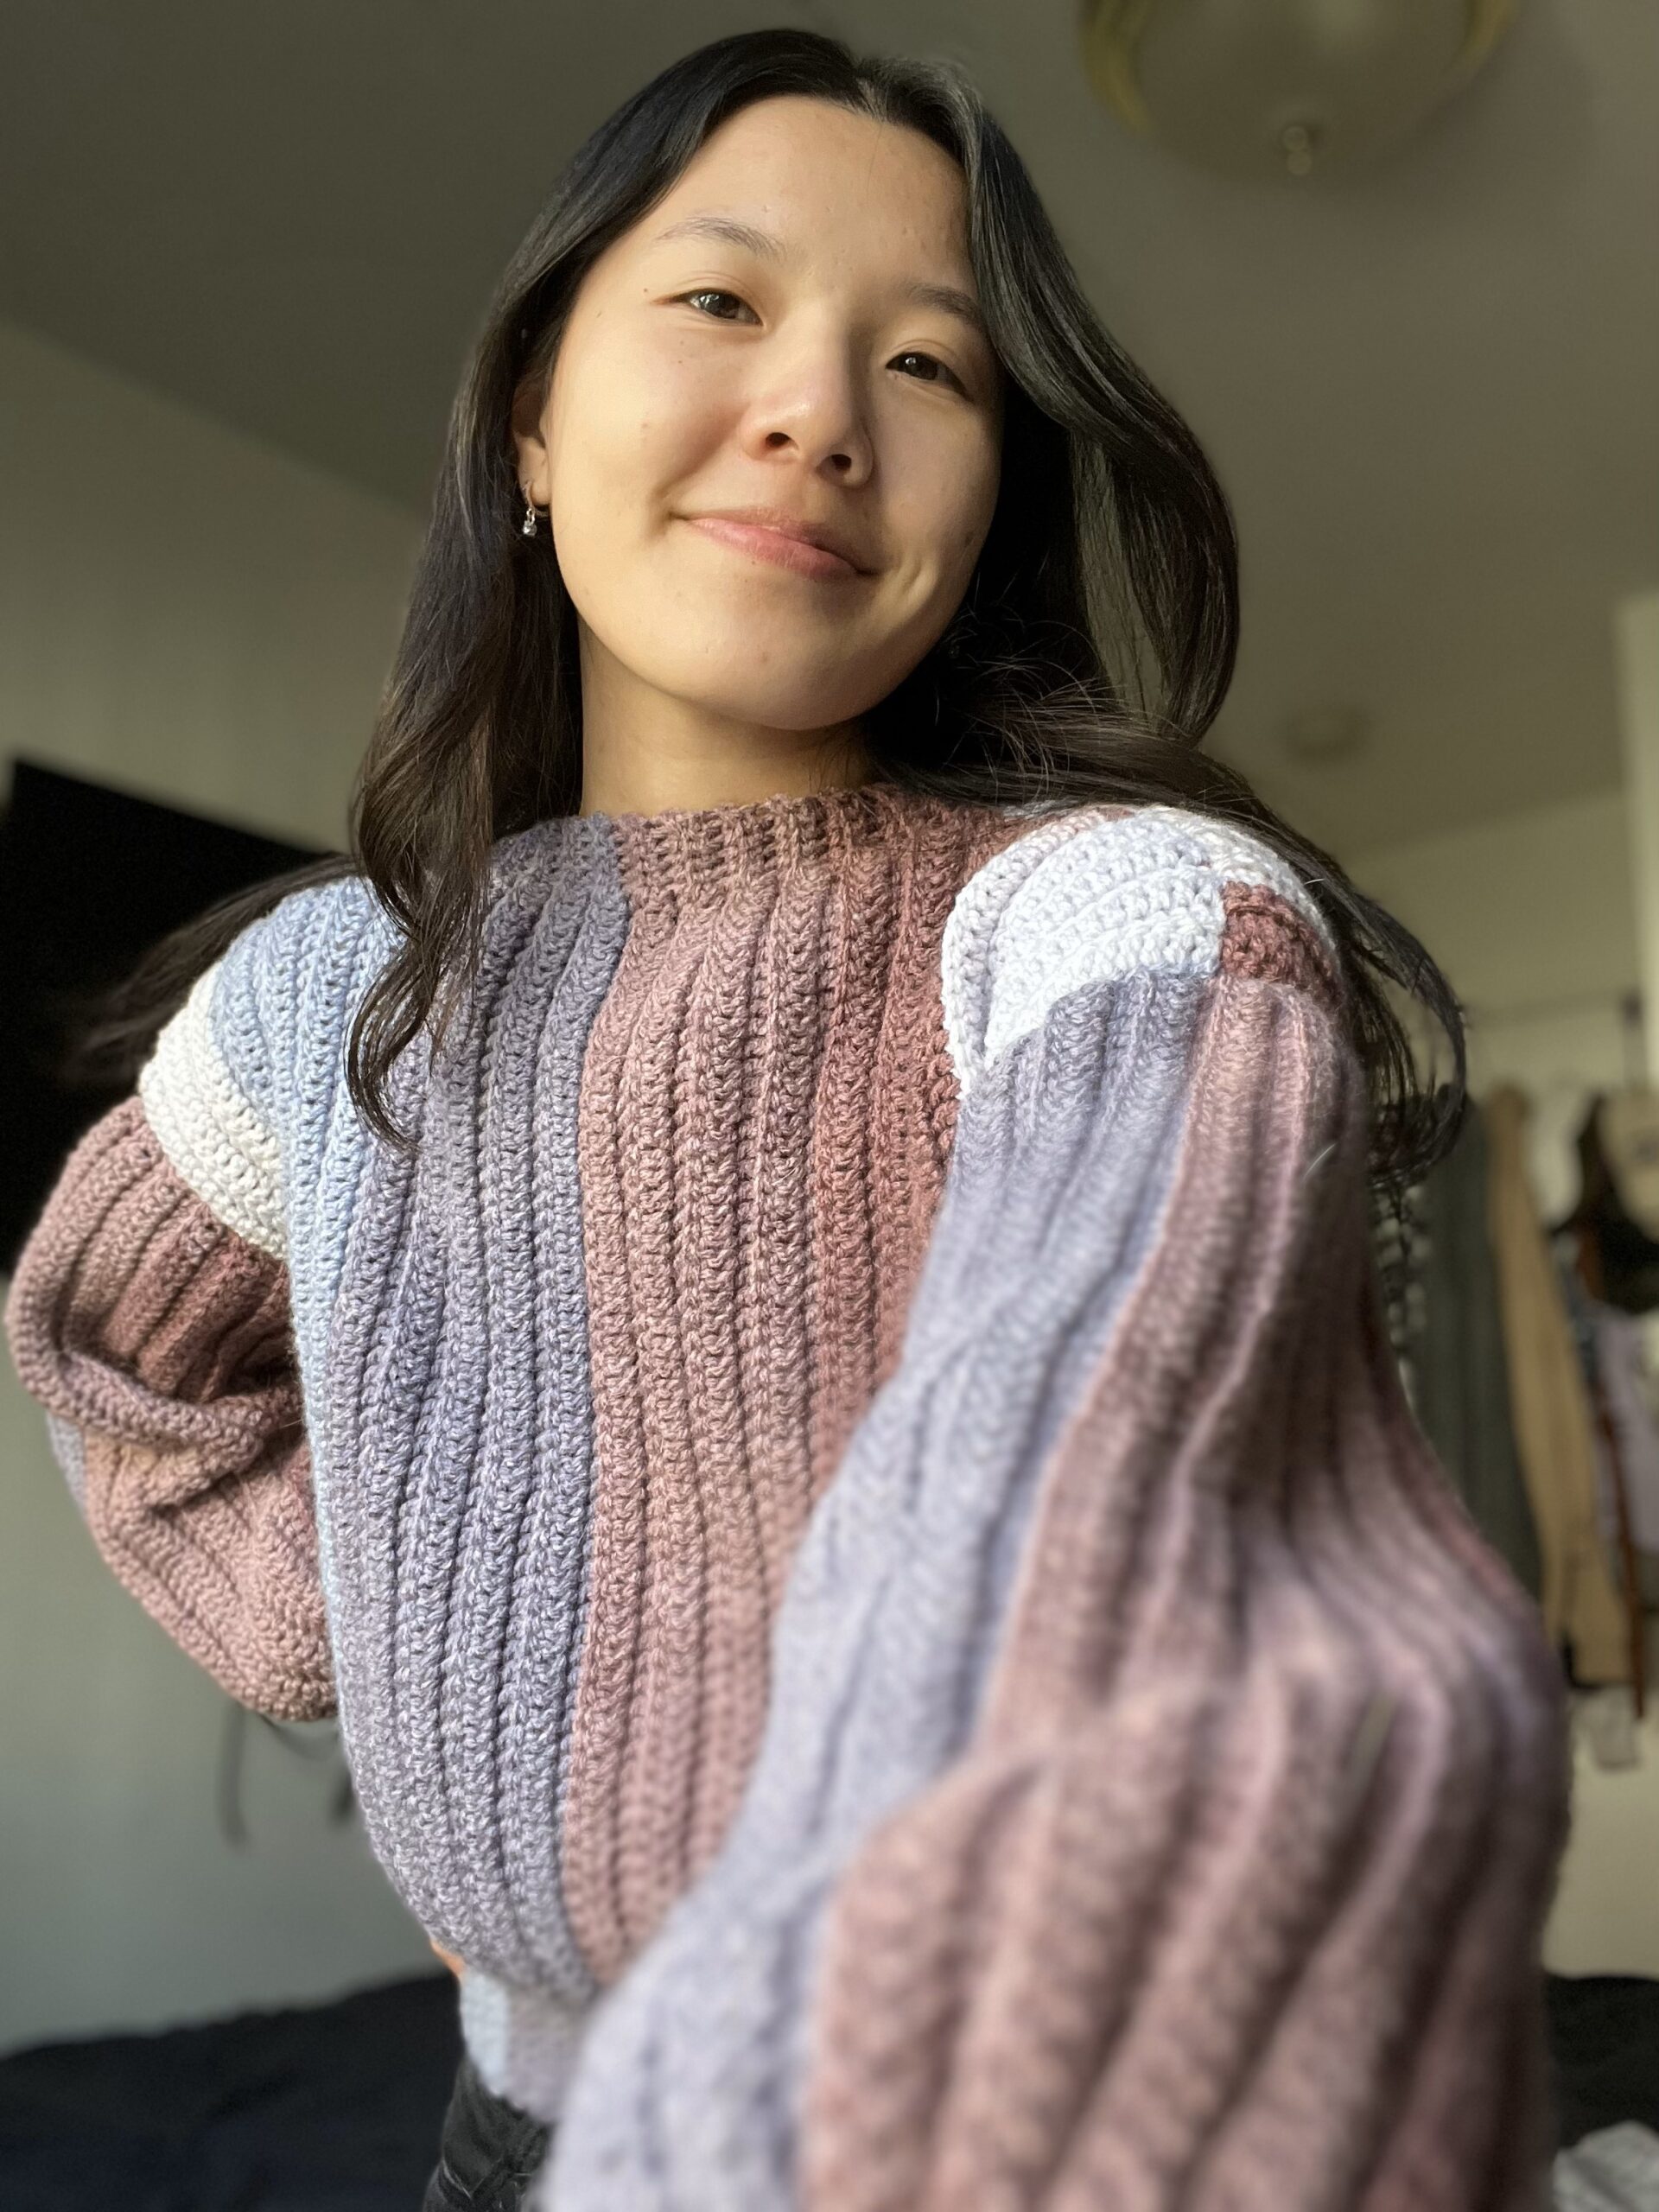
What makes this pattern even cooler is its innovative ribbing technique. The ribbed texture is created simultaneously, just by changing the stitch used at the ends. This not only simplifies the crocheting process but also adds an extra layer of visual interest to the sweater. The ribbing detail is an attractive feature that’s integrated into the pattern effortlessly. The “ribbing” adds the finishing touch to the sweater and it’s super easy to do!
Self-Striping Yarn Crochet Project
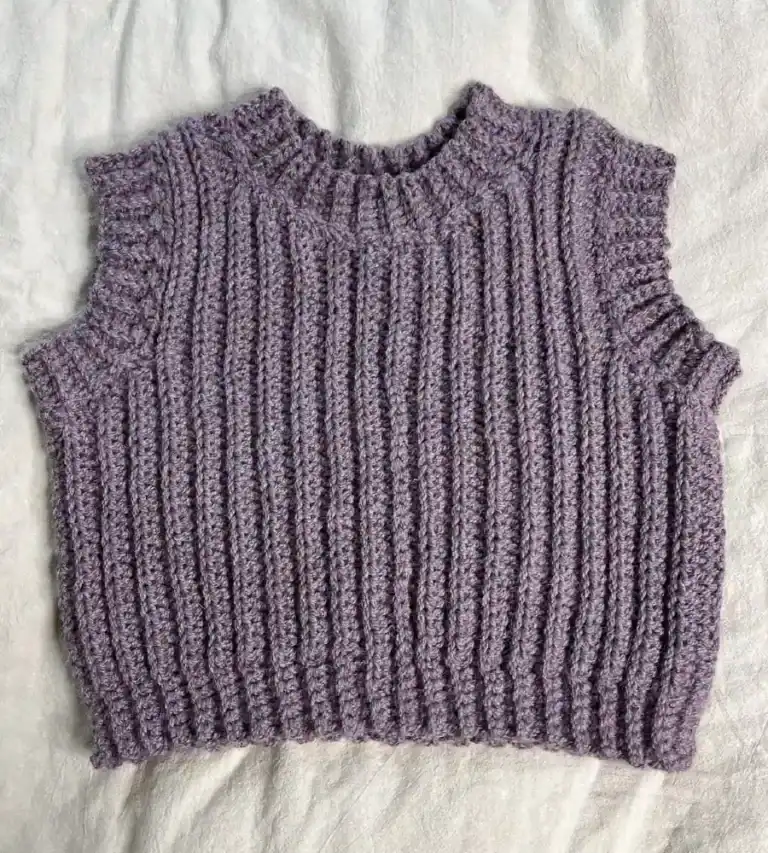
Finally, it’s a great pattern to use self-striping yarn! The vertical striping makes it a great choice because it makes similar sized stripes, unlike with horizontal stripes. If you prefer solid colored sweaters, then you can do that as well and it will look just as good!
Pin this for later!
Video Tutorial
This post may contain affiliate links. I may earn a small commission on qualifying purchases at no additional cost to you!
Project Level
This is a great project for a beginner’s first sweater! It uses simple stitches like slip stitches and double crochets and simple techniques like crocheting in the back loop only (to make the ribbed effect) and slip stitching parts together. It can also be a quick sweater for more advanced crocheters!
Materials
- 575 grams of #4 or medium weight yarn (Yarnspirations Caron Cakes in “Raspberry Ice“)
- 5mm Clover Amour crochet hook)
- Scissors
- Yarn needle
Dimensions
Main Panels: 42 cm/16.5″ long x 49 cm/19.3″ wide
Sleeves: 42 cm/16.5″ long x 17 cm/6.7″ wide
Notes and Tips
- This crochet pattern uses US crochet terms
- Add/subtract chains in the beginning to get a longer/shorter sleeve or body
- Add/subtract rows to make a wider/smaller sleeve or body
- The chain 1 or 2 at the beginning of each row does NOT count as a stitch
- Tighten your slip stitches to make the seam smaller and less visible
- Pull your loose ends to the inside of the sweater and weave them in
Abbreviations
ch = chain
blo = back loop only
st = stitch
sc = single crochet
dc = double crochet
sl st = slip stitch
Sleeves (Make 2)
Foundation
Make a slipknot and ch70 (or desired length) + 1 turning ch
Row 1
sl st10 (or desired length of cuff) blo starting in 2nd ch from hook, dc blo across the rest (70)
Row 2
ch2, turn, dc60 blo, sl st10 blo
Row 3
ch2, turn, sl st10 blo, dc60 blo
Row 4 – 34
Repeat Rows 2 and 3 for the width of the sleeve
Stitching
ch1, connect ends of sleeve with sl st
Fasten off, leaving long tail end for stitching sleeves to rest of sweater
Body Panel (Make 2)
Shoulder
Foundation Chain
Make a slipknot and ch70 (or desired length) + 1 turning ch
Row 1
sc10 blo (or desired length of cuff) starting in 2nd ch from hook, dc blo across the rest (70)
Row 2
ch2, turn, dc60 blo, sc10 blo
Row 3
ch2, turn, sc10 blo, dc60 blo
Row 4 – 13
Repeat Rows 2 and 3 for the length from outside of shoulder to side of neck
Neck
Row 1
ch6, turn, sc5 blo across ch starting in 2nd ch from hook, dc60 blo, sc10 blo
Row 2
ch1, turn, sc10 blo across ch starting in 2nd ch from hook, dc60 blo, sc5 blo
Row 3
ch1, turn, sc5 blo across ch starting in 2nd ch from hook, dc60 blo, sc10 blo
Row 4 – 23
Repeat Rows 2 and 3 for half circumference of neck
Other Shoulder
Row 1
ch2, turn, sc10 blo, dc60 blo
Row 2
ch2, turn, dc60 blo, sc10 blo
Row 3 – 13
Repeat Rows 1 and 2 for the length from outside of shoulder to side of neck
Assembly
Attach the two body panels together by sl st across the top of the shoulders.
Attach the sleeves to the body by sl st starting from underarm section.
Fasten off and weave in all loose ends. And your ribbed sweater is complete!


Hey! Love this sweater! Did you use cotton or acrylic or other type of yarn? What would you recommend? 🙂
I posted before leaving my information. Do you have a written pattern that can be bought?
Hi! Sorry, but I do not have a paid pattern for this sweater. You can find the patterns I do have for sale by clicking “Shop” at the top of the page!
Do you have a written pattern that I can buy?
Hi this pattern is amazing. Im making my first sweater following your YouTube and written patterns. Your YouTube and written patterns are very easy to understand. I love how this pattern is easily customizable. Do you have any recommendations how to properly care with this yarn ( Yarnspirations Caron Cake) or how you care for your sweater? Thank you for this amazing pattern!!
Hi is this pattern for all sizes. I’m a size xl
Hi I just finished making this sweater! It is my first garment I crochet and I am very happy with how it turned out! Your video and pattern was very helpful, thank you for posting it!!!
Thanks for the pattern Viv, super excited to finish this as my first sweater! I have a question about the sleeves, specifically the cuffs made with the 10 slip stitches. For some reason, my slip stitches keep ending up really tight and small, even though I’m not pulling them. So when I come back over it to do my next row, I find that I’m struggling to slip stitch into the back loops only of the previous row of slip stitches. Do you have any tips/know how I can help that? Or is that how it’s supposed to be?
Thank you always for your tutorials!! 🙂
Hey so the neck part… This was my first sweater so I didn’t think about it myself, but checking just neck circumference is not enough 😢 Sure it’s going to fit around my neck but not over my head. I’ll try to cut the stitches just next to it to somehow make it bigger, but I’m bummed out it wasn’t mentioned in the instructions that I should check whether it fits over my head too.
When you write that the wide is 17 cm, I guess you mean before croching the sleeve together (to make it round)? So in total (in the round) it would be a bit over 30 cm?
Yes, it was measured flat! The total circumference is about 35cm
I’m sort of new to a lot of crochet. I just finished most of your Taylor swift dress. thank you so much for all this. Anyway, I have a silly question, what does “blo” stand for in your instructions above? thank you.
It’s means back loop only! If you’re unfamiliar with it, it means inserting your hook under only the back loop of each stitch instead of both loops
Thanks for sharing your work. Do you think it’s possible to make it with a #7 yarn?
Yes you can, but it would probably be really thick and stiff. I would try to stick with #5 yarn and under!
I accidentally crocheted into the turning stich when I was making the sleeve un the first 5 to 6 rows so the edge looks a bit slanted. Is there a way to fix the slanted edge without pulling the thread back all the way to the beginning to restart?
Unfortunately, that is the easiest way that I can think of to fix it!
Do you think it’s possible to make this sweater with a #3 yarn? If so, do you have any suggestions for alterations? Just add more chains/rows?
Yes! And you can also do a gauge swatch to help!