Crochet Cat Ear Beanie/Sack Hat | Free Pattern & Tutorial
See the free crochet cat ear beanie pattern and video tutorial down below or purchase an ad-free, printable PDF file of this pattern!
Today, we’re making a cozy crochet cat ear beanie. It’s easy, quick, and perfect for beginners! In just a few hours, you can whip up your very own warm crochet hat and this tutorial will walk you through every step!
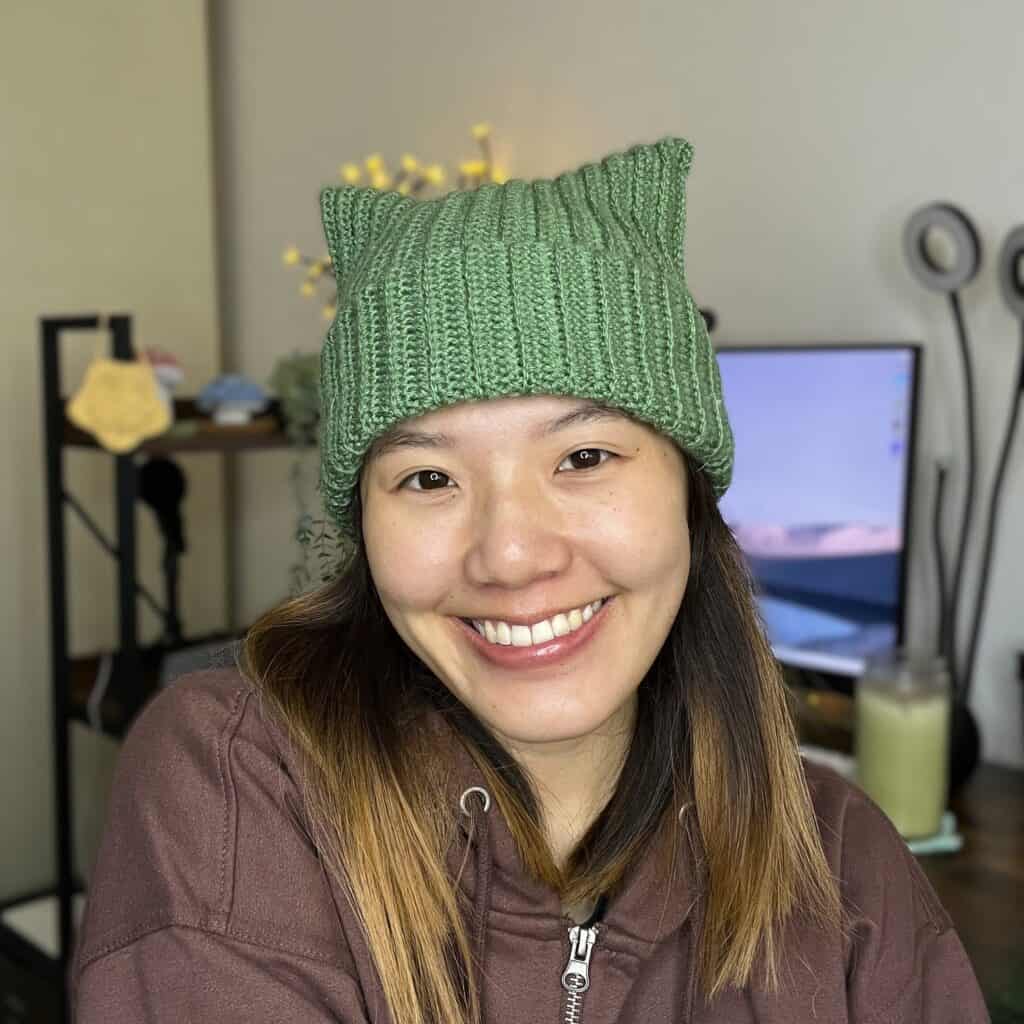
It’s getting colder where I live, which means I need something to keep my head warm and cozy! This crochet cat ear beanie does exactly that, and it’s super cute! For my cat ear beanie, I used acrylic yarn, which made it really, really warm. You can also make it in wool for a warm and breathable option!
If you’re ready to try your hand at crochet a beanie with the rounded top, you should check out this ribbed beanie pattern! This is a similar pattern, but is slightly more complex, with it not being a perfect rectangle and having some more different stitches. It does use half double crochets like this sack hat, so it could be a good choice for your next project after this one!

This is one of the easiest things you can crochet! Basically, you make a rectangle, then sew along two sides to connect the ends and form the hat shape. It looks rectangular, but when you put it on your head, it’ll form these little ears!
Another pattern that is just a basic rectangle that you sew up are these fingerless gloves that are perfect for an absolute beginner! Since they are smaller than the cat ear beanie, it will work up faster and be even easier!
Pin this for later!

Patterns You Might Like


Crochet Cat Ear Beanie Video Tutorial
You can follow along with my YouTube video to crochet your cat ear beanie! I have timestamps included to section the video and help you jump to any point you need to!
This post may contain affiliate links. I may earn a small commission on qualifying purchases at no additional cost to you!
Materials
- 80 grams of #3 or light weight yarn (Big Twist Renewal yarn in “Green”)
- 4mm Clover Amour crochet hook
- Scissors
- Yarn needle
- Stitch marker (optional)
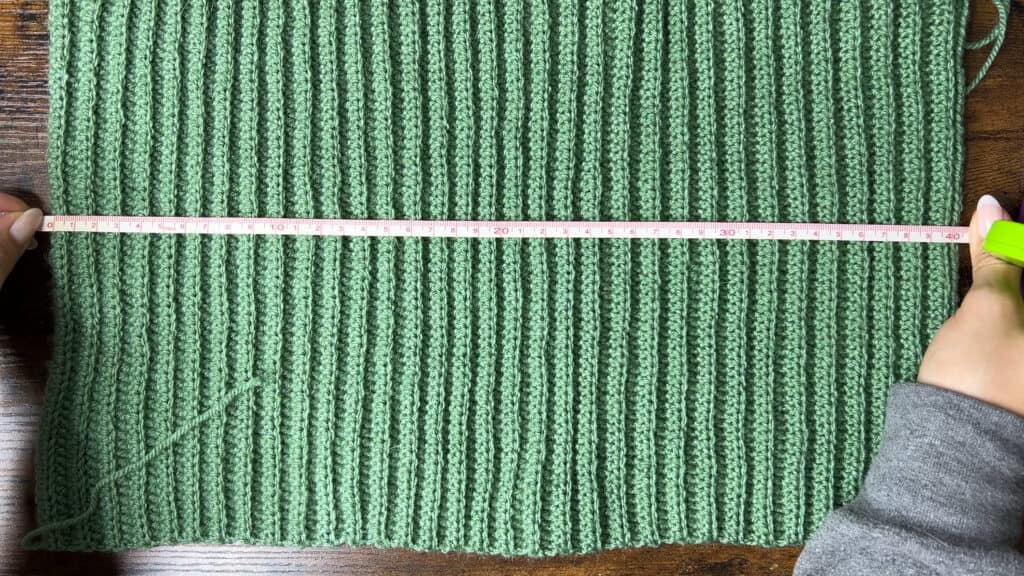
Dimensions
*instructions to adjust the sizing included
Fits: 50 – 54 centimeters head circumference (19.7 – 21.3 inches)
Rectangle before joining sides (not stretching): 40 centimeters x 25.5 centimeters (15.7 x 10 inches)
Notes and Tips
- This crochet pattern uses US crochet terms
- Italicized notes tell you what to change to adjust the size
- The chain 1 at the beginning of each row does NOT count as a half double crochet
- Make sure the stitch count is the same for each row to ensure straight edges
- Line up your rows with stitch markers to make sewing easier and neater
Abbreviations
ch = chain
hdc = half double crochet
blo = back loop only
sl st = slip stitch
st = stitch
Crocheting a Rectangle
Foundation: Make a slipknot, ch 60+1
Note: For the perfect fit, make your chain the length from the crown of your head, down to your eyebrows, plus the width of the brim that will fold up. Do fewer chains for a shorter beanie or more chains for a longer beanie.

Row 1: hdc in 2nd ch from hook and in each ch across (60)
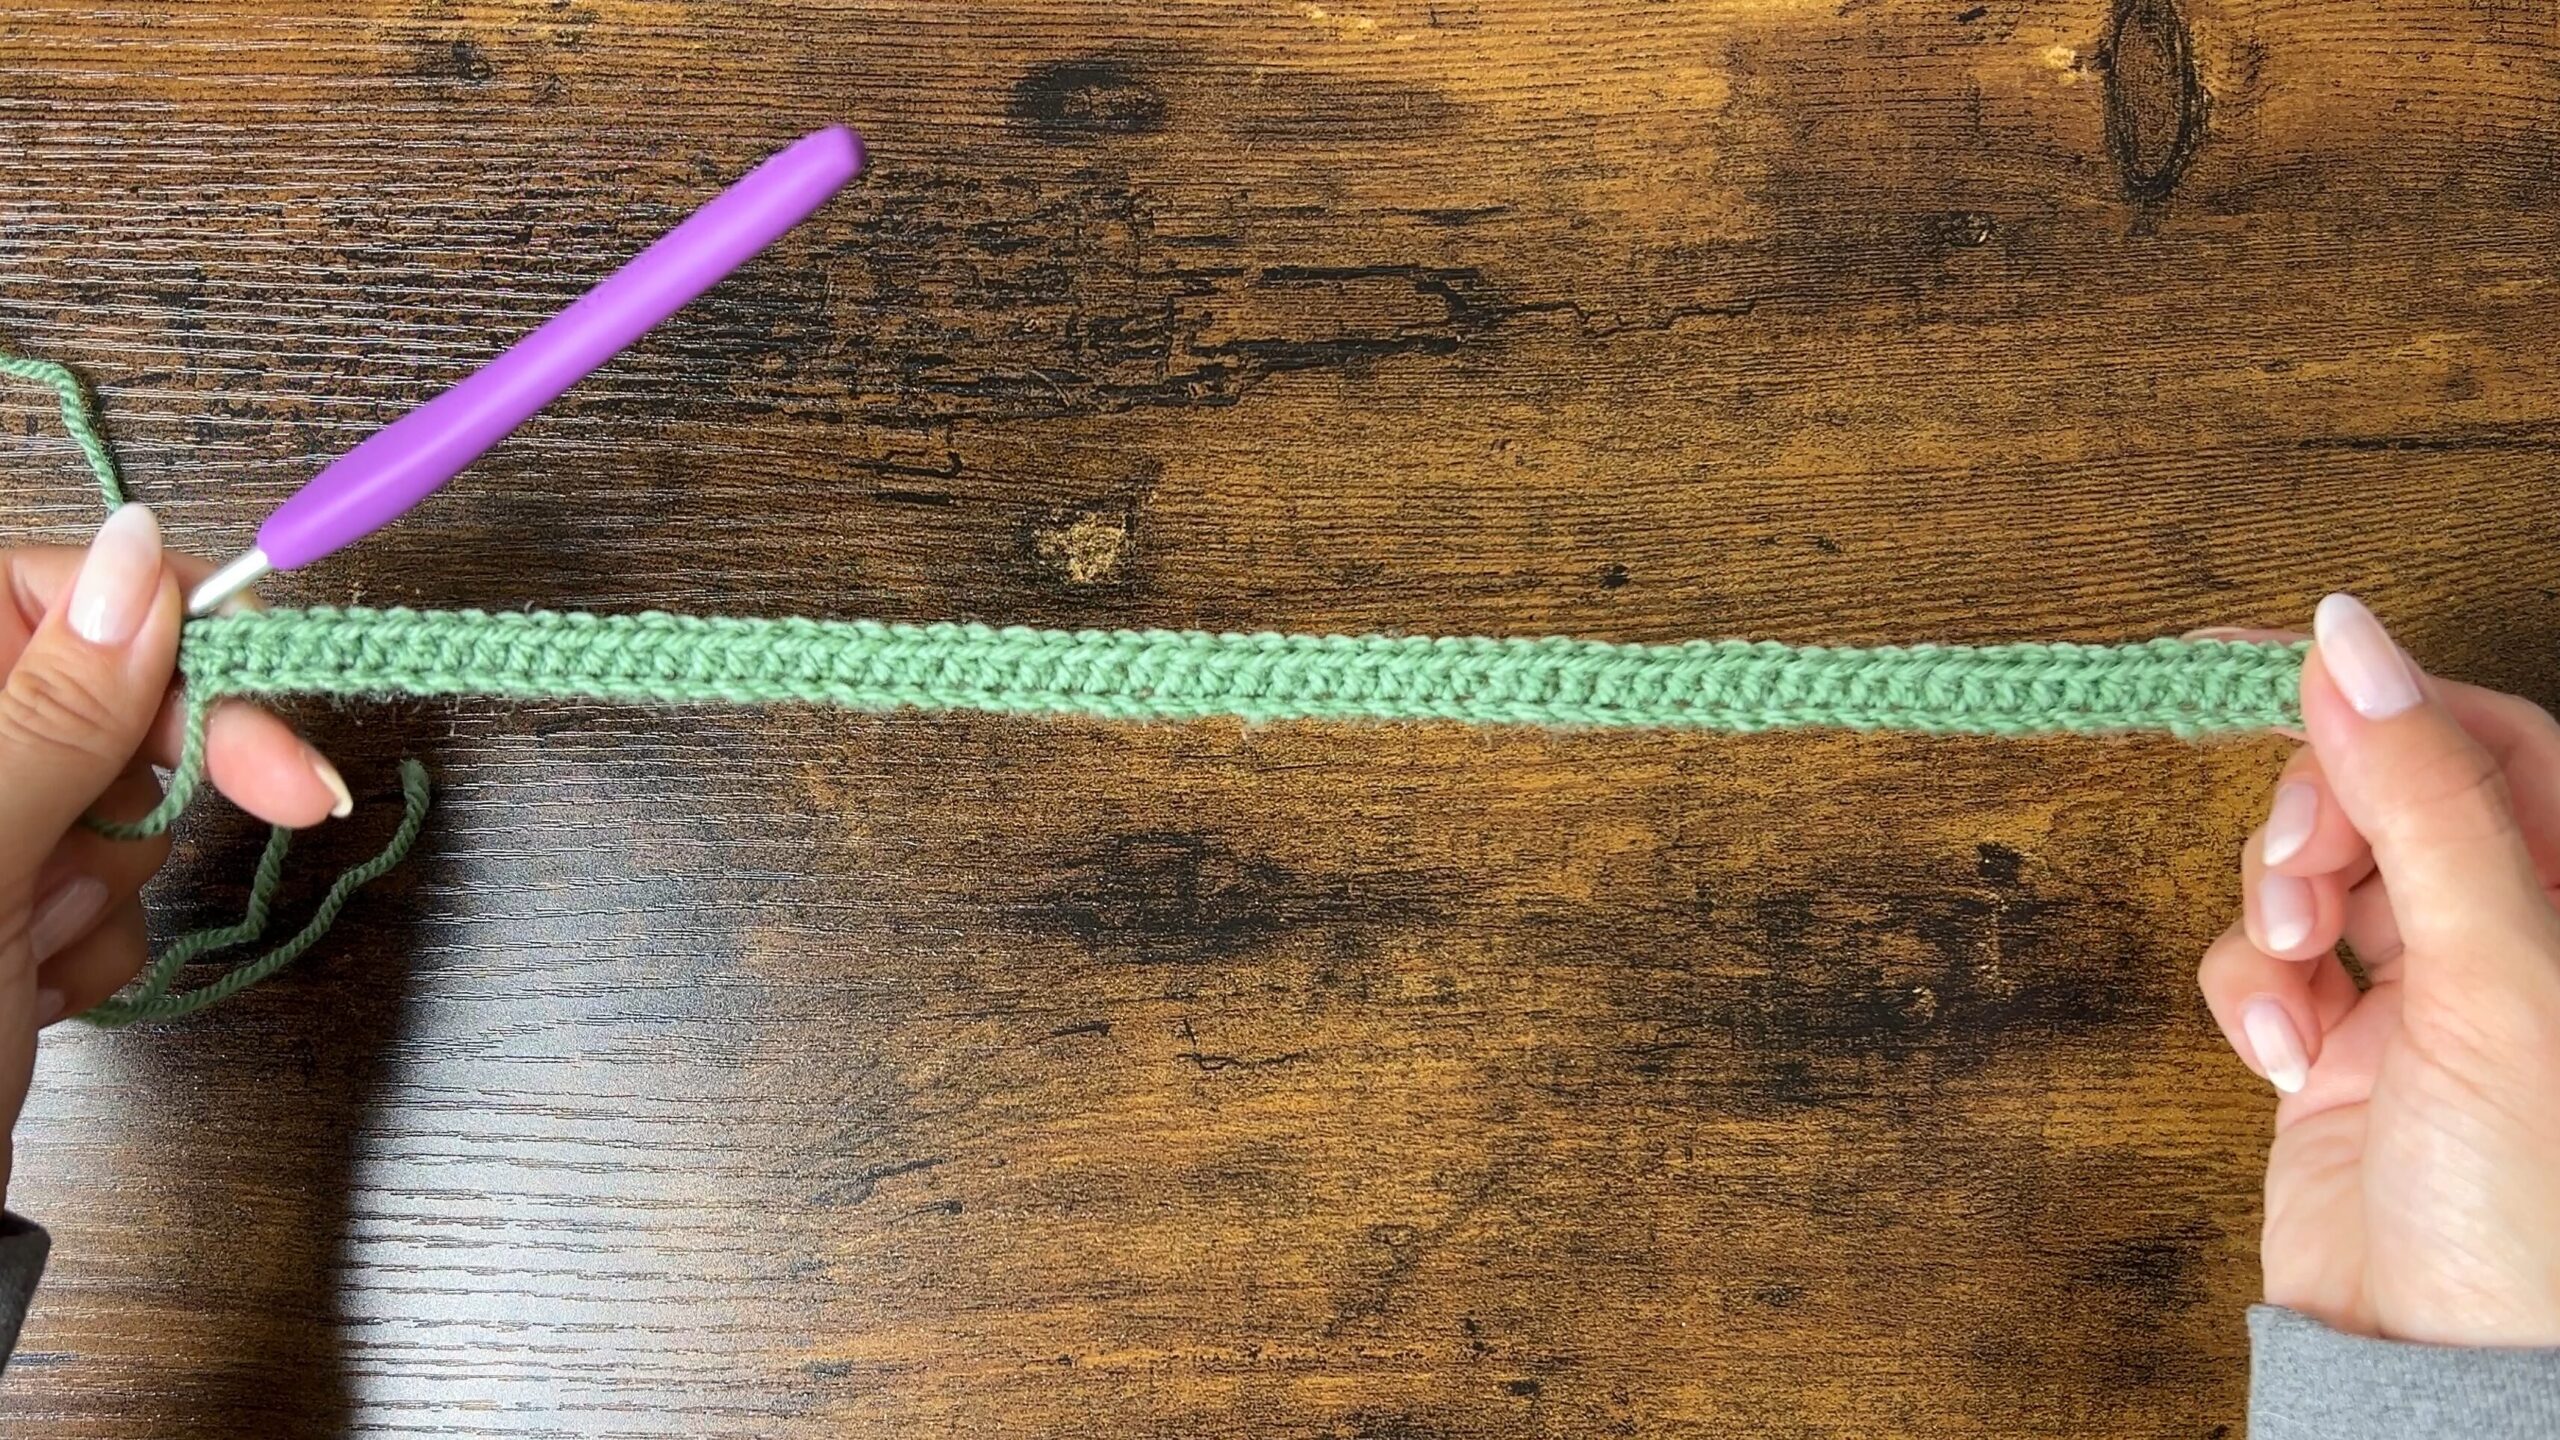
Row 2-66: ch1, turn, hdc blo across (60)

Note: Do fewer rows for a smaller size or more rows for a bigger size. To test if the beanie will fit you, fold up the brim and wrap the rows around your head. You should need to stretch it a little to fit.
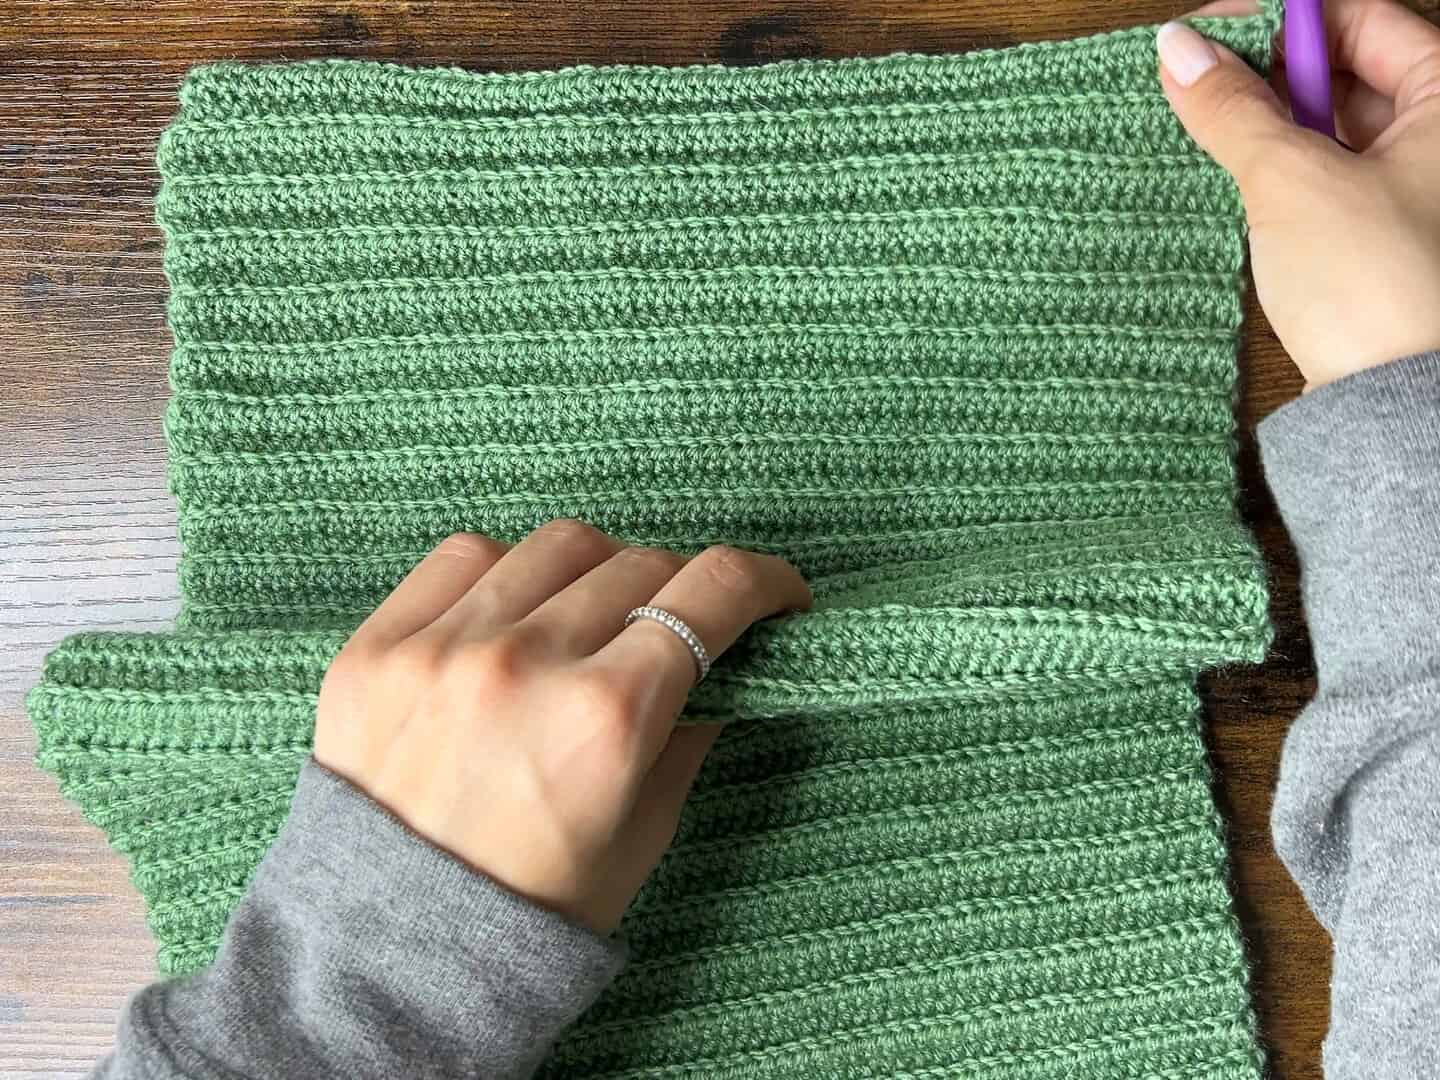
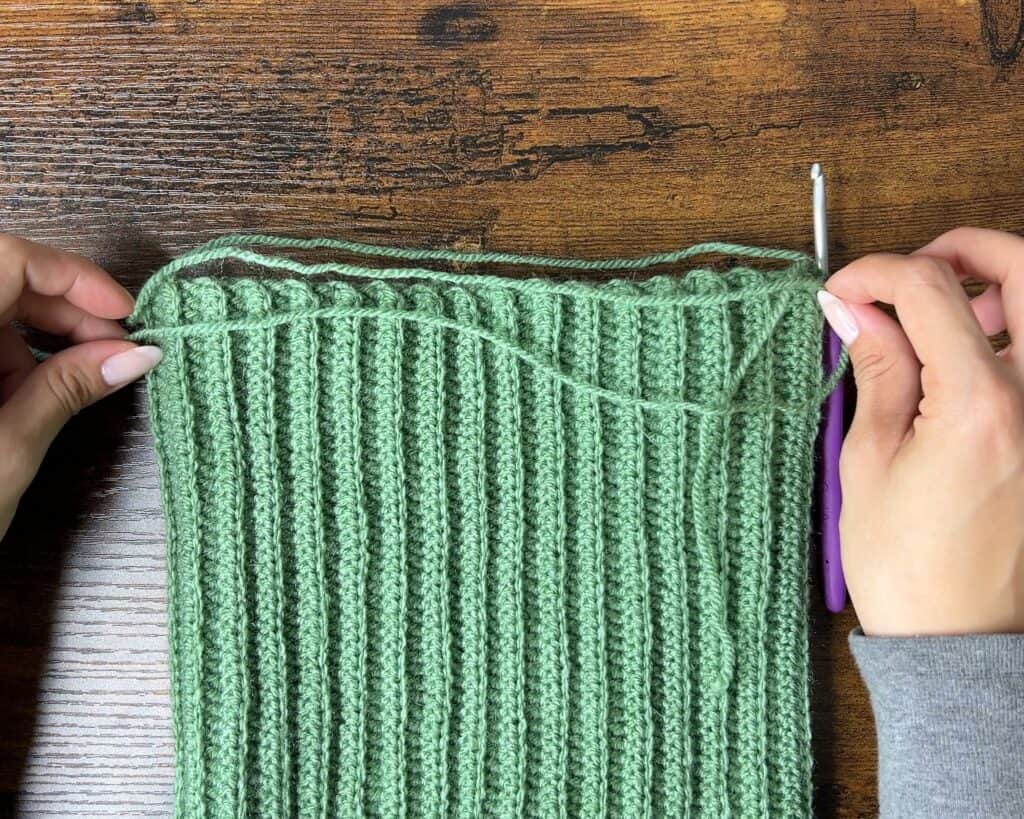
Joining Sides
- ch1, turn
- Grab the rectangle from the middle and flip the bottom half up to lay under the top half
- sl st across both layers through the front loop of each hdc on the top layer and through the bottom of each chain on the bottom layer
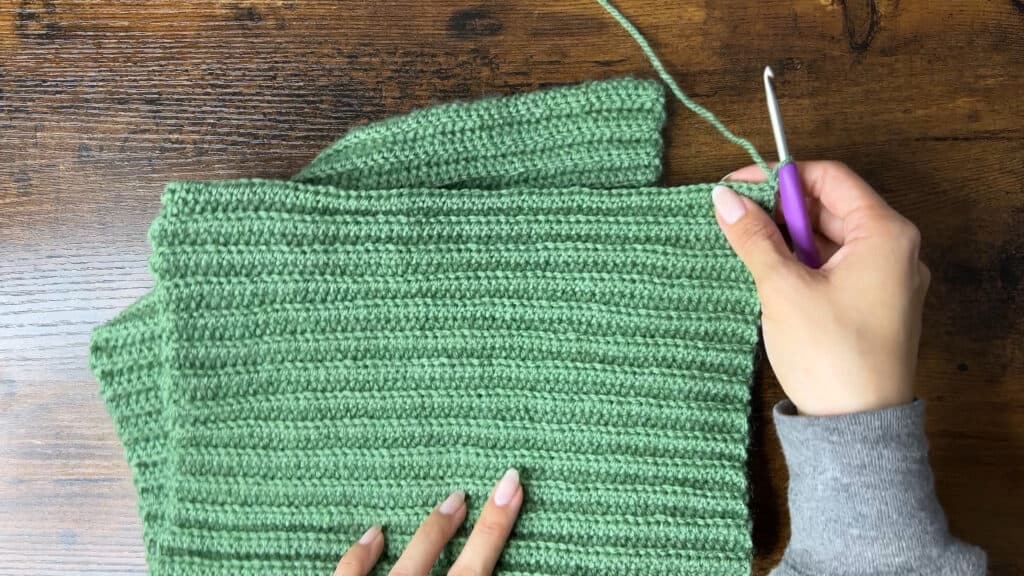
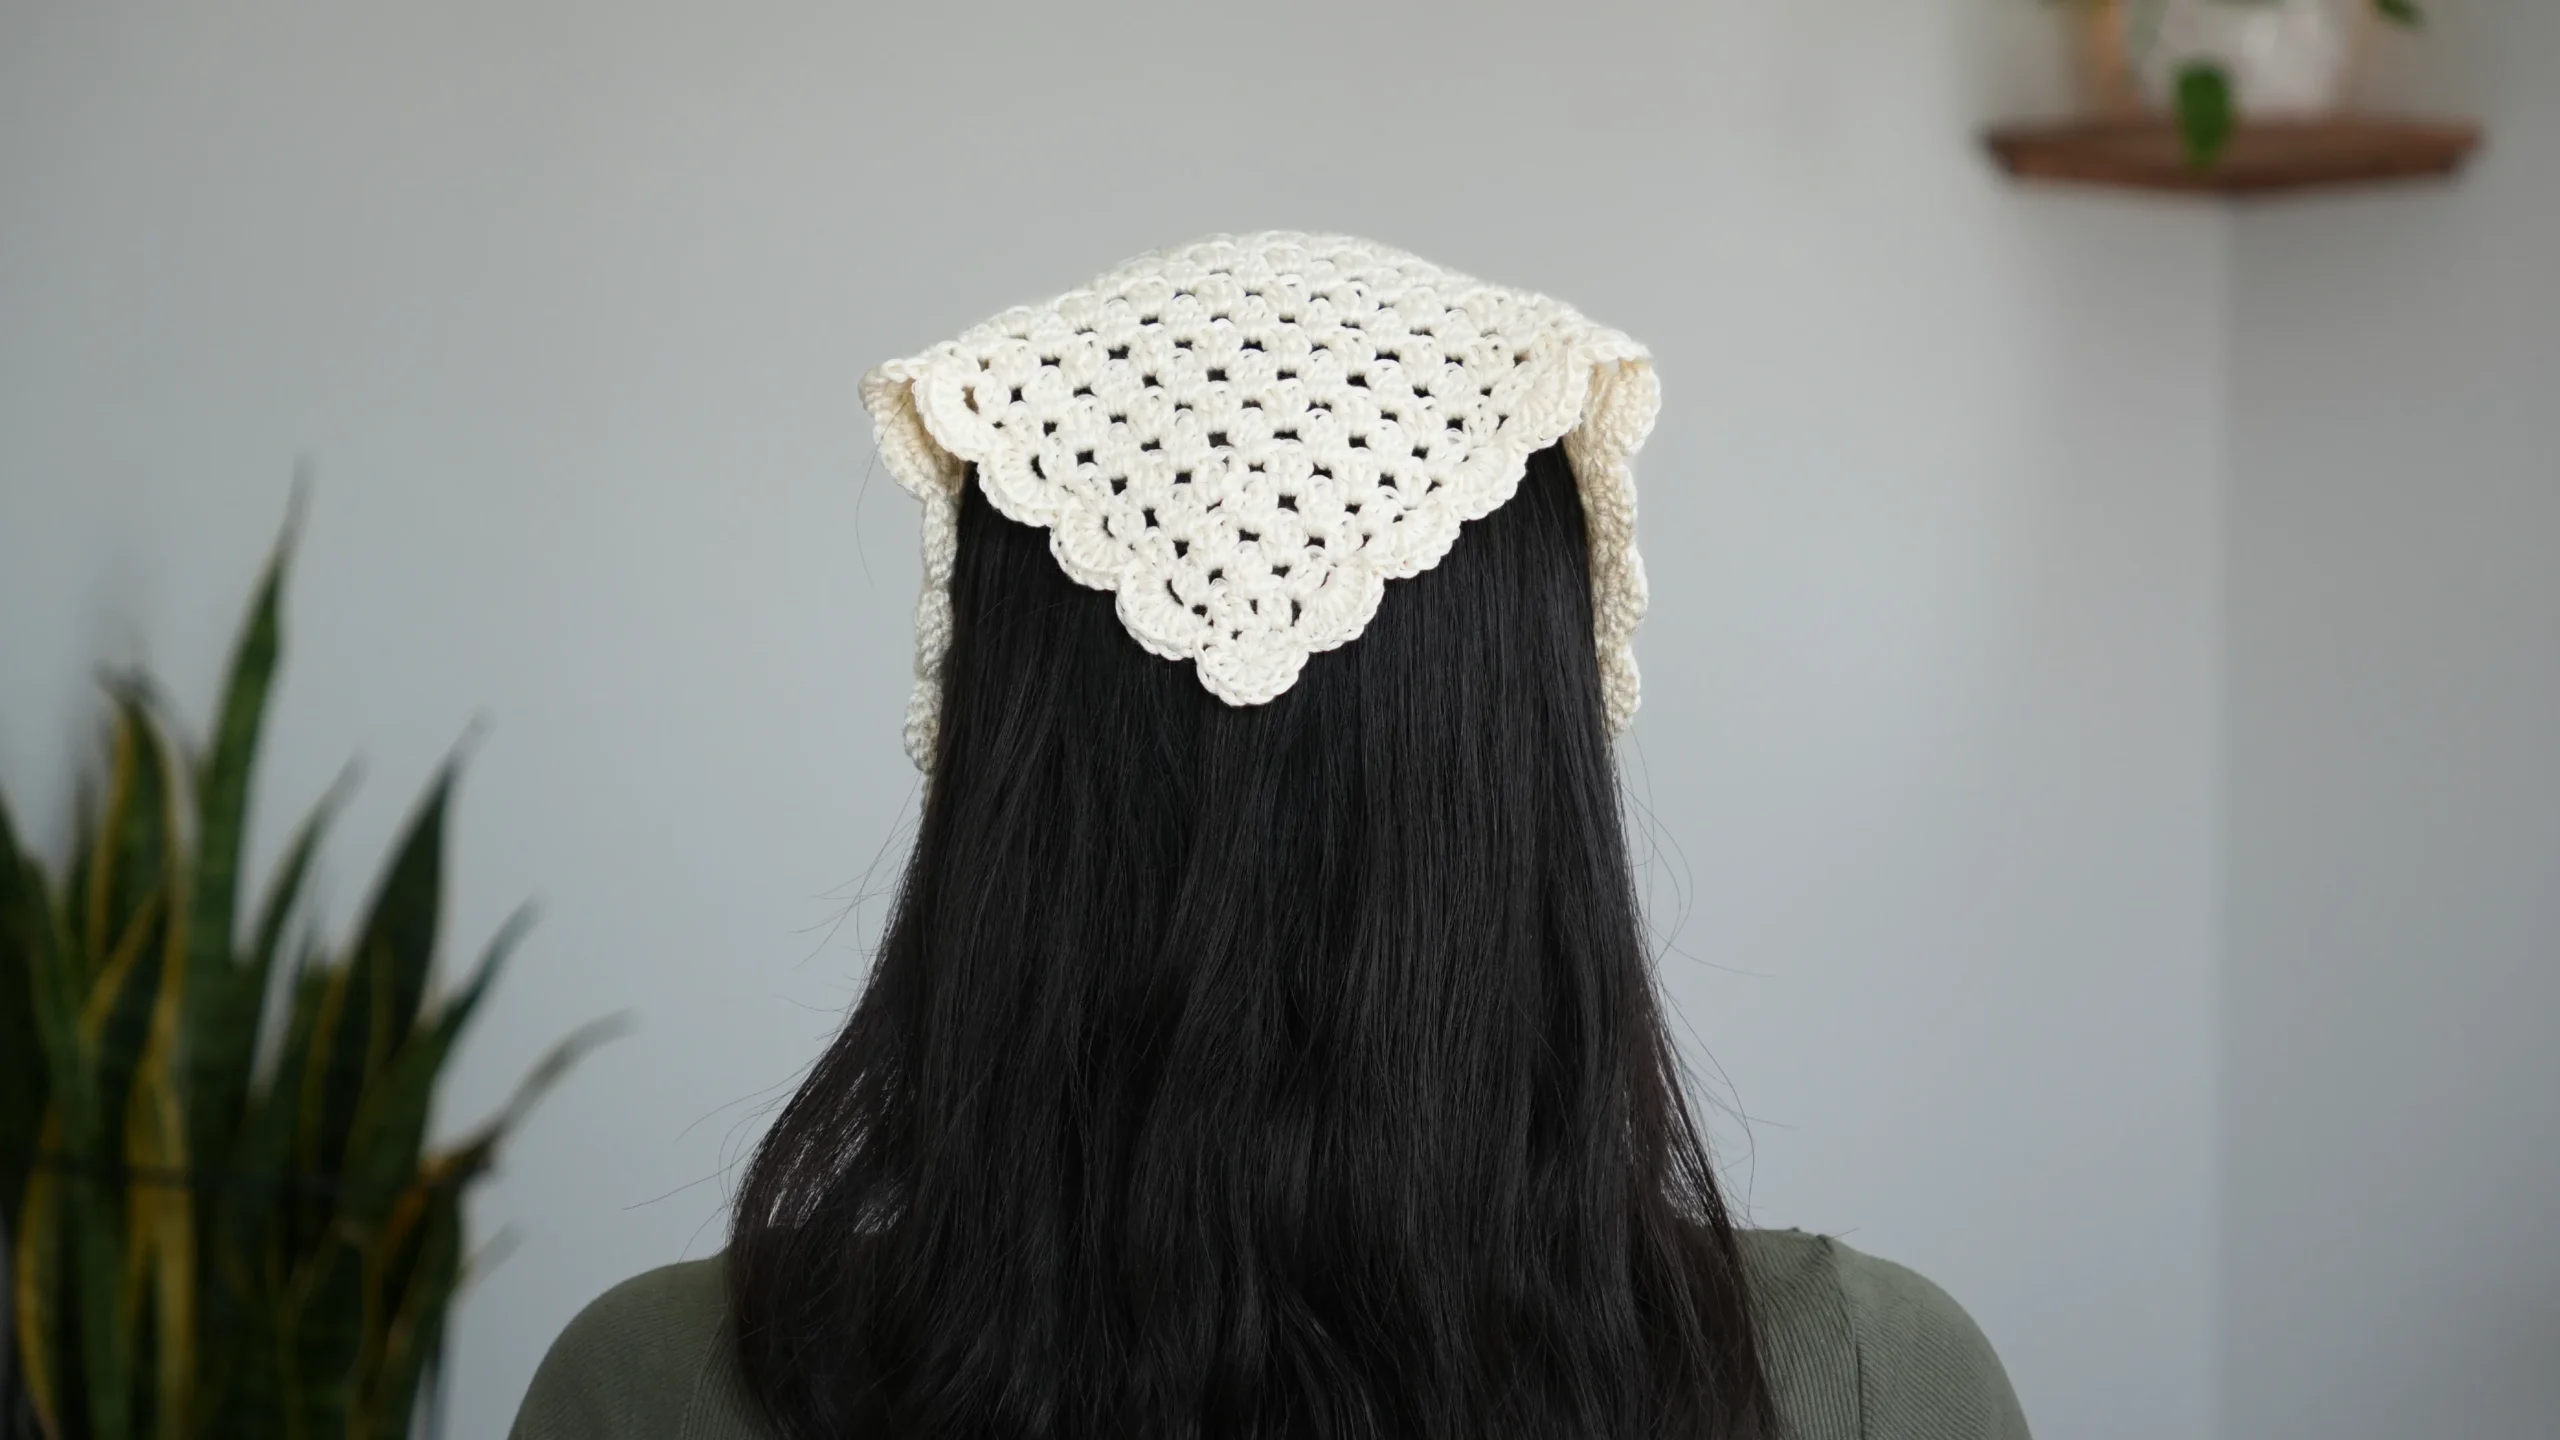
Closing the Top
- Fasten off, leaving a long tail for sewing (2-3 times the length of the top)
- Fold it along the sl st seam and mark the fold at the top-left corner
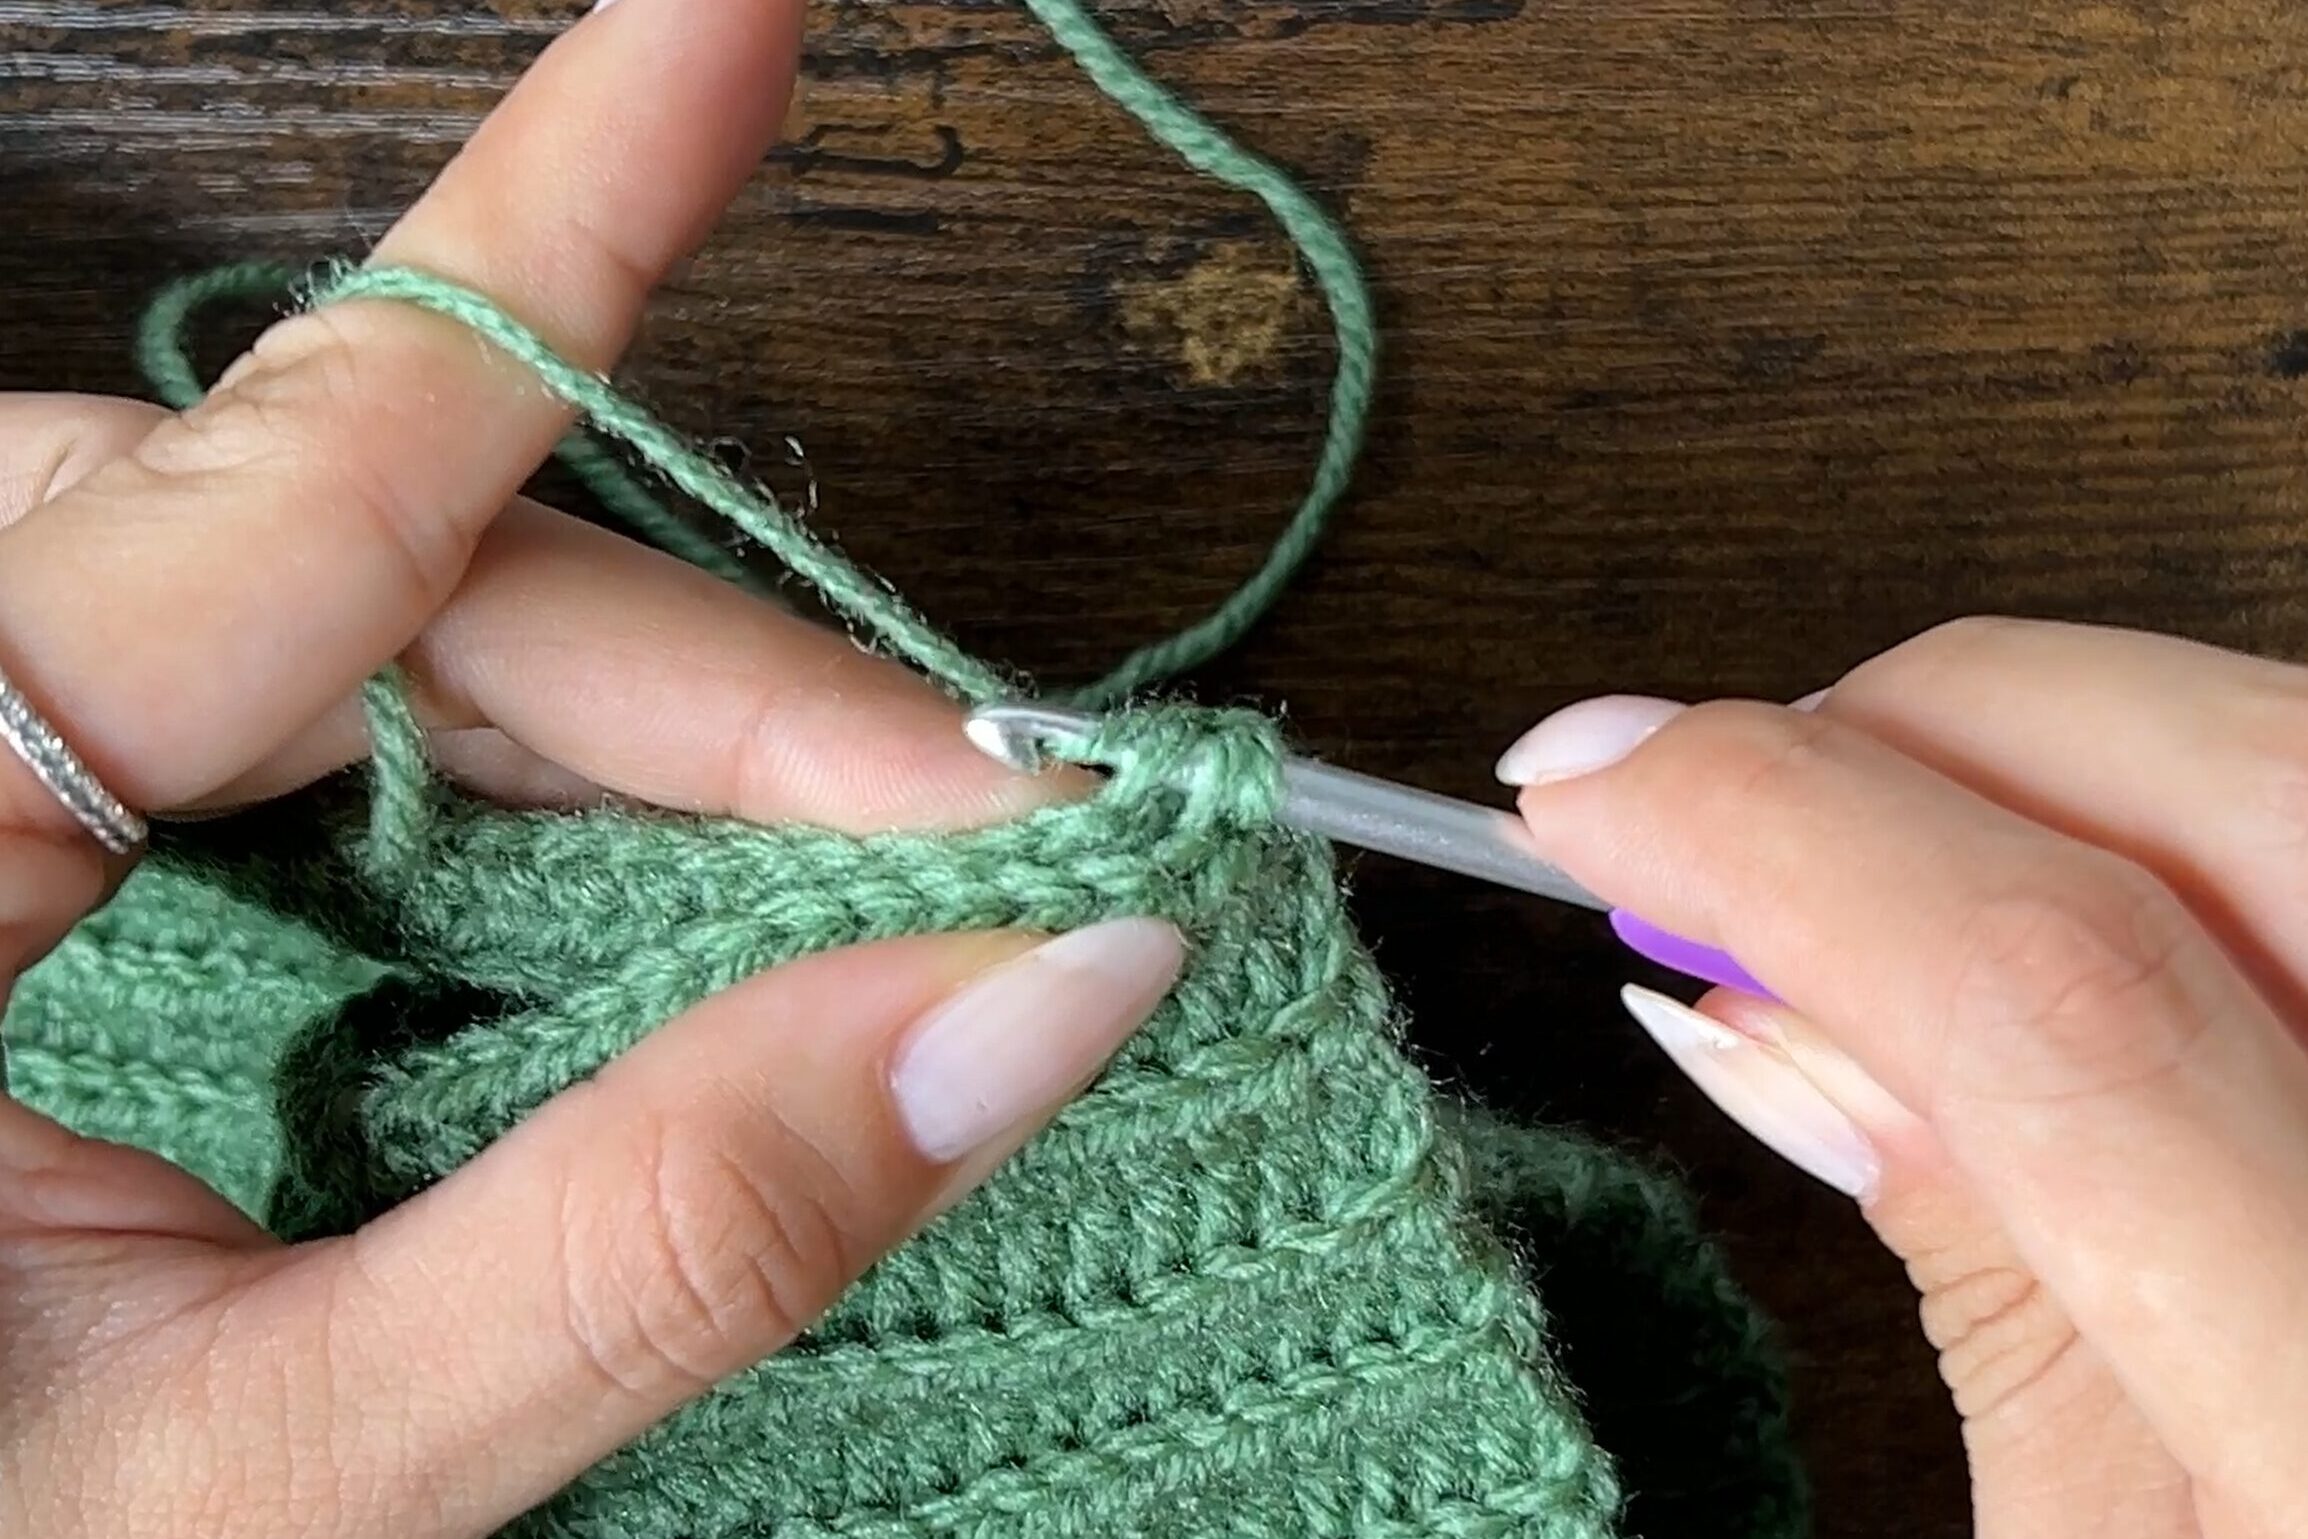
- Sew the top closed using the whip stitch, matching the ridges on the top and bottom layers
- Tie a double knot to secure it
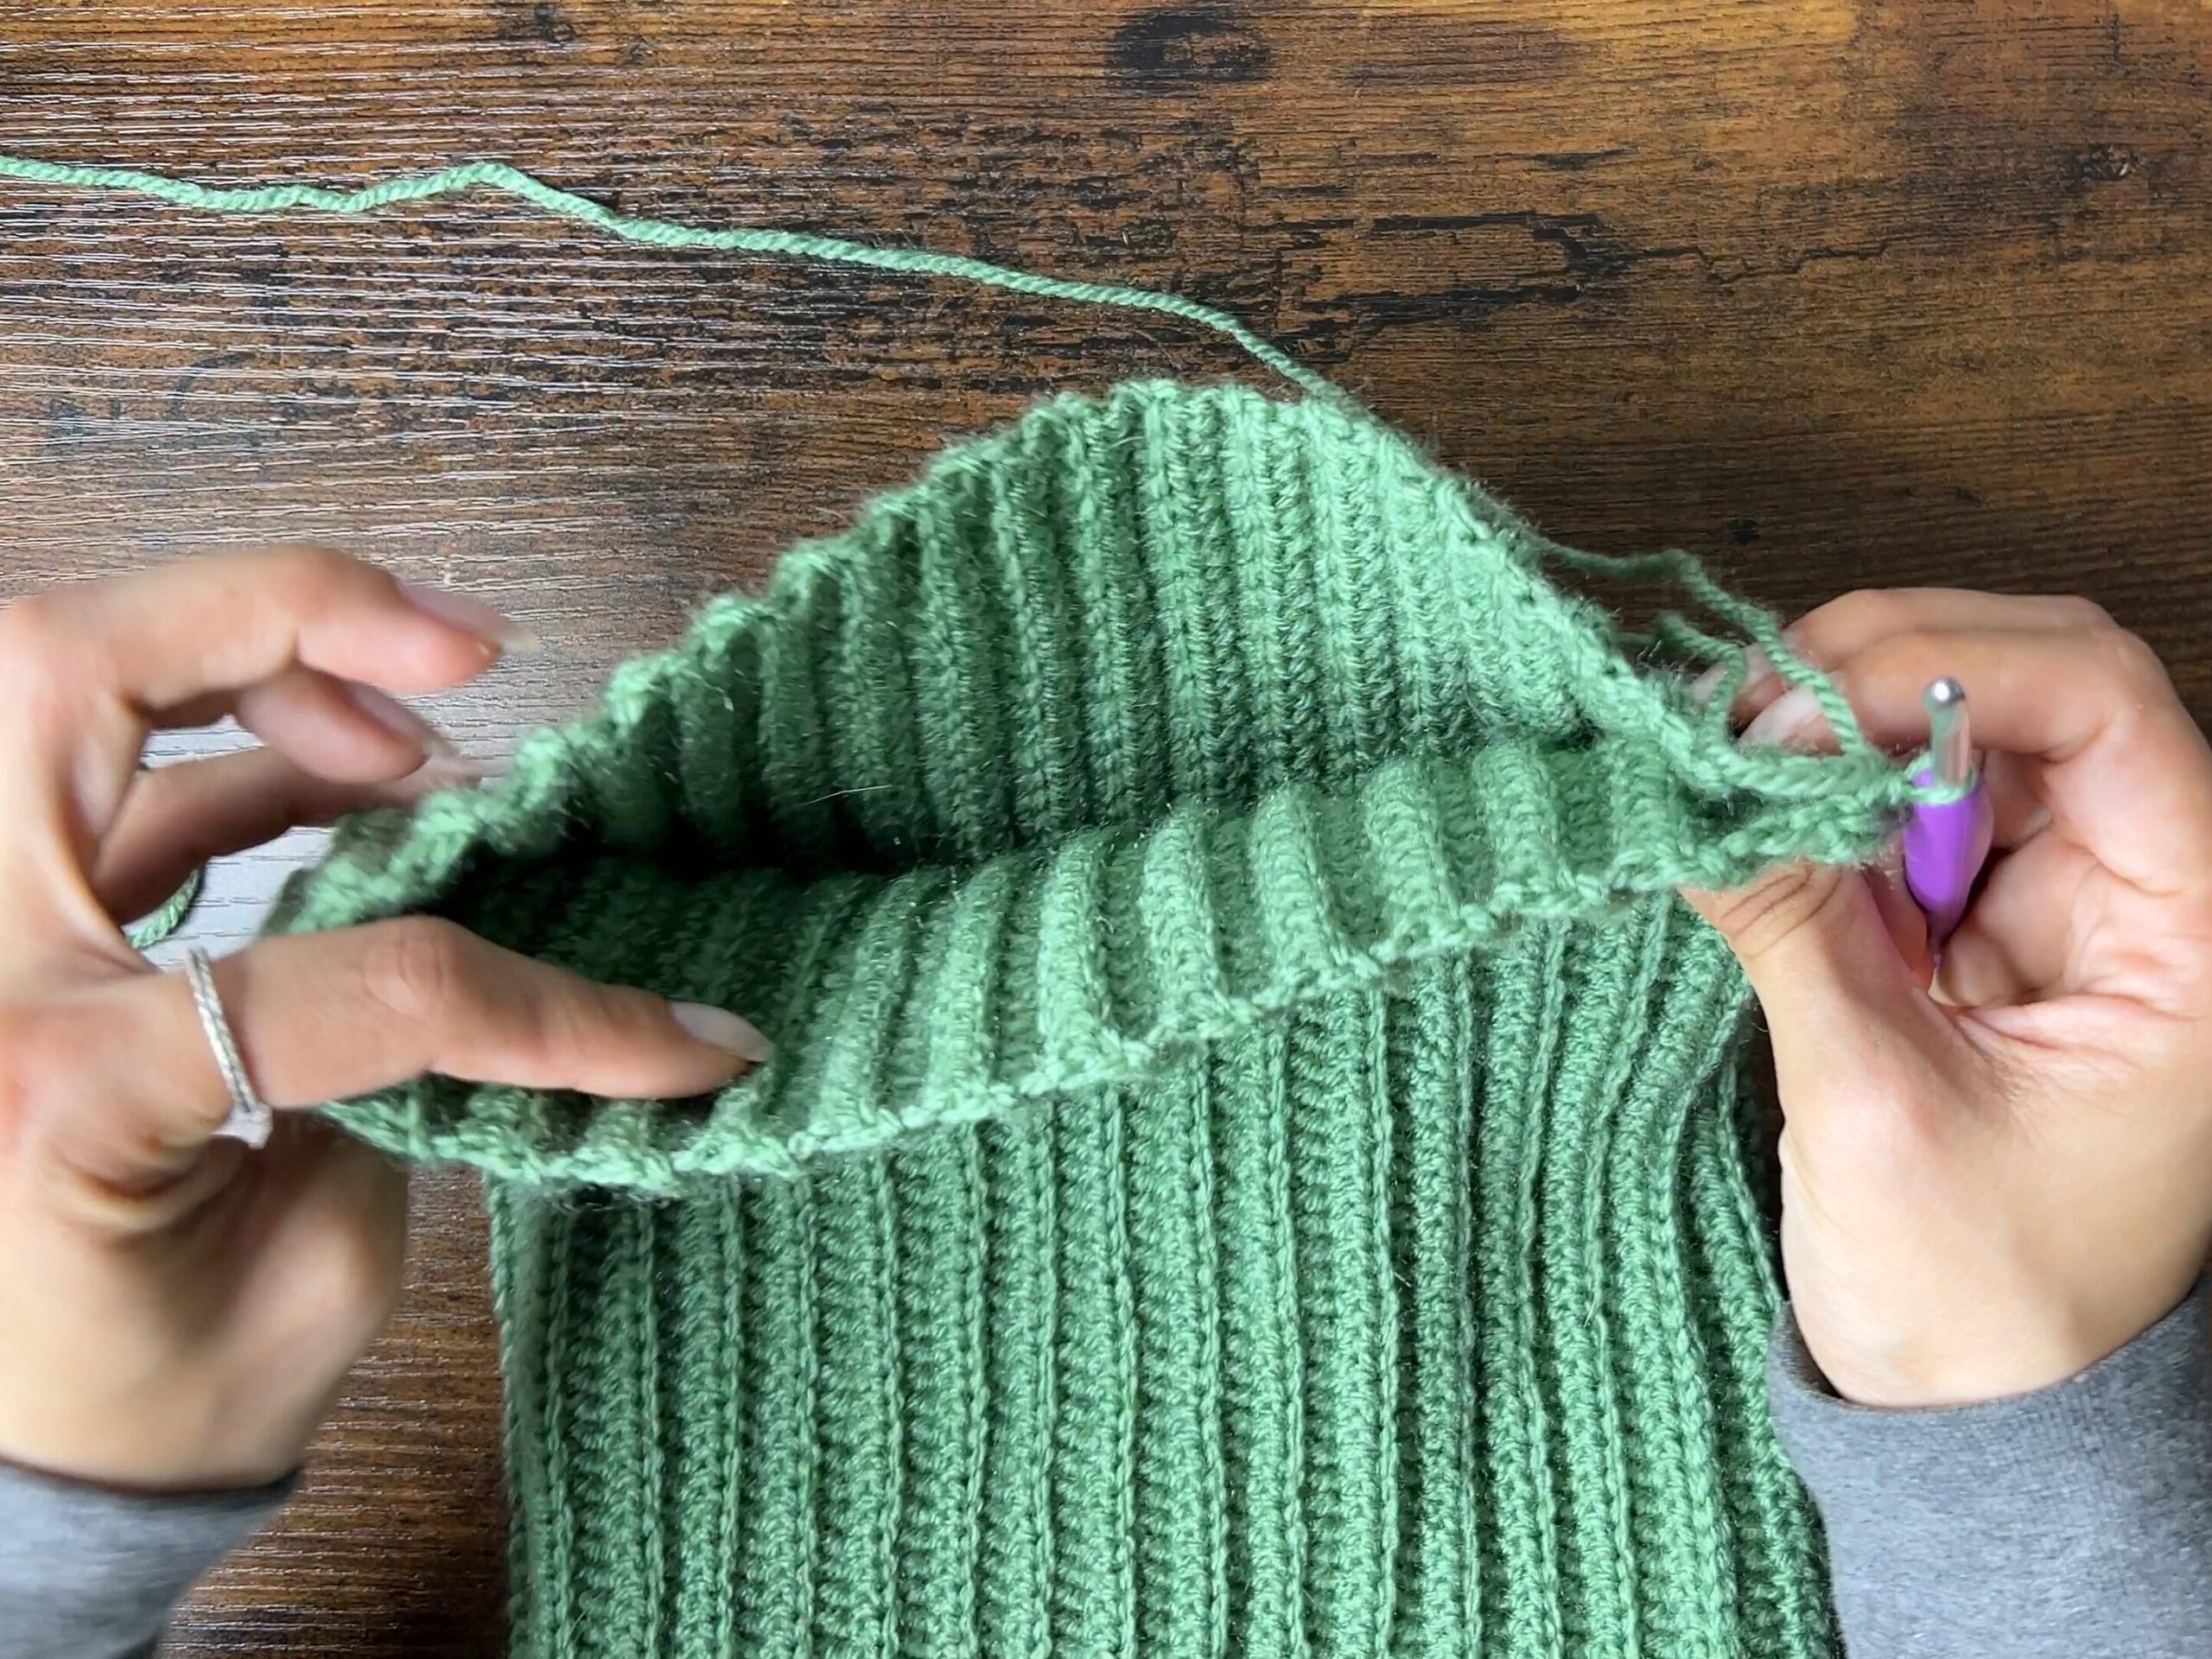


Finished Crochet Cat Ear Beanie
Hide the loose ends by pulling them inside the hat and weaving them under a few stitches using the yarn needle. Trim any excess yarn.
Turn the beanie inside out and fold up the brim. When worn, the beanie will form small ears at the top, which can be flattened or shaped as desired.


Hi I followed this pattern based on written instructions only and the hat came out too wide. After watching the video you stated that the width of the first chain should be 27cm depending on the yarn. It would be helpful if this was noted under the picture above that shows you measuring 27cm…. without the video there isn’t context and my hat didn’t come out properly as I simply did 60+1 chains to start.
P.S. I’ll only be making 2 stripes–each maybe 1.5 inches thick.
Hi Viv,
I have the hook and yarn ready to make the Cat Ear Beanie, but I have 2 questions. My granddaughter’s head measures 22 inches, so .7 inch wider than the top end of your pattern’s range. How much extra do you recommend to keep the proportions the same? (She doesn’t live near me so I can’t check size as I go.)
Also, she wants it striped. I know how to switch yarn for several rows to make stripes when working from the top down, but how do I do that for this style, where it’s worked “around” instead of “up and down”? Do I just keep count, and then “carry” the other yarn somehow under the other rows? I hope my question makes sense!
Thank you!
Currently making this for a friend. Works up super quickly! Love the instructions; however, the instructions for joining everything together are a bit complicated. Will need to refer to video to figure it out, but love this so far!
I like patterns
Got my dimensions flipped the first go round. Excited to try again!
So cute and easy! Super happy to have completed my first project thanks to the helpful video and written instructions!
impossible to download the pdf wanted for my grandaughter useless
Hi, I am in the process of adding printable patterns to my Etsy. I haven’t added this one yet. You can find the ones I have so far by clicking “Shop” at the top of the page!
I just added this one to my shop! You can find it at https://vivcrochets.etsy.com/listing/1828184663/crochet-cat-ear-beanie-pattern-crochet
Uselessness of this pattern and laziness on your behalf to share the website or just watch the video are apparently mutually exclusive. Common sense is not common. You’re quite lucky she is kind enough to share this for free and not make you pay for it. Be appreciative.
What is wrong with you? Go back to your cave, Boomer.
Meant for the complainer above, sorry!
I am going to try to make this for my twin grand daughters who are going to be 8 soon.
I love the directions for this.
they will love it.
have a blessed day Viv
Hi Linda, that is so sweet! They will definitely love it!