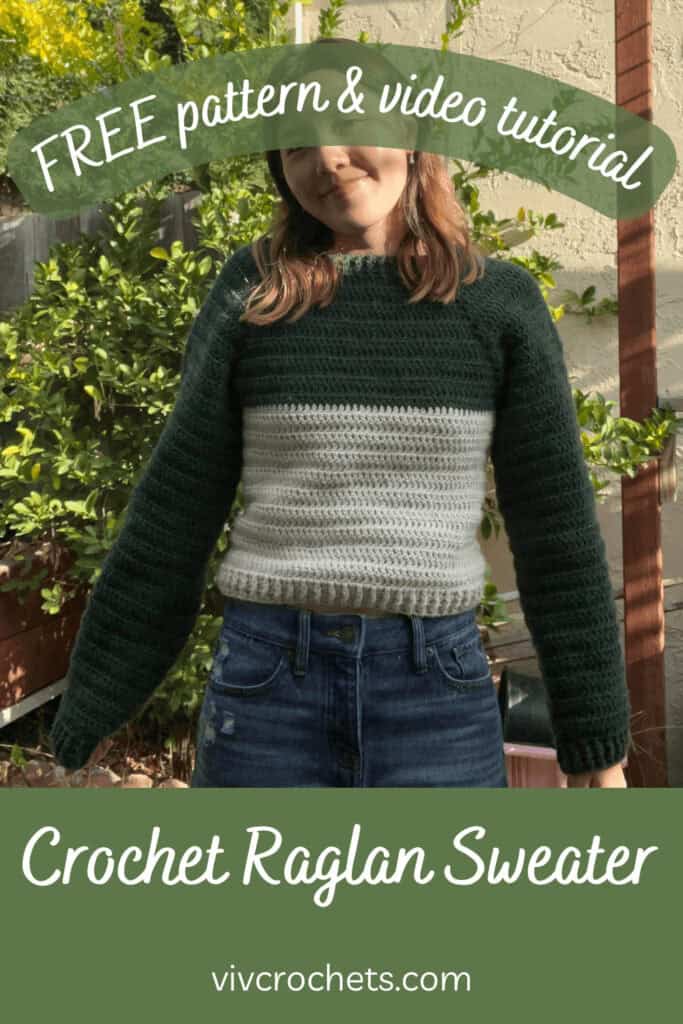
Two-Tone Crochet Raglan Sweater | Free Pattern & Tutorial
This two-tone crochet raglan sweater pattern is designed to be approachable for those new to crocheting garments. It’s super simple in design as well as in adjusting the sizing.
Also, this pattern includes a comprehensive video tutorial, making it a great learning experience for beginners starting their first sweater.

If you’re looking for a different color pattern for your sweater, you can check out this striped raglan sweater pattern!
Crocheting a sweater might seem intimidating for beginners, but this pattern is beginner-friendly. The techniques and stitches involved are basic and thoroughly explained in the video tutorial, making this pattern great for your first crochet garment!
The simplicity of the pattern is advantageous for beginners. It pretty much uses only one basic stitch, making it much less complex and reducing the time it takes to crochet. If you’ve already mastered the double crochet, this pattern can be perfect to use your crochet skills in creating a bigger project! Another sweater pattern that’s great for beginners is this ribbed pullover.
The raglan style involves shaping the garment by increasing stitches at specific points, creating diagonal lines from the neckline to the underarm. This design makes it super easy to adjust the size of the sweater to create the perfect fit for you.

The video tutorial for this crochet pattern can be very helpful, especially for visual learners. The tutorial walks you through each step of the pattern, providing a visual guide to complement the written instructions.
The written pattern is very concise, and doesn’t go into depth about each individual step. So, if you’re brand new to crochet, the video tutorial can teach you how to slip knot, chain, double crochet, and attach your new yarn and do the ribbing.
Pin this for later!
Video Tutorial
You can follow along with my YouTube video to crochet a two-tone raglan sweater! I have timestamps included to section the video and help you jump to any point you need to!
This post may contain affiliate links. I may earn a small commission on qualifying purchases at no additional cost to you!
Materials
- 280 grams of Lion Brand’s Wool Ease yarn in “Forest Heather” and 110 grams in “Natural Heather”
- 6mm Clover Amour crochet hook
- Scissors
- Yarn needle
Note: I will refer to “Forest Heather” as color A and “Natural Heather” as color B.
Gauge
9 rows of 15 double crochets makes a 10 x 10cm square
Notes and Tips
- This pattern is written using US crochet terms
- The chain 2 at the beginning of each round does NOT count as a double crochet
- Place your decreases at the top of the sleeve to prevent extra fabric at the underarm
- Make sure that the round before your ribbing has an even number of stitches
- Pull all loose ends to the inside of the sweater and weave them to hide them
Abbreviations
ch = chain
sl st = slip stitch
dc = double crochet
st = stitch
sp = space
rep = repeat
dec = decrease (dc2tog)
fpdc = front post double crochet
bpdc = back post double crochet
Yoke
Foundation: With color A, slipknot, ch100 (or however long for neck hole, must be a multiple of 4)
If you choose to ch a different number, divide it by 4 and that is your number of st on each side of the square for round 1.
Untwist foundation ch and sl st to first ch

Round 1: ch2, rep (dc25, ch1) four times around, sl st (100)
Round 2 – 15: ch2, turn, dc in ch1-sp below, *dc along side of square until next ch1-sp, (dc, ch1, dc) in ch1-sp,* rep between ** around, skipping last dc for last ch1-sp, sl st (108, 116, 124, 132, 140, 148, 156, 164, 172, 180, 188, 196, 204, 212)
Place the yoke over your head, and when the corners of the square reach at least a couple inches past your underarm, move onto splitting the yoke.
For my gauge and at 15 rounds, each side of the square is about 37cm long.

Splitting the Yoke
When we split the yoke, we have the option of increasing the size of the sweater. If you connect the corners of the square under your arms and it can comfortably fit your body and arms, you don’t need to add any extra ch. If you need more width, ch the extra width you need in round 16.
Here is how you fold the yoke:

With the yoke laying flat, pinch the fabric at either side of the square opening and lift it up. The 2 corners on the left side of the square and the 2 on the right will line up together.

Round 16: ch2, turn, *dc in ch1-sp below and along side of square until next ch1-sp, dc in ch1-sp below, ch4 (or desired extra width), sk next side of square until next ch1-sp,* rep between ** once, sl st
Note: The chains should be the same number and will add extra length to the sleeve and twice that length for the body.

Sleeves
For the sleeve, I will remove 1 st every other round. If you want a straight sleeve, don’t do any decreases (rep round 2). If you want it to get smaller faster, decrease every round (rep round 3).
Round 1: turn, sl st2 (half the number of ch you did when splitting the yoke), ch2, dc in next ch and across ch, dc2 across the side of round 15, dc in ch1-sp below and across half of sleeve, dec, dc across rest of sleeve, dc in ch1-sp below, dc2 across the side of round 15, dc across first half of ch, sl st (58)

After you turn, the body opening should be below the chain and the sleeve opening should be above the chain.
Round 2: ch2, turn, dc around, sl st
Round 3: ch2, turn dc around half of sleeve, dec, dc around rest of sleeve, sl st (57)

The decreases should be place at the top of the sleeve, not at the bottom near the seam. This will prevent it from looking really baggy at the underarms.
Round 4 – 38: Rep rounds 2 – 3 until it reaches your wrist (every odd round will have 1 less st than the round before it)

The last round before ribbing must have an even number of st.
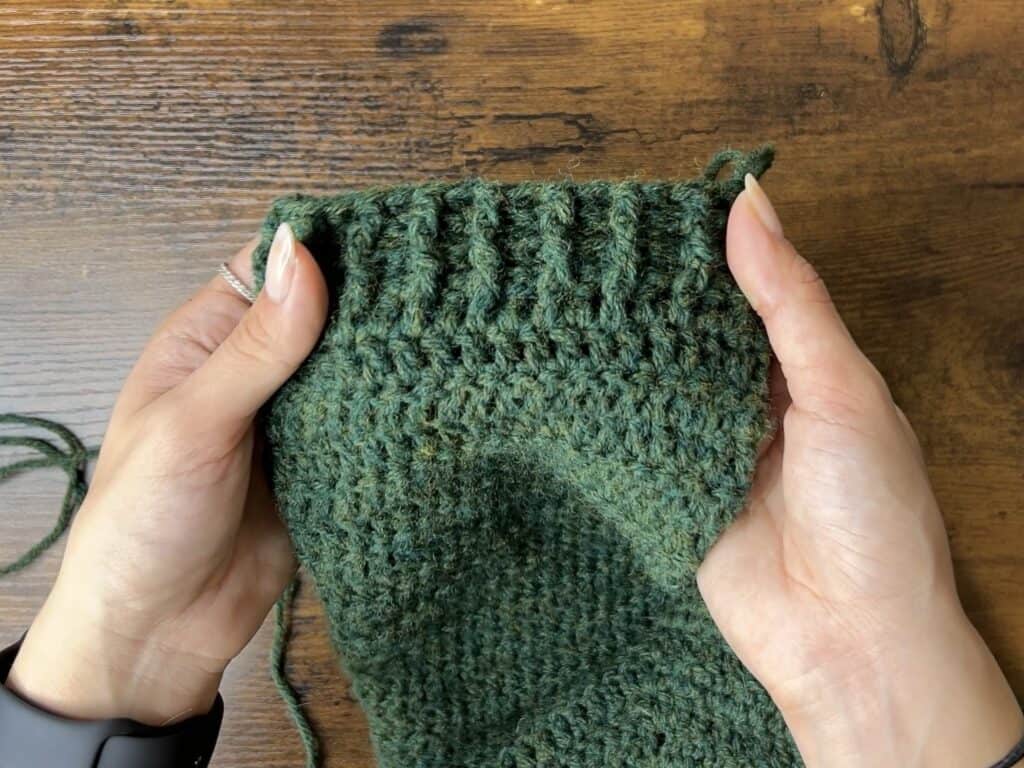
Round 39 – 41: ch2, turn, rep (fpdc, bpdc) around, sl st (40)
Fasten off and your sleeve is finished!
To do the other sleeve, attach color A to the middle of the other chain when we split the yoke and repeat the same rounds to make an identical sleeve.
Collar Ribbing
Attach color A to dc to the right of ch1-sp of seam.
Round 1: ch2, *fpdc2tog the 2 st to the right and left of ch1-sp, rep (bpdc, fpdc) until 1 st before next ch1-sp,* rep between **, sl st (96)
Note: if the side of your square has an even number of st, the second and fourth dec will be a bpdc2tog
Round 2 – 3: ch2, turn, rep (fpdc, bpdc) around, sl st

Body
Attach color B to the middle of the chain when we split the yoke, but on the underside of the ch.
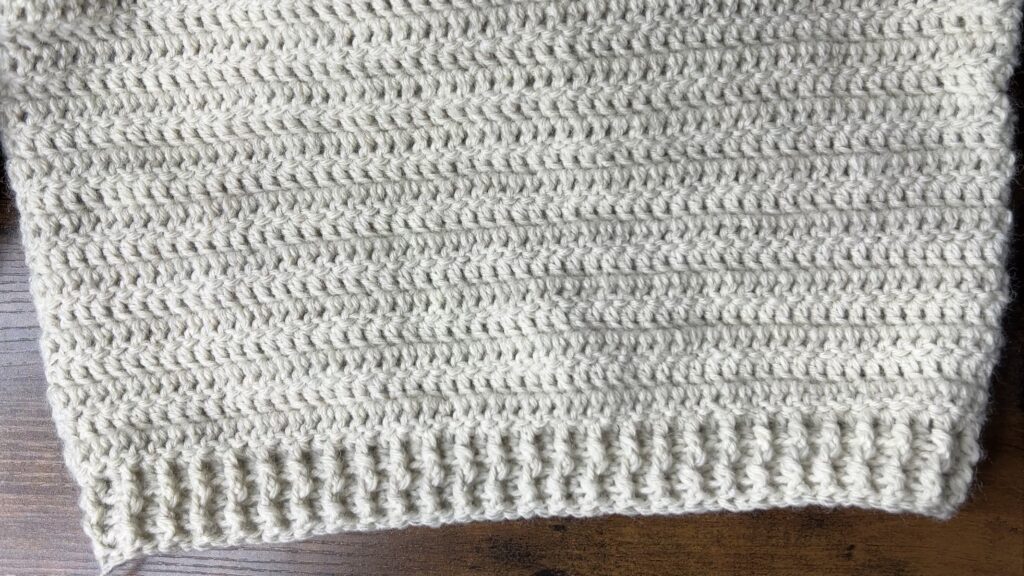
Round 1 – 20: ch2, turn, dc around, sl st (114)

Repeating rounds without any decreases will make the body of the sweater fall straight down. If you want it to taper inwards, you can alternate decrease rounds and regular rounds. A decrease round is worked by doing a decrease twice, once on either side of the body. If you want it to taper slower, you can space out the decrease rounds more.
The last round before ribbing must have an even number of st.
Round 21 – 23: ch2, turn rep (fpdc, bpdc) around, sl st
Fasten off.
Finishing
Double knot all loose ends and pull them to the inside of the sweater to hide.
Weave in all loose ends securely.
Now, your two-tone raglan sweater is complete!

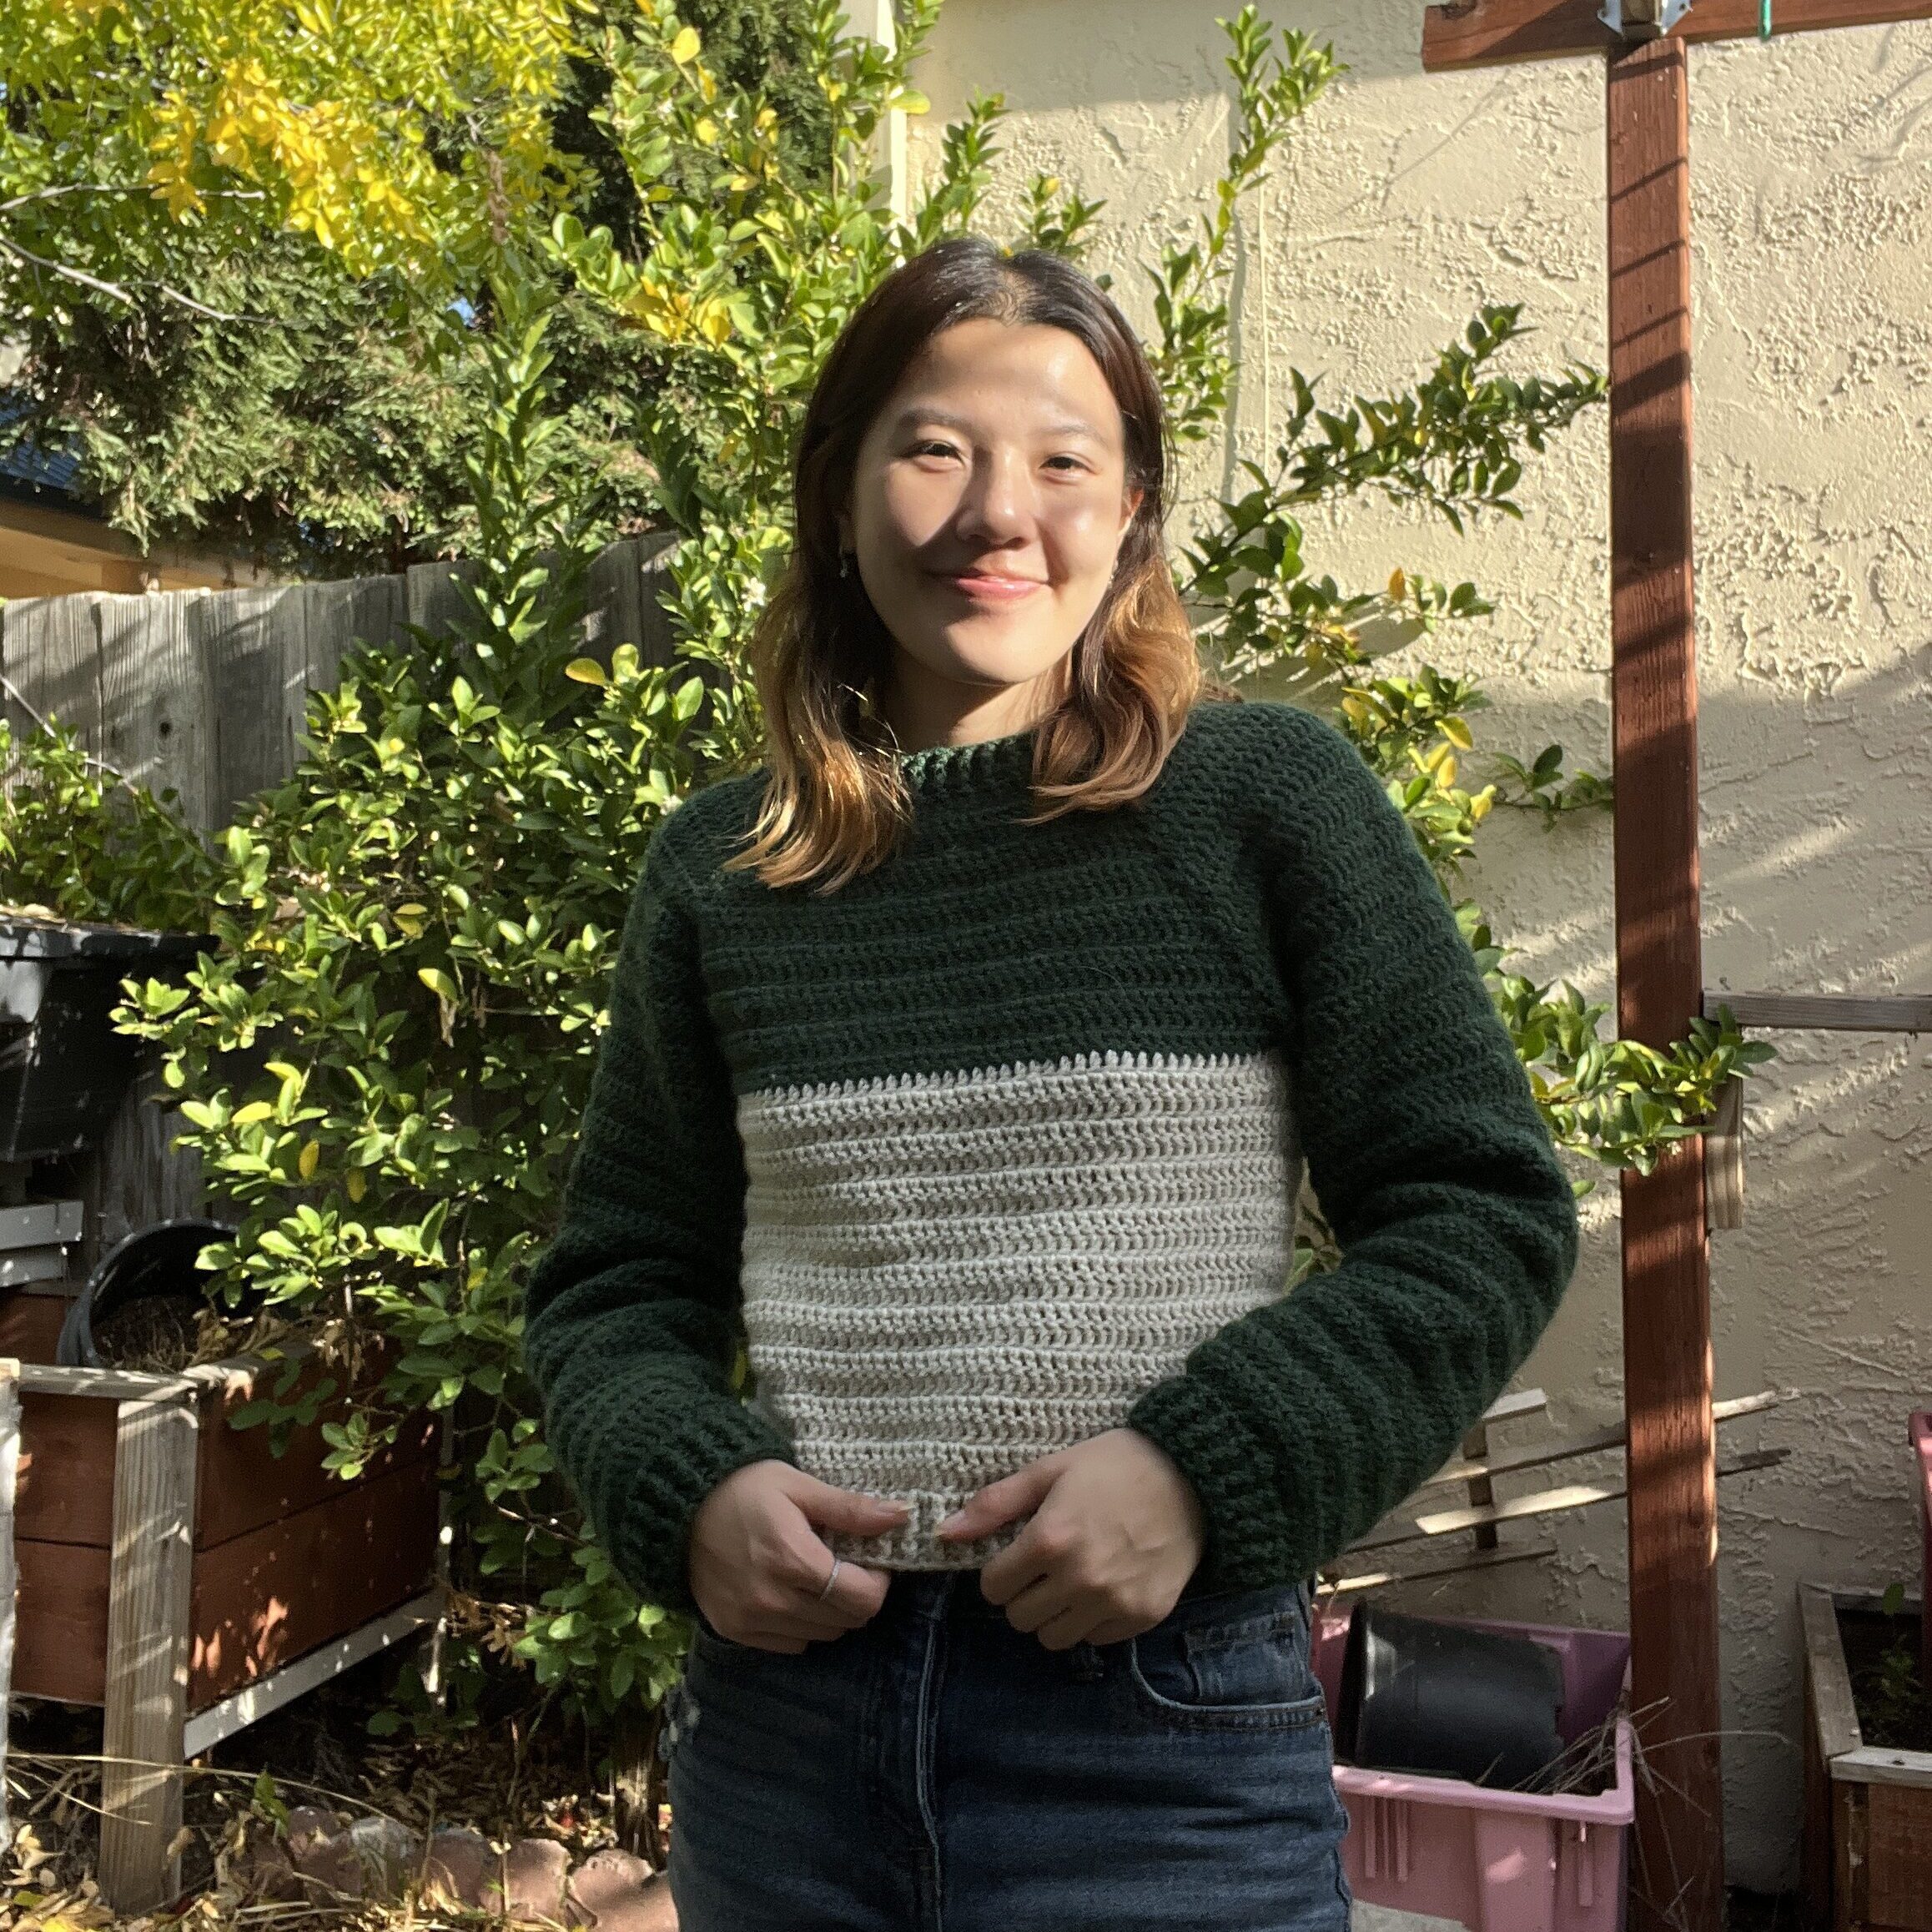
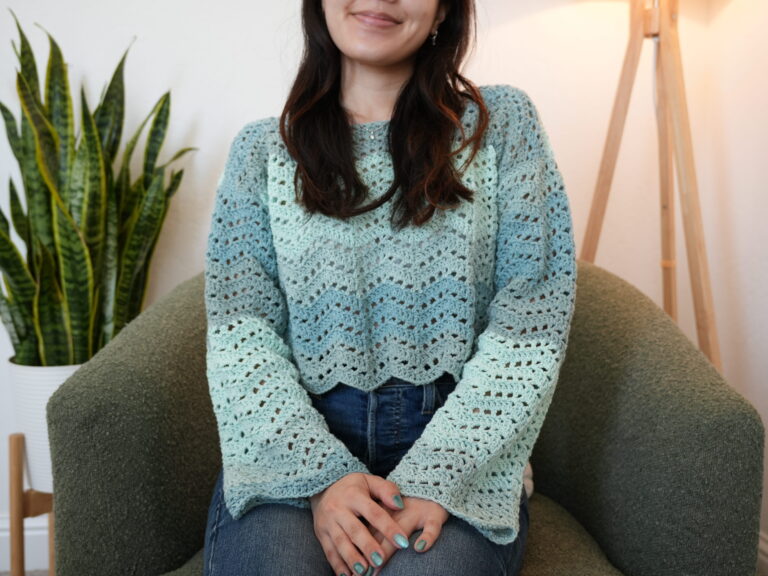
Here is how this sweater looks when worn! If you skip to 36:37 of the video tutorial, you can see clips of me wearing it.

Here is how it looks from the front!

From the back!

And from the side!

Is there a printable format? I’m willing to pay for something printable!
I don’t see a sizing chart. Do you have stitch counts for various measurements?
No, it isn’t size graded, but I included notes on how to adjust the sizing!
how many balls of yarn would I need for an XL sweater?
Hi! I would estimate that you’d need about 1.5 times the yarn I used, so about 420 grams. I would get an extra skein just in case!
Hi! If I was going to substituted the yarn for a dk weight, should I chain extra at the beginning?
Yes! Your yarn is thinner than mine, so you’ll have to do more chains and rounds. The foundation chain makes the size of the neck hole!
Hi! I’m also thinking of using DK – I want the fit as pictured though, how many extra stitches would you recommend adding? Should I use the same size hook, or do I need to size down?
also keen to know this!