Simple Crochet Shoulder Bag | Free Pattern & Video Tutorial
Scroll to see the free crochet shoulder bag pattern and video tutorial. Or purchase an ad-free, printable PDF file of this pattern!
The simple shape of this crochet shoulder bag makes it a great accessory to go with any outfit! It is crocheted in one piece with very little sewing and the length of this bag is easily adjustable to add more space!

Advanced Beginner Crochet Project
This crochet shoulder bag is great for beginners because it uses one main stitch throughout and the construction is relatively simple. There is some decreasing to shape the straps, but it’s very minimal.
If you want to take on this project as a beginner, make sure to view the tutorial if any part of the written pattern is confusing for you! Also, please leave any questions in the comments if you have any.
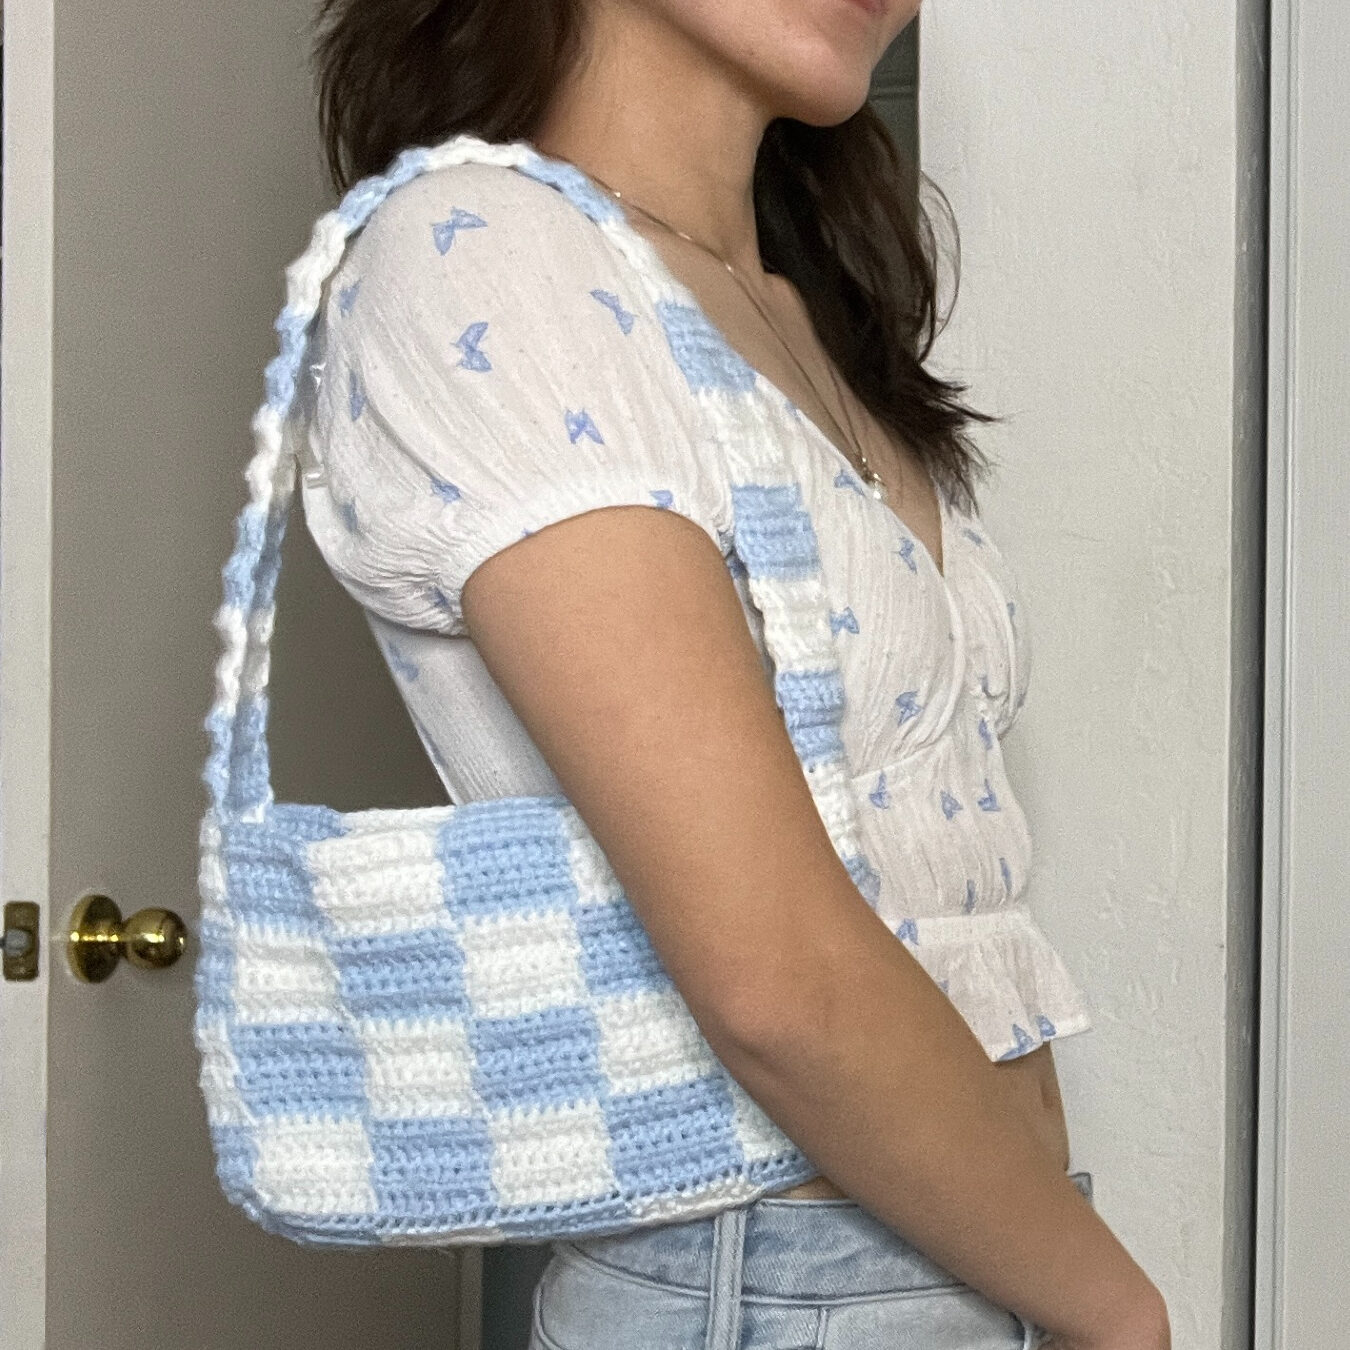
For a bag with no decreases, check out this checkered shoulder bag! You can make it solid-colored like this bag instead!
Sizing
The height of this bag and the length of the strap are easily adjustable by adding more rounds/rows. However, the width of the bag is not adjustable unless you change the pattern for the strap. The italicized notes within the pattern will let you know what to change to edit the size of the bag.
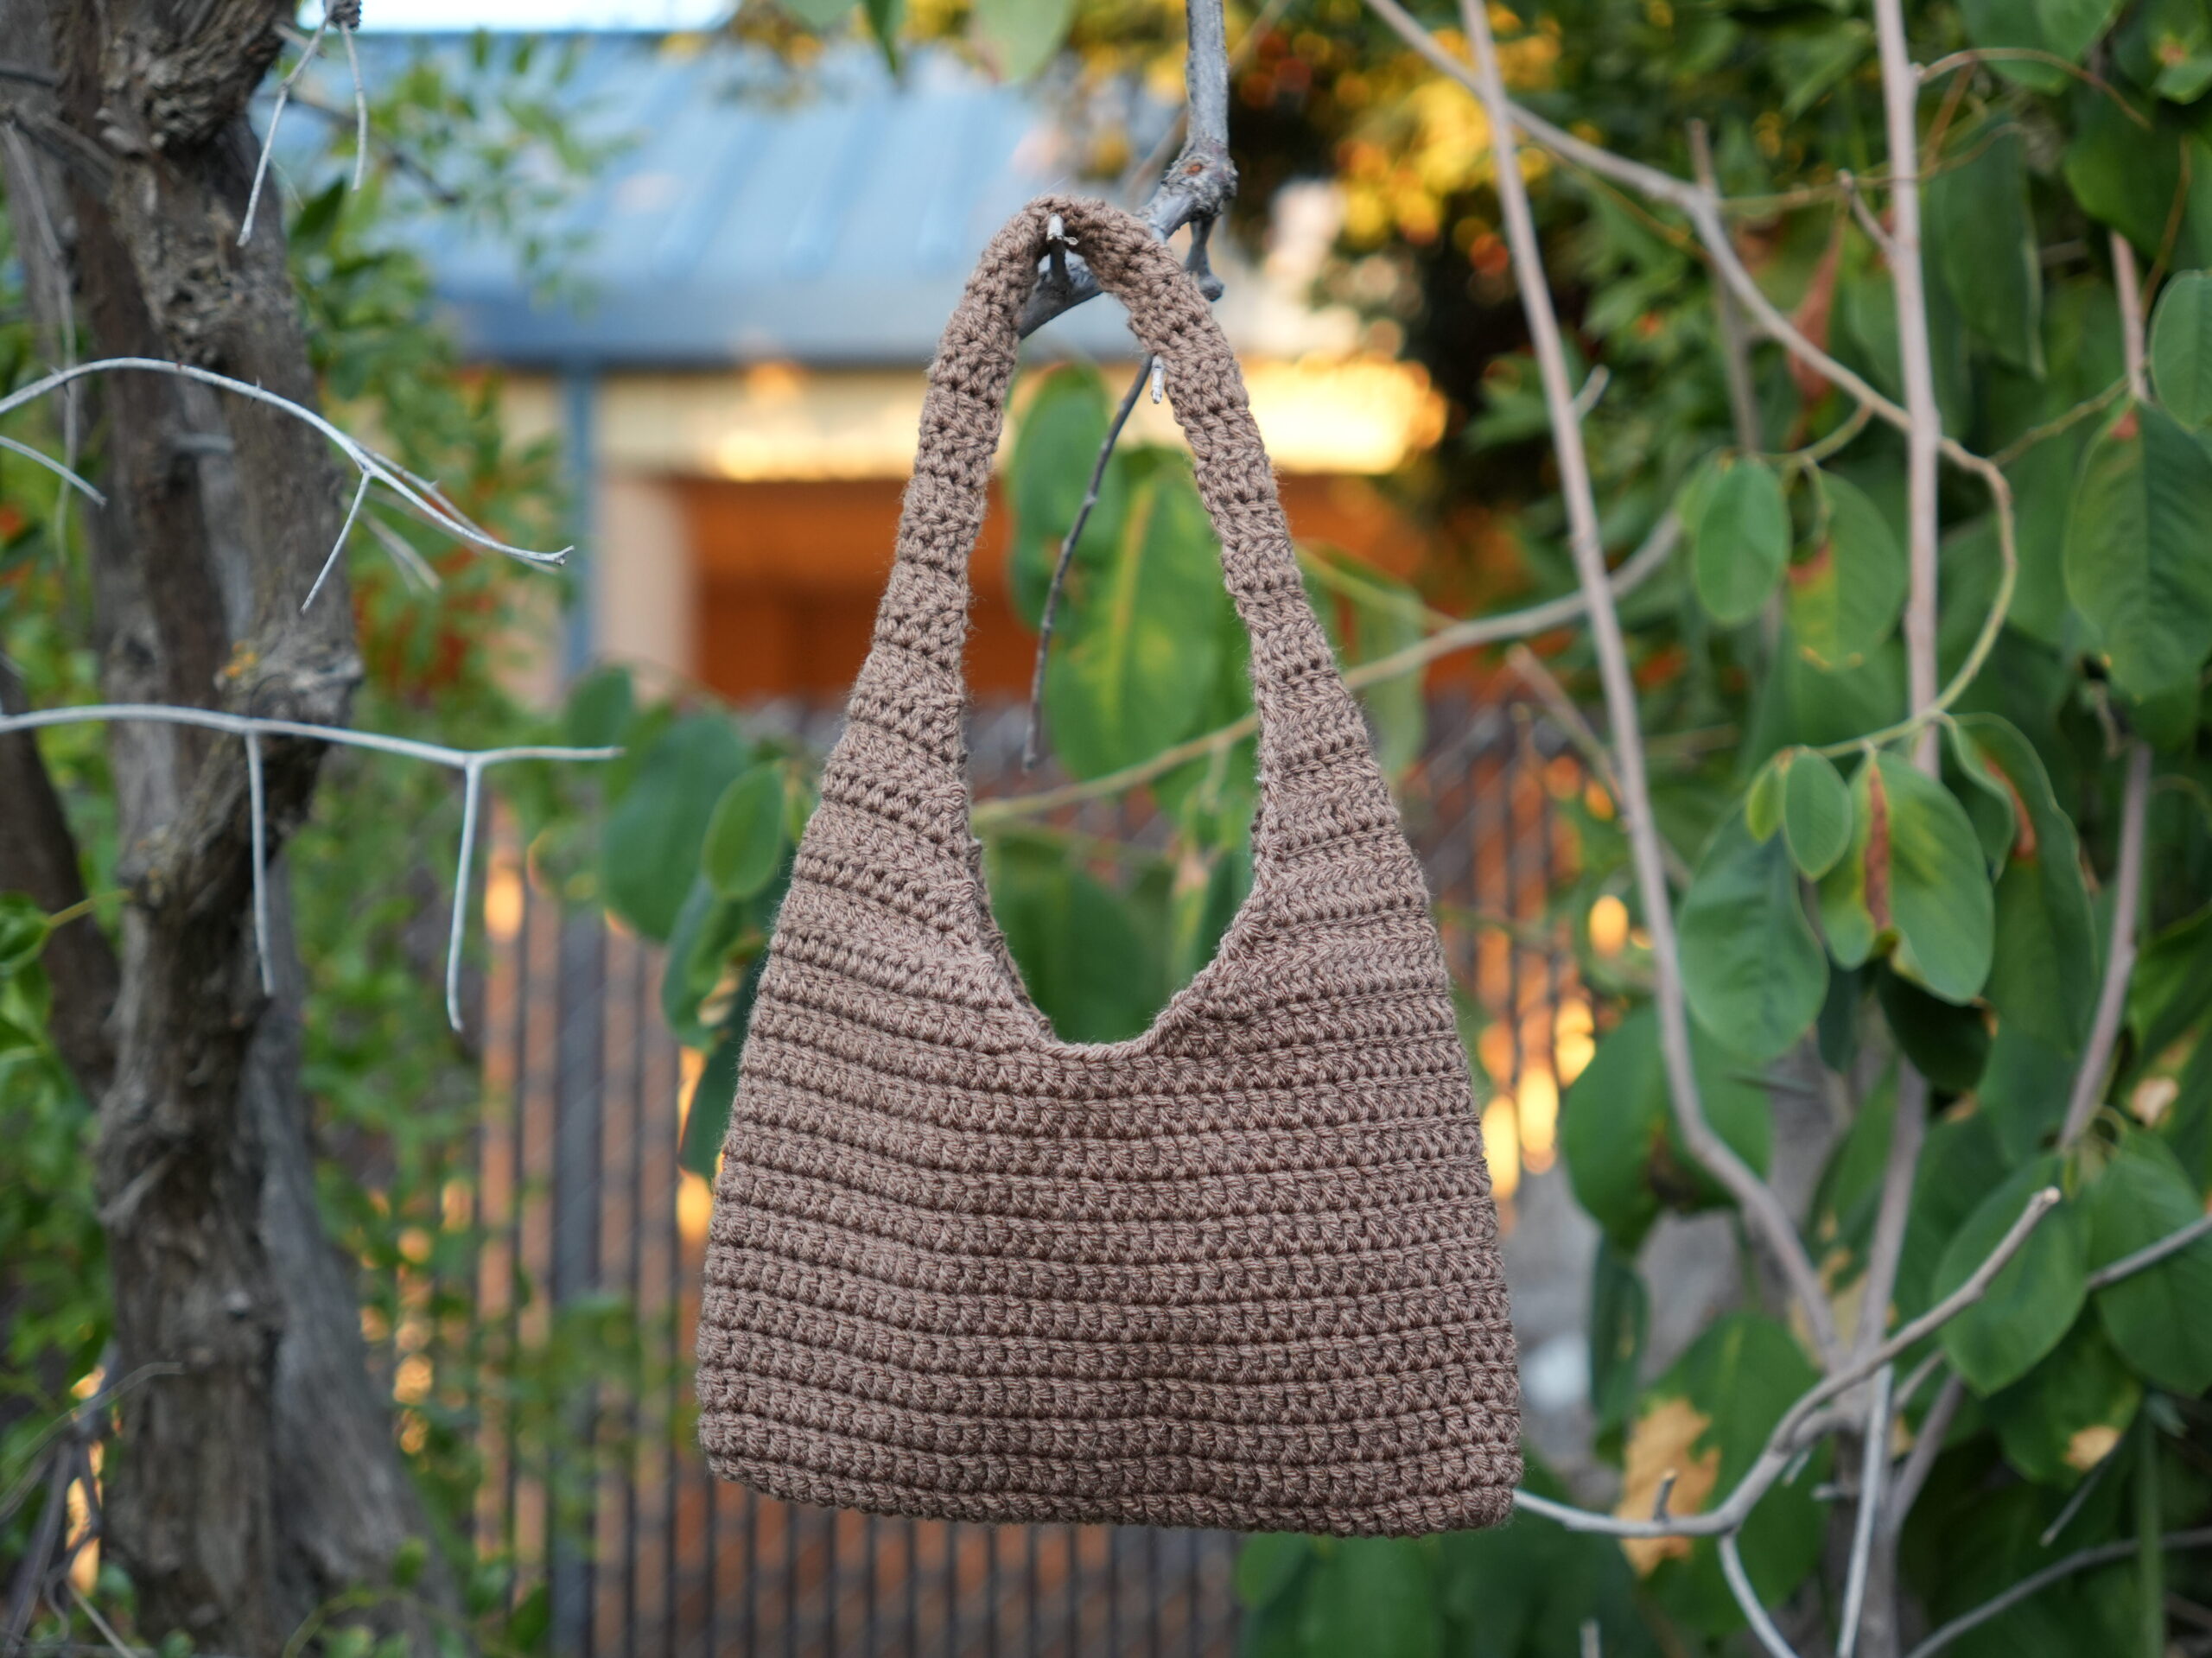
Project Overview


Choosing Yarn & Hook Size
For crochet bags, you typically want to use cotton yarn to reduce stretching. I used acrylic yarn because I chose aesthetics over functionality. I had used this yarn for a beanie, and I wanted my bag and beanie to match!
I usually size down on my hook to make my stitches closer together and stronger. For example, the yarn I used recommends a 5.5mm hook, but I used a 5mm hook instead. I could have even gone down to a 4mm hook!

Other Projects You Might Like
Crochet Shoulder Bag Video Tutorial
Become a member to get early access to new videos!
You can follow along with my YouTube video to make your own crochet shoulder bag! I have timestamps included to section the video and help you jump to any point you need to!
This post may contain affiliate links. I may earn a small commission on qualifying purchases at no additional cost to you!
Materials
- 70 grams of medium weight yarn (Red Heart Super Saver yarn in the color “Cafe Latte“)
- 5mm Clover Amour crochet hook
- Scissors
- Yarn needle
- Stitch markers
- Yarn bowl (optional)

Dimensions
Excluding straps: 24 centimeters wide x 13.5 centimeters tall (9.4 x 5.3 inches)
Overall: 24 centimeters wide x 31 centimeters tall (9.4 x 12.2 inches)
Gauge
9 rows of 15 double crochets makes a 10 x 10 centimeter square
Notes and Tips
- This pattern is written using US crochet terms
- Italicized notes tell you what to change to adjust the size
- The chain 2 at the beginning of each row/round does NOT count as a double crochet unless it’s a decrease row
- The chain 2 at the beginning of Rows 1-10 of the straps count as a stitch
- If you don’t have stitch markers, bobby pins and safety pins work, too!
Abbreviations
ch = chain
dc = double crochet
dc2tog = double crochet 2 together
dc3tog = double crochet 3 together
sk = skip
sl st = slip stitch
st = stitch
Simple Shoulder Bag Pattern
Body
Foundation: Make a slipknot, ch35
To minimize the holes in Round 1 from the 6 dc in the first and last chains, place the 6th dc in between the posts of the 1st and 2nd dc. See the video tutorial to see exactly where to place it.
Round 1: dc6 in 3rd ch from hook, dc in next 31 ch, dc6 in last ch, rotate your foundation ch to work along the underside, dc in next 31 ch, sl st (74)

Rounds 2-12: ch2, dc around, sl st (74)


Note: Do fewer rounds for a shorter bag or more rounds for a longer bag.
Fasten off.
Marking Straps
Mark the left and right edge of the bag: Fold the bag along the foundation chain. Mark the stitch on the left edge and the stitch on the right edge. Make sure there are 36 stitches in between the markers on either side.
Mark the start and end of the straps: Mark the 16th stitch to the right and left of each of the two stitch markers on the edges. There should be 4 stitches between the 2 stitch markers in the middle.
Remove the two stitch markers on either edge. These four points will be where the first row of the straps starts and ends. The bag straps will be worked one at a time and in rows.

Straps
Attach your yarn to the left stitch marker. The last stitch of this row will be worked in the next stitch with a stitch marker. Remove the stitch markers for this strap after completing Row 1.
Row 1: ch2, sk1, dc2tog, dc until 3 st left, dc3tog (29)
The [ch2, sk1, dc2tog] at the beginning counts as a dc3tog.
Rows 2-3: ch2, turn, sk1, dc2tog, dc until 3 st left, dc3tog (25, 21)
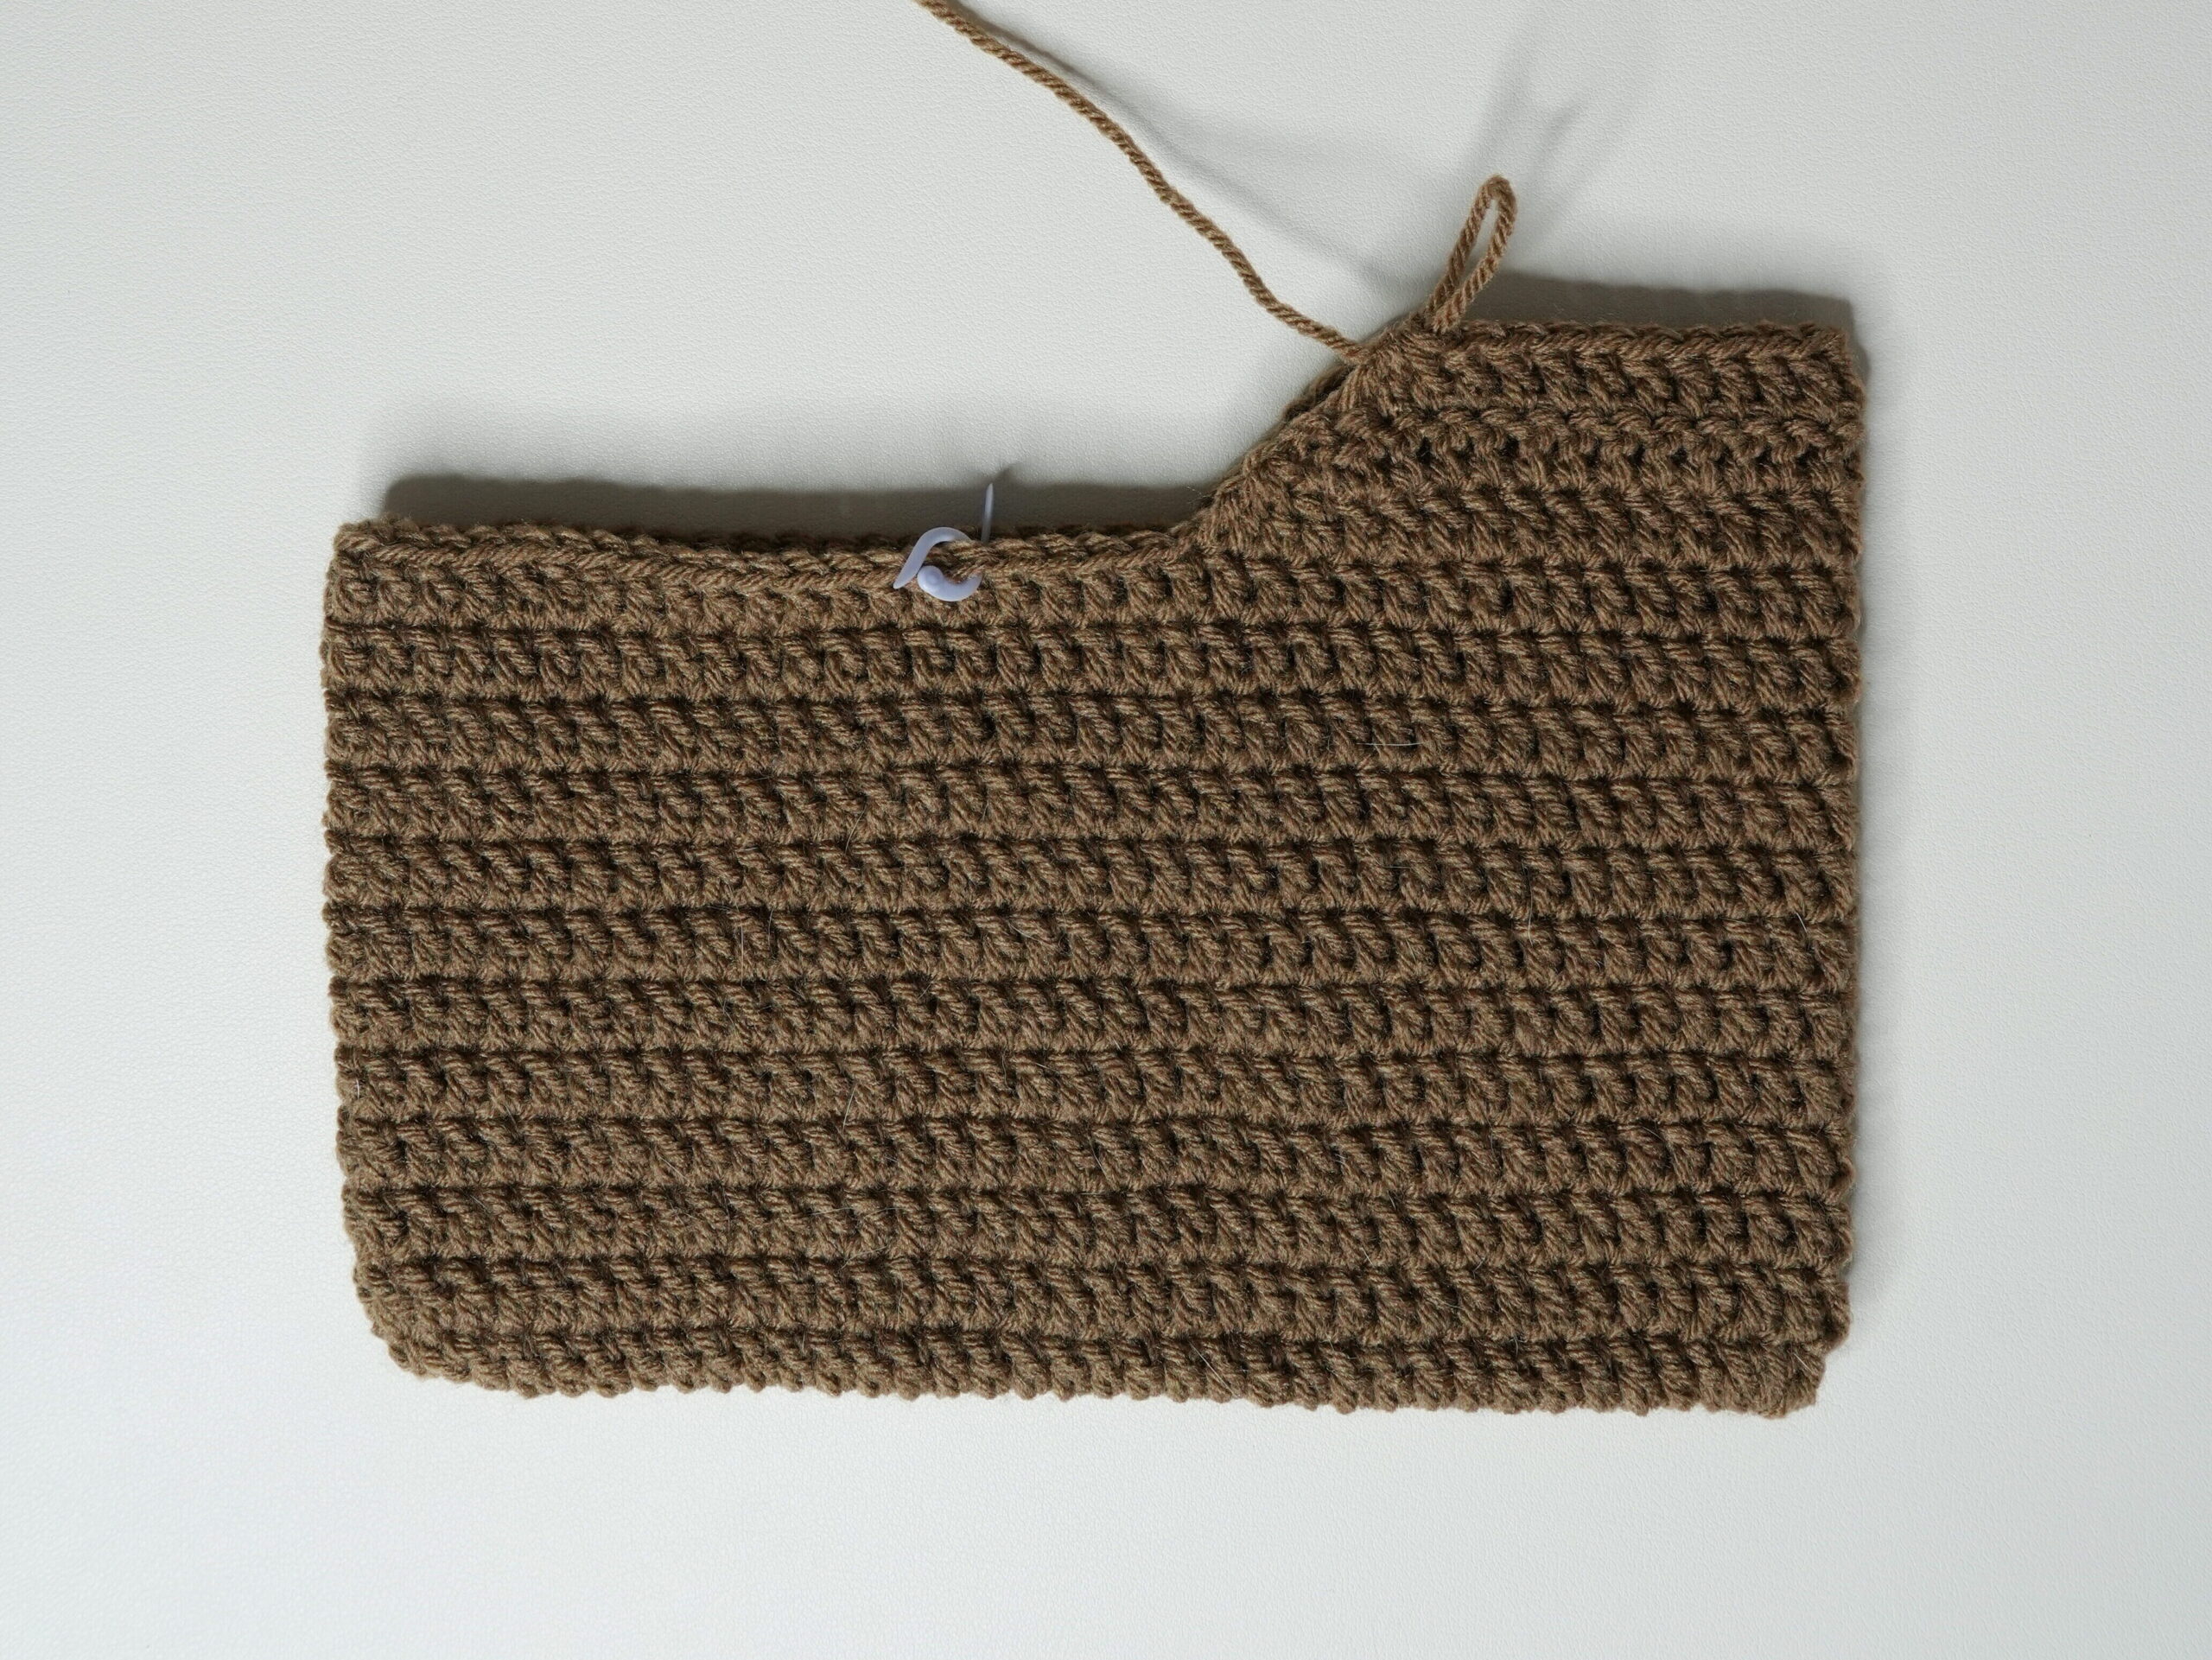
Rows 4-10: ch2, turn, sk1, dc, dc until 2 st left, dc2tog (19, 17, 15, 13, 11, 9, 7)
The [ch2, sk1, dc] at the beginning counts as a dc2tog.

Rows 11-20: ch2, turn, dc across (7)
Note: Do fewer rows for a shorter strap or more rows for a longer strap. Do fewer rows than you think you’ll need to account for stretching.
Fasten off.

Flip the bag so the finished strap is on the right side and attach your yarn to the stitch marker. Repeat rows 1-20 for an identical strap, but fasten off with an extra long loose end about 10 inches/25 centimeters long.

Sewing Straps
With the long loose end, whip stitch the last row of each strap together to connect them. Tie a double knot to secure the seam.

Finished Crochet Shoulder Bag
Weave in your loose ends and your simple crochet shoulder bag is finished!


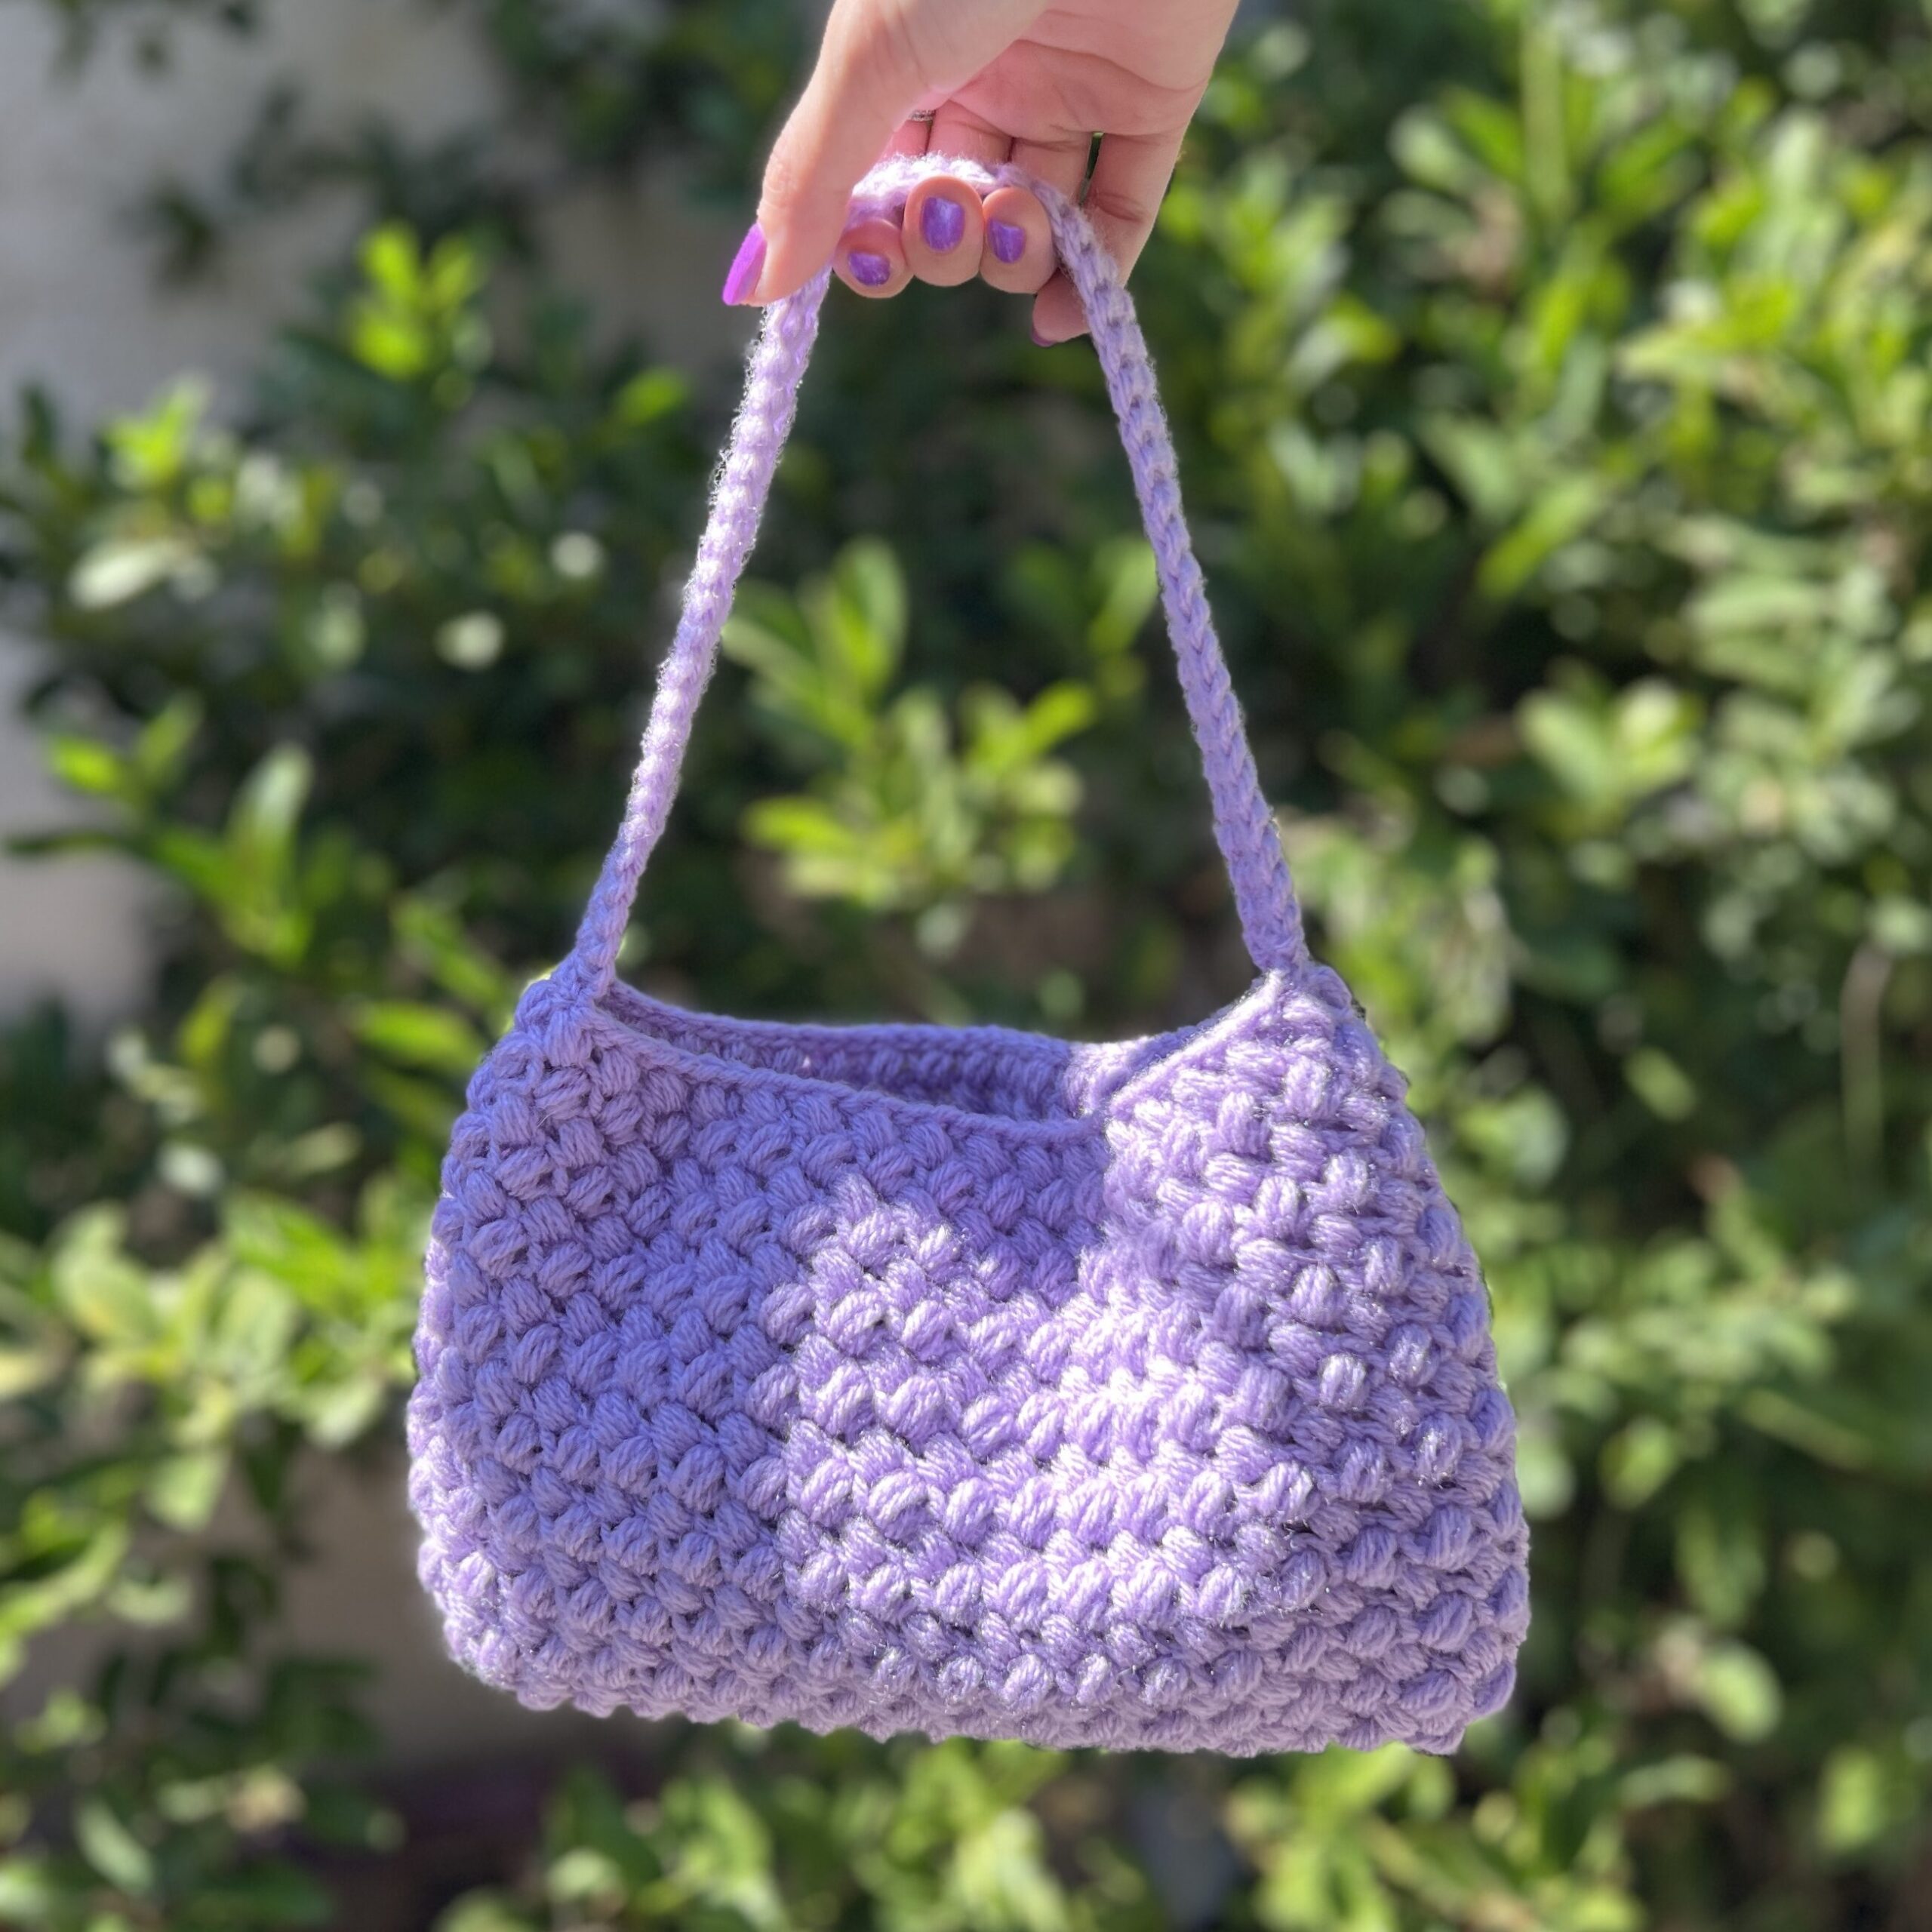


I love this pattern and your instructions are perfect. I would love one adjusted for a child size for my granddaughter.
Such a quick pattern to work up. I used t-shirt yarn and I am so happy with the bag. Thanks for the pattern 🙂
What an easy pattern and just what I was looking for! I may add a small inside pocket for my car keys and some mushroom appliques! Thanks for the pattern!