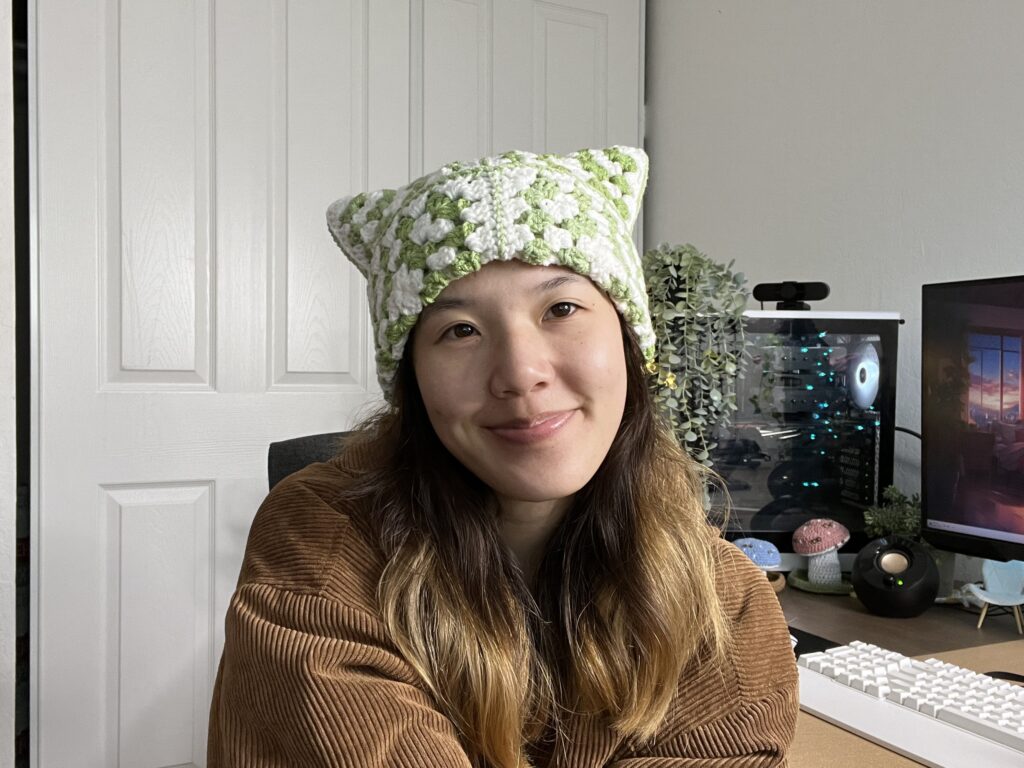
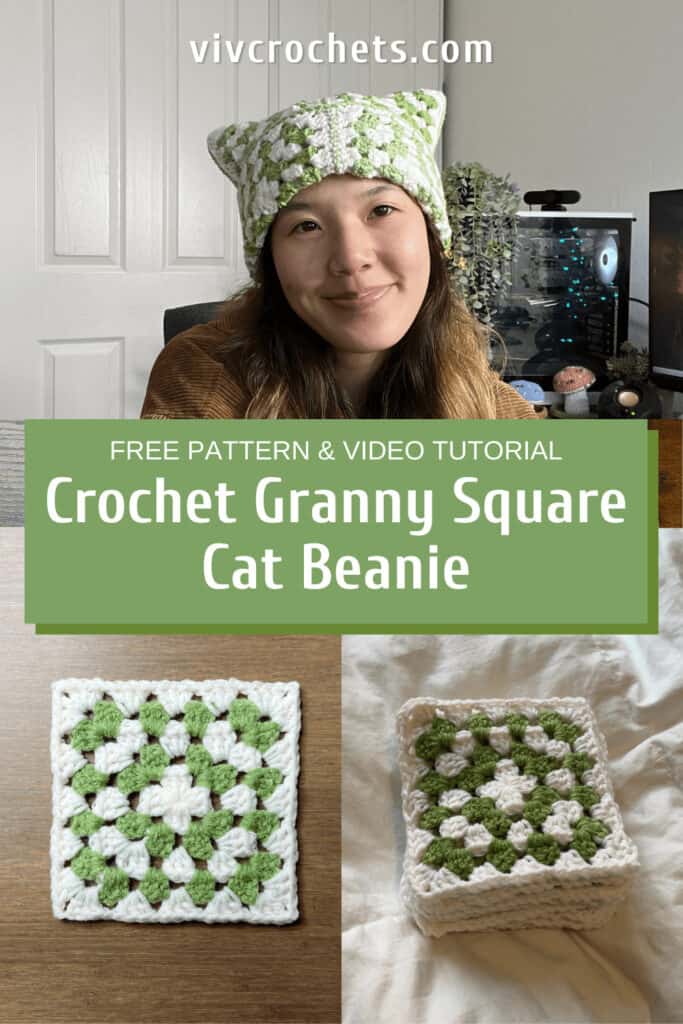
Crochet Granny Square Cat Ear Beanie | Free Pattern & Tutorial
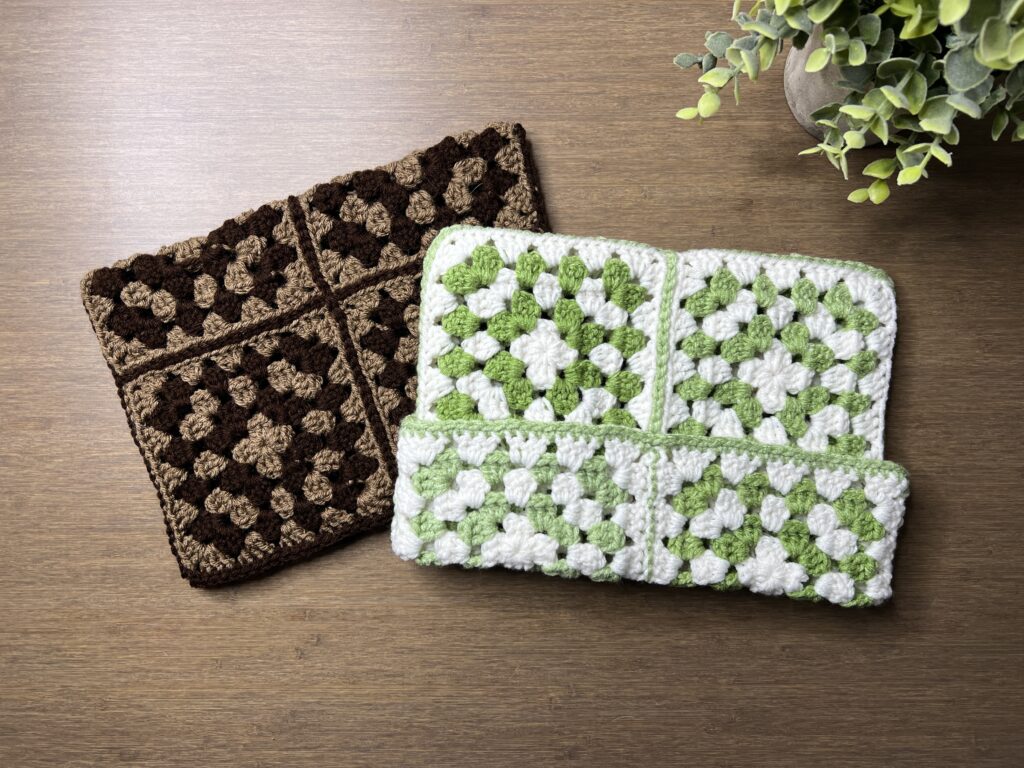
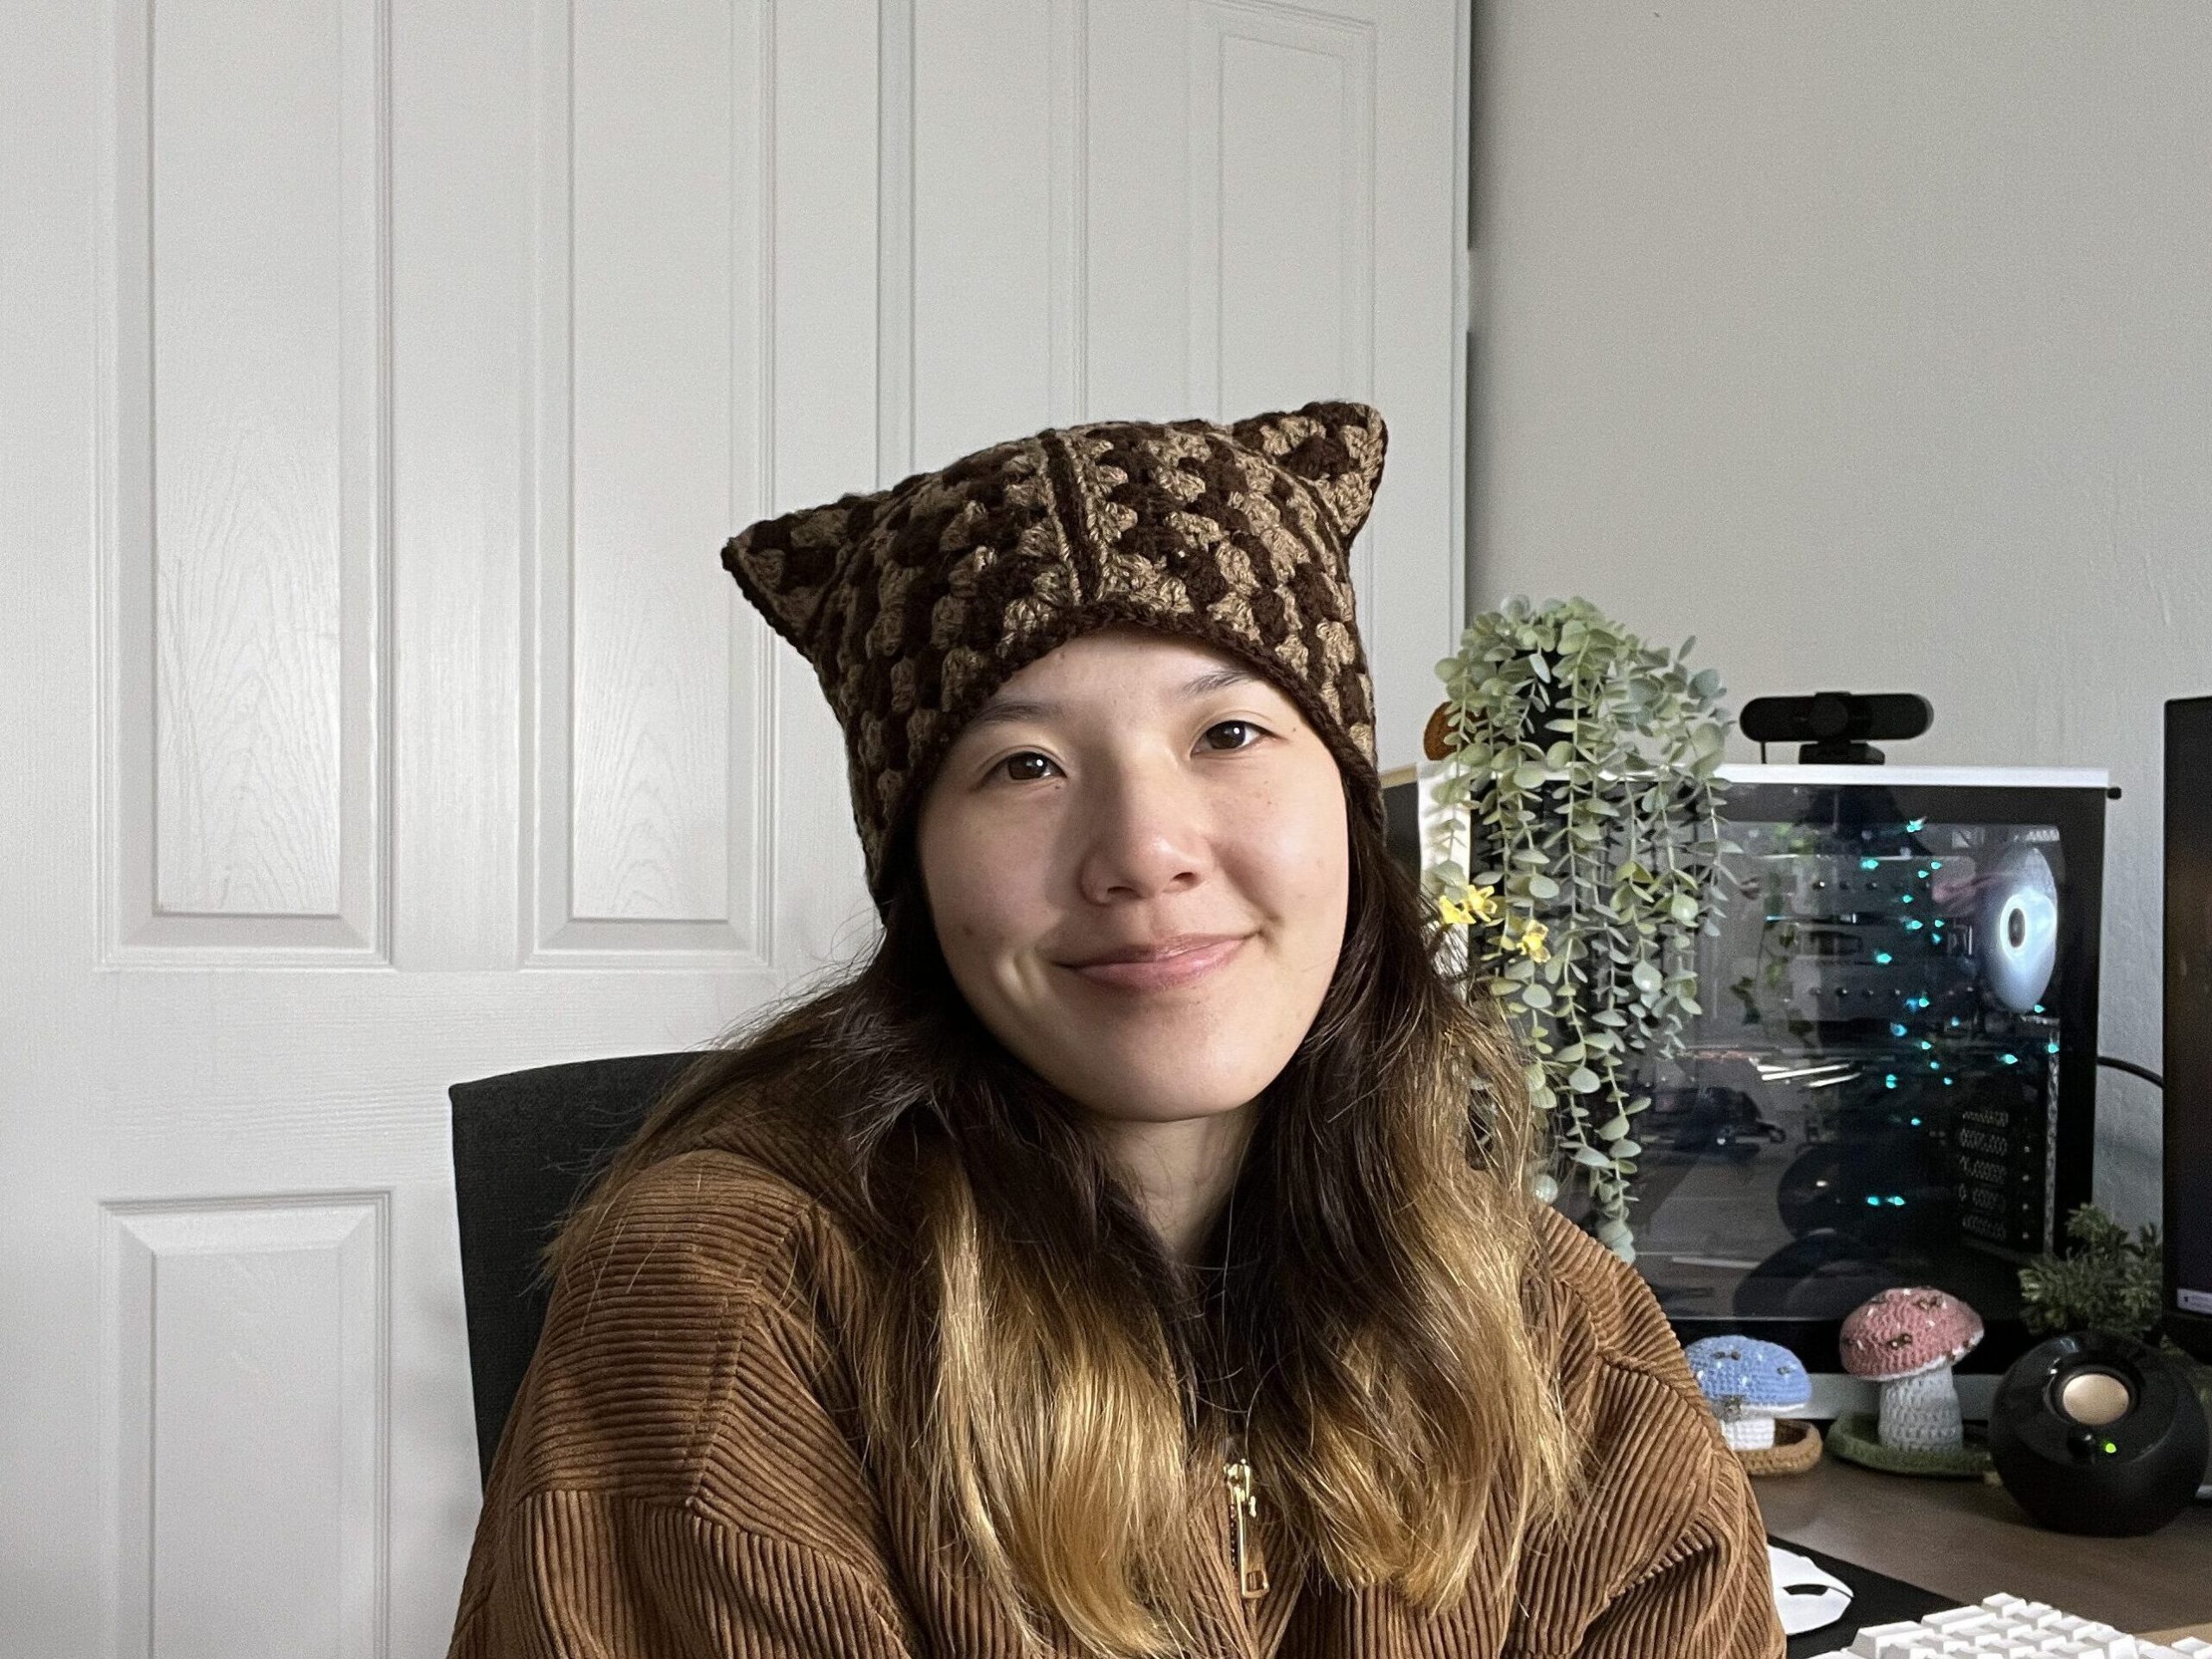
This crochet pattern takes the classic crochet granny square and implements it into a cat ear beanie. This crochet cat beanie can be made with 2, 6, or 8 squares to get the same size.
The tutorial and this written pattern go over, in depth, how to assemble the beanie with 8 squares. If you prefer a more seamless look or you just want something a little easier and faster, you can swap out the stitching method with sewing.
This post may contain affiliate links. I may earn a small commission on qualifying purchases at no additional cost to you!
The 6 square hat can be adapted using the same techniques. There is also an overview on how to lay the squares and the steps to assemble them in both the tutorial and pattern.
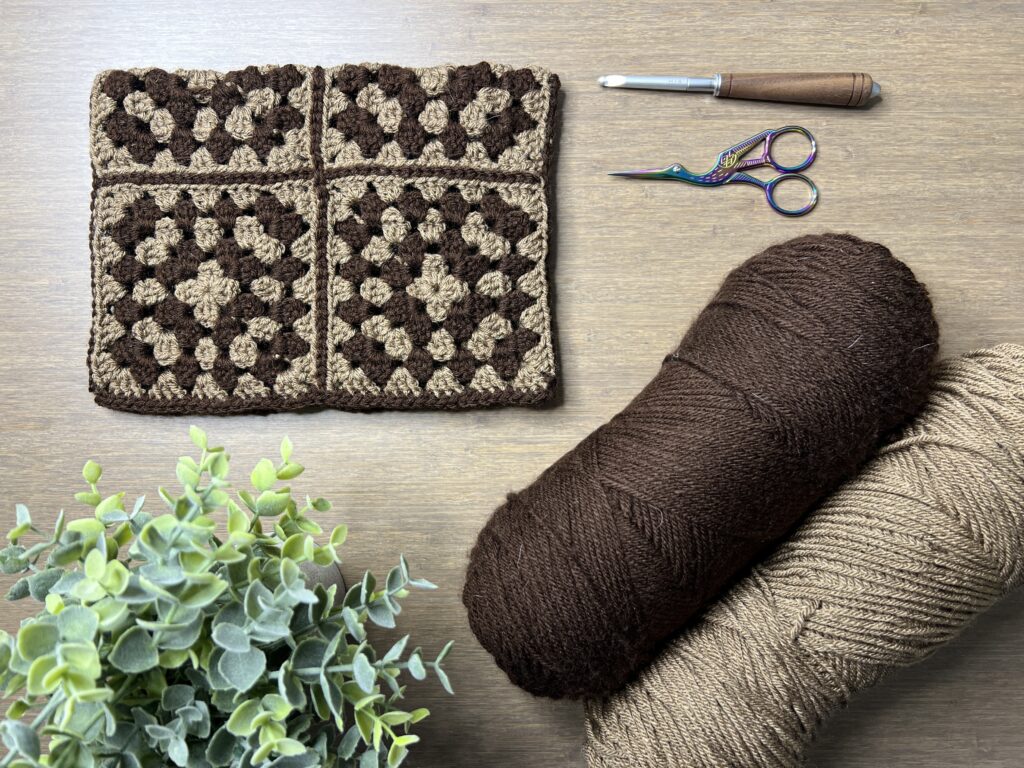
This 6 square cat beanie was made with Red Heart Super Saver in “Cafe Latte” and “Coffee.”
To make a 2 square beanie, you need to make 2 squares with a width half the circumference of your head. Then, stitch it around 3 sides, leaving one side open, fold up the brim, and that’s it!
The classic granny square style isn’t for everyone. So, if you want a ribbed look instead, check out this ribbed cat ear beanie pattern!
Pin this for later!
Video Tutorial
You can follow along with my YouTube video to crochet your very own granny square cat ear beanie! I have timestamps included to section the video and help you jump to any point you need to!
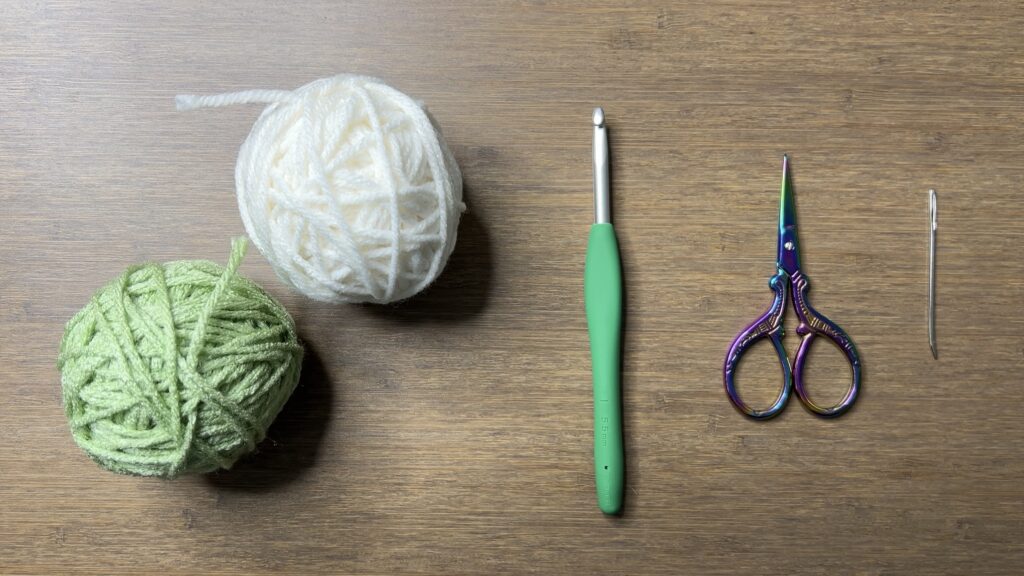
Materials
- 120 grams/220 yards of medium weight yarn (Red Heart Super Saver yarn in “White” and Red Heart Super Saver Ombre in “Green Apple“)
- (Or 75 grams/140 yards for no brim)
- 5.5mm Clover Amour crochet hook
- Scissors
- Yarn needle
Note: I will refer to the white yarn as color A and the green yarn as color B.
Dimensions
Each square: 12.5 centimeters wide x 12.5 centimeters tall (4.92 x 4.92 inches)
Overall (with folded brim or no brim version): 26 centimeters wide x 20 centimeters tall (10.24 x 7.87 inches)
Notes and Tips
- This pattern is written using US crochet terms
- Round down instead of up for the number of granny square rounds to account for stretching
- Carry your loose ends in the stitches when you line the brim
Abbreviations
ch = chain
sc = single crochet
sl st = slip stitch
Granny Square
Add rounds to your granny square until the width of the square is a little less than a quarter of the circumference of your head. I have a separate post with the granny square pattern or you can view my granny square tutorial.
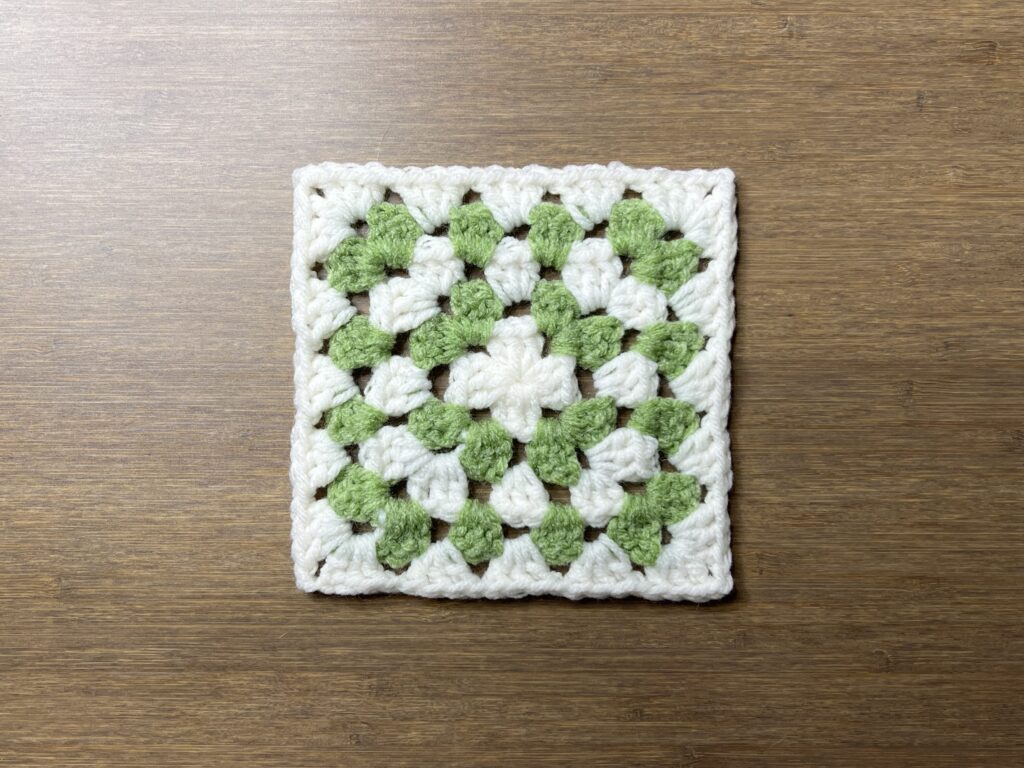
My head measures about 53 centimeters. And if I divide that by 4, I get 13.25 centimeters. So, I want my square to be a little less than 13.25 centimeters wide because it’ll stretch. And I’ve found that for my yarn, hook size, and tension, 5 rounds is about 12.5 centimeters wide. I’ll stop at 5 because 6 rounds would be too big.
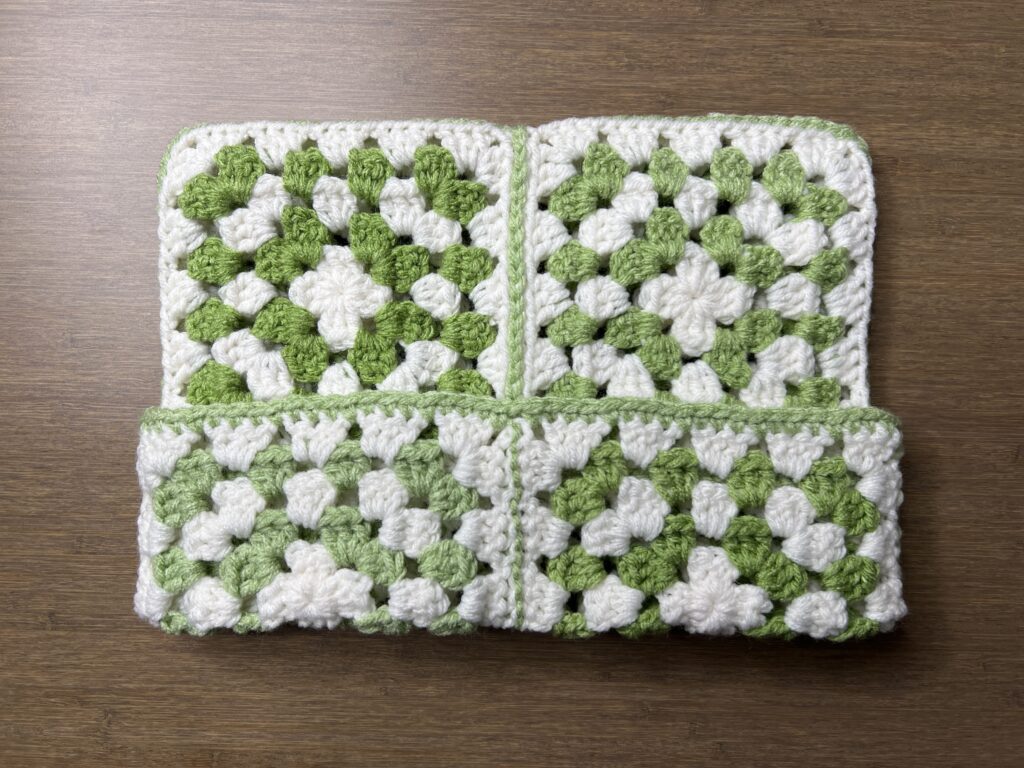
With Brim Assembly (8 Squares)
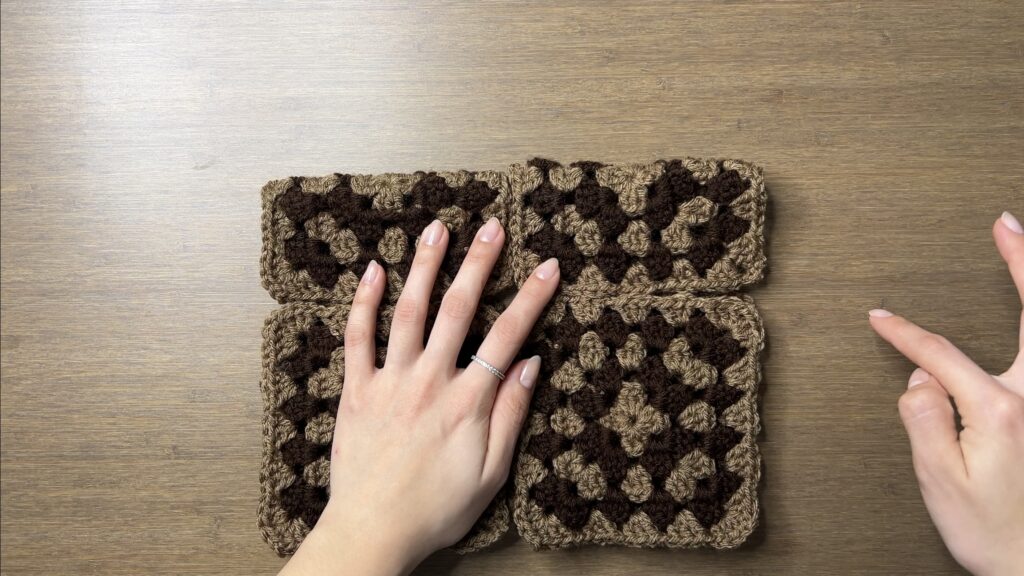
To assemble the cat ear beanie with a brim, we’re going to make 8 granny squares. Lay them out 2 by 4, with the right side up.

Attach your yarn to the middle of the right side, to the chain to the right of the first cluster. Chain 1 and do a flat slip stitch seam across the middle.
For each chain 1 space, chain 1 and skip it. For each chain 2 space, slip stitch with the 1 of the 2 chains closest to the cluster. At the end of a square, chain 1 and sl st to the 1 of the 2 chains closer to the firstt cluster of the next square.
Fasten off.

Flip it over (so the wrong side is facing up) and fold it in half to form a square. Attach your yarn to the bottom right, do a flat slip stitch seam up the right side, across the top, and down the left side.
Fasten off.

Attach your yarn to the bottom middle and stitch up the middle, over, and down the other side.
Fasten off.

Lining the Brim
By lining the brim, you can straighten out the edge while hiding your loose ends.
For the one with the brim that will be folded up, attach your yarn to the side on the inside. For the one without the brim, attach your yarn to the outside.
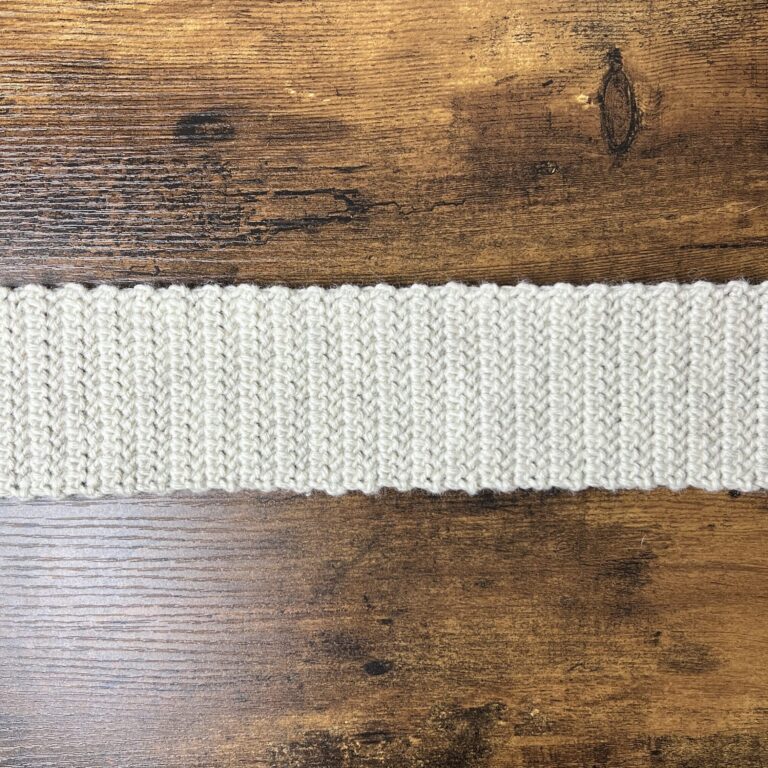
ch1, sc around, sl st, fasten off
Do 1 single crochet into each stitch and each chain-1-space. Chain 1 when you cross a seam and move onto the next square.

When you fold the brim up, you can see that the right side of the brim lining is facing out.
Without Brim Assembly (6 Squares)
The cat beanie without the brim requires only 6 squares. We’ll lay 2 of them wrong side up side by side and place 2 of them on top, right side up. Then, the two squares left will be wrong side up and go above the other 4 squares.

The top 2 squares will be folded down and we’ll slip stitch horizontally around the middle. Then, slip stitch the right and left sides. Then, slip stitch from the bottom middle, up, over, and down the middle on the other side. Refer to the 8 squares brim lining instructions above. The only difference is you want to line the brim from the outside instead of the inside since it won’t be folded up.
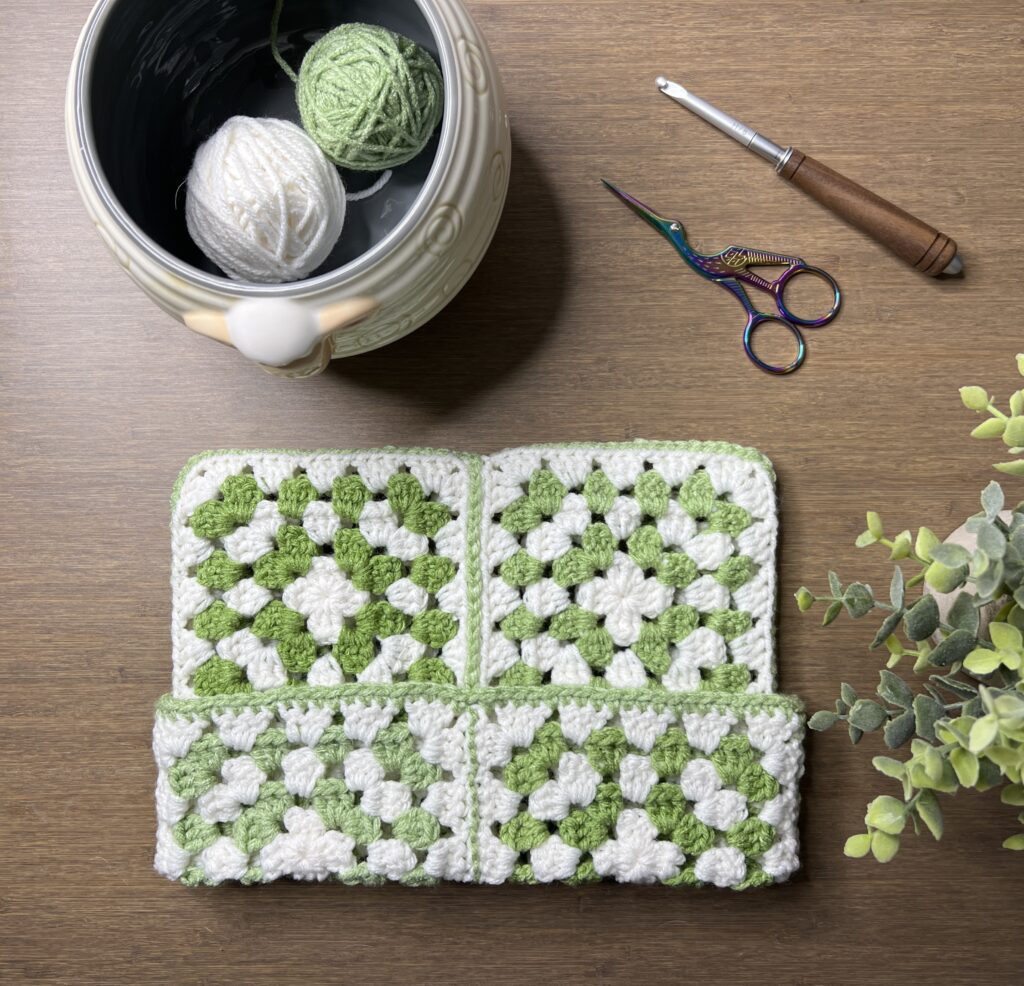
And here is the finished crochet cat beanie without a brim!

It’s very rectangular, but once you put it on, you’ll have these ears sticking out!

I down loaded the pdf but I still can’t print. Do you know what I am doing wrong. I will watch the tutorial and reference the written pattern.
Thanks for your help. I am making this for my grandson.