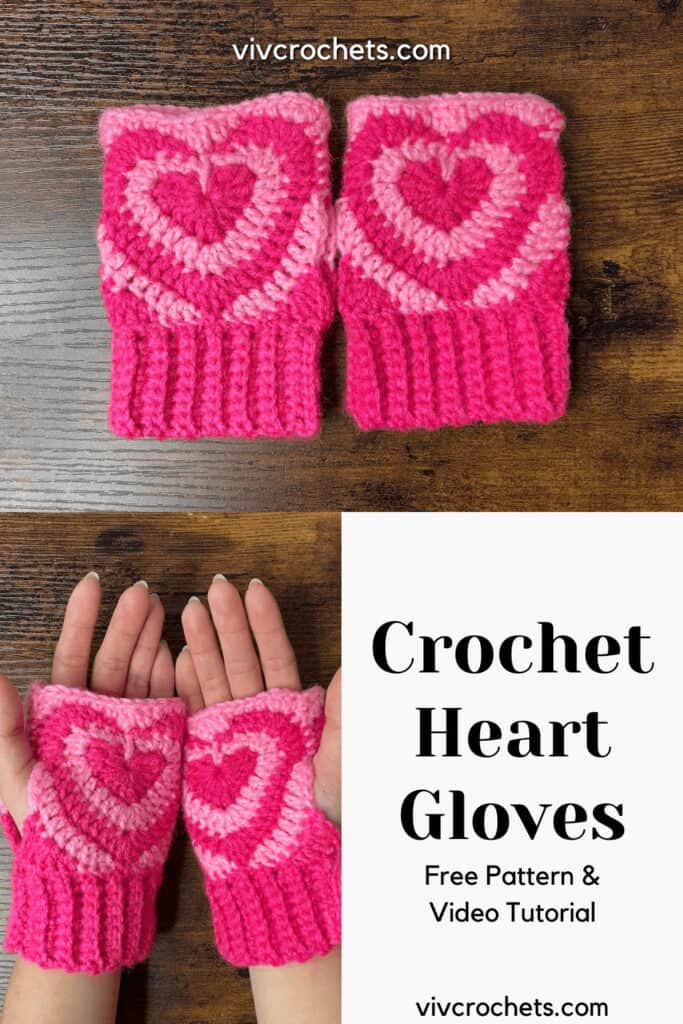
Crochet Fingerless Heart Gloves | Free Pattern & Tutorial
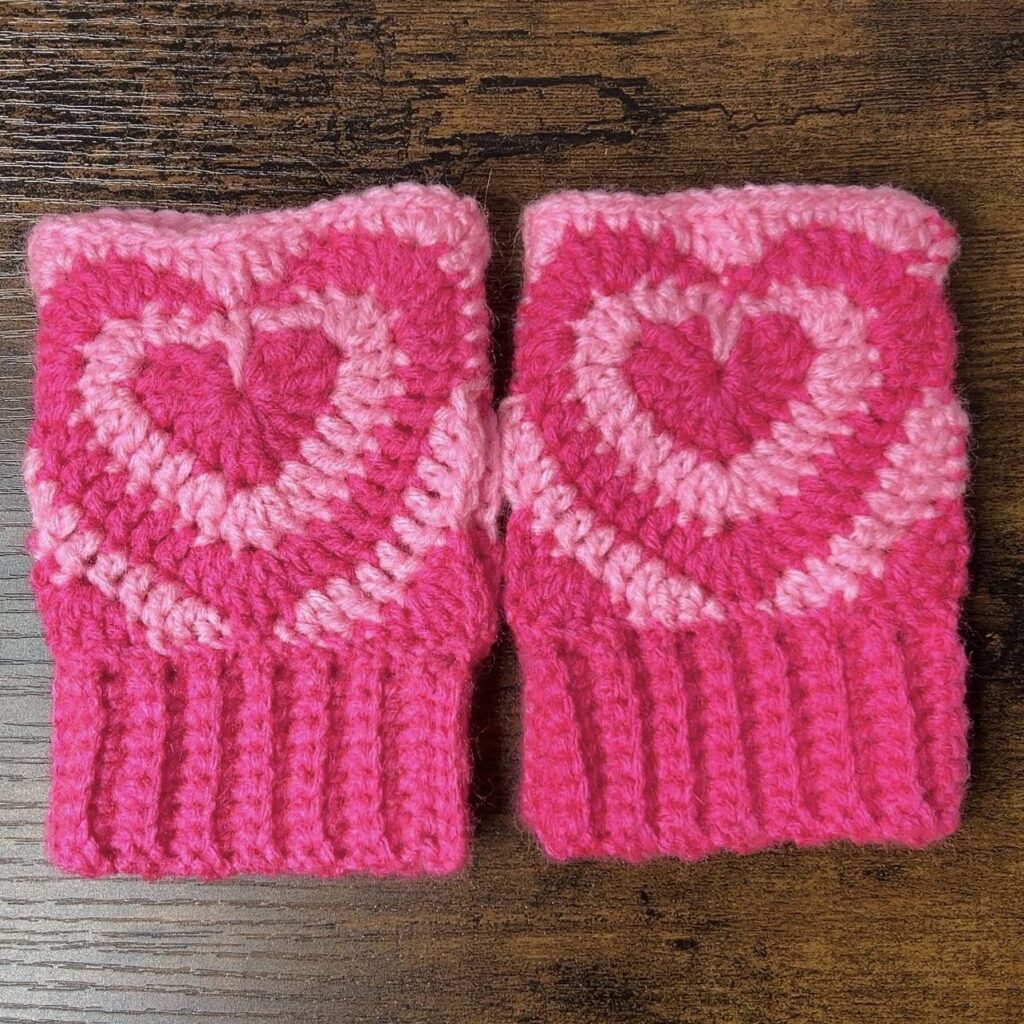
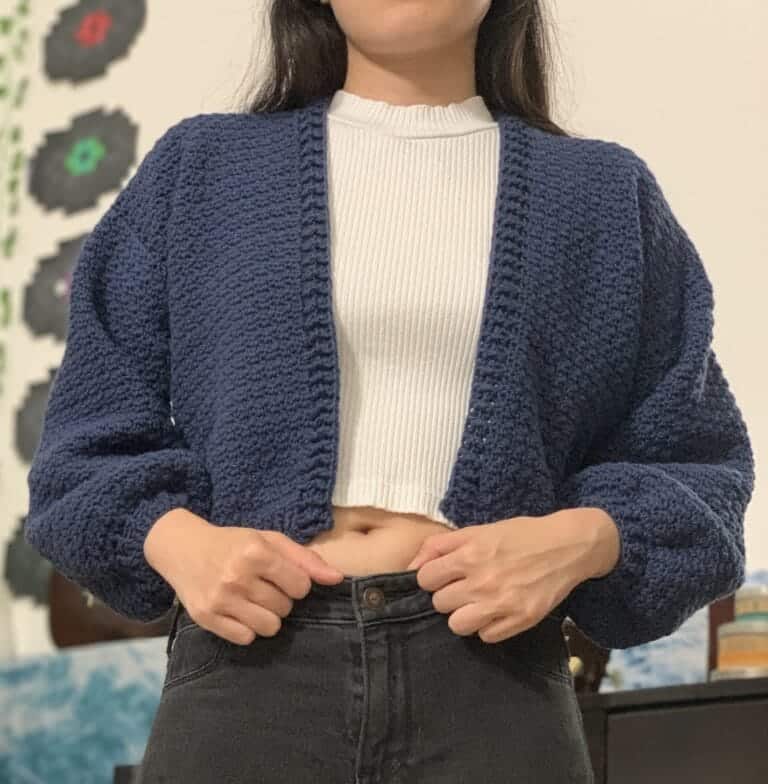
These crochet fingerless heart gloves are the perfect Valentine’s Day crochet project. They are a cute and warm accessory for the chilly month of February and make for a quick project. This pattern comes in only one size, but you can use a different yarn size to make it bigger or smaller.
Heart Design
Being fingerless, these gloves are an easier and quicker project as well as more stylish. By leaving your fingers exposed, you can use your smartphone and have better finger dexterity! They feature heart waves, reminiscent of The Powerpuff Girls. If you want to make fingerless gloves, but you want a simple design, check out these ribbed fingerless gloves!
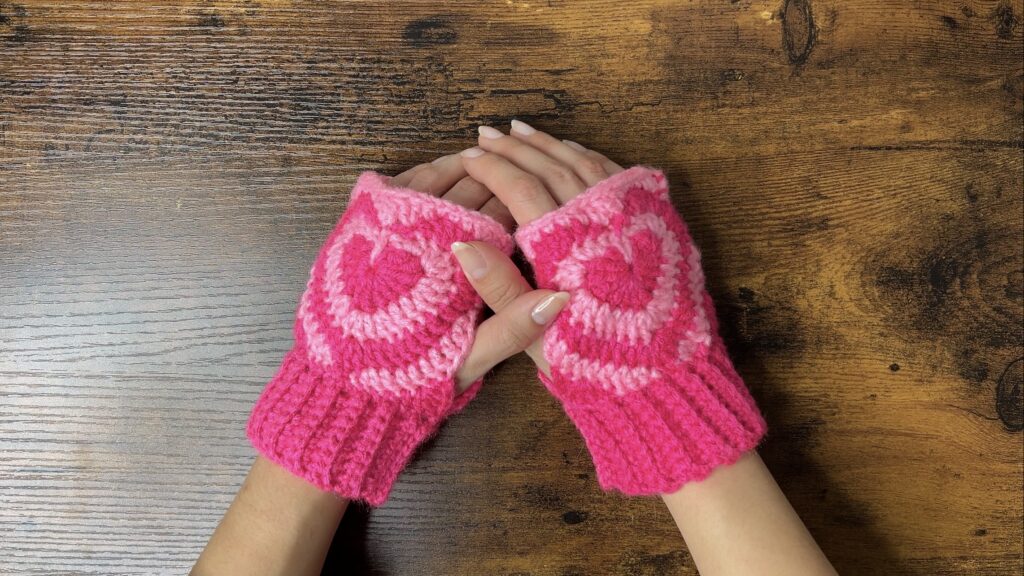
The gloves are not only cute because of the heart design, but they also are functional in that they can keep your hands warm. These fingerless gloves are a stylish solution to staying warm in these colder months!
Fingerless gloves are relatively small, so they make for a quick project. They can be a great last-minute gift idea!

Sizing
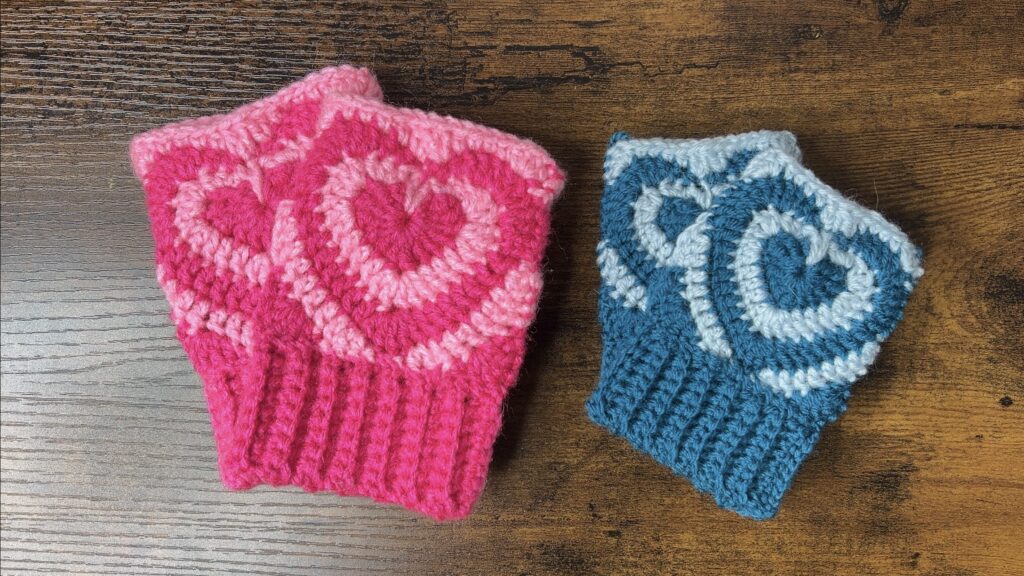
Due to the nature of this design, this pattern is only one size. However, it can be adjusted by using a different size of yarn. Choosing a bulkier yarn would result in larger gloves, while a finer yarn would produce smaller gloves.
A medium weight yarn will result in gloves for the average-sized female hands. A light weight yarn will make smaller gloves, perfect for kids. You can find the dimensions for these two gloves lower down the page.
Pin this for later!
Video Tutorial
You can follow along with my YouTube video to crochet your very own fingerless heart gloves! I have timestamps included to section the video and help you jump to any point you need to!
This post may contain affiliate links. I may earn a small commission on qualifying purchases at no additional cost to you!
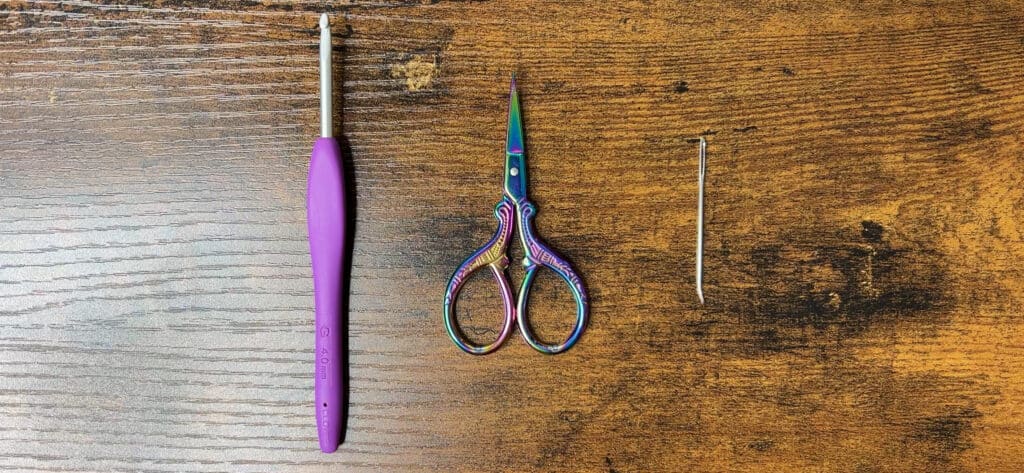
Materials
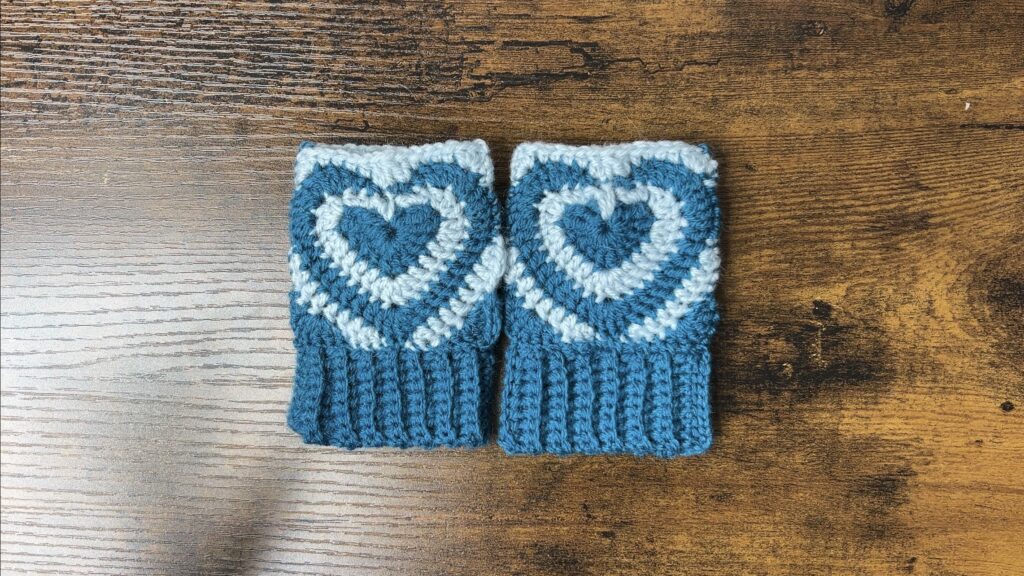
- 22 grams/72 yards of light weight yarn (Stylecraft Life DK yarn in “Ice Blue” and “Teal“) or 39 grams/72 yards of medium weight yarn (Red Heart Super Saver Ombre in “Jazzy“)
- 4mm Clover Amour crochet hook
- Scissors
- Yarn needle

Note: I will refer to the dark blue (Teal) yarn as color A and the light blue (Ice Blue) yarn as color B.
Dimensions
The overall dimensions, the heart square including the ribbing, are listed below:
For #3 yarn: 7 centimeters wide x 10 centimeters tall (2.95 x 4.13 inches)
For #4 yarn: 9 centimeters wide x 13 centimeters tall (3.54 x 4.92 inches)
Individual dimensions for the squares and the ribbing will be listed within the pattern!

Notes and Tips
- This pattern is written using US crochet terms
- Carry your loose ends in your stitches
- Leave a long loose end on the side of one of the heart squares to sew above the thumbhole
- Leave a long loose end after finishing the ribbing to sew the squares to the ribbing, then the squares together along one side
Abbreviations
blo = back loop only
ch = chain
dc = double crochet
dc2tog = double crochet 2 together
hdc = half double crochet
hdc2tog = half double crochet 2 together
sc = single crochet
sk1 = skip 1 stitch
sl st = slip stitch
st = stitch
tr = treble crochet
Foundation
With color A, either make a magic circle or make a slipknot, ch4, and sl st to form a loop. I prefer the latter because it feels stronger.
If you have trouble with doing all the stitches in the ring for round 1, try chaining 5 instead.
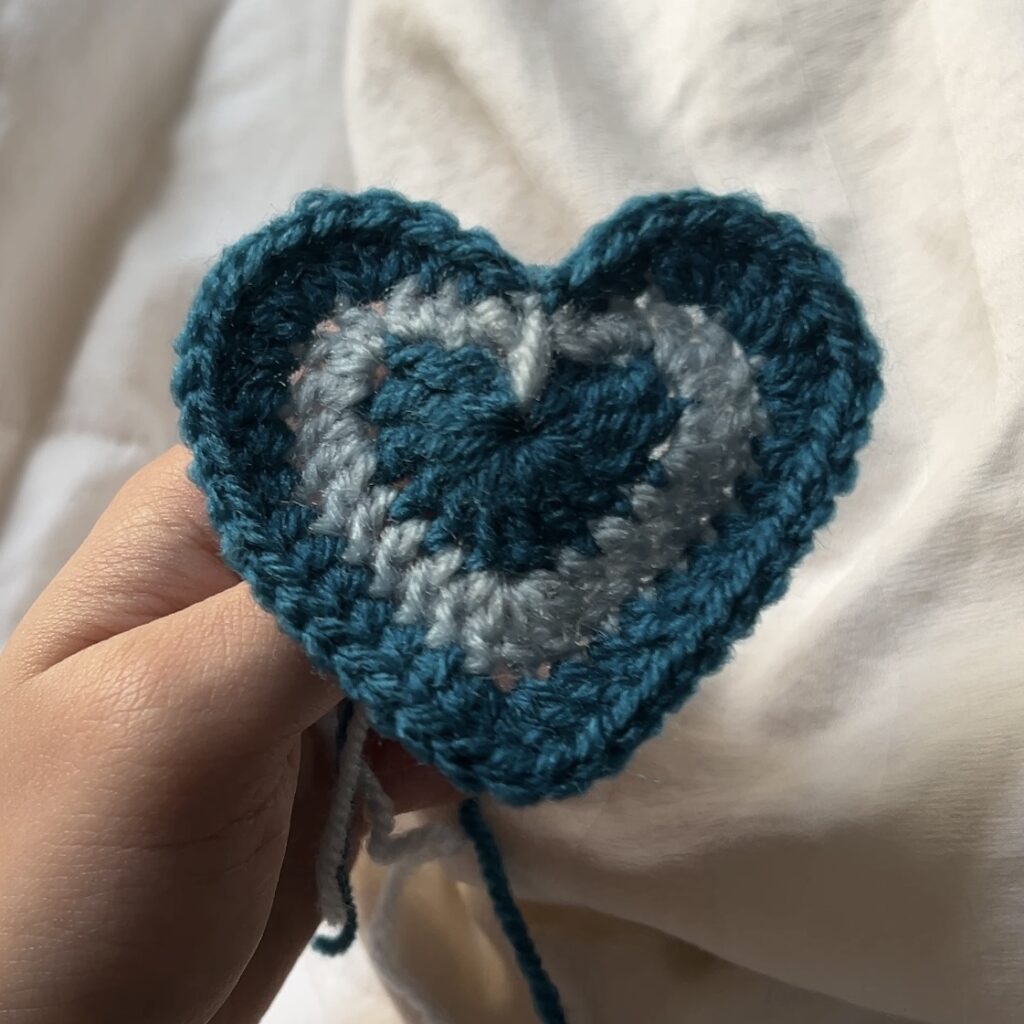
Round 1
In the ring, ch2, tr3, dc3, tr, dc3, tr3, ch1, ch1 with color B to switch colors, loose sl st to center (13)
Note: The bolded stitch is the point at which the stitches are mirrored (typically the bottom point of the heart)
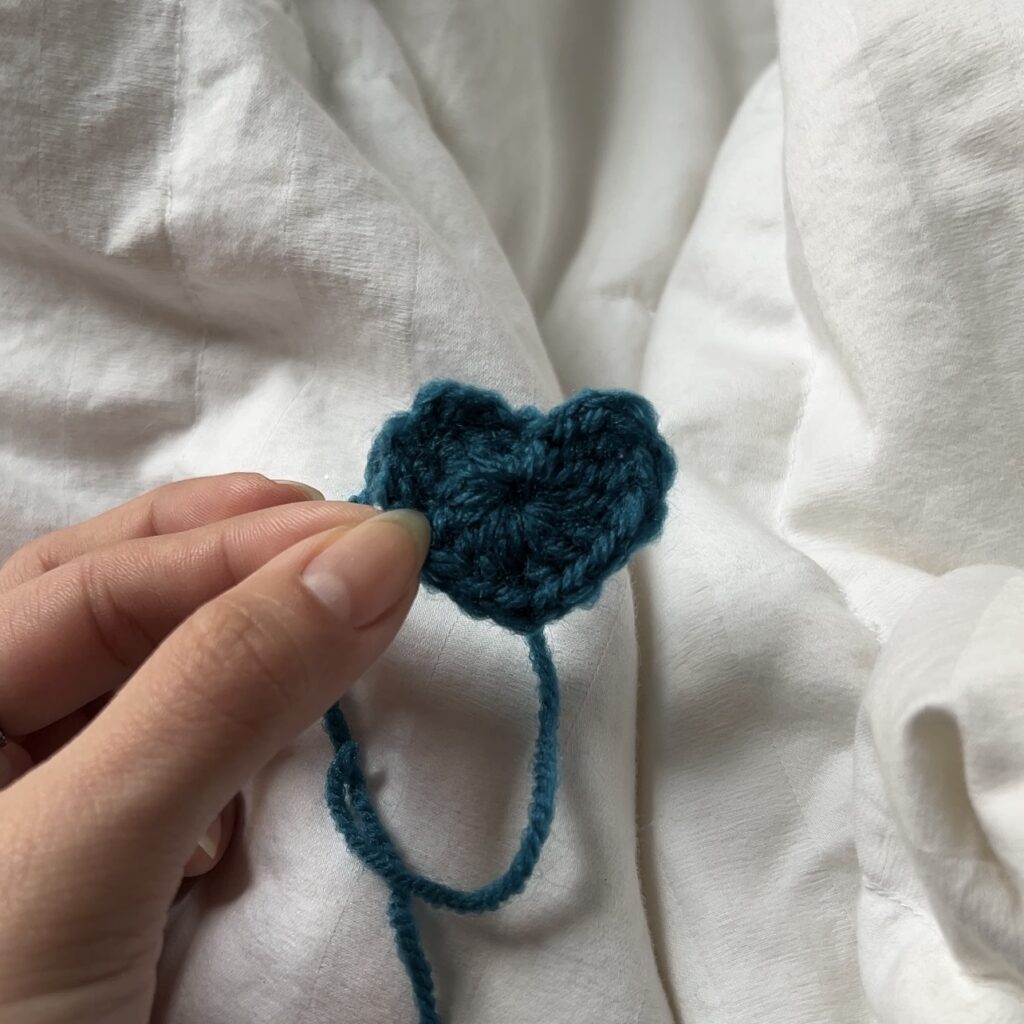
Round 2
hdc3 in first st, dc3 in next 2 st, dc in each of next 3 st, dc5 in next st, dc in each of next 3 st, dc3 in next 2 st, hdc3 in next st, loose sl st to center (29)
Round 3
ch1 with color A to switch colors.
sk1, hdc in each of next 2 st, dc3 in each of next 3 st, dc in each of next 8 st, dc5 in next st, dc in each of next 8 st, dc3 in each of next 3 st, hdc in each of next 2 st, sk1, sl st to sl st from last round (43)
Fasten off.
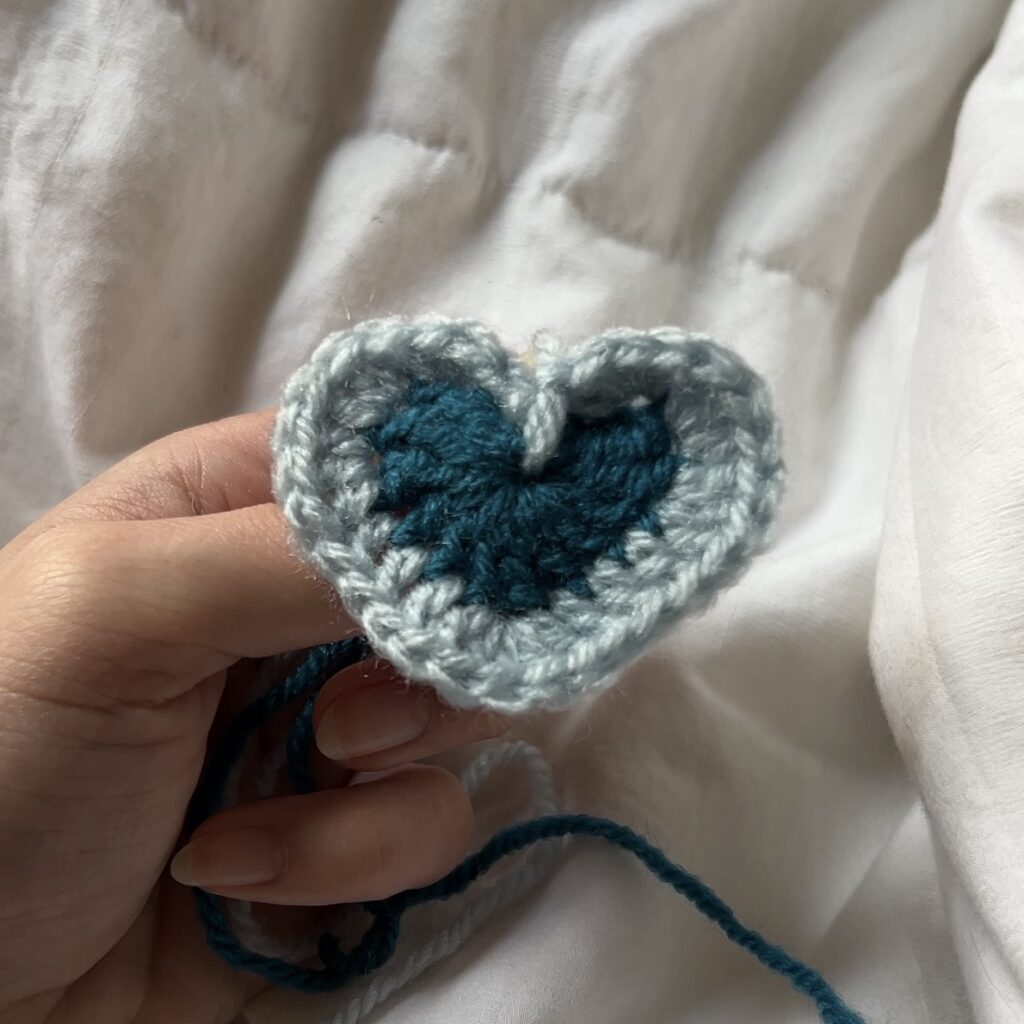
Round 4
Attach color B to middle dc in middle cluster on top-right.
ch1, hdc4 in next st, sc in each of next 3 st, hdc, dc, dc2tog over same st and next st, dc in same st, hdc, sc in each of next 3 st, hdc4 in next st, sl st (19)
ch4, sk4, and start working along bottom-left corner.
sl st, (hdc, dc) in next st, dc in each of next 6 st, (dc, hdc) in next st, sl st (10)
ch1, sk1, and start working along bottom-right corner (mirrored across this point).
sl st, (hdc, dc) in next st, dc in each of next 6 st, (dc, hdc) in next st, sl st (10)
Fasten off with extra-long loose end to sew above thumbhole.

Round 5
Attach color A to 3rd dc of round 4 on bottom-left.
ch1, hdc, 4dc, hdc, sl st (5)
ch7, sk7 (the ch1 at the bottom point from last round counts as a st), and start working along bottom-right (mirrored across this point).
sl st, hdc, 4dc, hdc, sl st (5)

Dimensions with #3 yarn 7 centimeters wide x 7 centimeters tall (2.75 x 2.75 inches)
Dimensions with #4 yarn: 9 centimeters wide x 9 centimeters tall (3.54 x 3.54 inches)
Make an identical square, but without the extra-long loose end.
Since the first square already has that loose end, we can use that for sewing.

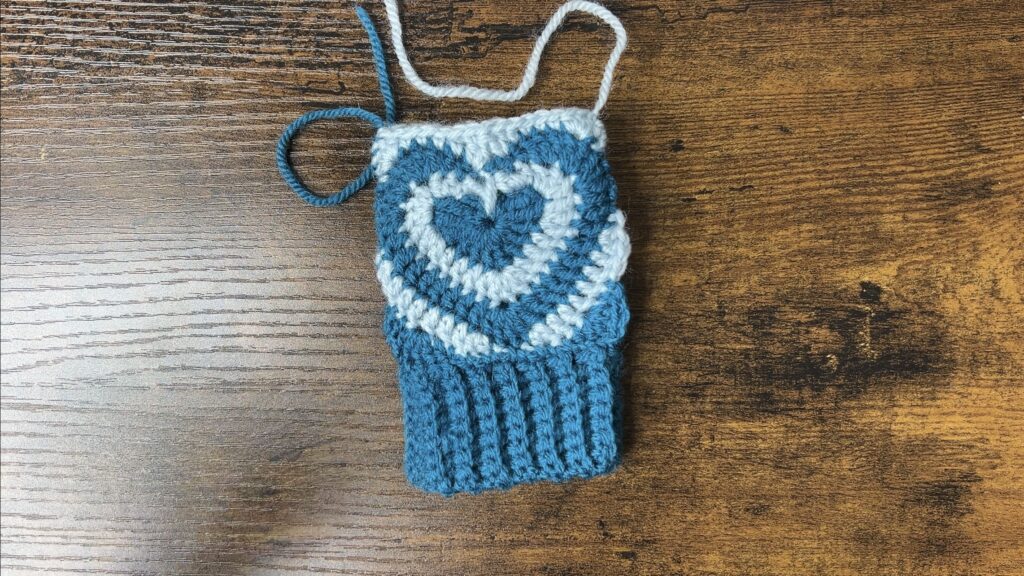
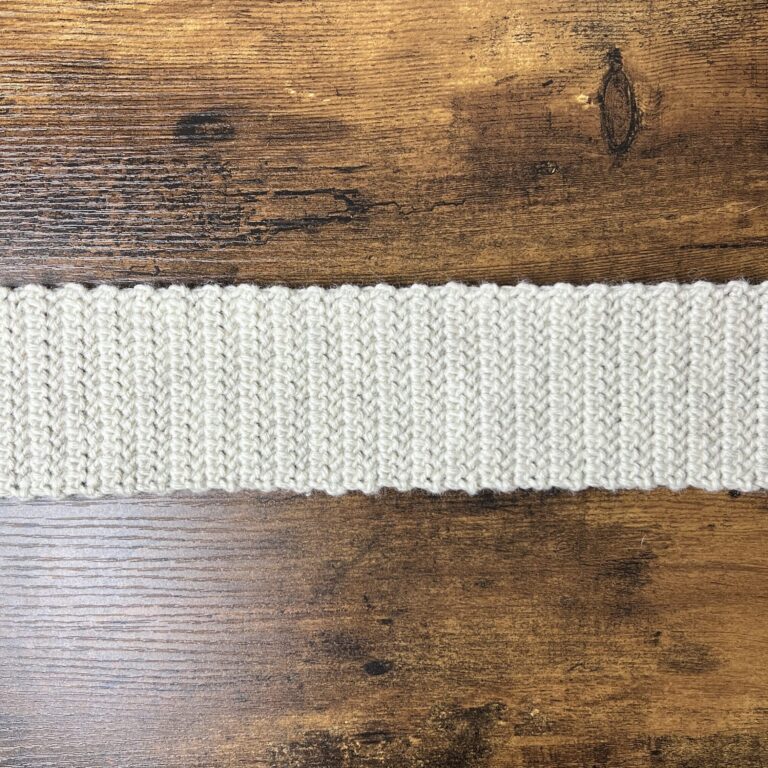
Ribbing
Foundation: Slipknot, ch8 + 1 turning ch (or however long for ribbing width)
Row 1: sc across, starting in 2nd ch from the hook (8)
Row 2: ch 1, turn, sc across in blo
Rows 3 – 30: Repeat row 2
Joining Sides: ch 1, turn
Grab the piece from the middle so the ends lay on top of each other.
sl st through both layers through the front loop of each sc on the top layer and through the bottom of each chain on the bottom layer.

Fasten off with extra-extra-long loose end to sew the squares to the ribbing, then the squares together along one side.
Dimensions with #3 yarn: 7 centimeters wide x 3 centimeters tall (2.75 x 1.18 inches)
Dimensions with #4 yarn: 9 centimeters wide x 4 centimeters tall (3.54 x 1.57 inches)
Now, you should have 2 heart squares (one with an extra-long tail end and one without) and the cuff.

With the ribbing tail end, sew the bottom of the heart square without the tail end to the side of the ribbing. You should connect each of the 15 stitches to each of the first 15 rows. Make sure to catch the 7 chains we did, so it’s not hanging freely.
Flip it over and continue by sewing the bottom of the other heart square to the rest of the ribbing. Again, catch the 7 chains.
Sew the side of the heart squares together with the rest of the tail end from the ribbing.
With the heart tail end, sew the side of the heart squares together just above the thumbhole.
Now, one of your gloves is complete!
Make an identical glove and weave in all your loose ends.


I’m very confused. your written pattern says only 15 rows for the ribbing which I thought was impossible. I was right. 15 is half a cuff. so I checked the video to see if the video was wrong too. the video clearly says 30 rows…. so why does the written pattern say 15?
Just a typo. Sorry about that! Thank you for catching it!
thanks a bunch!! I’m glad you had the video as well. love the pattern 😊