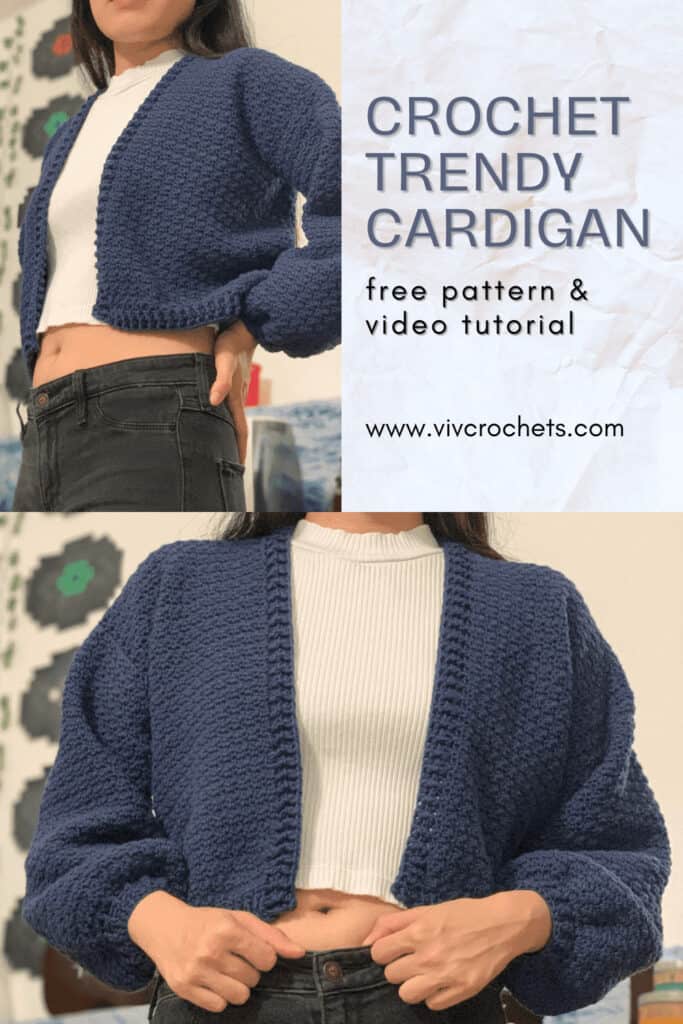
Trendy Crochet Lemon Peel Cardigan | Free Pattern & Tutorial
This crochet pattern provides detailed instructions for making a stylish lemon peel cardigan. The pattern covers the materials required, the creation of individual pieces, and the assembly of the cardigan. It incorporates ribbing for added texture, and it is very easy to customize the cardigan to your preferences!

This easy crochet cardigan pattern uses the lemon peel stitch, which is super simple but creates this beautiful texture! Combining it with the front post/back post double crochet ribbing in a solid color makes for an intricate-looking, yet subtle cardigan.
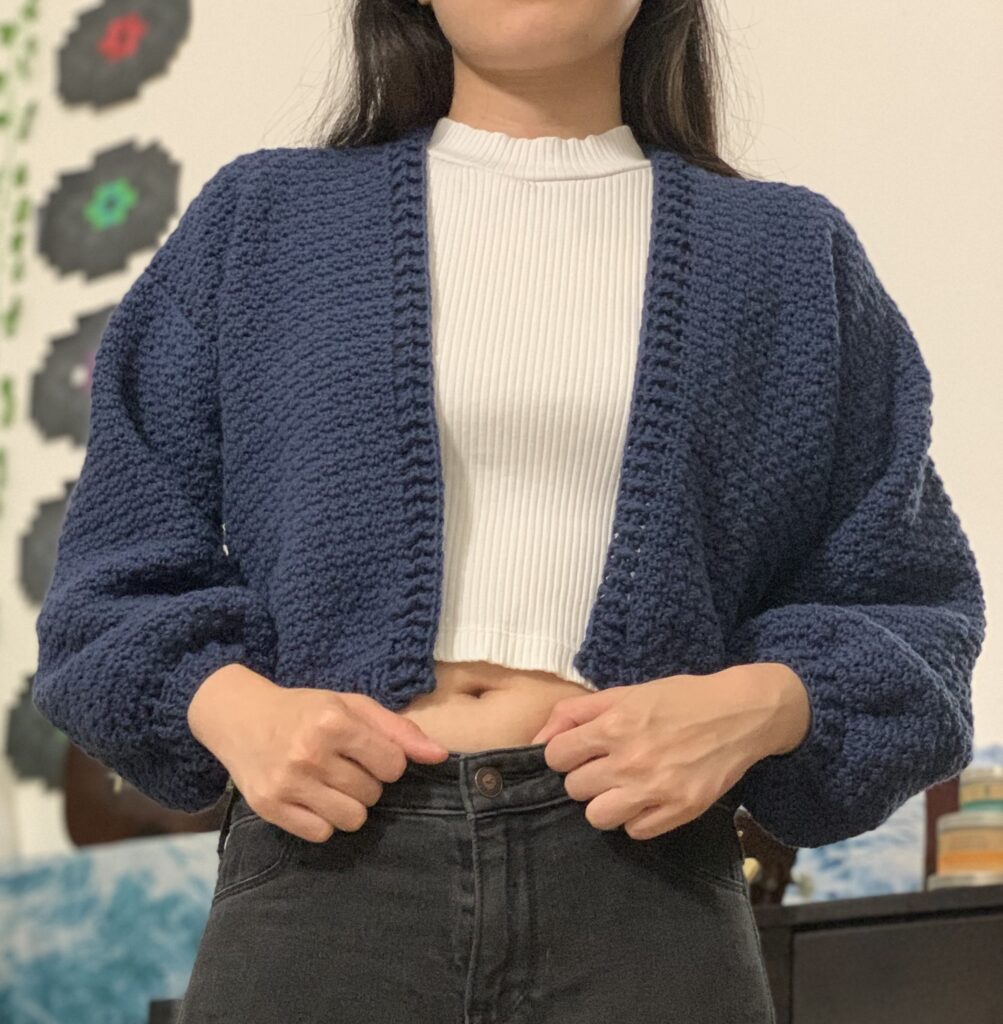
If you don’t prefer the cropped look, you can easily extend the front and back panels by adding more rows! You can also easily adjust the width of the sweater, the length and width of the sleeves, and the spacing for the neck.
Pin this for later!
Video Tutorial
You can follow along with my YouTube video to crochet your trendy cardigan! I have timestamps included to section the video and help you jump to any point you need to!
This post may contain affiliate links. I may earn a small commission on qualifying purchases at no additional cost to you!
Project Level
This project is pretty big, so it isn’t ideal for an absolute beginner. I do go over every new stitch that we do, so it is definitely possible! Most of the stitches used are beginner level. We do, however, do some sewing to put the panels together! Another option would be to slip stitch the seams together instead.
Materials
- 600 grams of #3 or light weight yarn (Bernat Softee Cotton in “Seaside Blue“)
- 5mm Clover Amour crochet hook
- Scissors
- Yarn needle
Final Dimensions
Sleeves – 19 cm/7.5″ wide x 40 cm/15.5″ long
Back Panel – 38 cm/15″ long x 44 cm/17.5″ wide
Front Panels – 38 cm/15″ long x 19 cm/7.5″ wide
Note: This pattern creates five separate pieces: two sleeves, one back panel, and two front panels.
Notes and Tips
- This crochet pattern uses US crochet terms
- Tighten your slip stitches to make the seam smaller and less visible
- The chain 1 at the beginning of each round does NOT count as a single crochet
- Pull your loose ends to the inside of the cardigan and weave them in
Abbreviations
ch = chain
st = stitch
fpdc = front post double crochet
bpdc = back post double crochet
sc = single crochet
dc = double crochet
sl st = slip stitch
dc3tog = double crochet 3 stitches together
bpdc3tog = back post double crochet 3 stitches together
Sleeves (Make 2)
Ribbing
Foundation chain: Make a slipknot and ch 26 (it should be an even number and fit comfortably around your wrist) + ch 2 for your turning ch
Row 1: dc across starting in 3d ch from hook (26)
Row 2-3: ch2, turn, repeat [fpdc, bpdc] across
Connect the ends of the ribbing together with 3 sl st.
Sleeve
Round 1: ch 1, turn, repeat [(sc, dc) in the 1st st, (sc, dc, sc) in 2nd st, (dc, sc) in the 3rd st, (dc, sc, dc) in 4th st] around (64)
Round 2-60: ch 1, turn, repeat [sc, dc] around
Fasten off, leaving a long tail for sewing.
Dimensions: 18 cm wide, 40 cm long
Back Panel
Foundation chain
Make a slipknot and ch 72 (it should be an even number and reach from side of shoulder to side of other shoulder) + ch 1 for your turning ch
Row 1
sc in 2nd ch from hook, dc, repeat [sc, dc] across (72)
Row 2 – 60
ch 1, turn, repeat [sc, dc] across
Fasten off.
Dimensions: 44 cm wide, 38 cm long
Front Panels (Make 2)
Foundation chain
Make a slipknot and ch 30 (it should be an even number and reach from side of shoulder to side of other shoulder) + ch 1 for your turning ch
Row 1
sc in 2nd ch from hook, dc, repeat [sc, dc] across (30)
Row 2 – 60
ch 1, turn, repeat [sc, dc] across
Fasten off, leaving a tail for sewing the tops of the shoulders together.
Dimensions: 19 cm wide, 38 cm long (should be same length as back panel)
Assembling the Cardigan
Sewing Pieces Together
Lay the front panels on top of the back panel and sew the tops together.
Fold the sleeves down the seam and line it up on the sides with the tail at the underarm.
Sew the top layer of the sleeve to the front panel, go over to the back, and sew the bottom layer of the sleeve to the back panel.
Continue sewing down the front panel with the back panel.
Bottom Ribbing
Turn the cardigan upside-down. Attach your yarn to the bottom of the front panel on the left side.
Row 1: ch 2, dc across the front panel, back panel, and other front panel (132)
Row 2-3: ch 2, turn, repeat [fpdc, bpdc] across
Front Ribbing
Rotate cardigan to work ribbing along front edges.
Row 1: ch 2, dc across the front panel, dc3tog at corner where front panel meets back panel, dc across back panel, dc3tog at corner where back panel meets front panel, dc across other front panel
Row 2-3: ch 2, turn, repeat [fpdc, bpdc] across with bpdc3tog at corners
Fasten off, weave in all loose ends, and your lemon peel cardigan is complete!


I have not started……
R
If I would like to make short sleeve cardigan, how to reduce the stiches please?