Easy Crochet Bucket Hat | Free Pattern & Video Tutorial
See the free crochet bucket hat pattern and video tutorial down below or purchase an ad-free, printable PDF file of this pattern!
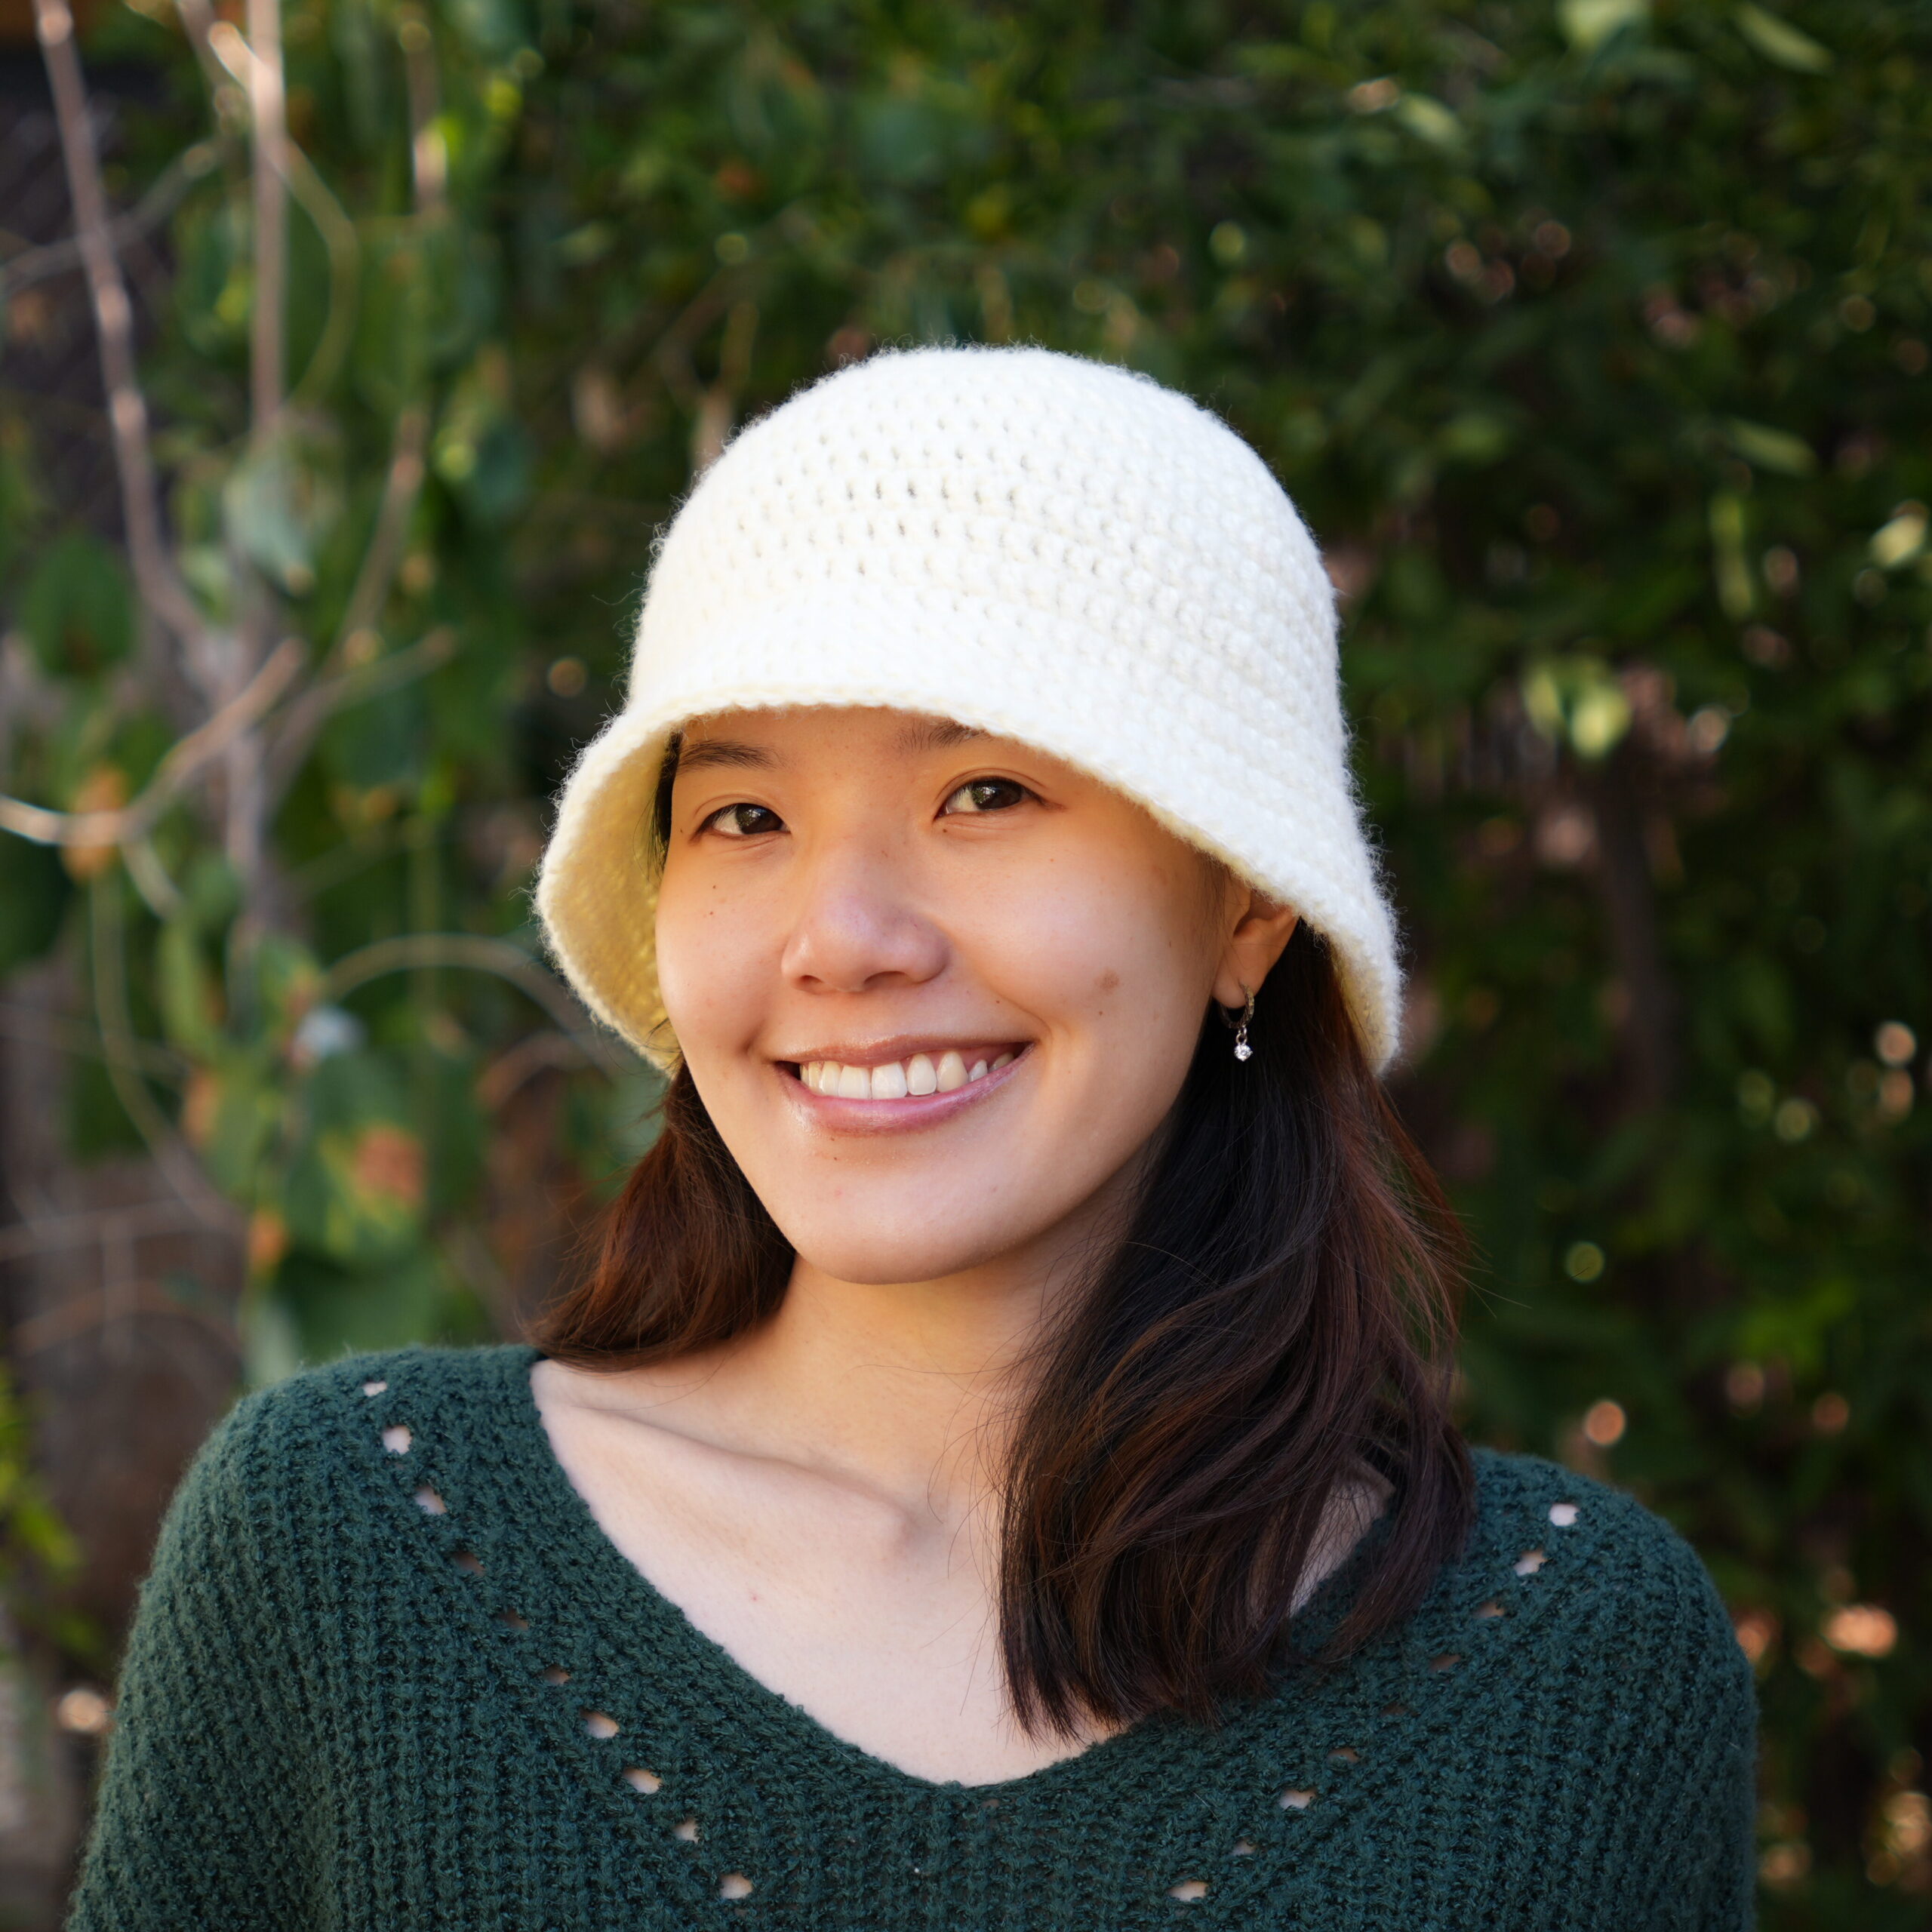
This is a new and improved crochet bucket hat pattern! Drafted with an absolute beginner in mind, this basic bucket hat is a great first project for a new crocheter, especially because it includes a video tutorial. This small project is relatively quick to make, uses minimal yarn, and is easy to adjust sizing for.
Beginner Crochet Project
This crochet pattern is great for beginners because it uses one basic stitch throughout the pattern, there is basic increasing, and it’s a relatively quick project.
Make sure to view the tutorial if any part of the written pattern is confusing for you! Also, please leave any questions in the comments if you have any.
For more beginner hat patterns, check out this ribbed beanie pattern or this sack hat pattern!
Sizing
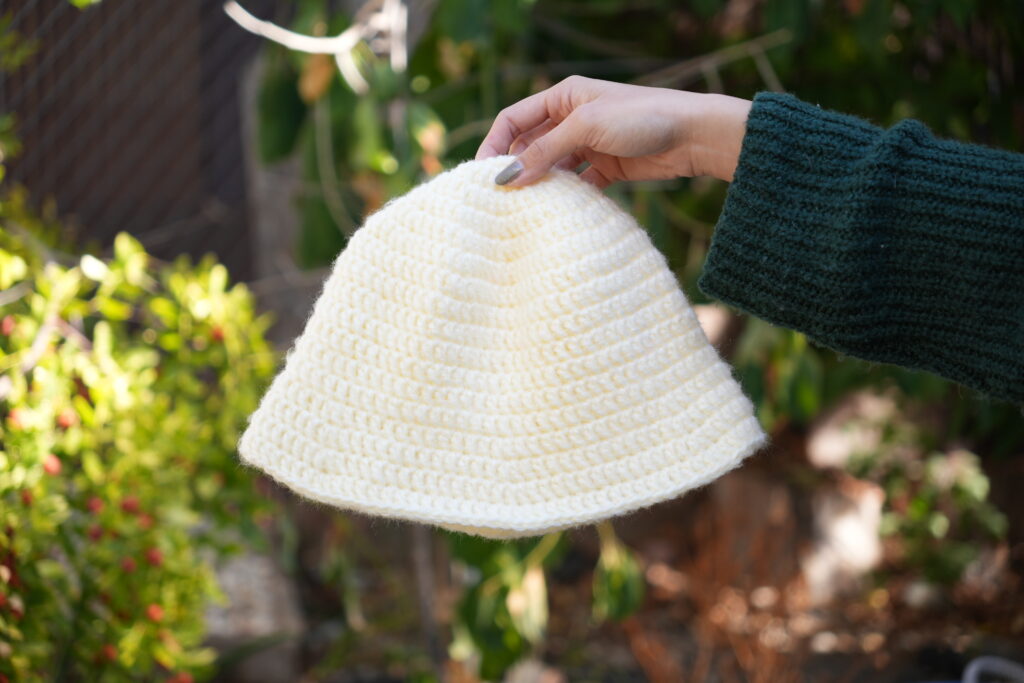
There are 3 different parts of this bucket hat that you can change the sizing for: the top, middle, and brim. For the top, do fewer rounds for a smaller size bucket hat or more rounds for a bigger hat. For the middle, fewer rounds will make the middle shorter, and more rounds will make it longer. Finally, fewer rounds will make a shorter brim and more rounds will make a longer brim.
Project Overview


Choosing Yarn & Hook Size
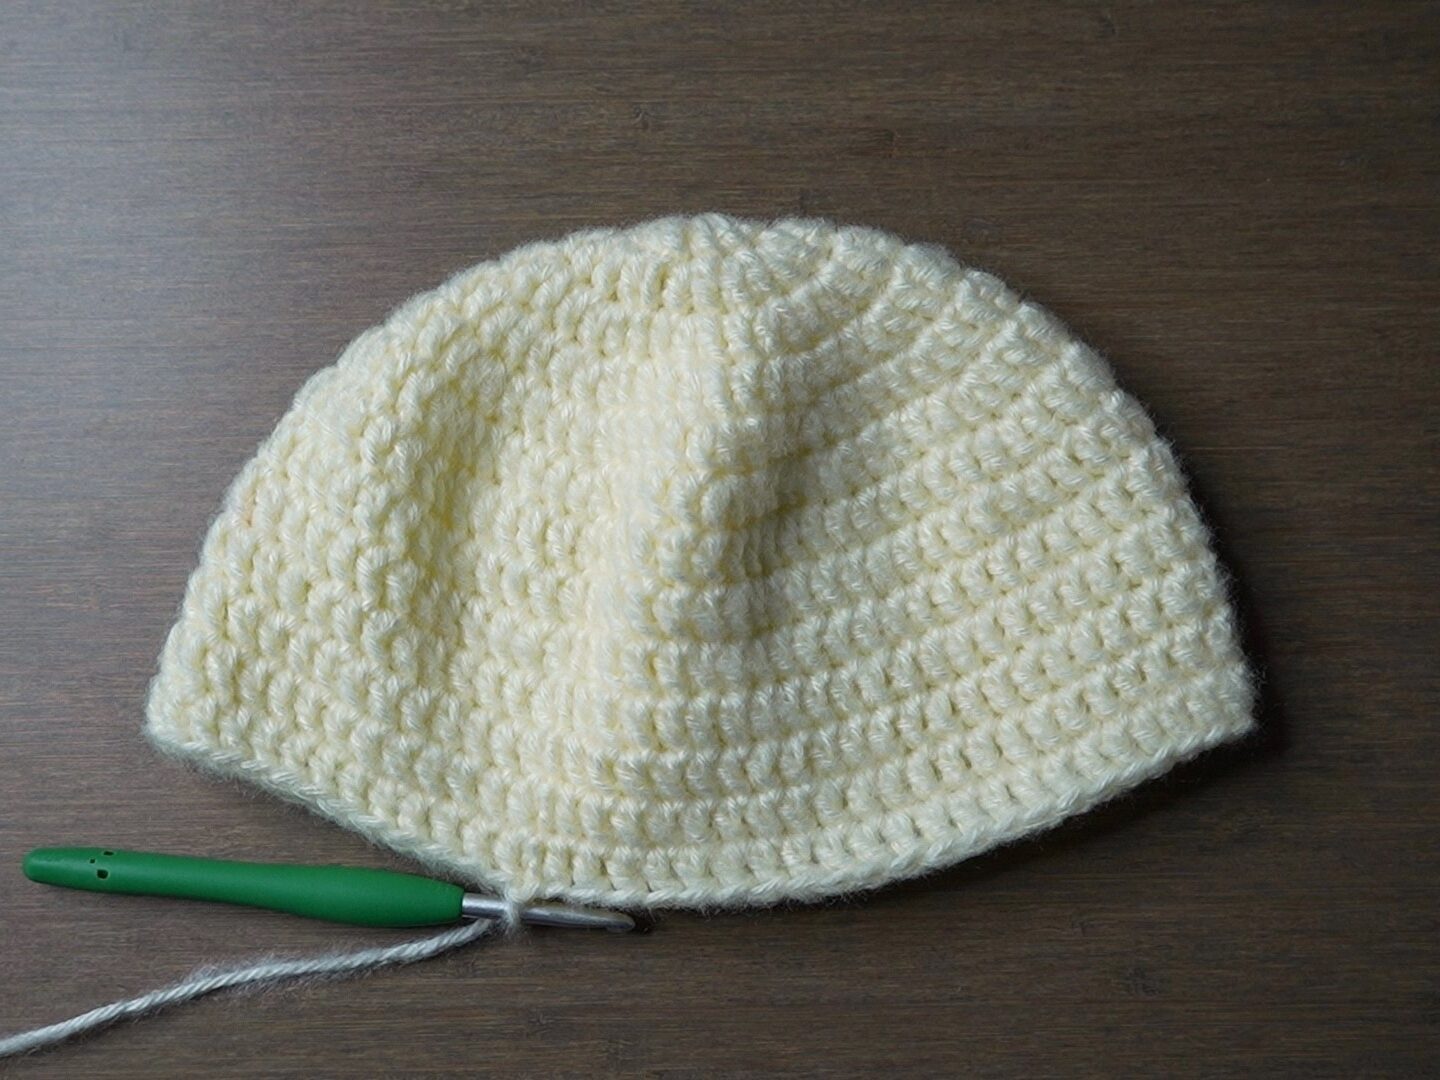
When choosing the yarn for this project, there are two main things to consider: do you want it to keep your head cool or warm and how stiff do you want it to be?
The first will be determined by the yarn fiber you choose. If you want it to keep your head cool, I would recommend cotton or wool yarn. To keep your head warm, I would recommend wool or acrylic. I used an acrylic yarn because it’s getting cold out for me.
If you want the brim to be stiff and stay up, you should choose a thicker yarn, so avoid #1 and #2 yarns. I chose a medium weight yarn (#4) because it’s my favorite yarn weight and it will give the hat a good amount of stiffness. Hook size will also play a part in the stiffness of your hat.
A smaller hook size will increase tension and make the hat stiffer and the opposite is true for a larger hook size. I used the recommended hook size on my yarn label and I wouldn’t go higher than that or I would struggle to get the brim to stay up.

Other Projects You Might Like
Crochet Bucket Hat Video Tutorial
Become a member to get early access to new videos!
You can follow along with my YouTube video to make your own crochet bucket hat! I have timestamps included to section the video and help you jump to any point you need to!
This post may contain affiliate links. I may earn a small commission on qualifying purchases at no additional cost to you!
Materials
- 70 grams of medium weight yarn (Red Heart Super Saver Brushed in “Cream”)
- 5.5mm Clover Amour crochet hook
- Scissors
- Yarn needle
- Tape measure (optional)

Dimensions
*includes instructions to adjust sizing
Fits: 50 – 55 centimeters head circumference (19.7 – 21.7 inches)
Top: 16 cm diameter (6.3 in) / 50.24 cm circumference (19.8 in)
Middle: 8 centimeters wide (3.1 inches)
Brim: 5 centimeters wide (2 inches)
Gauge
8.5 rounds of 13 double crochets makes a 10 x 10 centimeter square
Notes and Tips
- This pattern is written using US crochet terms
- Italicized notes tell you what to change to adjust the size
- The chain 2 at the beginning of each round does NOT count as a double crochet
- Stagger your increases in the brim rounds to make it less pointy
Abbreviations
ch = chain
dc = double crochet
inc = increase (2 double crochets into 1 stitch)
rep = repeat
sl st = slip stitch
st = stitch
Top
Note: The number of rounds done for the top of the hat will determine the size. Do fewer rounds for a smaller size or more rounds for a bigger size.
Foundation: Make a magic ring or make a slipknot, ch4, sl st to 1st ch to form a ring
Round 1: ch2, dc12 into ring, sl st (12)

Round 2: ch2, inc around, sl st (24)
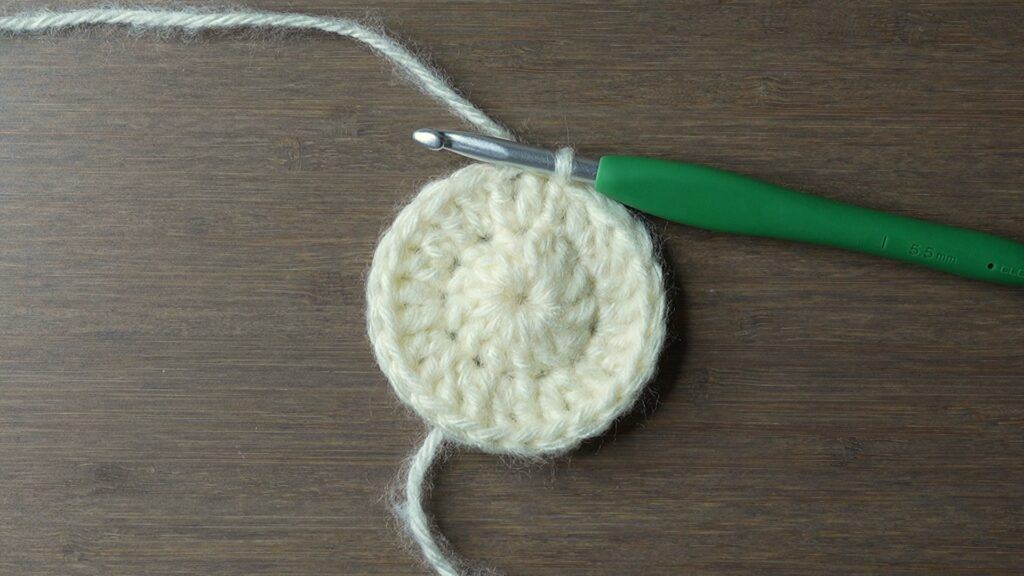
Round 3: ch2, rep[dc, inc] around, sl st (36)

Round 4: ch2, rep[dc in next 2 st, inc] around, sl st (48)

Round 5: ch2, rep[dc in next 3 st, inc] around, sl st (60)
Round 6: ch2, rep[dc in next 4 st, inc] around, sl st (72)
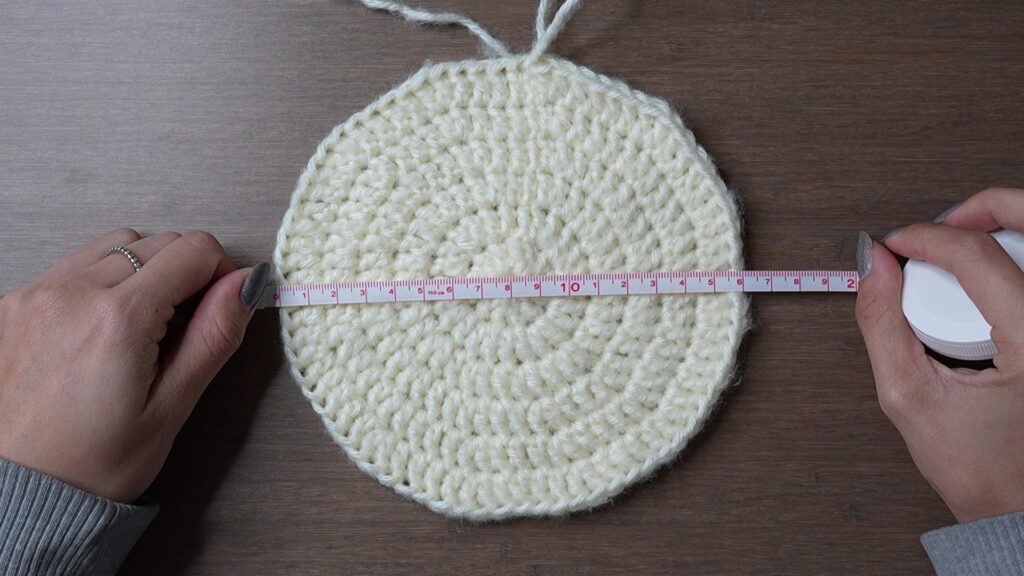
Note: For a larger hat, add more rounds by doing an increase after one more stitch than the round before. For example, Round 7 would be ch2, rep[dc in next 5 st, inc] around, sl st (84).
Middle
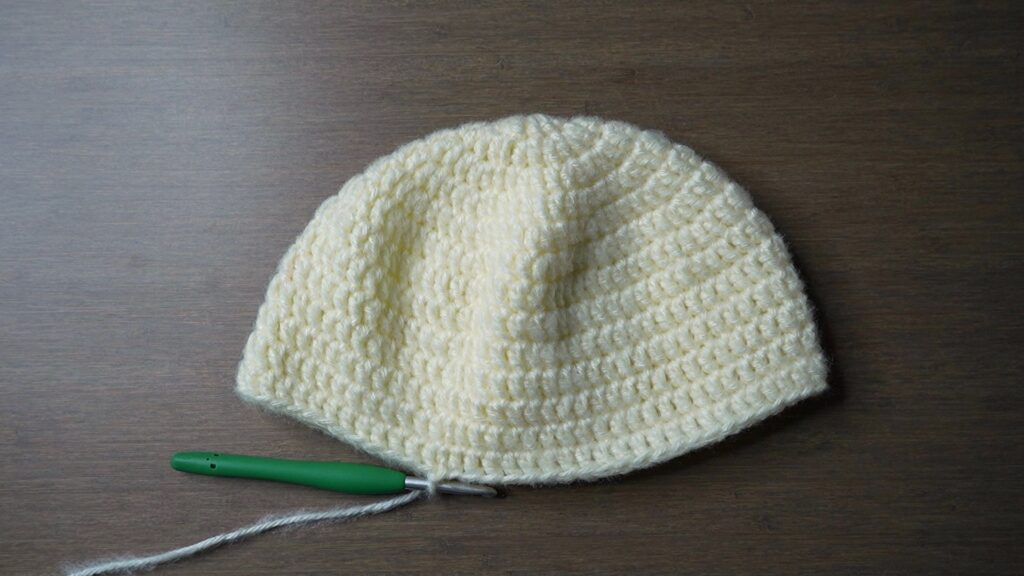
Note: Do fewer rounds for a shorter hat or more for a taller one.
Rounds 1-7: ch2, dc around, sl st (72)
Brim
Note: Do fewer rounds for a smaller brim or more for a wider one.
Note: If you didn’t do 6 rounds for the top of the hat, here’s how to calculate the first round of your brim:
- Count the number of stitches in your last round
- Divide that number by 6
- Subtract 1
- Do that many double crochets before you increase for the first round of the brim
Round 1: ch2, rep[dc in next 11 st, inc] around, sl st (78)
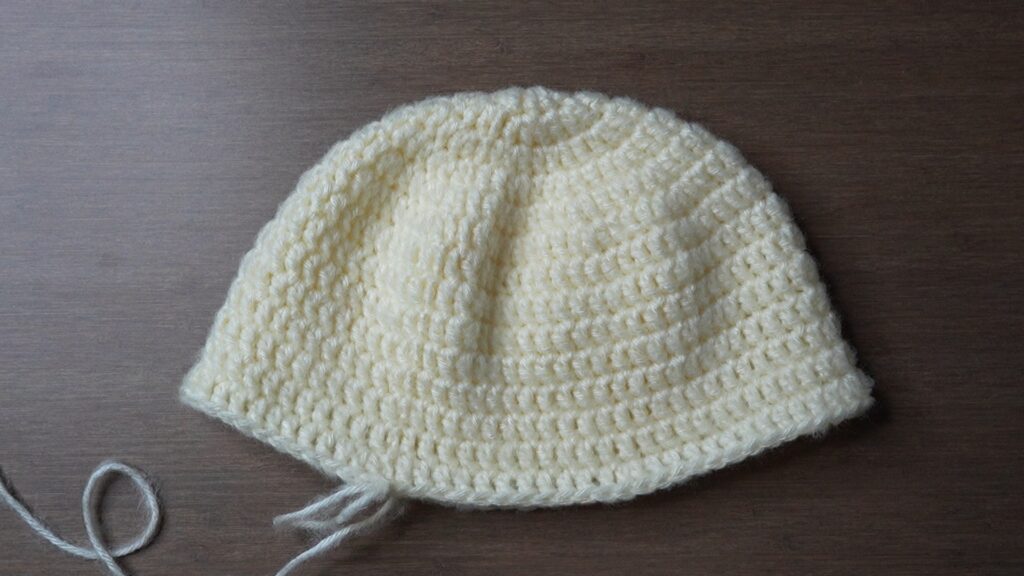
Note: If you didn’t do 6 rounds for the top of the hat, add more rounds by doing an increase after one more stitch than the round before. Your stitch count should increase by 6 for every round of the brim.
Round 2: ch2, rep[dc in next 12 st, inc] around, sl st (84)
Round 3: ch2, rep[dc in next 13 st, inc] around, sl st (90)
Round 4: ch2, rep[dc in next 14 st, inc] around, sl st (96)
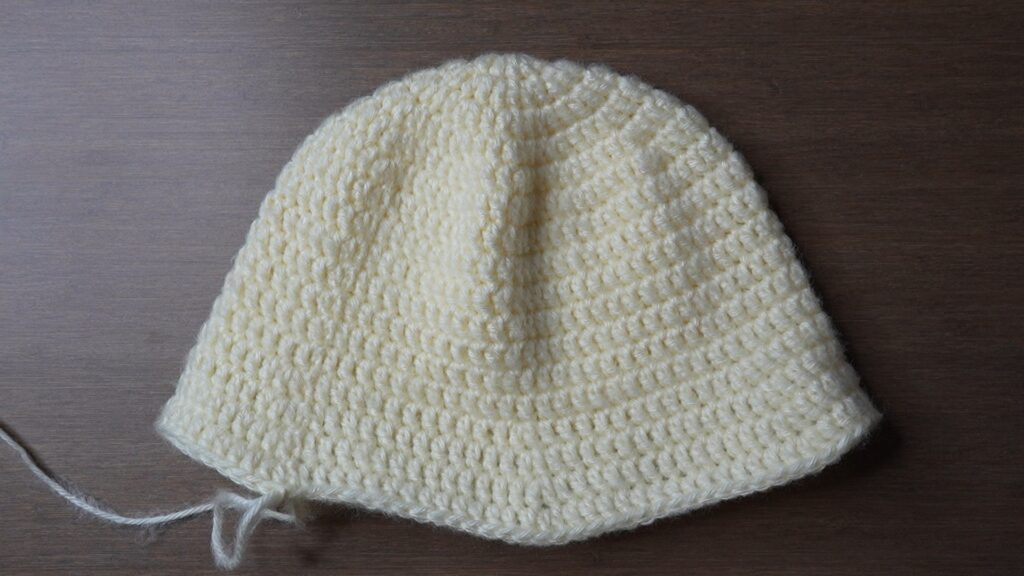
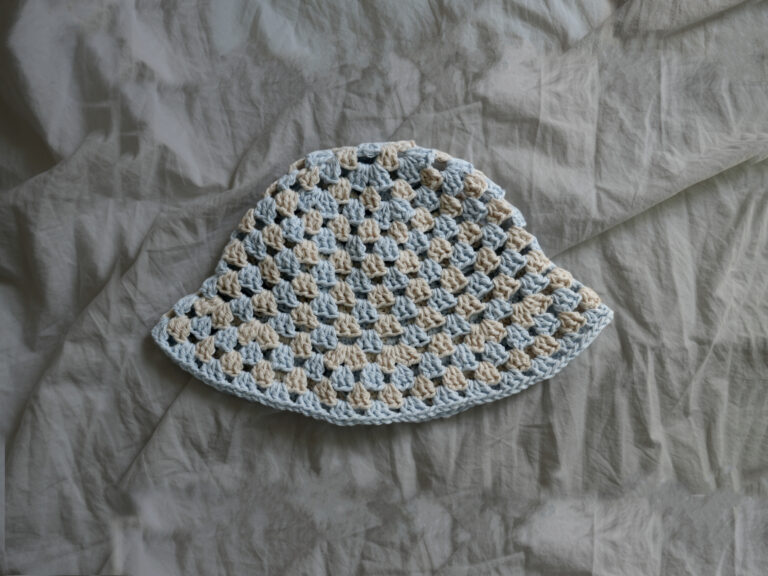
Finished Crochet Bucket Hat
Weave in your loose ends and your crochet bucket hat is finished!




SHOULD NOTE WHERE TO DO BLO OR FLO I WAS TRYING TO DO THIS AS AN EMERGENCY AND WAS PANICKING WHEN I FOUND OUT I HAD TO DO BLO 9 ROWS AGO