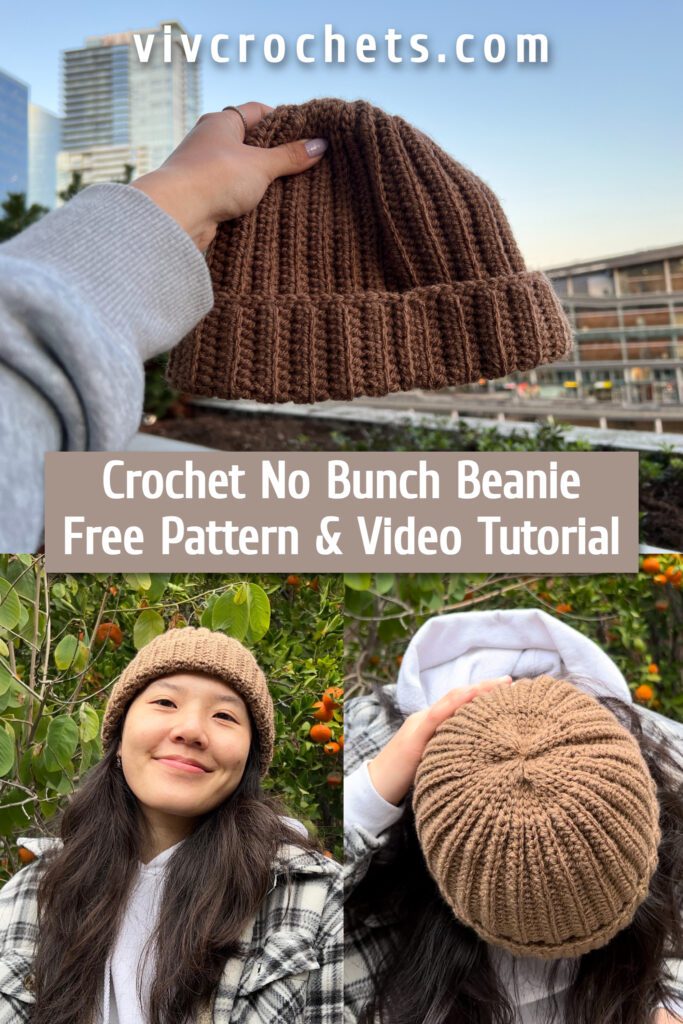
No Bunching Crochet Ribbed Beanie | Free Pattern & Tutorial
Scroll to see the free crochet ribbed beanie pattern and video tutorial. Or purchase an ad-free, printable PDF file of this pattern! Note: This is an updated pattern with sc instead of sl st and no lining on the brim.
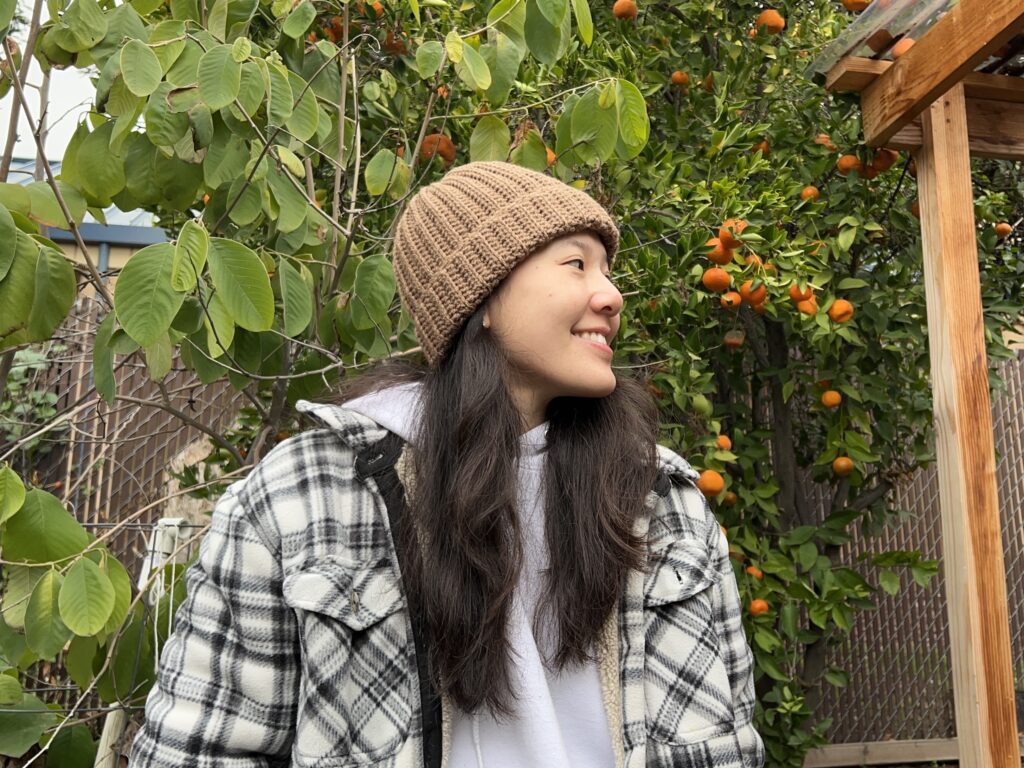
Crochet a warm and comfortable ribbed beanie with this pattern, ensuring a snug fit without extra fabric bunching. Learn how to crochet this fall and winter staple with this crochet ribbed beanie tutorial and written pattern! For an interactive, ad-free pattern, visit my Ribblr shop!

Yarn Choice and Warmth
Crochet beanies are perfect for fall because they are super warm! You can hand select your yarn for ideal comfort whether you live in a freezing or warmer climate. This crochet beanie pattern is amazing at keeping your head cozy in chilly temperatures. I used acrylic yarn, which makes it really warm! You can also choose to use wool yarn for an equally warm, but more breathable beanie. Or, you can use cotton yarn for a very breathable and cool head accessory!
Perfect Fit Crochet Beanie
One of the key benefits of a crocheted beanie is the ability to create a perfect fit. Since the size of my head is smaller than average, it’s hard to find hats that fit me well. You can easily adjust the size to match your head’s exact measurements, ensuring that it’s neither too tight nor too loose.
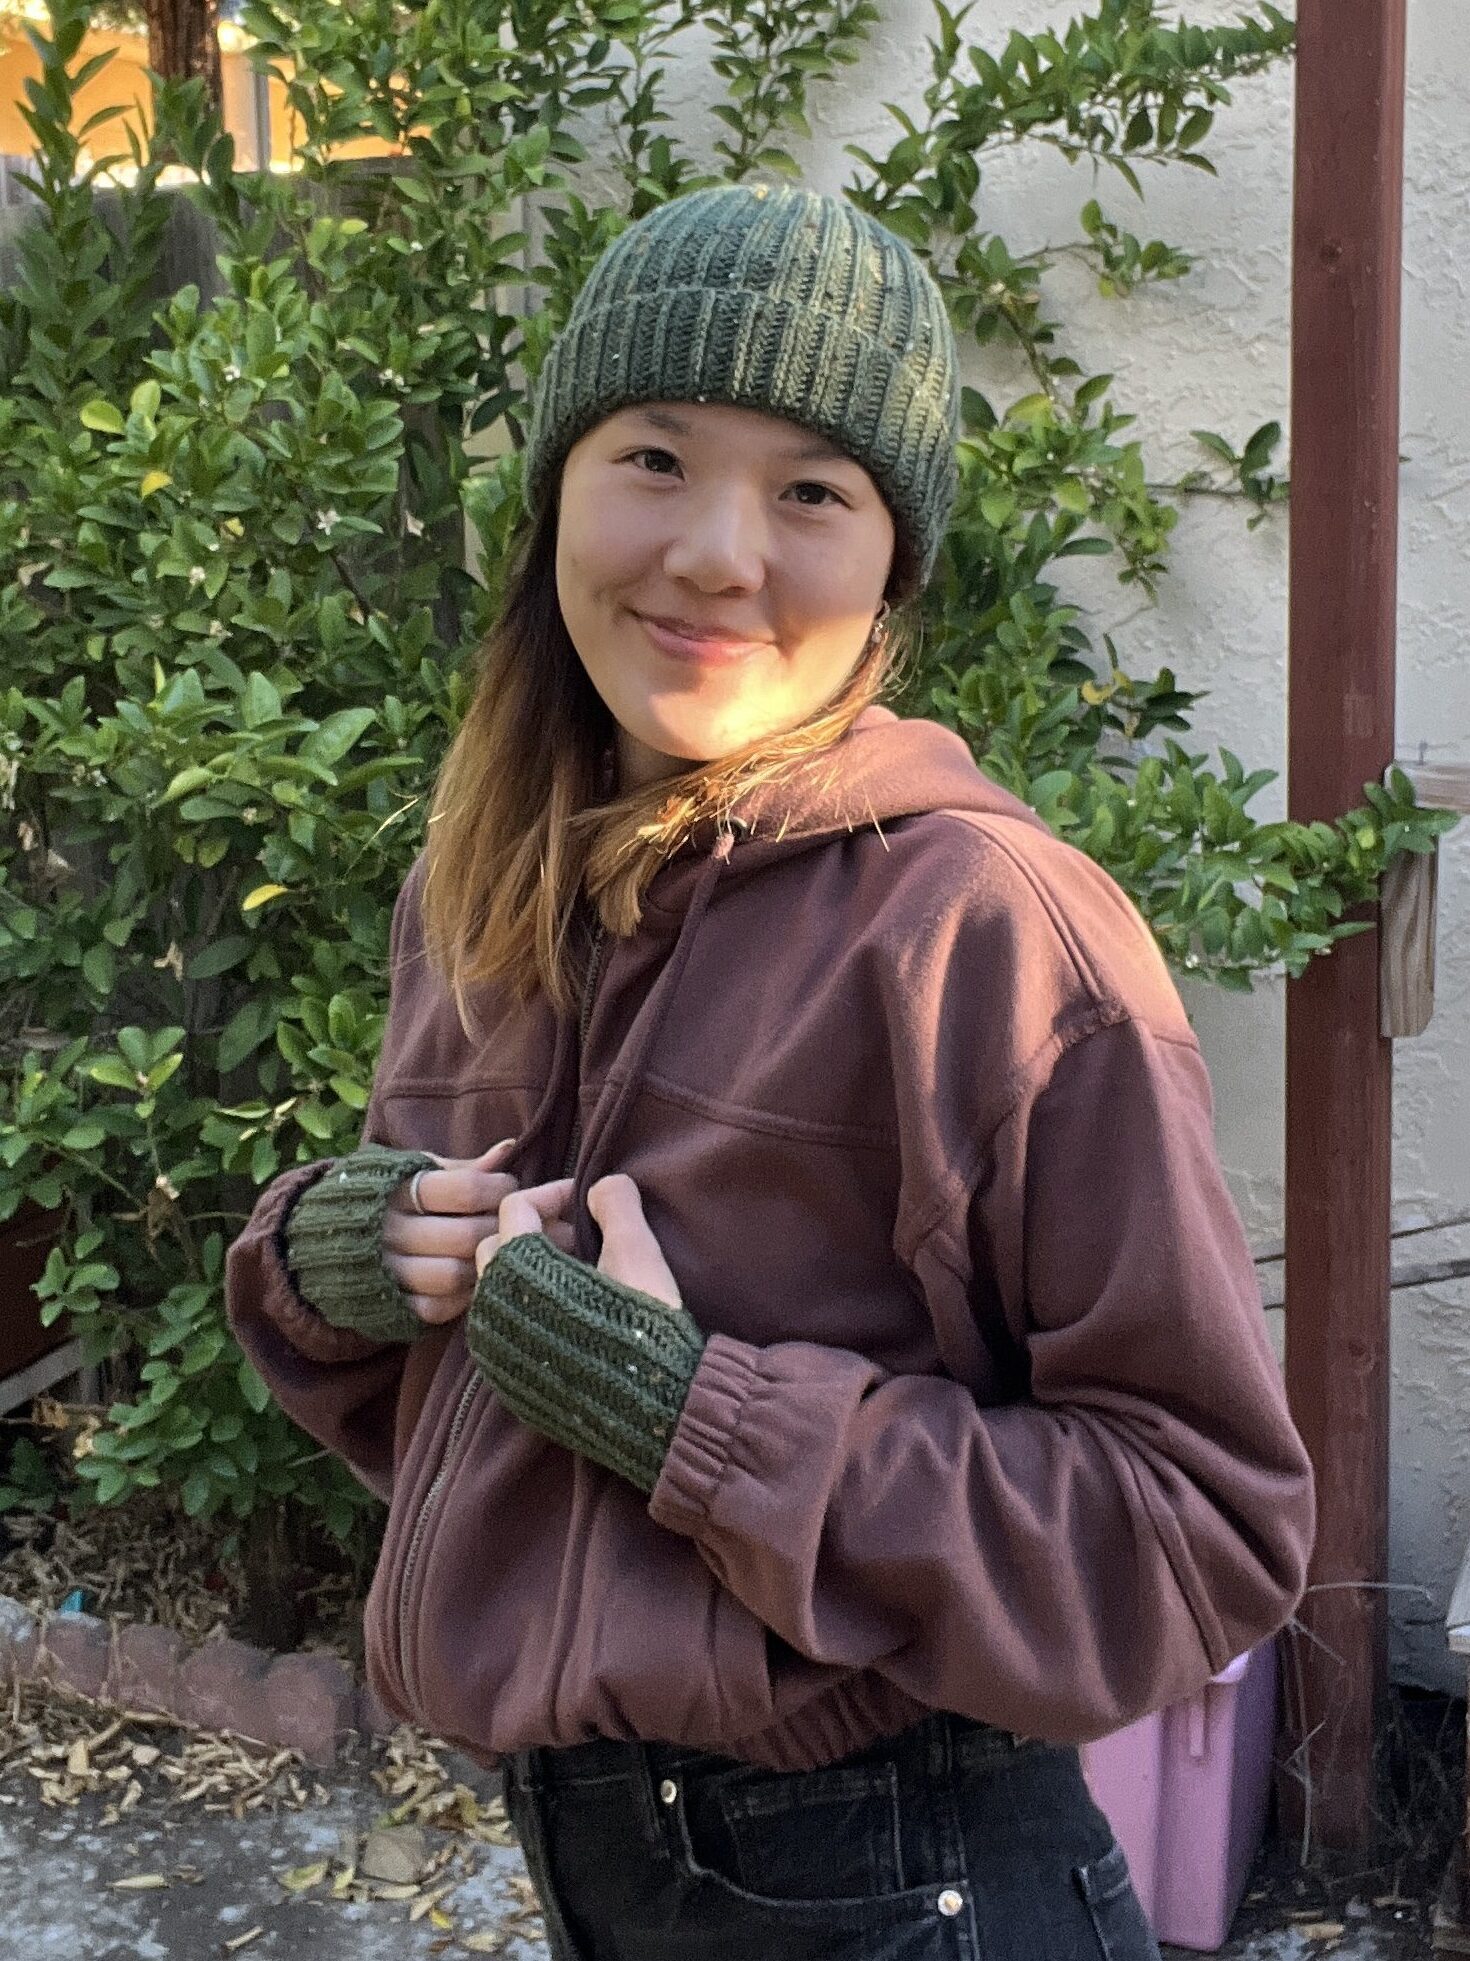
I also love that these crochet beanies are so customizable. You can choose your favorite color yarn and add on embellishments, allowing you to create a beanie that is truly one of a kind.
No Bunching Beanie
This is an amazing and unique crochet ribbed beanie pattern because it allows you to remove the extra fabric at the top of the head. With this slight alteration, the beanie can fit really comfortably and look great!

Other Crochet Beanie Patterns
I also have another pattern for another ribbed beanie using this technique with a different stitch for a different look. Instead of half double crochet in the back loop, this beanie does it in the third loop!
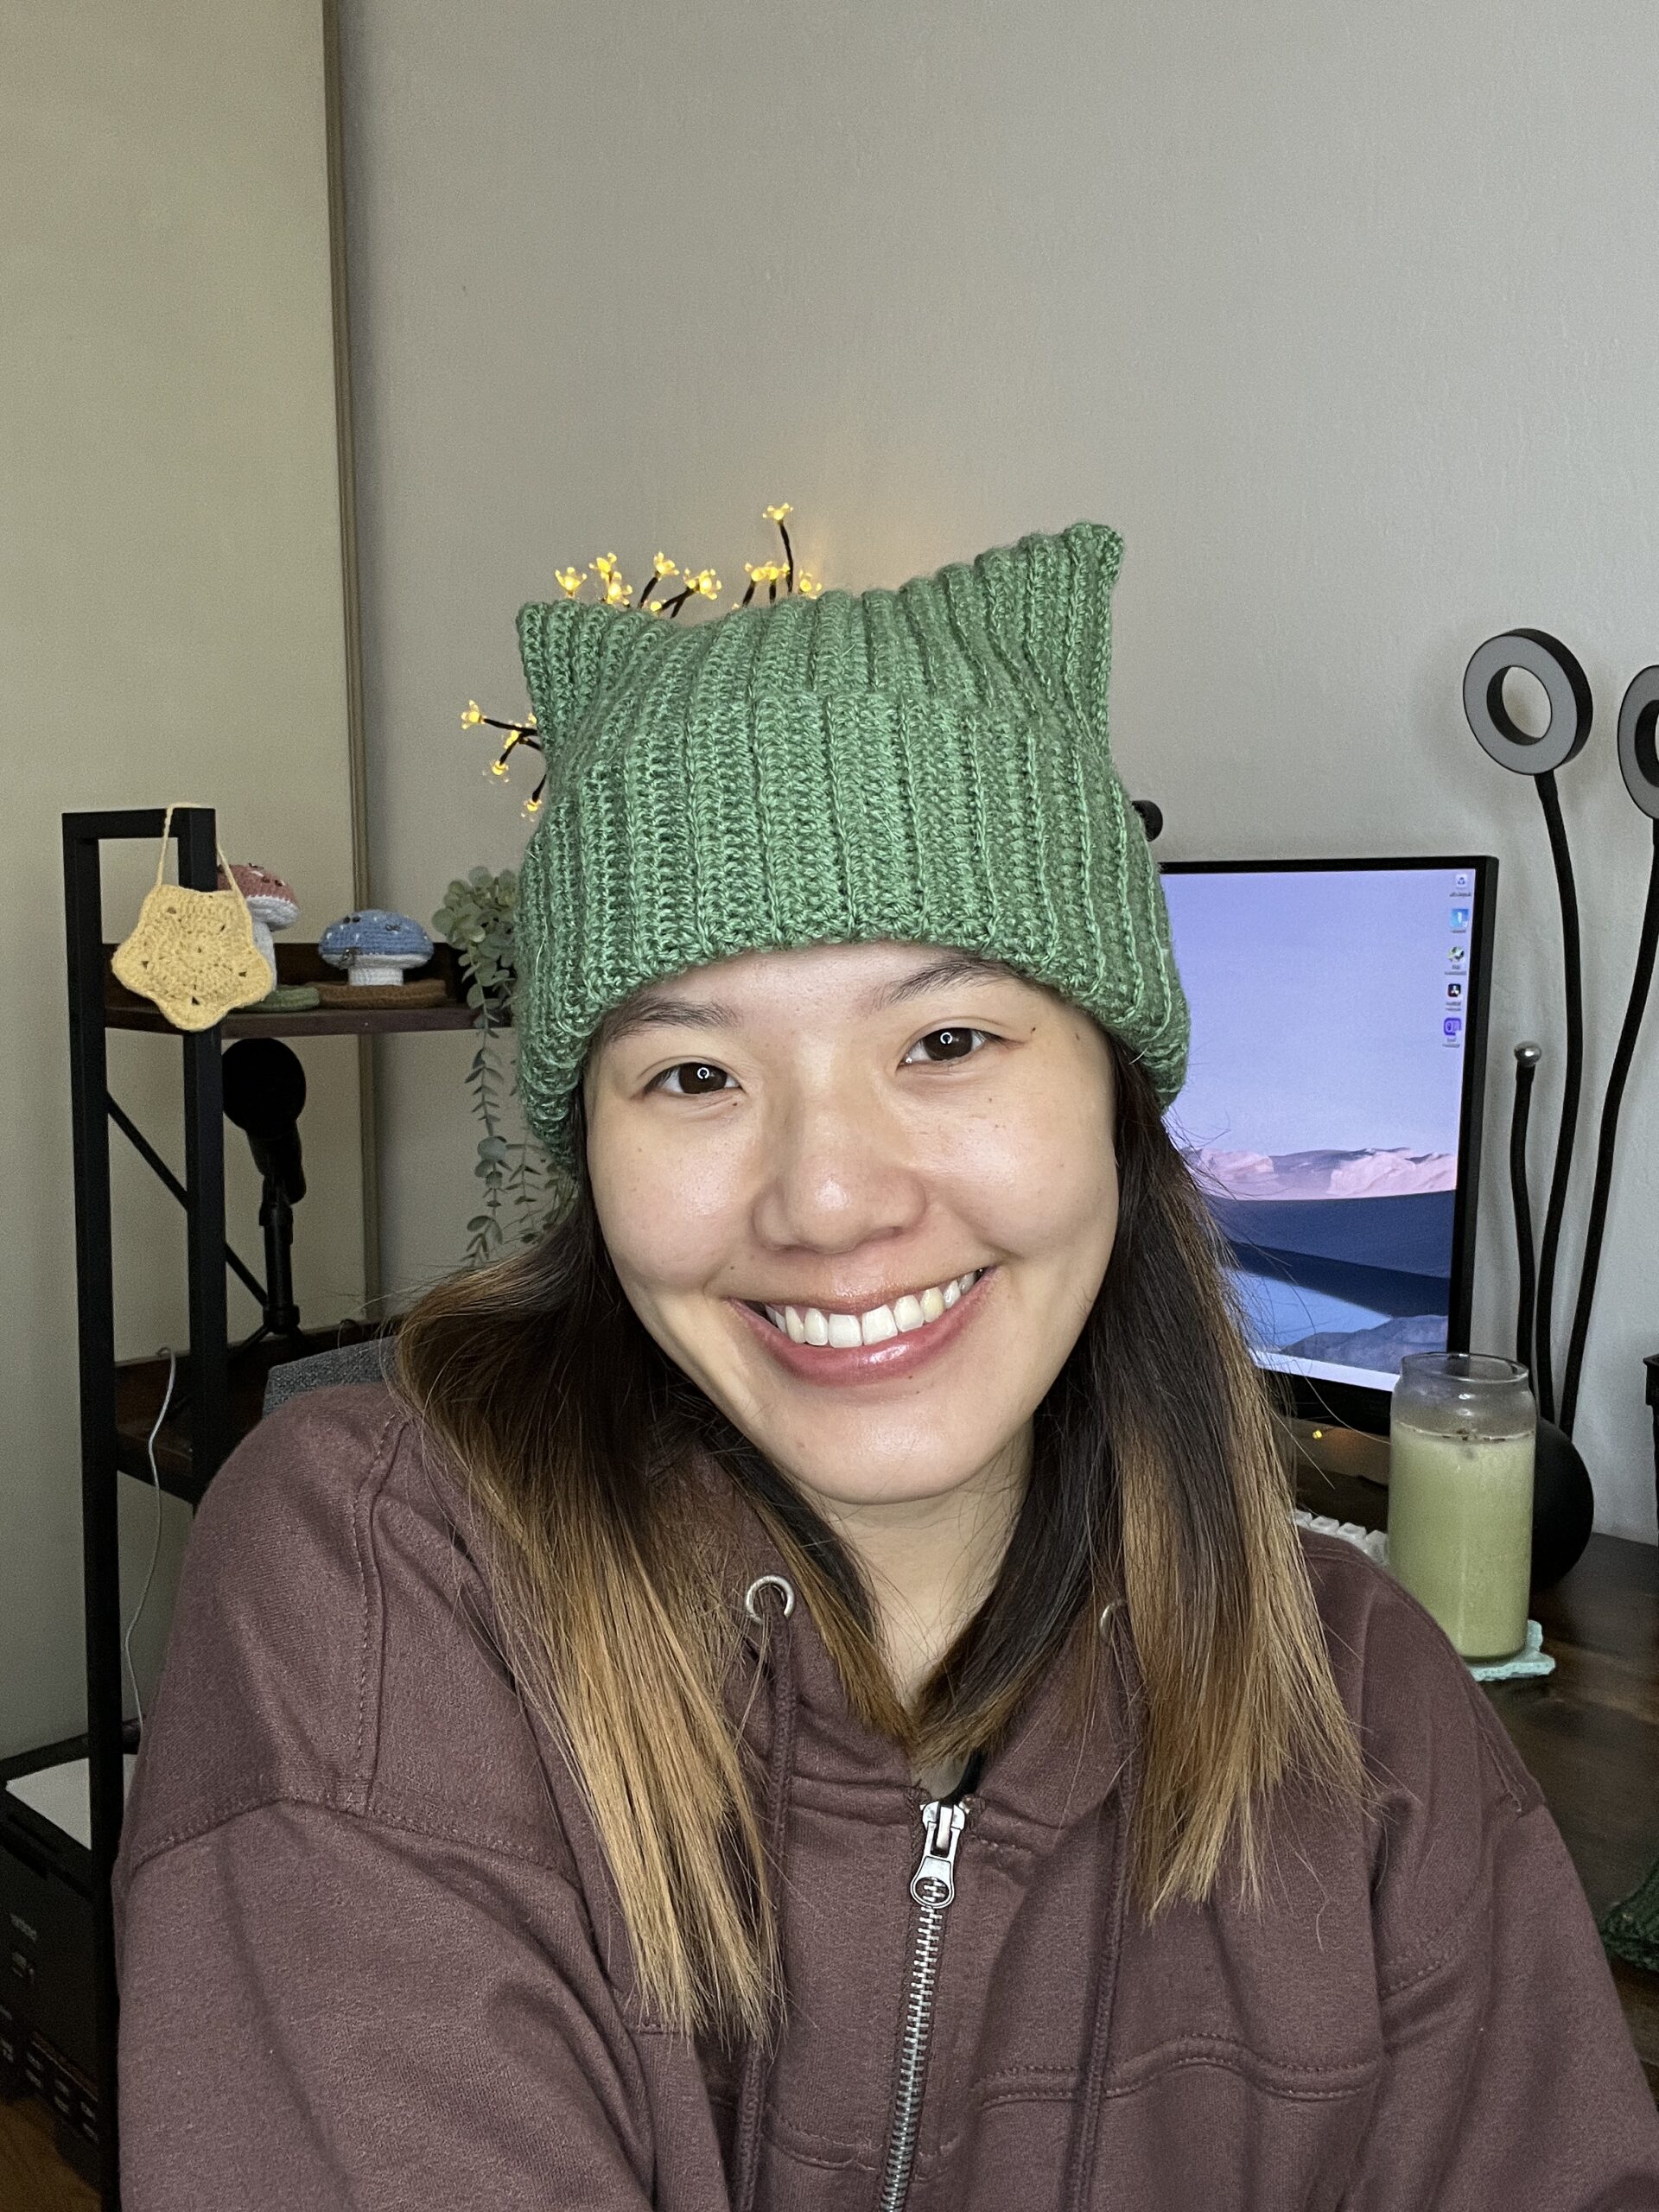
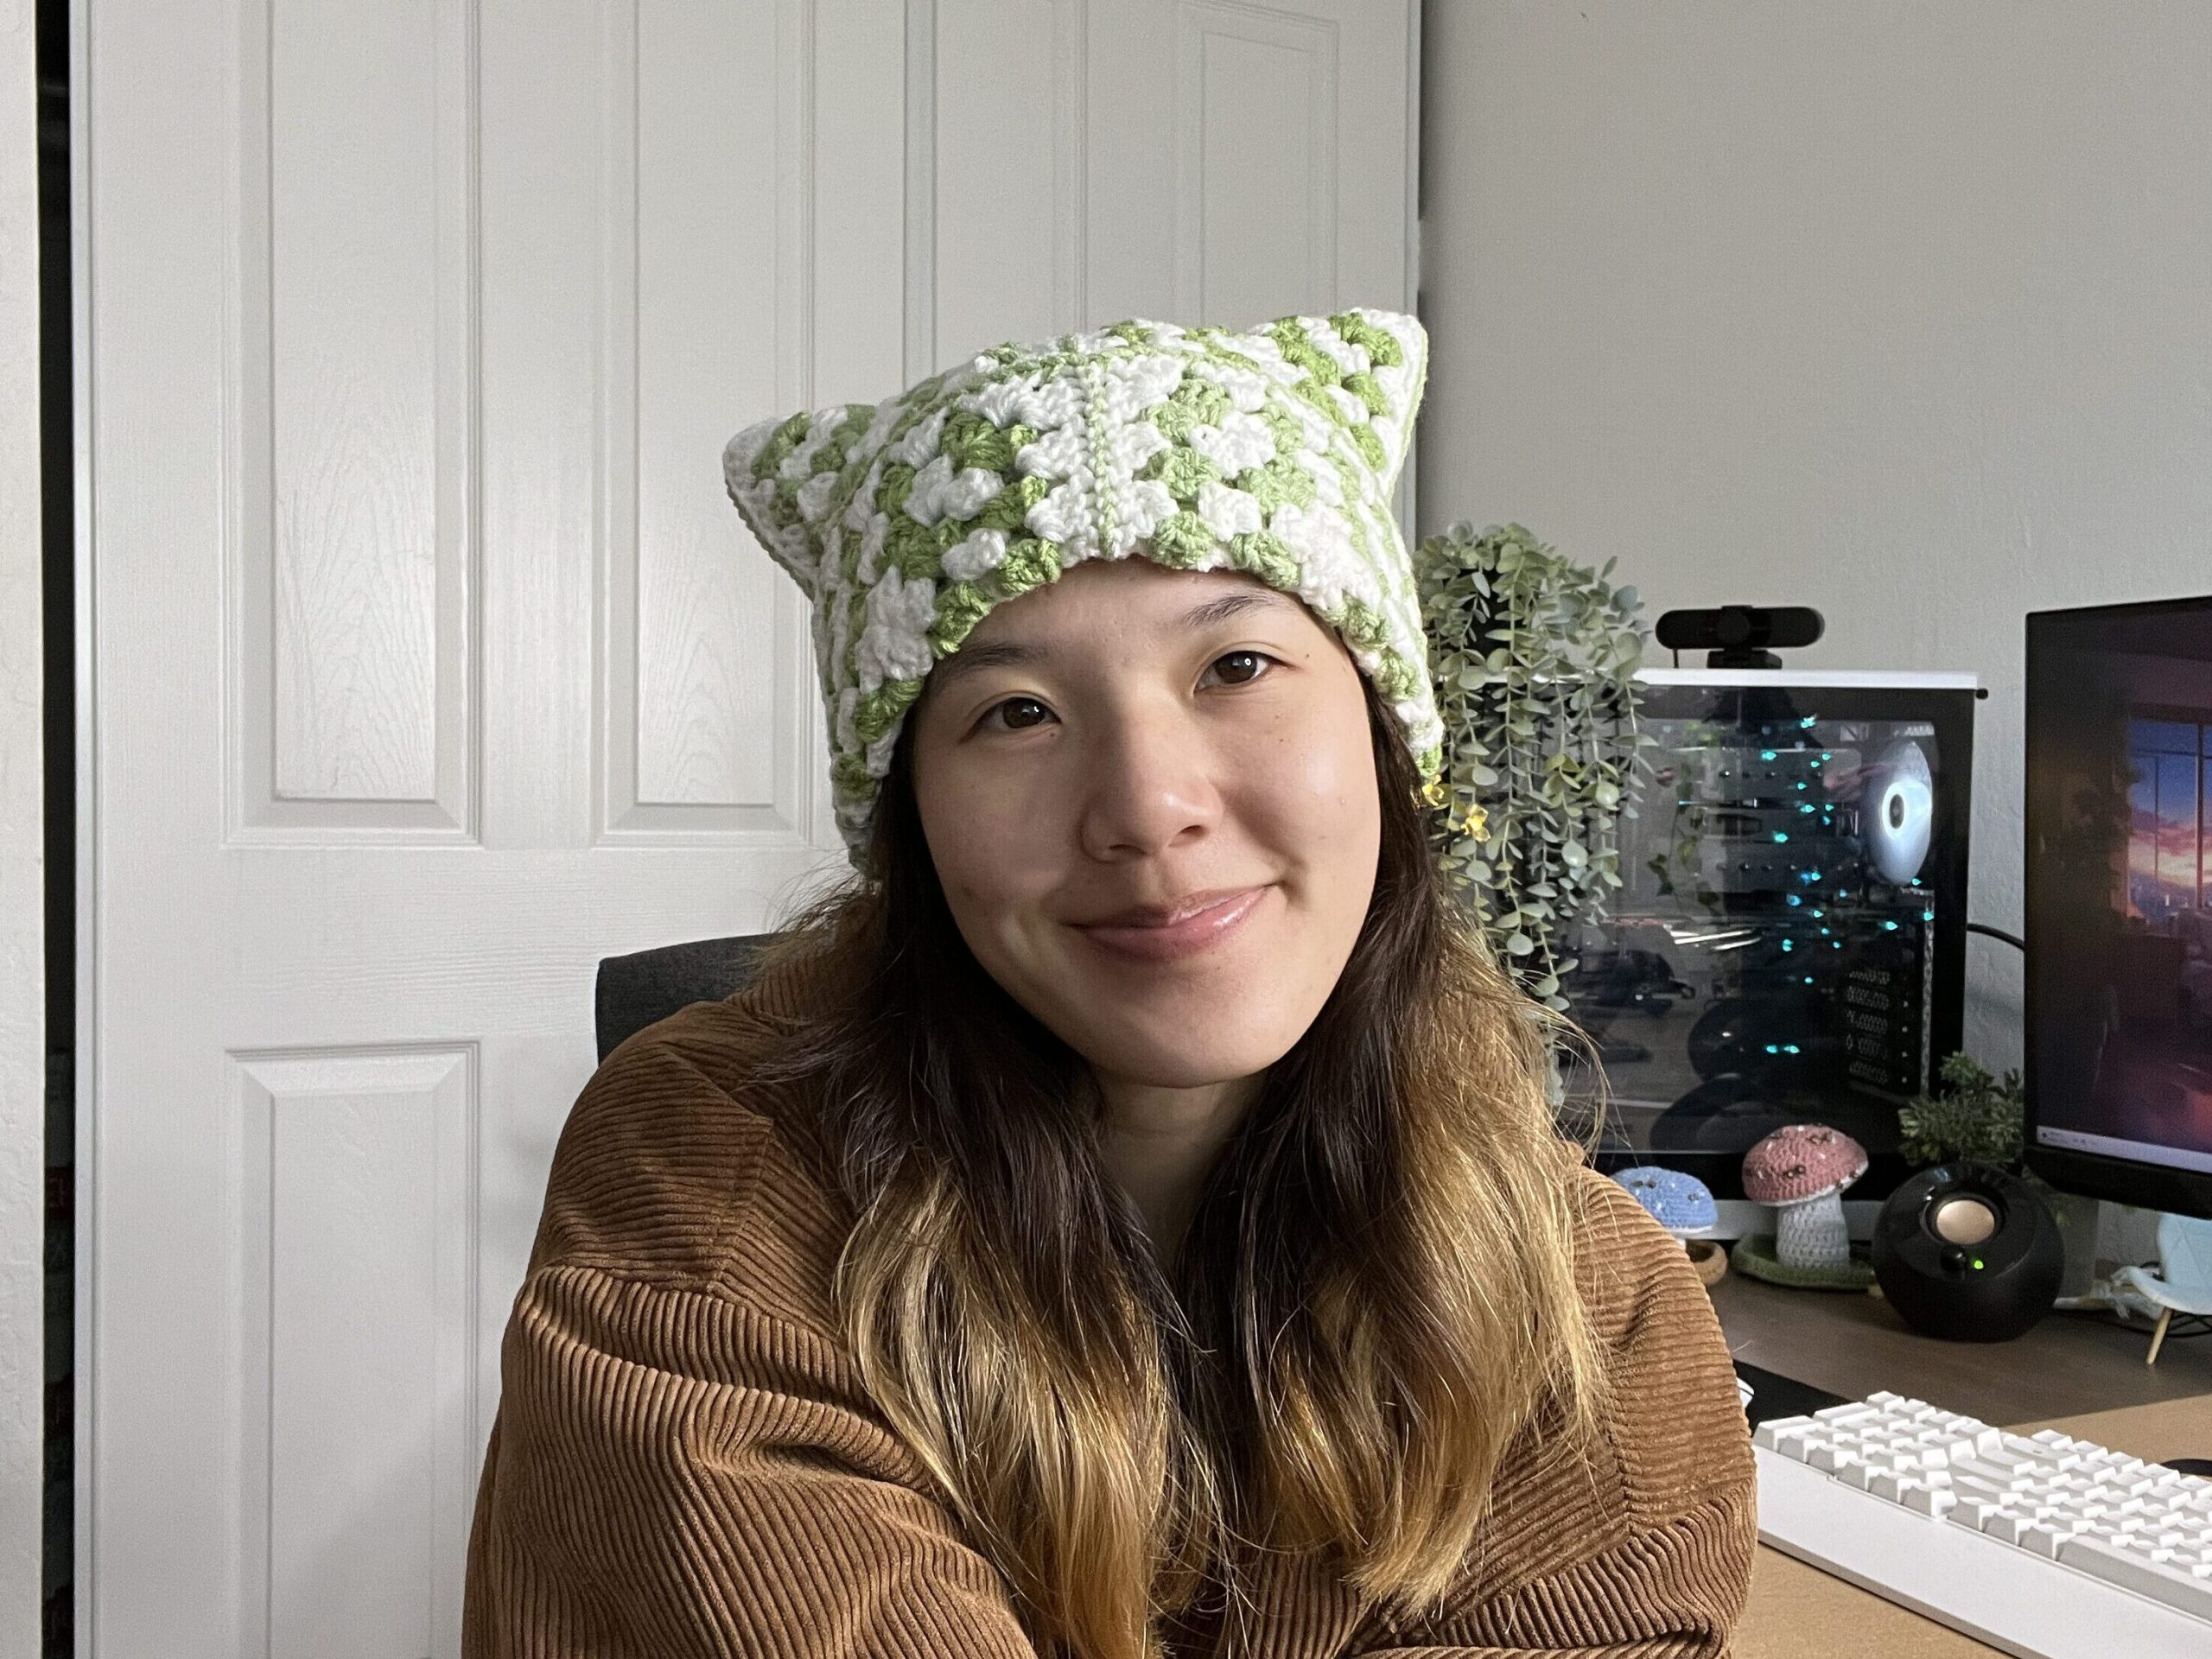
Or, if this beanie pattern turns out to be a little difficult with the slip stitches, you can try doing this cat ear beanie instead, which does not have slip stitches and you make a basic rectangle!

I prefer crocheting my own beanie over purchasing one at the store. Not only can you create a beanie that is uniquely yours, but you can also choose the colors and yarn type to match your style. I also find it to be much warmer than store-bought beanies and I love that you can customize it!
Pin this for later!
Patterns You Might Like
Video Tutorial
You can follow along with my YouTube video to crochet your ribbed beanie! I have timestamps included to section the video and help you jump to any point you need to!
This post may contain affiliate links. I may earn a small commission on qualifying purchases at no additional cost to you!
Materials
- 90 grams/150 meters of medium weight yarn (Red Heart Super Saver yarn in the color “Cafe Latte“)
- 5mm Clover Amour crochet hook
- Scissors
- Yarn needle
Dimensions
52 cm/20.5″ circumference x 26 cm/10.25″ wide
Gauge
11 rows of 18 half double crochets makes a 10 x 10 centimeter square
Notes and Tips
- This pattern uses US crochet terms
- Measure your head and decide the size of your hat before starting
- Account for the stretchiness of the ribbing (make it slightly smaller than your actual head size)
- The chain 1 at the beginning of each row does NOT count as a stitch
- Pull your loose ends to the inside of the hat and weave them in
Abbreviations
blo = back loop only
ch = chain
hdc = half double crochet
sl st = slip stitch
st = stitch
Foundation
Make a slipknot, ch45+1 turning ch
The length of your chain should be the length from your eyebrows up to the crown of your head, plus the width of the brim that will fold up.
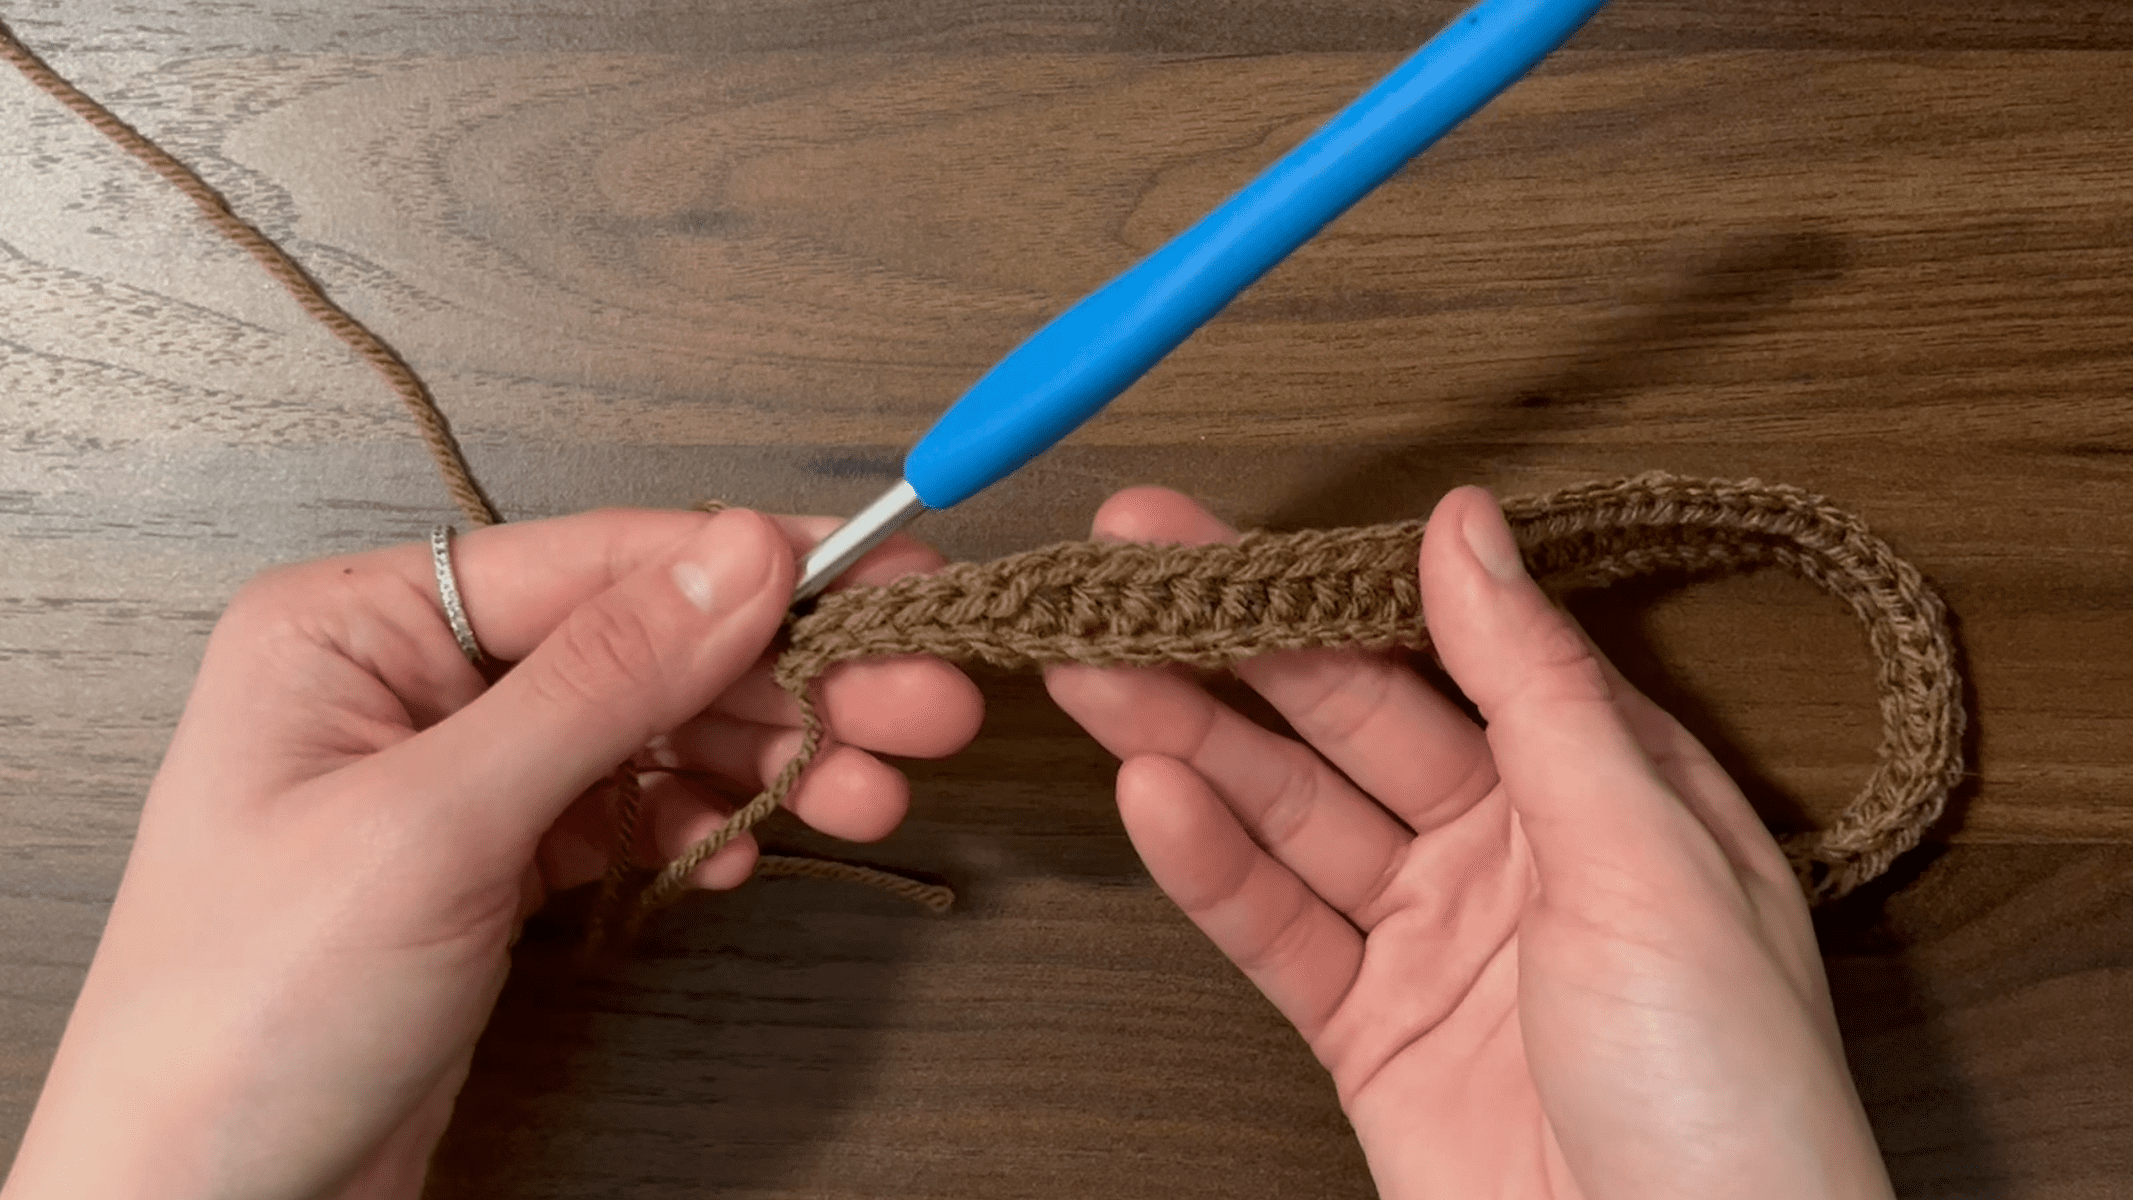
Row 1
hdc40 starting in 2nd ch from the hook, sl st5
Row 2
ch1, turn, sl st5 in blo, hdc40 in blo

Row 3
ch1, turn, hdc40 in blo, sl st5 in blo
Rows 4 – 54
Repeat rows 2-3 until it can wrap around your head without stretching. End on an even row.
You are basically doing slip stitches on top of the slip stitches from last row and half double crochets on top of the half double crochets from last row.
Straighten the Brim
This part is optional. It just makes the sides of your rows straighter. Make sure to do your slip stitches looser than usual so it isn’t too tight. If you’re still having trouble with making them too tight, try doing single crochets instead!
Ch 1, sl st along the bottom edge.
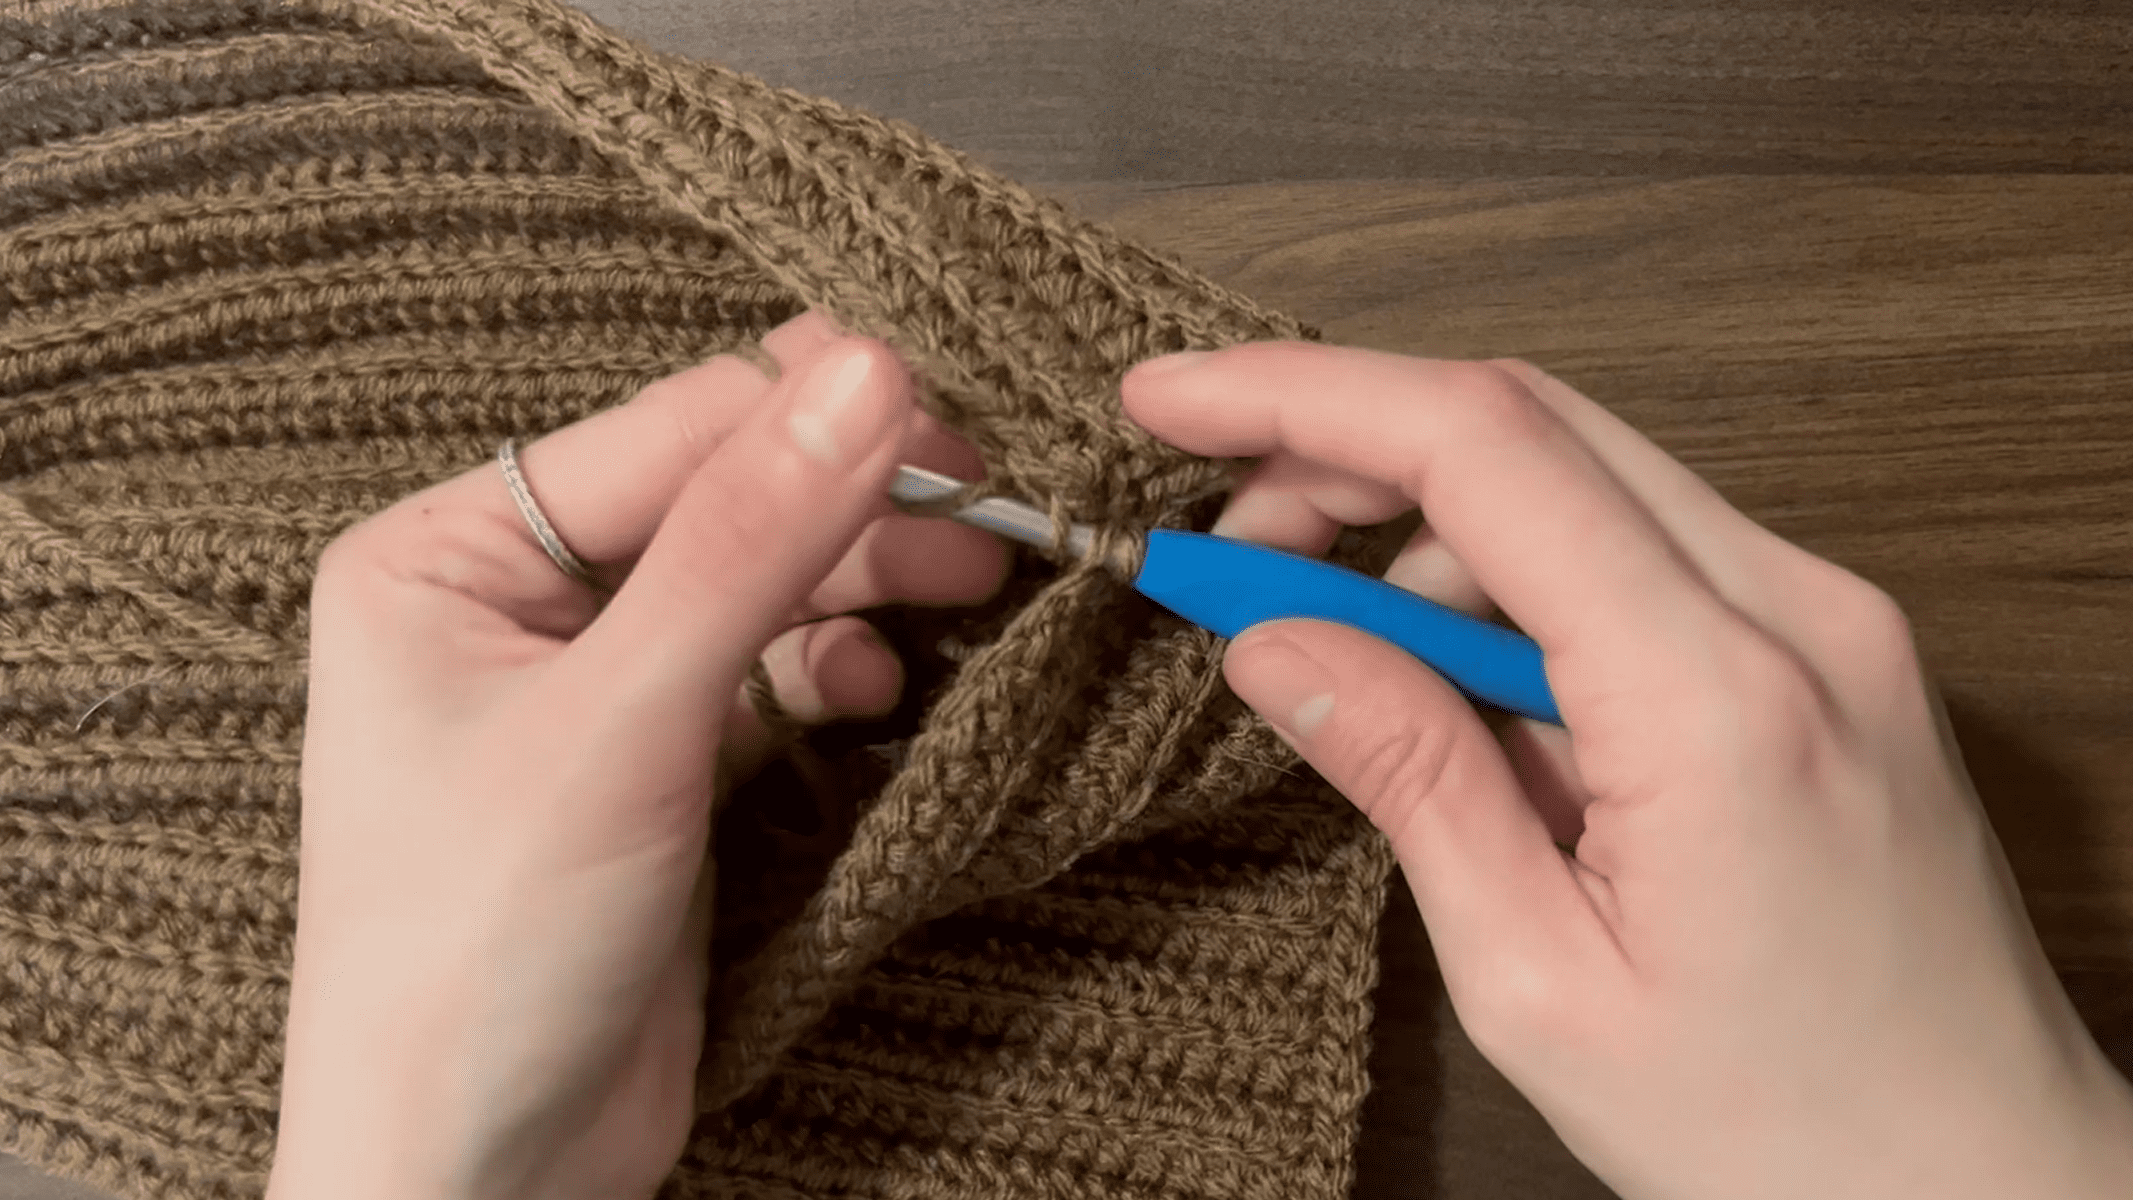
Seam the Beanie
Fold the piece in half, sl st the ends together along the first and last row.
If you prefer sewing, you can do that instead! Fasten off and leave a really long loose end to sew it up as well as close the top of the beanie.
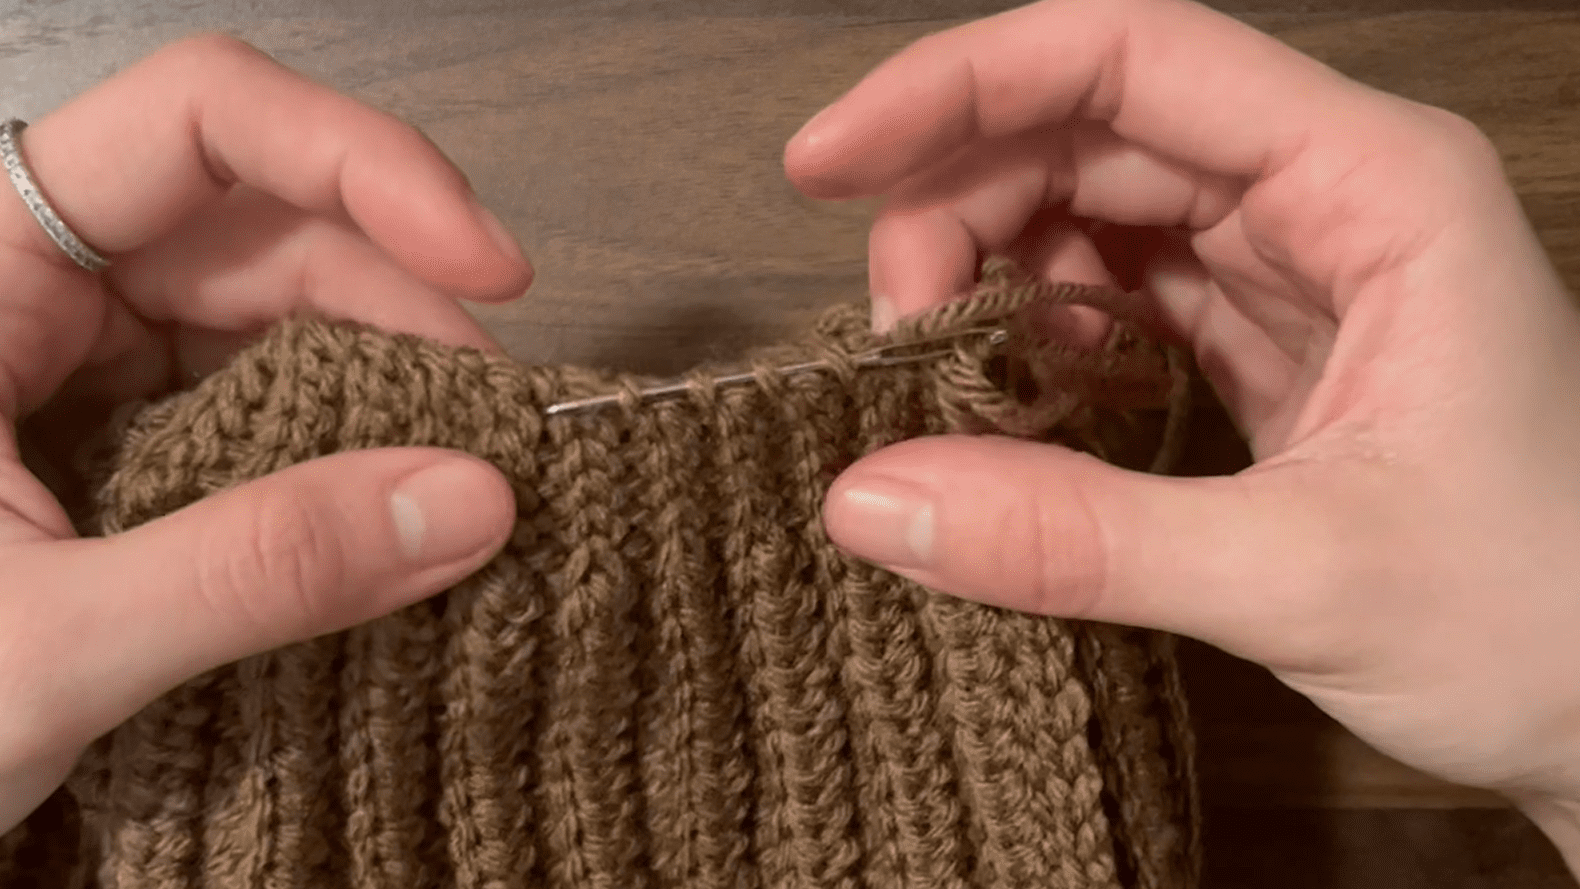
Close the Top
Fasten off, weave the yarn through the top stitches to close the hole.
Weave in Loose Ends
Hide the loose ends by pulling them inside the hat and weaving them under a few stitches using the yarn needle. Trim any excess yarn.
Turn the beanie inside out and fold up the brim. Enjoy your new, cozy no-bunch-beanie!


Hi Viv,
Thank you for providing this tutorial! This is a super specific request and not sure if you’ll ever see this – I’ve been wanting to make hats using this tutorial as christmas gifts for friends/family, and was thinking of crocheting a small/medium sized heart into the bottom so that when it’s folded up, the heart shows on the rim. I’ve seen a lot of videos of people crocheting hearts separately, but are you able to provide a tutorial on how to use another yarn and crochet one into a piece instead of having it separate and then later sewing it in?
Hi Andie,
That sounds like a really cute idea! To crochet a heart into a pattern like this, I would add it using pixel crochet. It might be hard to get the details for such a small heart, so I would also recommend doing surface crochet around it. So just slip stitching around your heart to smooth out the graphic! I hope this helps!
Just seeing this now – just wanted to say thank you for the super helpful tips 🙂
Thank you for this tutorial! I am excited to try it. How do I make it wider/longer for a bigger head circumference of 23 inches? Thank you.
No problem! The sizing is based on how many rows you do, so you would keep doing rows until you can wrap it around your head without stretching. Once you fold up the brim, it will fit snugly!
To tag on to the earlier question about making it bigger, do we also have to increase the number of slip stitches or is it just a matter of increasing the number of rows?
Just the number of rows will determine the size! Doing more slip stitches will make it lay flatter, but won’t make much of a difference when you wear it
Thank you so much for responding so quickly! Very excited to start now!
hello! 🙂 wondering how much yarn was used for this beanie. a skein, more or less? i want to make it for a friend but have a little less than one skein in the color i want to use ! ty in advance :3
Hi! I used less than a skein! It was about 87 grams or 146 meters of medium weight yarn
hey viv!
thank you so much for this easy pattern! i’m so excited to make one, it’s a gift for my dad 🙂 i was wondering what you would recommend doing to use different colors for the beanie, like stripes!
Hi Brailyn! That’s so sweet; I’m sure he’ll love it! For this pattern, I would recommend doing 2 rows of each color. This is so you can drop the color and pick it up on the same side, and you wont have to keep cutting the yarn.
Hello Viv,
Great crochet patterns. I am a fairly experienced crocheted and like making the ribbed hats. However, I don’t seem to be able to keep the correct number of stitches, I nearly always loose one along the row. Any thoughts and suggestions would be greatly appreciated.
Thanks. Stephanie
Hi Stephanie!
In your very first row, I would recommend putting a stitch marker in your first and last stitch! Then, just make sure you put a stitch into that space and move it up to the next row.
I was wondering how many meters/yards of yarn you used
I used about 146 meters / 160 yards!
Wow thanks for the quick reply 🙏😊
Hi 🙂 If i’m using more bulky yarn a level 5, do you suggest 45 initial chain stitches or should i bring that down?
If you want the length to be the same as mine (26cm), you will need to do fewer chains!
Hi! This is such a good tutorial and I love the fact that it doesn’t bunch at the top! Just wanted to ask when slip stitching the hat together along the row is it BLO or just normal slip stitches?
Thank youu!!
Hi, thank you! I like to slip stitch through the outer loops, so the front loop of the end in front and the back loop of the end in the back. I hope that makes sense! It’s probably clearer if you watch the video tutorial for it
Hi, I would like to convert this pattern to DK yarn for a child. Do you have any suggestions, please?
Sure! This pattern works for all yarn sizes. I would recommend measuring the length from their eyebrows to the crown of their head. Then chain that length + the length you want the brim to be. Then, work rows until it can wrap around their head without stretching. I hope this helps!
Hi, Im noticing that at the edges (on both sides, the end of the beanie with the half double crochets & the top of the beanie with the slip stitches), its getting shorter & short each row, but im not missing any of the stitches at the end. There’s literally no more stitches at the end for me to crochet for me to extend it. Im not sure if im making sense.
Hi! Yes, that makes sense. I think you still might be missing stitches, just the first or one/some in the middle. To check, count the number of stitches in your last row. If the last row has less than your first, then you missed stitches. If you have the same number of stitches, then your tension might have gotten tighter over time (which is less likely).
Im having the same issue 🙁 always loosing one stitch even if doing it really slowly and counting every time
Had this problem when I first started to crochet. Use two stitch markers. Put one in your first stitch on each side. That way you are sure to not miss it. Move it up with each row until you get use to seeing where the last stitch is.
Hi! I’m having problems with closing the top neatly. I put the needle through all the stitches, but there’s still a small hole and the top looks really lumpy. What might I be doing wrong?
Hi, I’ve had that problem before! I was always able to fix it by skipping stitches, so try skipping every other stitch when you sew up the top and see if that helps.
Hi , I was wondering if I could use this pattern to create customized beanies for selling?
Sure, no problem!
Hi Viv, thank you for this tutorial. it’s really easy to follow. So I want to make it for toddlers, ages 2 and 6, at what stitch do I start doing the slip stitches? I’d really appreciate your help on this, thank you!
Hi! Start with a foundation chain the length of the beanie you want (brim not folded), then you can hdc across leaving about an inch at the end, then sl st for the rest of the row.
Awesome! Thank you so much!
No problem!
Hi Vic,
Thanks for sharing your pattern! If I want to keep your head measurements but have a yarn that calls for a 6.5mm hook, how should I modify my stitches?
Hi! It sounds like your yarn is thicker than mine, so you’ll need fewer stitches and rows. You can chain until you get 26cm for the vertical length, then add rows until it fits!
Wow I really appreciate your quick response! You know that feeling of wanting to start right away, thank you so much!
I do!! No problem!
Hi! Quick question, on here you say to sl st5 for Row 1
starting in 2nd ch from the hook, sl st5 and
sl st5 for Row 2
ch1, turn, sl st5 in blo, hdc40 in blo
But when watching the video I’m not seeing you Slip Stich at either of these spots… could you please tell me what way I should do this, with or without a slip stich?
Hi, for Row 1, the slip stitches are at the end of the row. You can see them in the video at the 2:25 minute mark.
For Row 2, the slip stitches are at the start of the row. You’ll see me do these right after the slip stitches in the first row and I chain 1 and turn.
Um, sorry but at 2:25 in the video is where you just finished your chain and about to start row one. And in the video when you get to the end of row one you talk about and only do the 5sc chain one and then the other 5sc no slip stitches
Oh, that’s a different video! I have two beanie patterns, one with sl st and one with sc. You can scroll up to see the correct video. Or, here’s the link to the green beanie pattern with sc: https://vivcrochets.com/easy-crochet-ribbed-beanie-free-pattern-tutorial/
This pattern looks awesome! I’m just wondering about the turning chains since usually for half double crochet I would chain 2 I’m just wondering why it’s chain 1.
Thanks!
Thank you! You can do either chain 1 or chain 2 for half double crochet. It’s just personal preference
hi! i made your beanie and i really love it, but i’ve had some troubles tightening the top once i sew it all together. it bunches and ends up not seamless like the photo you attached. do you have any recommendations as to how i could fix this? 🙂
Hi! Make sure you’re skipping every other row when you cinch the top. If you did already, try skipping every 2 rows!
You can also undo some rows, but only do that if you’re okay with it fitting a little tighter!
Loved making this beanie! First time i definitely lost some stitches as i went so the ending was rough but it turned out good and I enjoy the beanie!
Hi Viv,
I don’t have a 5mm hook, but I do have 4.5 and 5.5. If I were to use one of those instead of buying a new hook, which would you suggest? Is the difference of half a mm trivial or not? Thank you! I love your patterns!
Hi Shannon,
Thank you! I personally would choose the 5.5mm hook because my tension is on the tighter side, but it won’t make too much of a difference either way. Since you’re using different materials, make sure that you measure it for the size you want!
I looooove your tutorials! Very easy to follow, beginner-friendly, and very specific with the directions. I normally don’t give feedback, but since you’ve become my crochet teacher, I wanted to express my gratitude. I also love the aesthetics of your site, very relaxing. Thank you once again for this wonderful gift to all of us.
I tried this and I don’t know what I did wrong but it’s very small (has no place for flipping it inside out like yours) and it also doesn’t look no-bunch like yours but rather has two pokey sides😭 I’m a beginner with only a month of experience so I feel like I might be messing up the stitching style or something but I don’t know what went wrong! can you help me?
So.. I’m halfway through my 2 and 3 row repeats, and I just realized I misread the pattern. I used single crochet instead of slip stitches. Do you think this will cause issues?
I have been crocheting for about two years now and from the very beginning my husband has been begging me to make him a beanie. Every single pattern I have used (and frogged and restarted and frogged and restarted) has ended up looking wonky AF. Until now. This is the easiest, best looking hat pattern. He loves his hat! Thank you SO much dude!