Checkered Crochet Shoulder Bag | Free Pattern & Tutorial
See the free crochet checkered shoulder bag pattern and video tutorial below or purchase an ad-free, printable PDF file of this pattern!
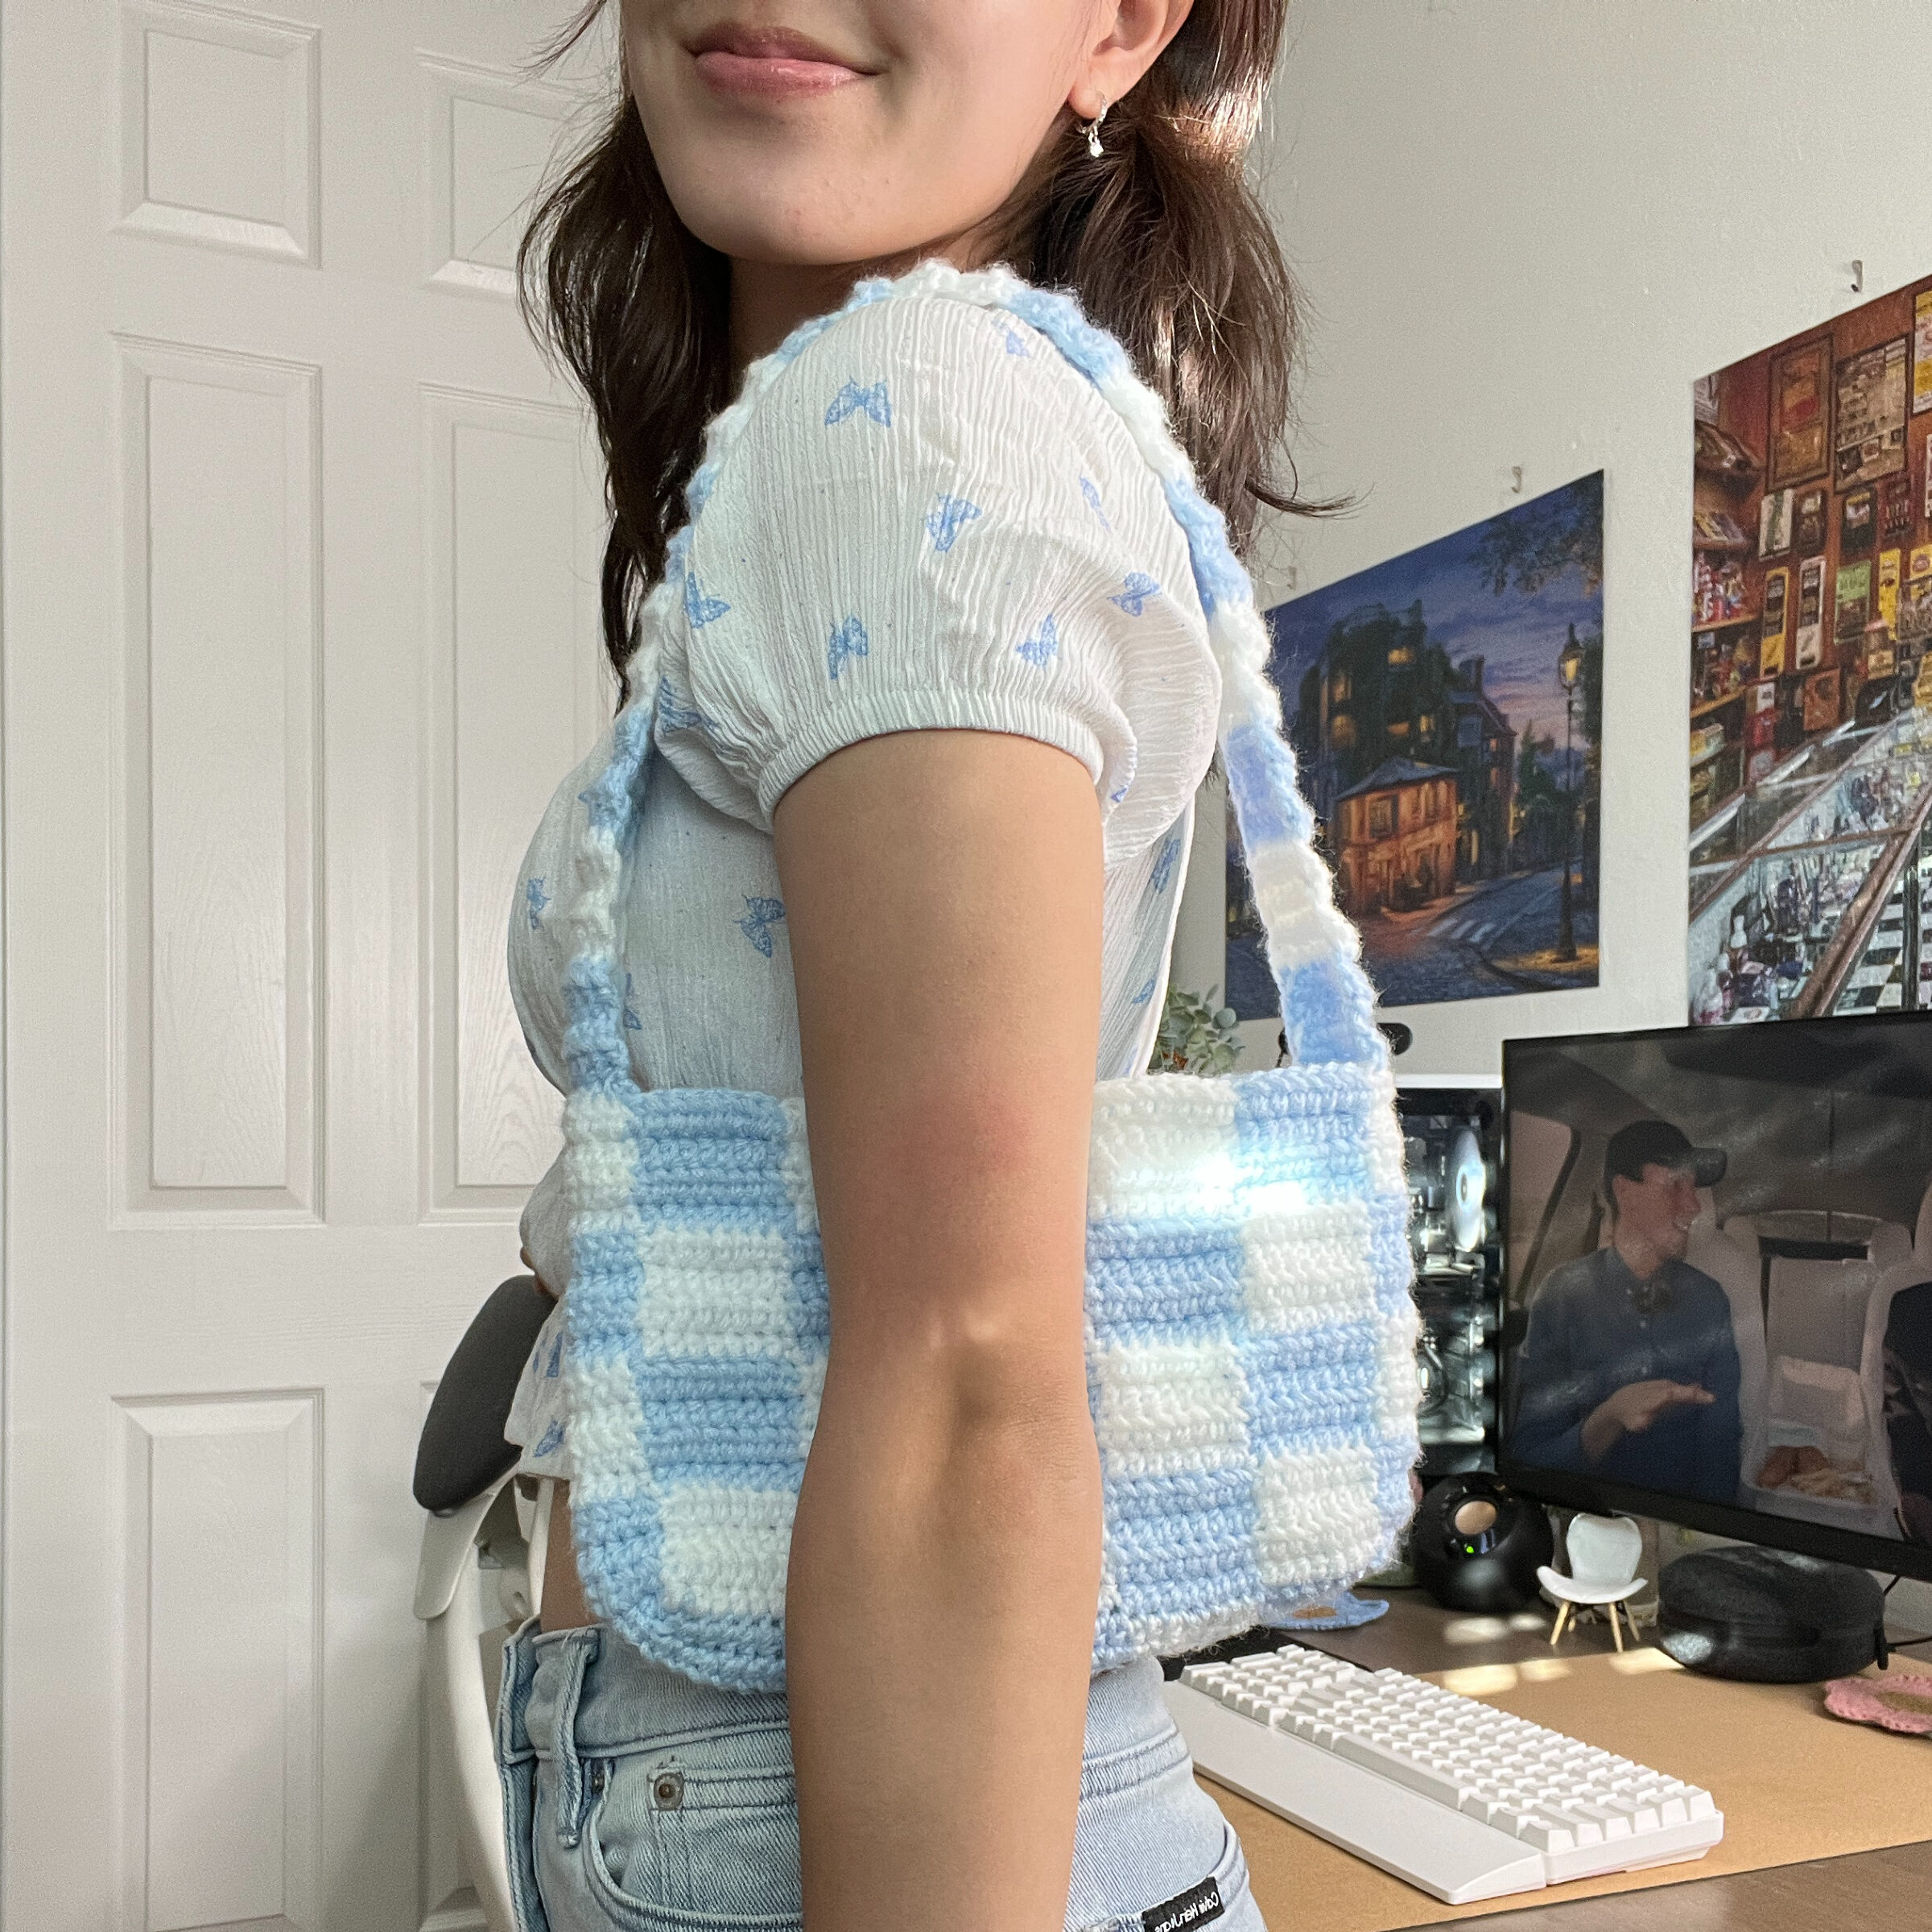
This basic crochet shoulder bag is the perfect summer accessory! It’s crocheted in just one piece, with barely any sewing, and you end up with only four loose ends. The simple shape makes it a great choice for any outfit, and the checkered pattern allows for endless customization with fun color choices.
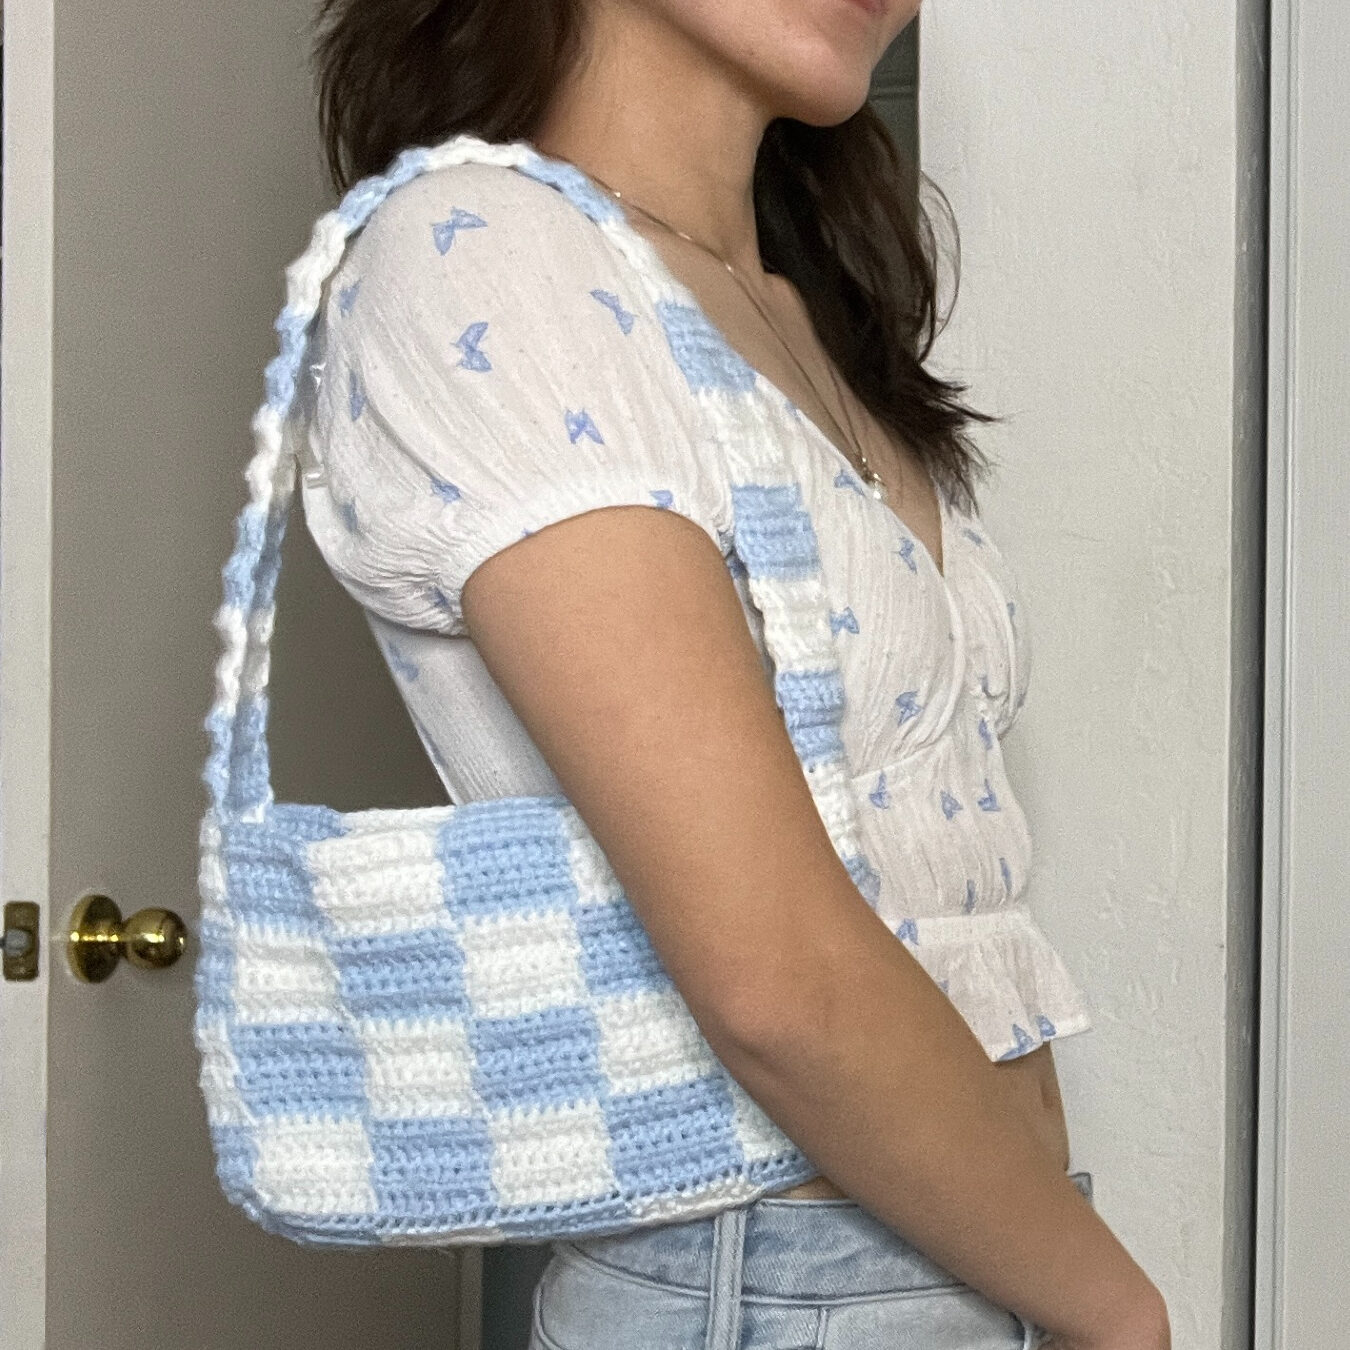
Advanced Beginner Crochet Project
This crochet shoulder bag pattern is most suitable for advanced beginners. It’s simple in that it uses only one stitch throughout the pattern, but it does use the tapestry crochet technique, which beginners may not be comfortable with.
If you are a beginner and want to attempt this pattern, you definitely can! With the help of the video tutorial, this pattern is much more manageable. I go over how to do each step in crocheting this bag, such as how to chain, half double crochet, slip stitch, carry the yarn, sew the strap, and weave in the loose ends.
If you’re looking for something a little easier, try this mini shoulder bag without a checkered pattern. It uses the same stitch, the half double crochet, but there are no color changes.
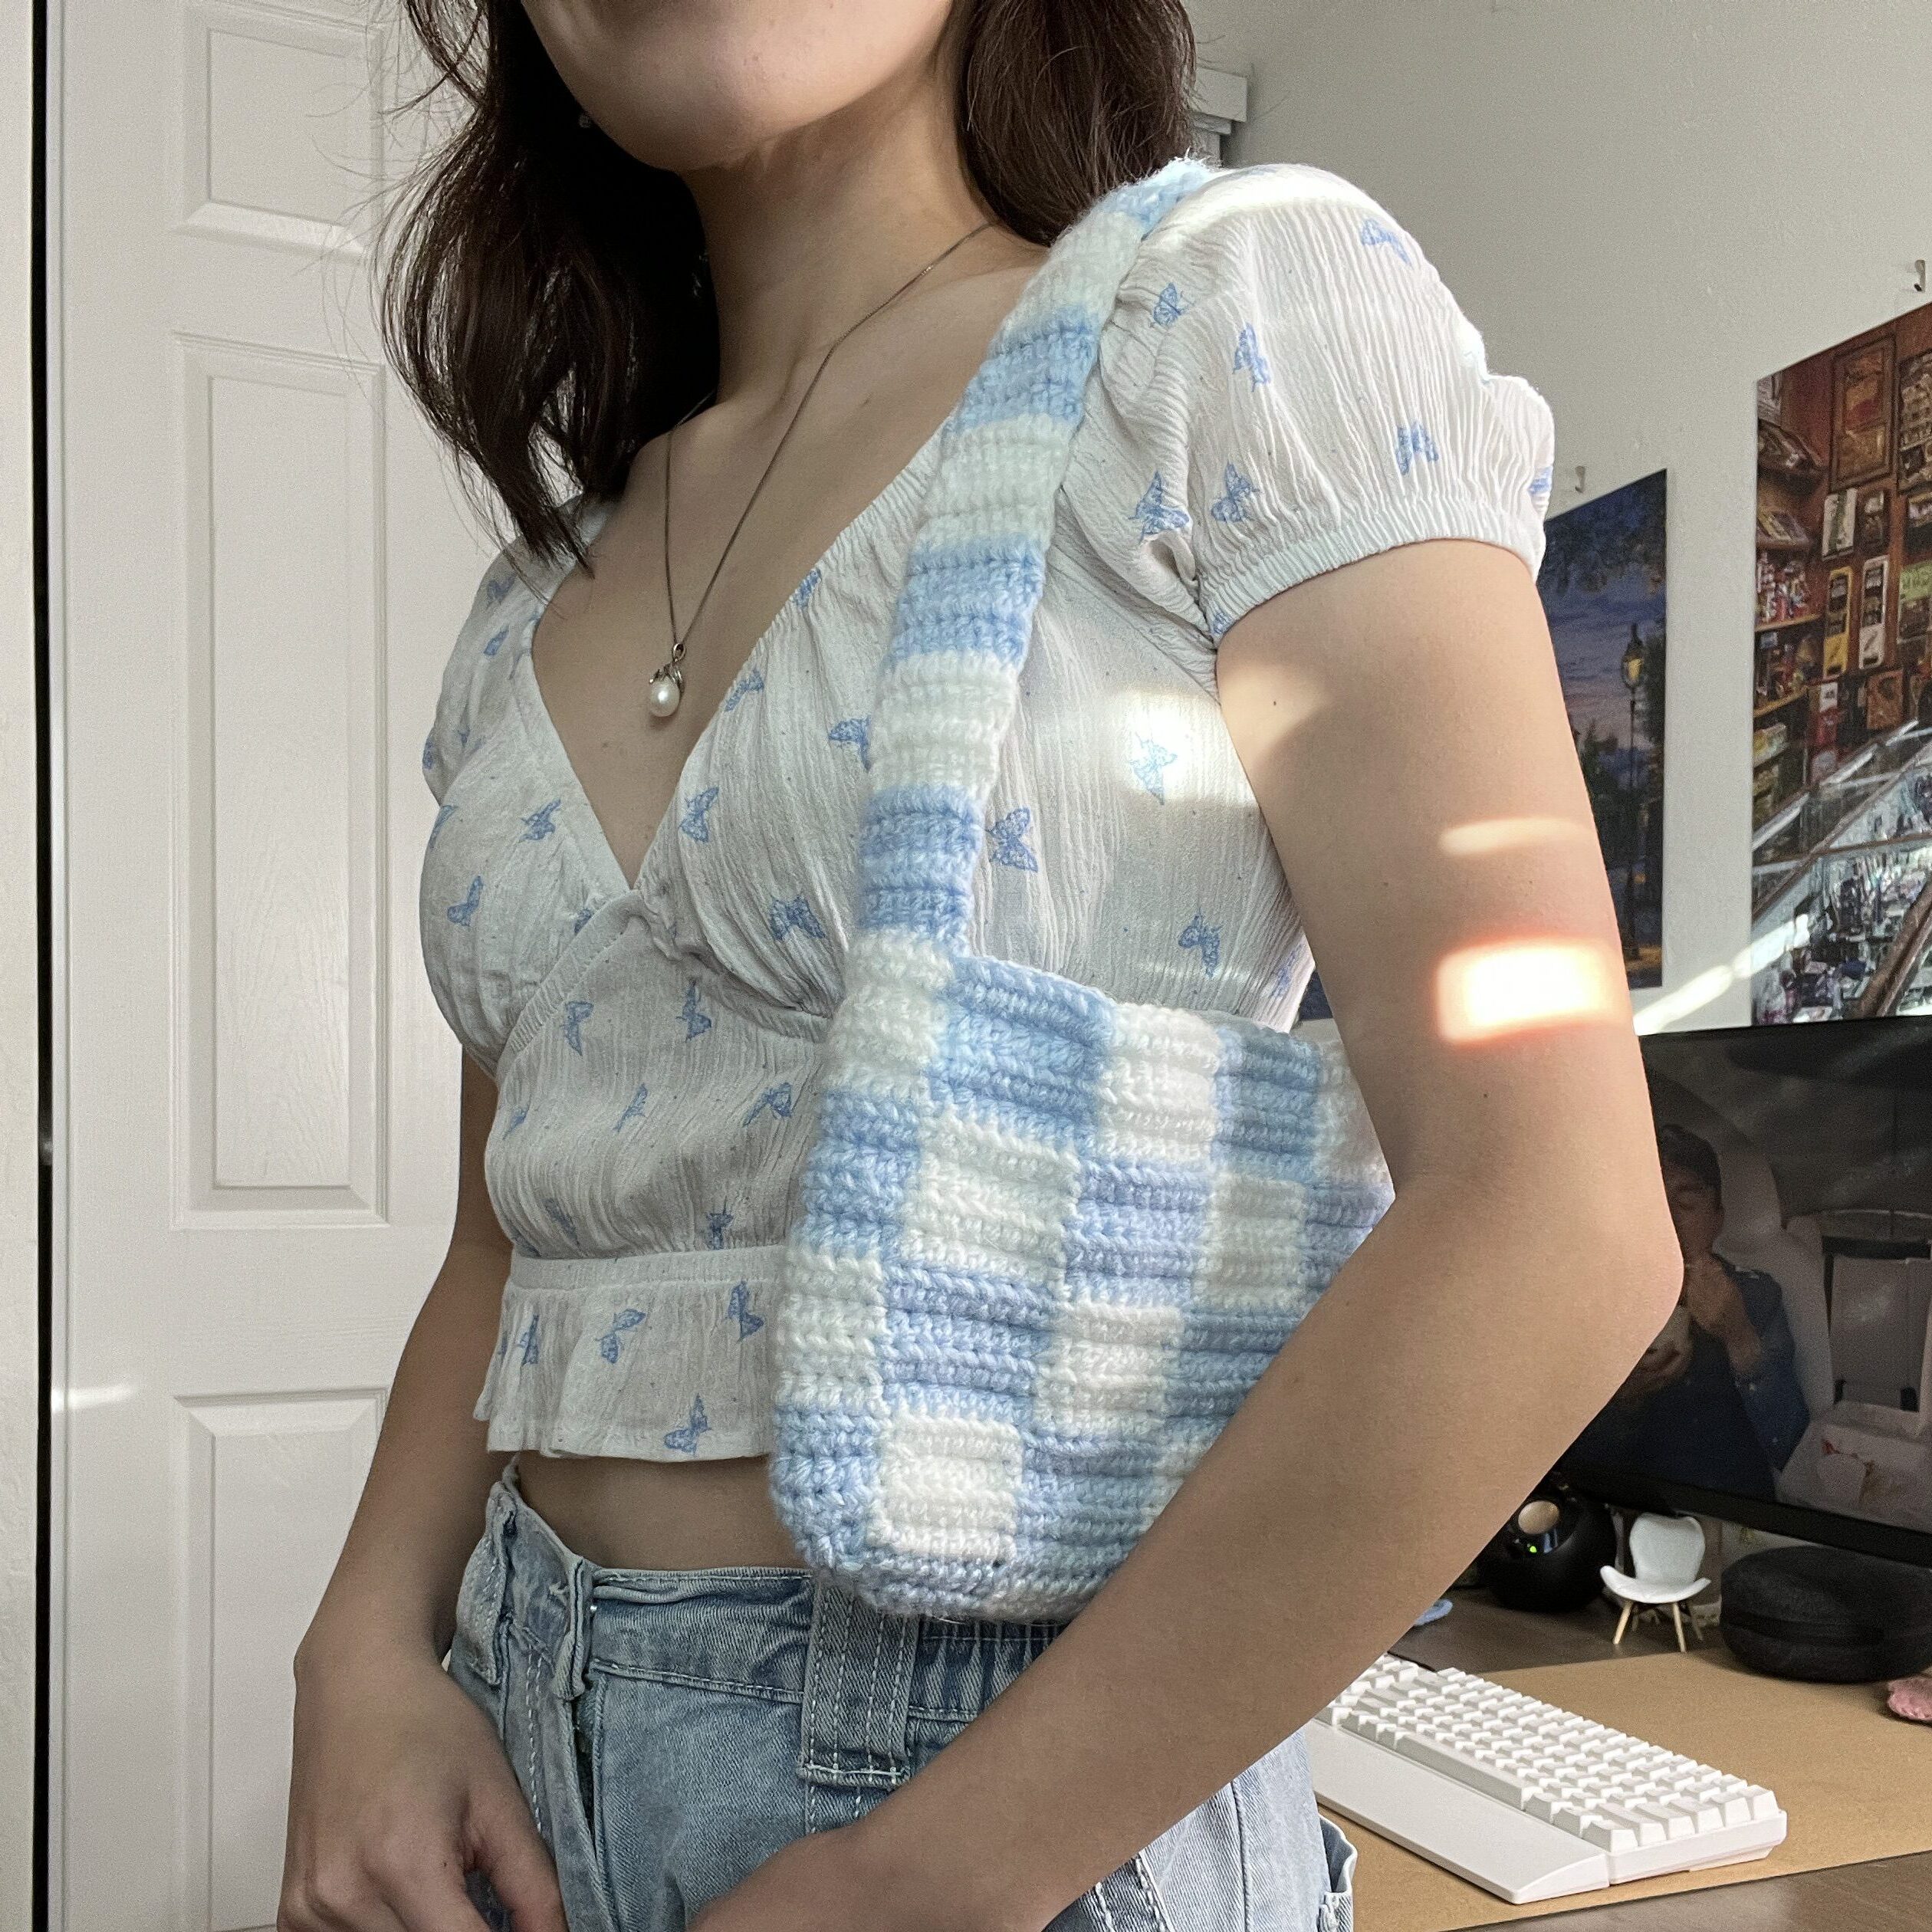
Crochet Shoulder Bag Size
The size of this shoulder bag can be changed by editing the base of the bag. If you change the base, you will also have to change other parts of the pattern. The notes within the pattern let you know when to adjust the number of chains or rows to change the size.
You can also change the size of the bag by changing the size of each square. Instead of the 4 rows of 8 half double crochets for each square, you can try 3 rows of 6 half double crochets for a smaller bag or 5 rows of 10 half double crochets for a larger bag.

Project Overview
This crochet shoulder bag is made in one piece with barely any sewing! We start with the base of the bag and then build up the height of the body. And finally, crochet the strap and sew the end of it to the opposite side of the bag.
Scrap Yarn Crochet Project
This project uses less than half a 100-gram skein of yarn per color, so you can use leftover yarn to make it.
Choosing the Right Yarn
When crocheting bags, I tend to choose mercerized cotton for durability and less stretch. However, in this project, I chose aesthetics over functionality and went with acrylic yarn in the colors I wanted.
The yarn that is right for you depends on what you plan to do with the bag. If you just need it to hold your lip balm and wallet, then acrylic yarn is enough. But if you want to hold your lip balm, wallet, phone, keys, and more, you might want to choose a stronger yarn.
There are ways to strengthen a crochet bag after it’s been completed, no matter which type of yarn you use. You can do slip stitches along the base and strap to reduce stretchiness, or you can line the inside and the strap with fabric.
Crochet Checkered Pattern – Each Square
Each square in the checkered pattern is made up of 4 rows of 8 half double crochets. It measures 3.5 centimeters tall by 4 centimeters wide. If I were to make the square 5 rows tall, it would be taller than it would be wide. I chose to make it wider than tall because bags are more likely to stretch downward with weight.
As mentioned earlier, you can change the size of each square to change the size of the bag. How many rows and stitches you’ll need per square will depend on your yarn, hook size, and tension. Just remember to make your squares shorter than they are wide.
Patterns You Might Like
Checkered Crochet Shoulder Bag Video Tutorial
You can follow along with my YouTube video to crochet a checkered shoulder bag! I have timestamps included to section the video and help you jump to any point you need to!
This post may contain affiliate links. I may earn a small commission on qualifying purchases at no additional cost to you!
Materials
- 80 grams of medium weight yarn (Big Twist Value in “Sky Blue” and “White”)
- 5mm Clover Amour crochet hook
- Scissors
- Yarn needle

Dimensions
Each square: 3.5 centimeters tall x 4 centimeters wide (1.38 x 1.57 inches)
Bag (excluding strap): 15.5 centimeters tall x 24 centimeters wide (6.10 x 9.45 inches)
Strap: 49 centimeters long (19.29 inches)
Gauge
12 rows of 20 half double crochets makes a 10 x 10 centimeter square
Notes and Tips
- This pattern is written using US crochet terms
- The chain 1 at the beginning of each row/round does NOT count as a half double crochet
- Carry the yarn you’re not using in your stitches
- Do not change colors at the end of the row/round unless it is a 4th round (4, 8, 12, …)
Color Notation
For this pattern, I wrote “switch colors” instead of “switch to color A” because many of the rows/rounds are the same, just with a different color. I think writing it this way makes it a little easier to comprehend the pattern.
If you have any questions, please leave them in the comments!
Abbreviations
ch = chain
hdc = half double crochet
rep = repeat
sl st = slip stitch
st = stitch
Base
Foundation: With any color, make a slipknot, ch40 + 1 turning ch
Note: Chain less for a (horizontally) shorter bag and chain more for a longer bag. The number of chains (before turning ch) must be a multiple of 8, like 32, 40, 48, and so on.
We’re making our first row of squares, so we’ll align stitches of the same color directly on top of each other.
Row 1: hdc in 2nd ch from hook and in next 7 ch, rep[switch colors, hdc in next 8 ch] across (40)

Row 2-3: ch1, turn, hdc in next 8 st, rep[switch colors, hdc in next 8 st] across (40)
Row 4: rep[Row 2], switch colors
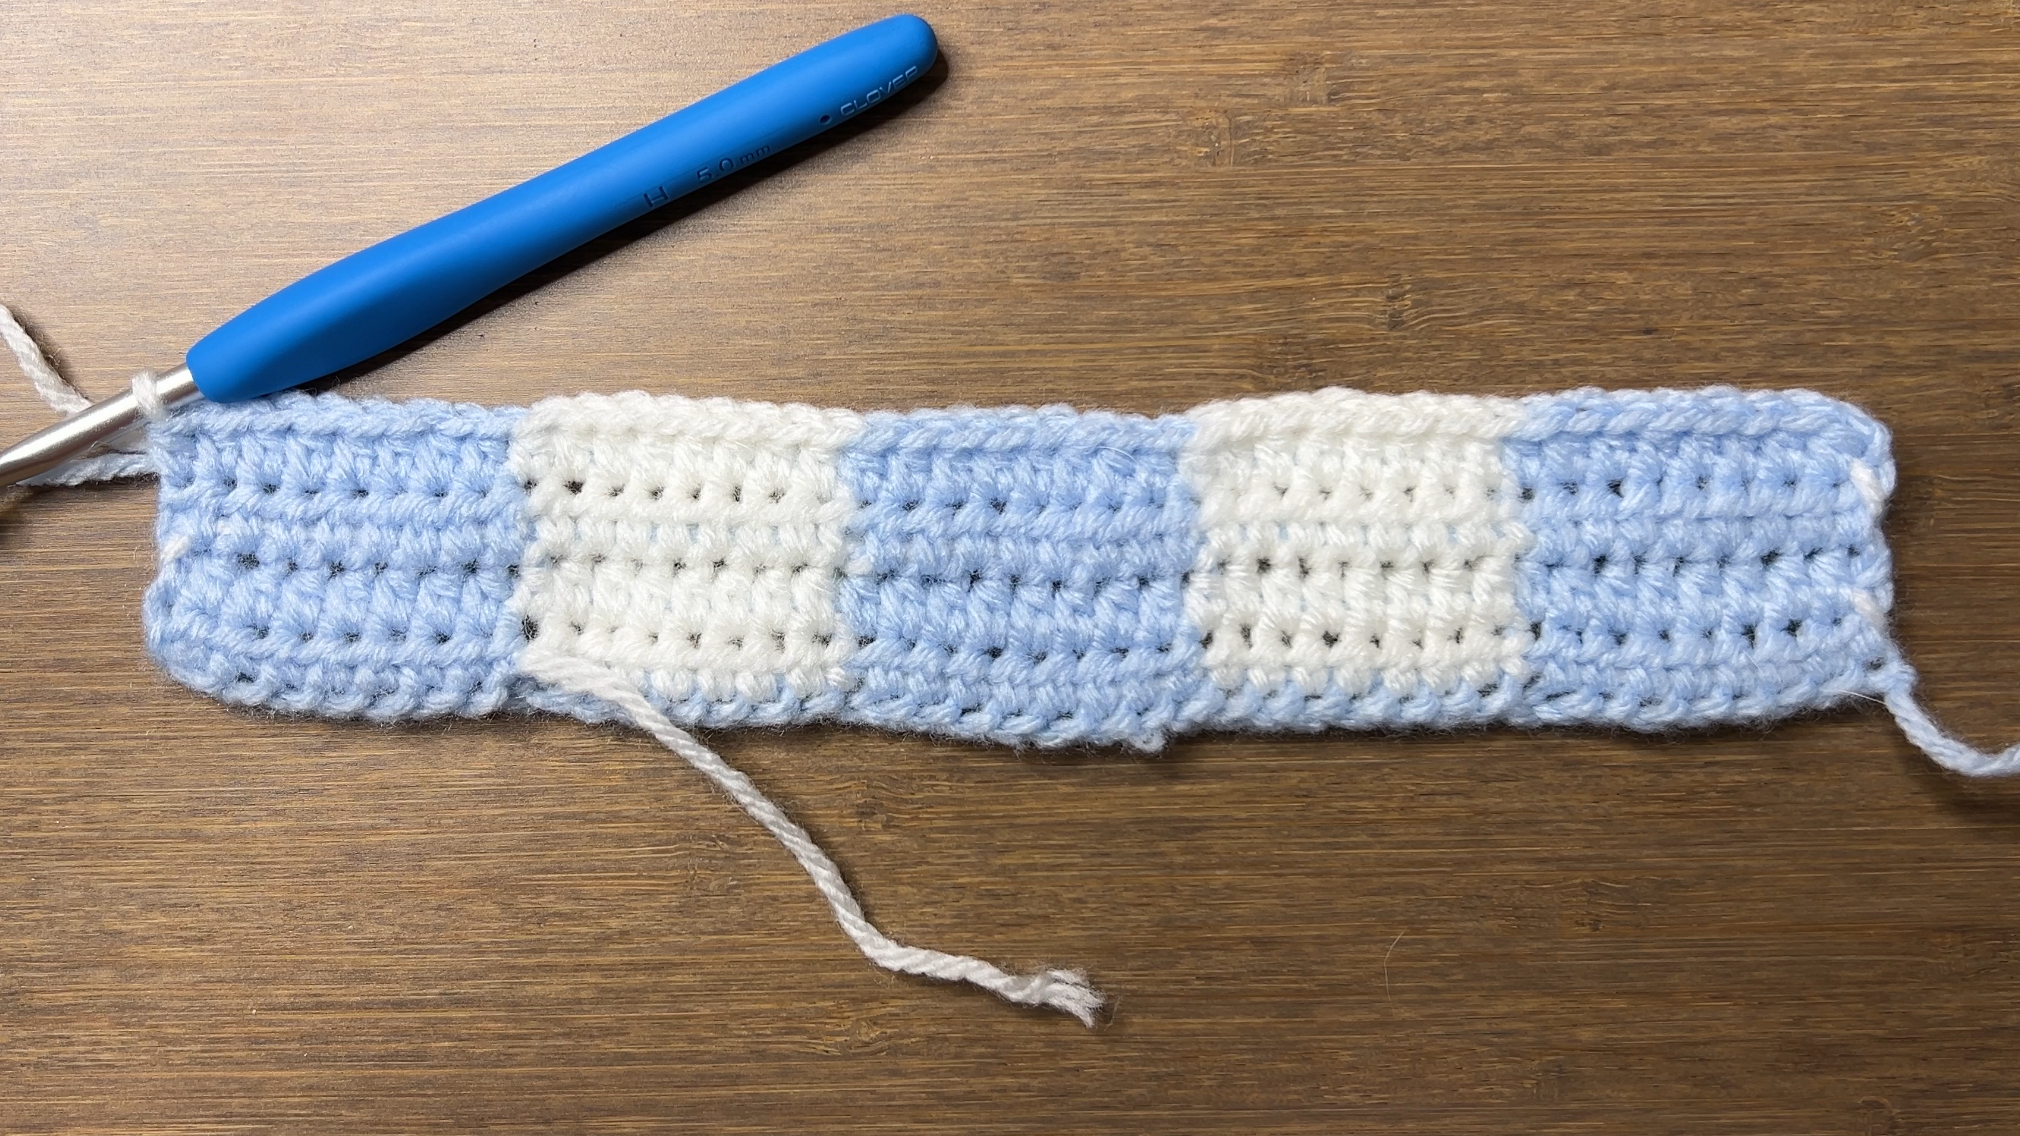
Note: To make a wider bag base, add 4 more rows of opposite color squares on top. This will change the body and strap pattern since it will have 2 squares on the sides of the bag instead of 1.
Body
Now, we’ll be working in rounds around the base to build up the height of the bag.
Round 1: ch1, turn, *rep[hdc in next 8 st, switch colors] across, rotate to work along the side,
hdc8 along the side of the 4 rows,* switch colors,
rep between ** once more, sl st (96)
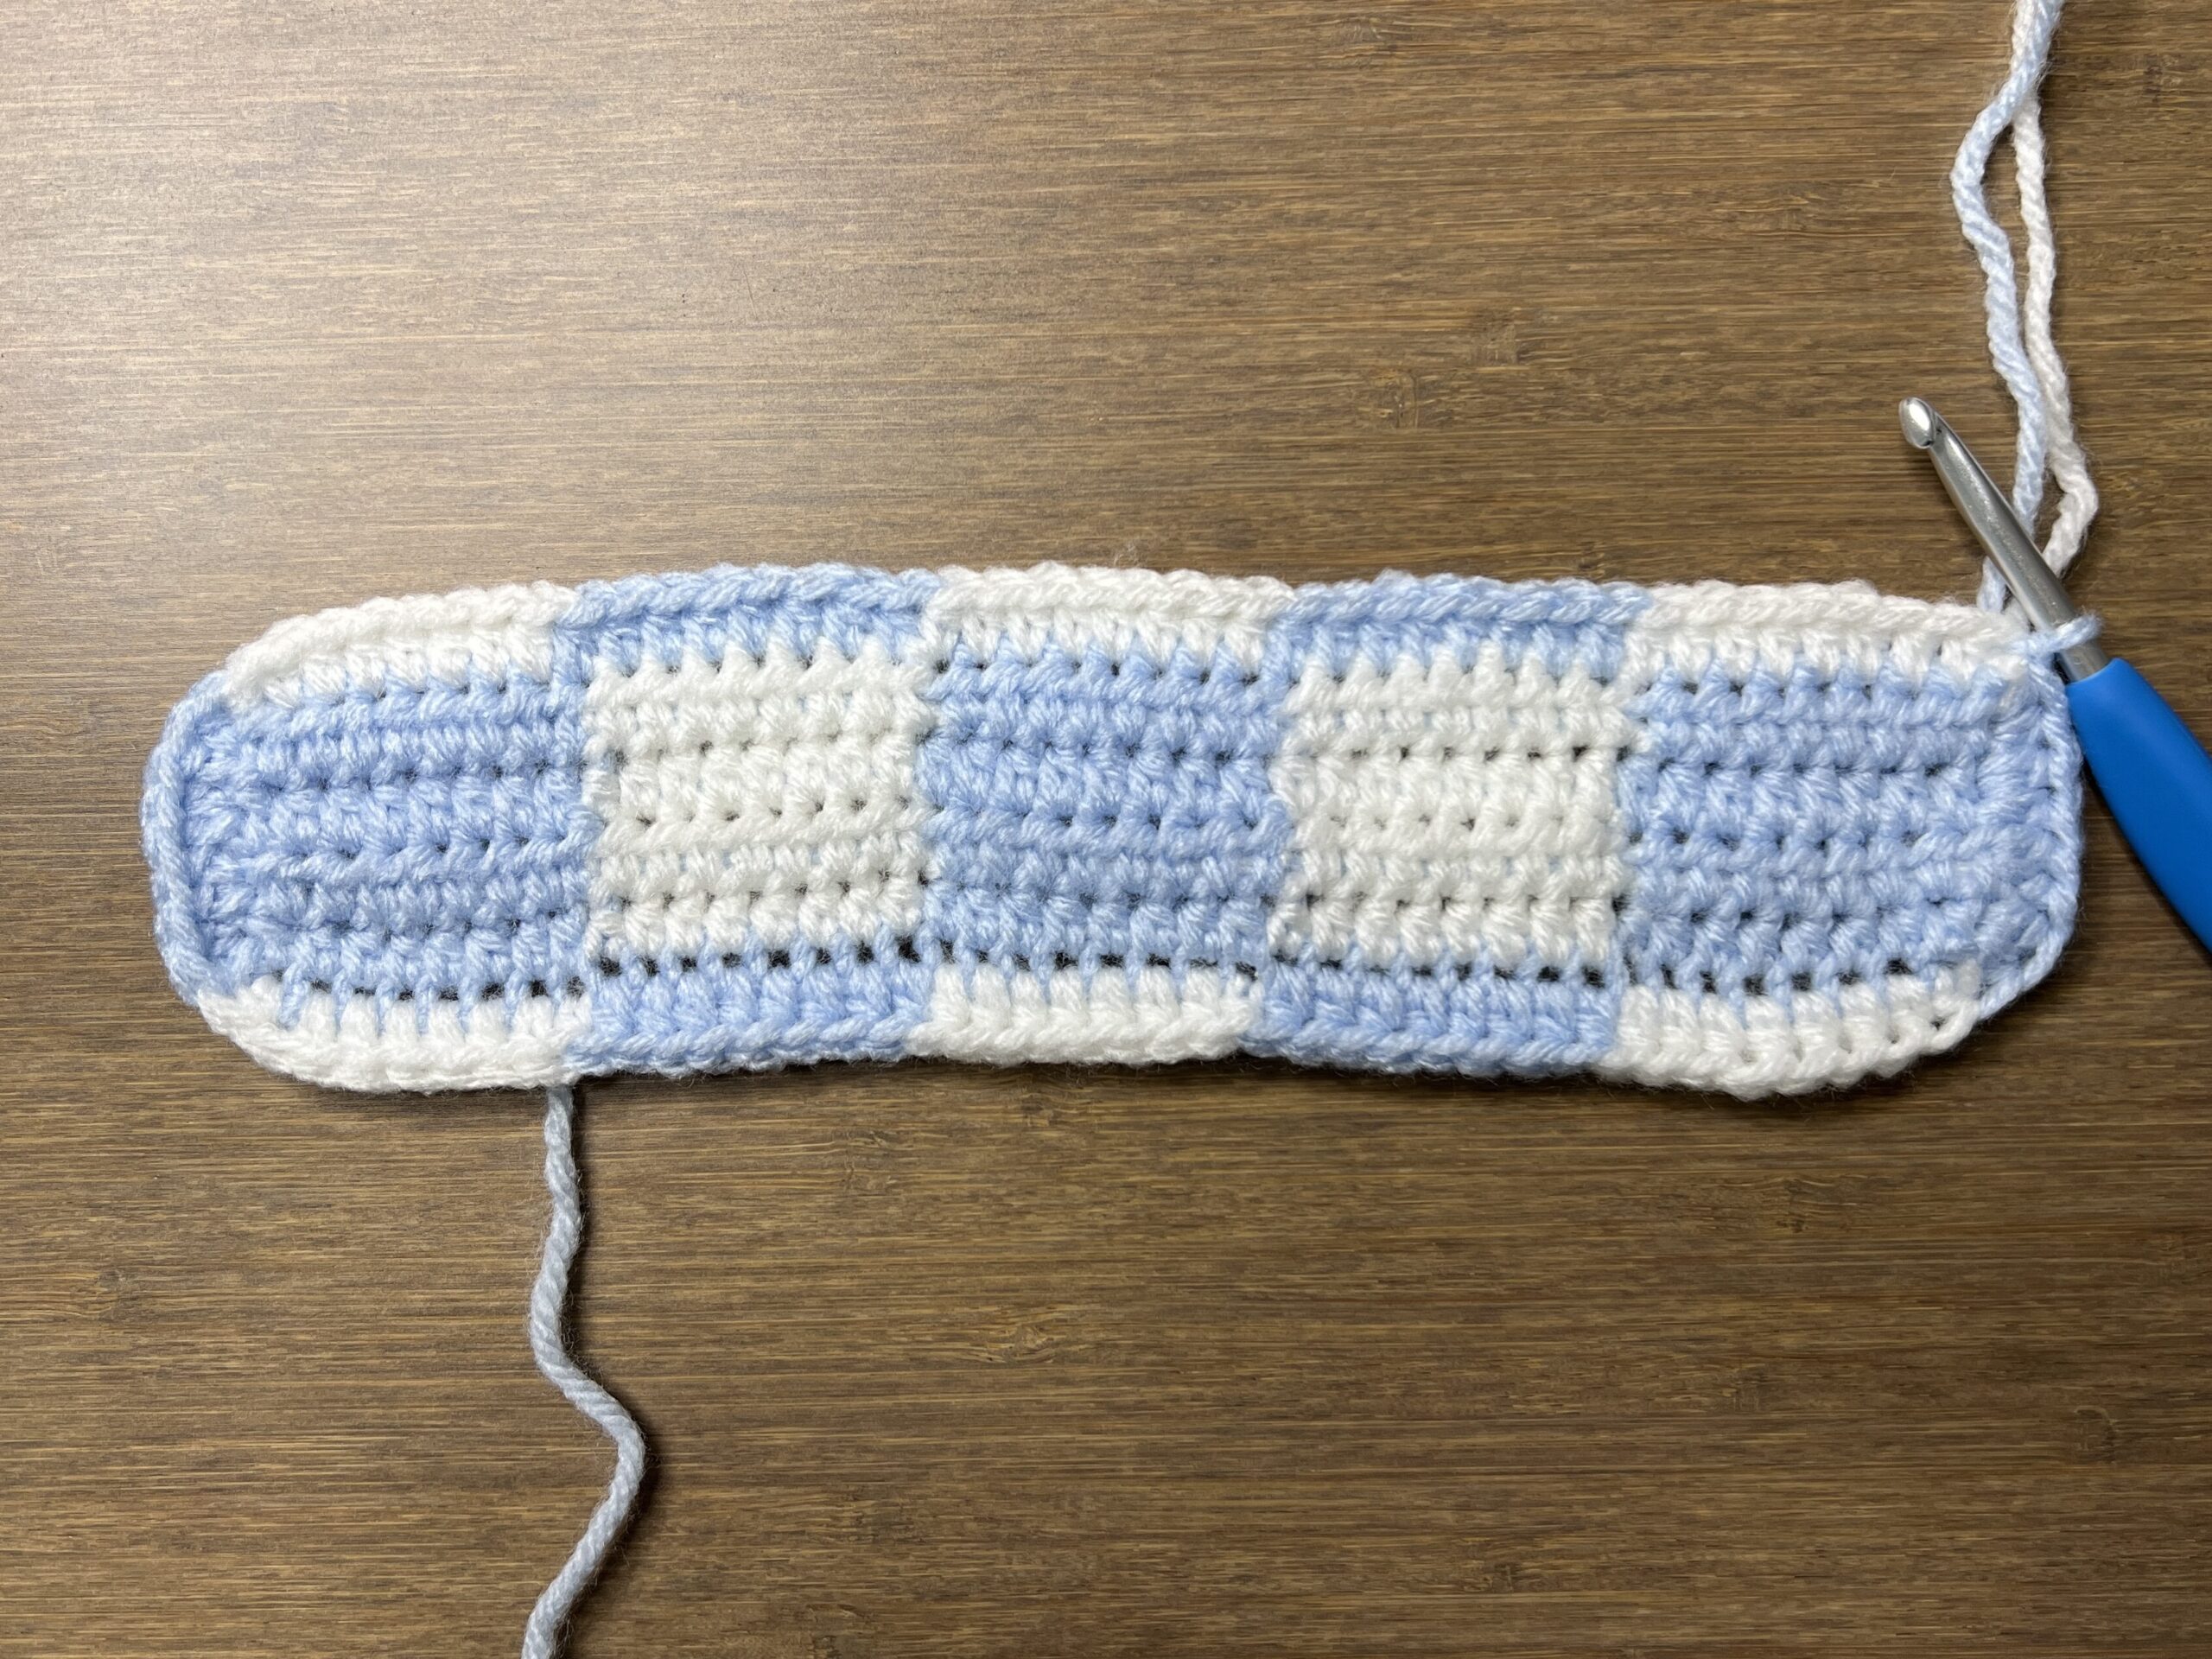
Round 2-3: ch1, turn, hdc in next 8 st, rep[switch colors, hdc in next 8 st] around, sl st
Round 4: ch1, turn, rep[hdc in next 8 st, switch colors] around, sl st
The only difference between Rounds 2-3 and Round 4 is Round 4 has a color change at the end of the round before the sl st, while Rounds 2-3 do not.
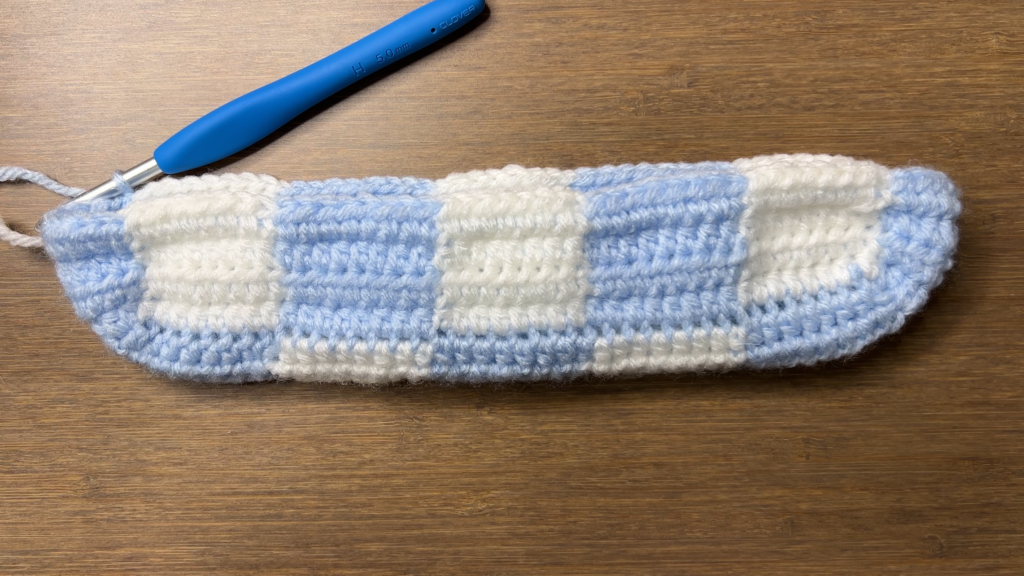
Rounds 5-15: rep[Round 2] 3 times, rep[Round 4]
In case it’s unclear, this means that Rounds 5-7 are repeats of Round 2 and Round 8 is a repeat of Round 4. Then, Rounds 9-11 are repeats of Round 2 and Round 12 is a repeat of Round 4. And the pattern continues like that.
Round 16: rep[Round 2]
For the very last round before the bag strap, do not switch colors at the end of the round.
Note: To customize the vertical length of the bag, continue repeating these rounds until desired height. End on a repeat of Round 4 for a complete row of squares.
Bag Strap
Row 1: ch1, hdc in next 8 st (8)
Row 2-3: ch1, turn, hdc across (8)
Row 4: rep[Row 2], switch colors
Rows 5-60: rep[Row 2] 3 times, rep[Row 4]
Note: To make a shorter strap, do fewer rows. To make a longer strap, do more rows. End on a repeat of Row 4 in the opposite color of the square on the other side of the bag. This will give you a complete square and seamlessly continue the checkered pattern. Do a shorter strap than you think you need because it will stretch when items are placed inside!

Fasten off with a long loose end for sewing the strap to the bag.
Whip stitch the last row of the bag strap to the top of the square on the opposite side of the bag and tie a double knot.
Optional Finishing Touches
If you plan to use this bag often or use it to carry heavier items, consider lining the inside and the strap with fabric to reinforce it. Although it’s not as strong, you can also do slip stitches along the strap and the opening of the bag to help minimize stretching.
And if you want to keep the opening closed, you can add a tie, button, or zipper to keep it closed.
Finished Checkered Crochet Shoulder Bag
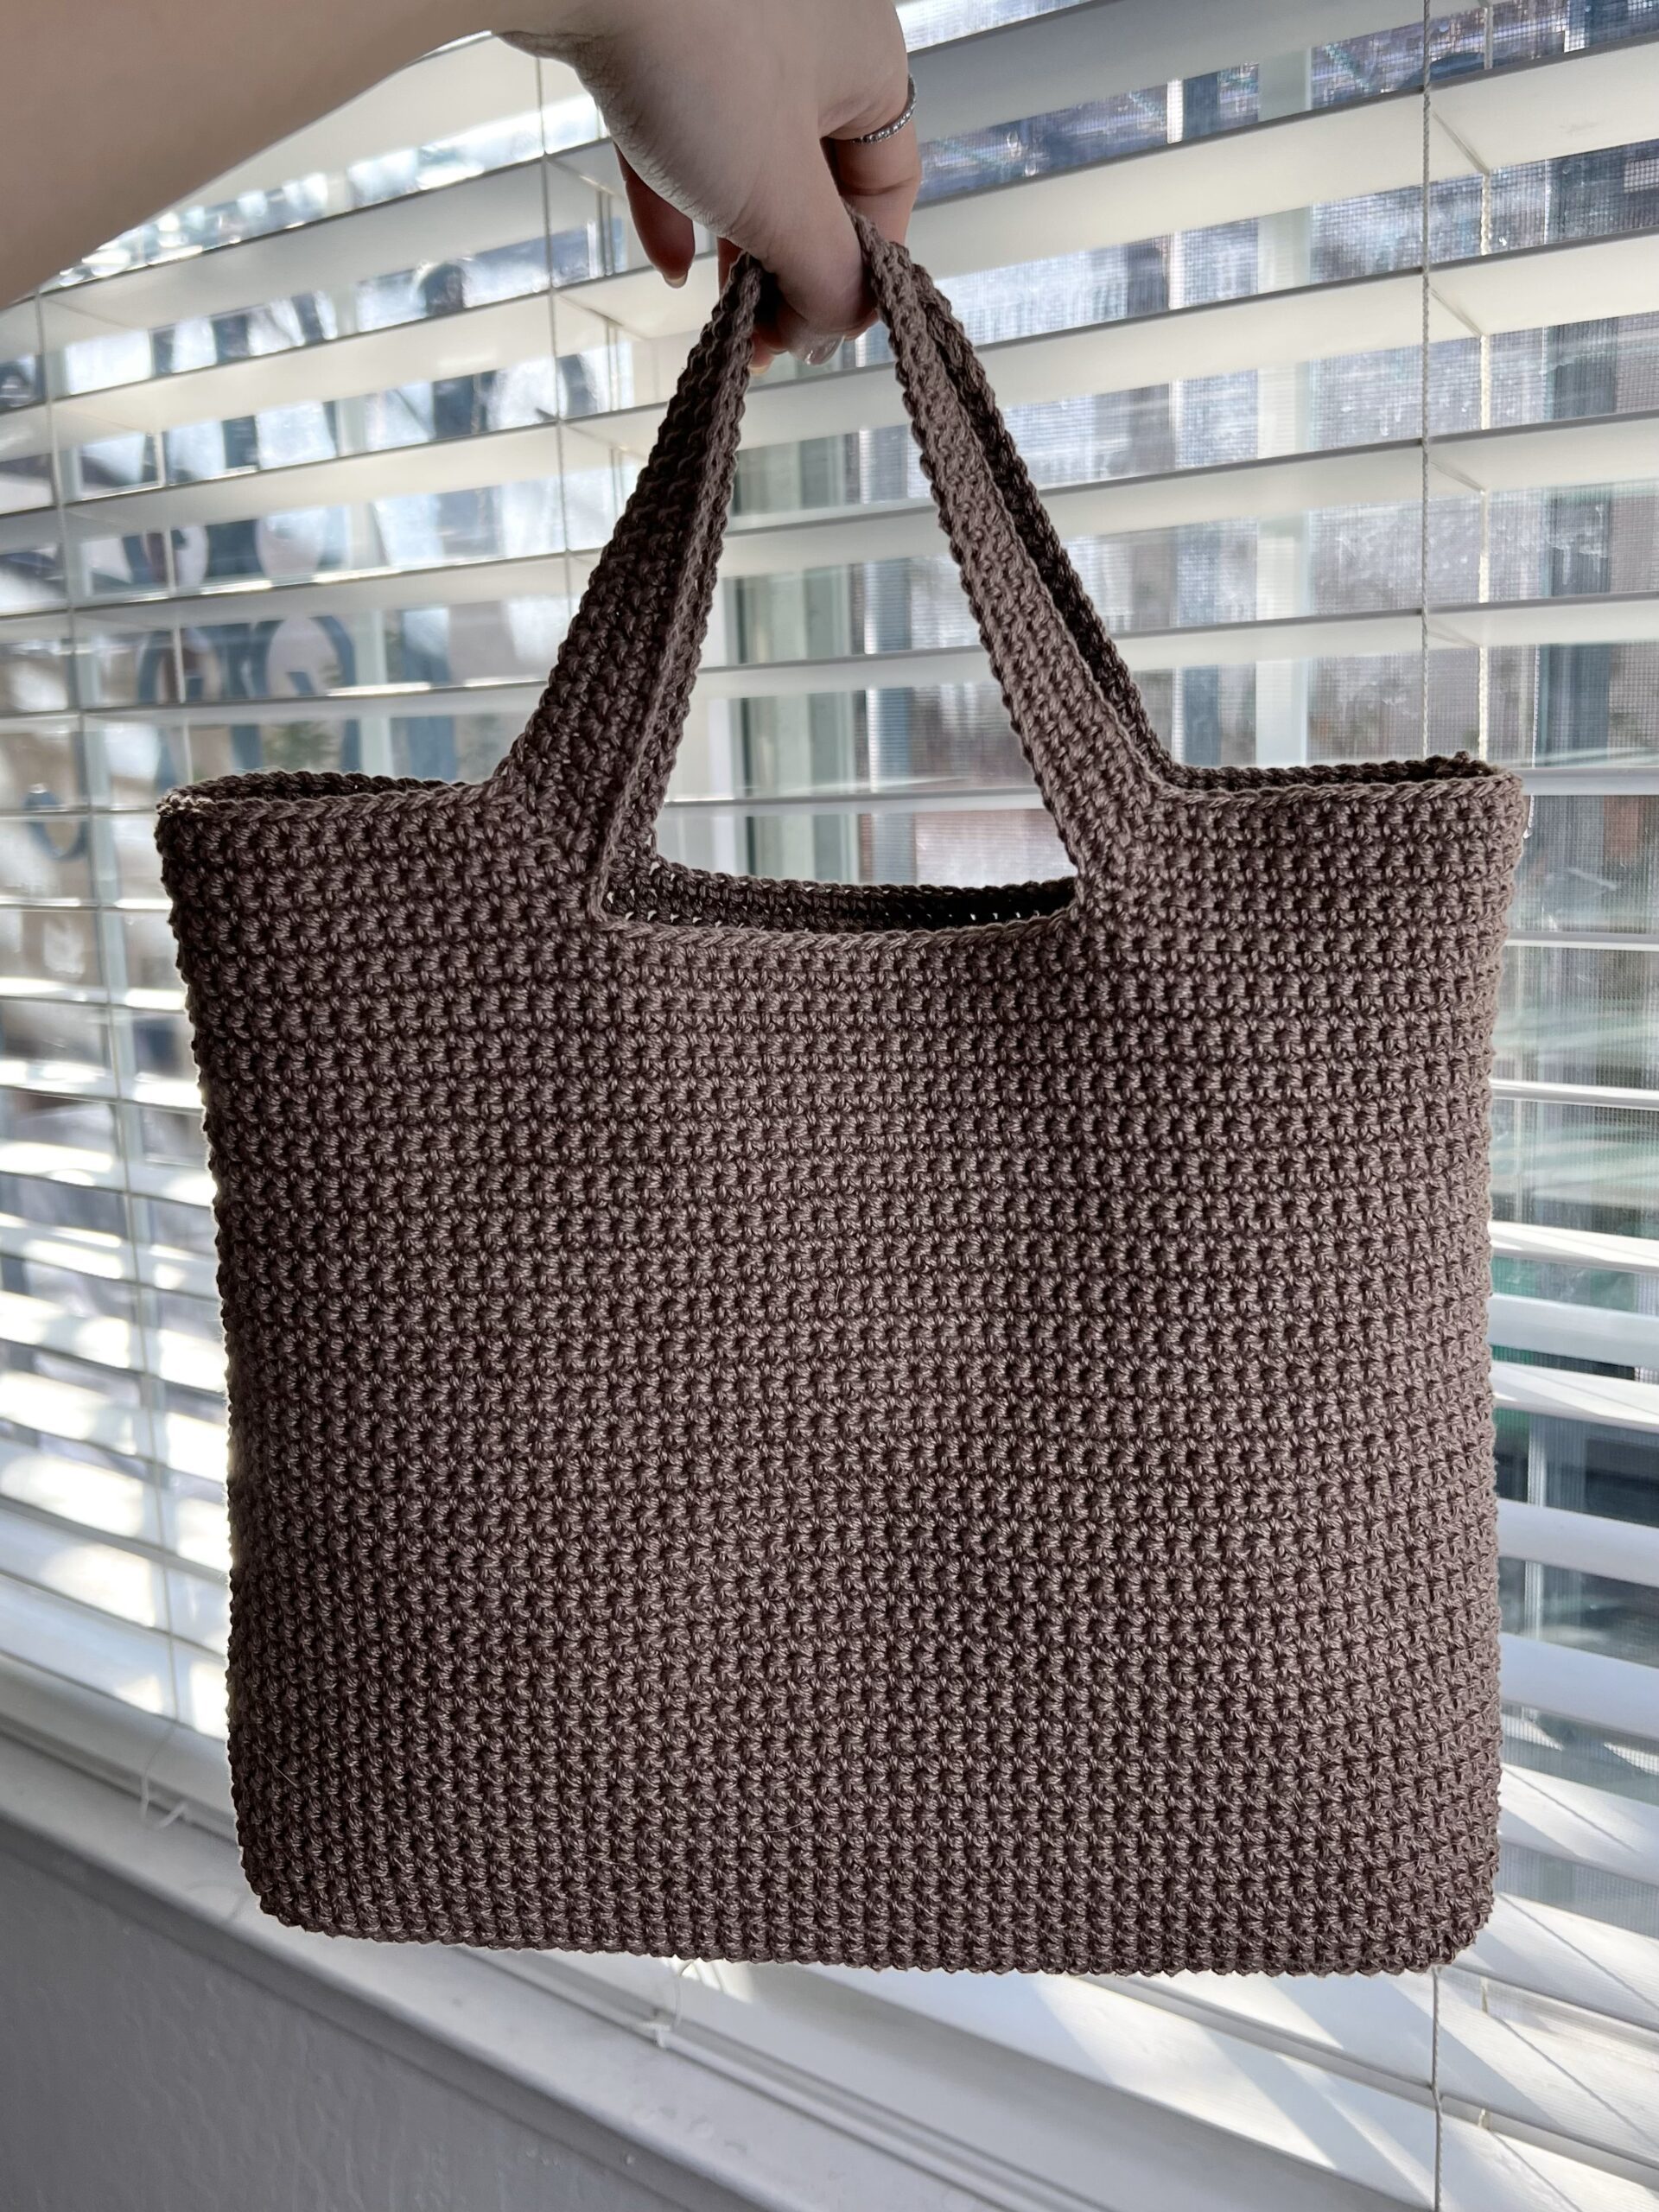
Weave in your 4 loose ends and your crochet shoulder bag is finished!

Now, you have a super cute crochet shoulder bag to carry your essentials this summer!





Love all the patterns, thank you! I have a question. Do you think bamboo-cotton yarn would be good for the bag?
It should work fine as long as the cotton is over 50% of the yarn!
I made the width of my bag wider, how does the pattern change?
Hi! I’m a crochet beginner and I really love your videos and patterns!! I need some help though, in the video at 26:38 (end of row 4) you say to slipstitch, then chain 1 and turn. however in the video you end up on the other side of the blue square (if you know what I mean haha). What do you do between the sl st and the chain to get to the other side? Thank you!!
Hi! Sorry I didn’t show it. I just flipped it inside out! I prefer to work from the outside instead of the inside of the bag, so I flip it inside out after every round.
Would it be ok for me to put this bag in a youtube video? I’m not planning on putting the pattern. I just want to show it in the video. Thank you for your time!
Hi! Thank you for sharing this! l have a medium-weight yarn in white and a light-weight yarn in blue. The blue is the perfect color I want to use. Is it possible to use the yarns I have even though they are different weights? How should I change the pattern? Super excited to start this project as a gift. So stinking cute <3
Its good
Loved making this! So easy to follow along and it made the perfect bag :’)
Hey if I give credit to the pattern, would it be okay to sell the final product?
Hi. I love the design. Is it okay if I make it a single colour bag?( like just a blue bag)
Wetin una dey talk self?