Crochet Mesh Cardigan | Free Pattern & Video Tutorial
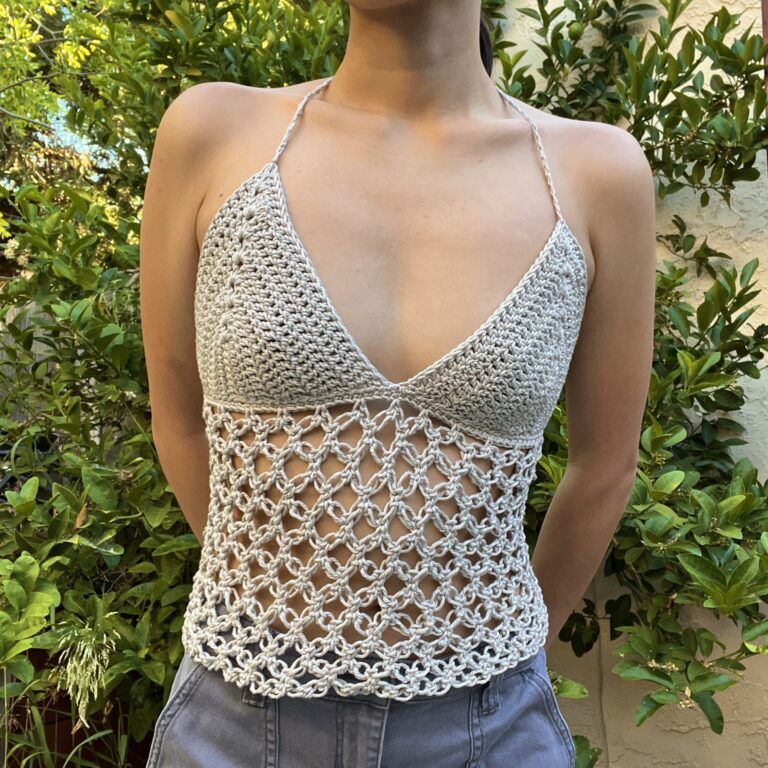
This crochet mesh cardigan is perfect for the transition to warmer or cooler weather! This pattern uses the V-stitch for a breathable and drapey fabric. It’s perfect to throw on when it’s a little colder or just as some coverage. This super cute crochet cardigan is made of 3 pieces that are sewn together.

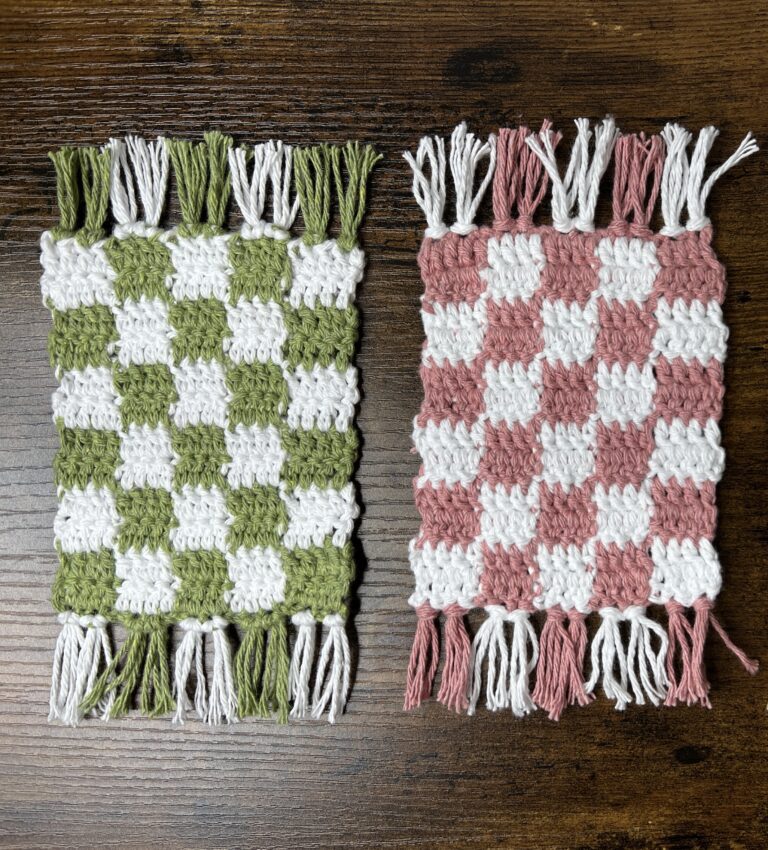
If you love cardigans, but want something a little warmer, check out my trendy cardigan pattern that is not mesh.
Intermediate Crochet Project
This crochet cardigan pattern is most suitable for intermediate crocheters. Generally, I recommend crocheters to start small, so a crochet cardigan is a good project for crocheters with some experience!
If you want to take on this project as a beginner, make sure to view the tutorial if any part of the written pattern is confusing for you! Also, please leave any questions in the comments if you have any.
For a simpler, sleeveless mesh cardigan pattern, try this tie-front mesh vest!

Sizing
This crochet pattern is written for a size small/medium. The italicized notes within the pattern let you know what to change if you want to adjust the size.
Also, keep in mind that yarn weight and hook size can be factors in the final size of the cardigan! A thicker yarn and hook will result in a larger size and a thinner yarn and hook will result in a smaller size.
Project Overview
- Crochet body panel
- Separate front and back panels
- Crochet sleeves
- Sew everything together
- Finishing Edges


Choosing Yarn & Hook Size
For crochet clothing, you generally want to use cotton yarn for cooler weather or wool yarn for warmer weather. Since this is a mesh cardigan, you can pretty much use any fiber and it won’t be too hot.
As for the weight of the yarn, I used #3 yarn for a thinner and lighter-weight cardigan. You can just match your crochet hook to the yarn label or size it up for more drape, which is what I did.

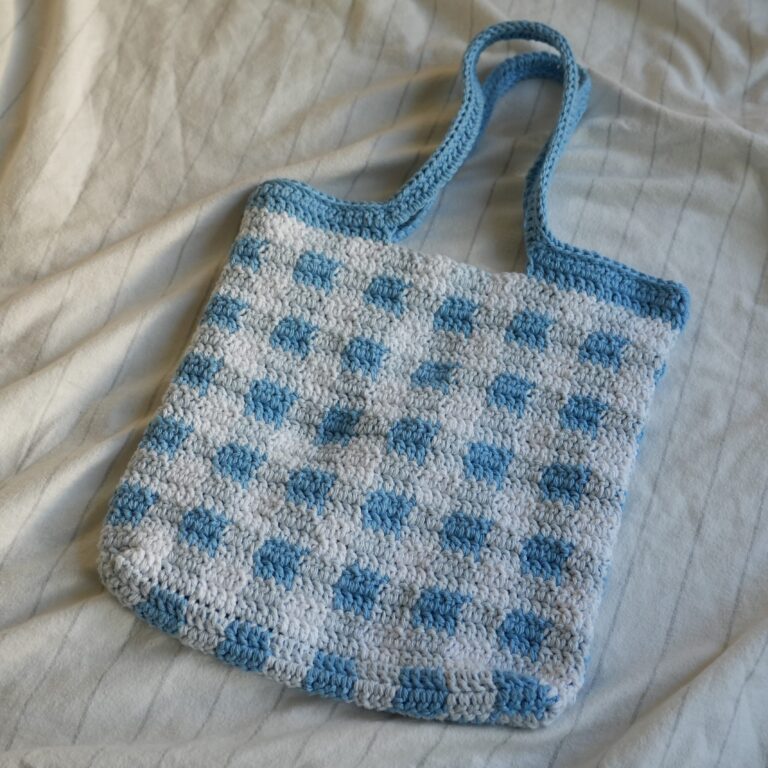
Other Projects You Might Like


Crochet Mesh Cardigan Video Tutorial
Become a member to get early access to new videos!
You can follow along with my YouTube video to make your own crochet mesh cardigan! I have timestamps included to section the video and help you jump to any point you need to!
This post may contain affiliate links. I may earn a small commission on qualifying purchases at no additional cost to you!
Materials
- 530 grams of light (3) weight yarn (K+C Essential Cotton in “Cream“)
- 5mm Clover Amour crochet hook
- Scissors
- Yarn needle
- Stitch markers
- Tension ring (optional)
- Yarn bowl (optional)

Dimensions
Back panel: 55 centimeters wide x 43 centimeters long (21.7 x 16.9 inches)
Front panel: 21 centimeters wide x 43 centimeters long (8.3 x 16.9 inches)
Sleeve: 16 centimeters wide x 40 centimeters long (6.3 x 15.7 inches)
Gauge
10 rows of 6 V-stitches makes a 10 x 10 centimeter square
Notes and Tips
- This pattern is written using US crochet terms
- The chain 2 at the beginning of each row/round counts as a double crochet
- The chain 4 at the beginning of each round on the sleeve counts as a double crochet and chain 1
- If you don’t have stitch markers, bobby pins and safety pins work, too!
- Italicized notes tell you what to change to adjust the size
Abbreviations
ch = chain
ch1-sp = chain-1-space (the space in the middle of the V-stitch)
dc = double crochet
dc3tog = double crochet 3 together
rep = repeat
sk = skip
sl st = slip stitch
sp = space
st = stitch
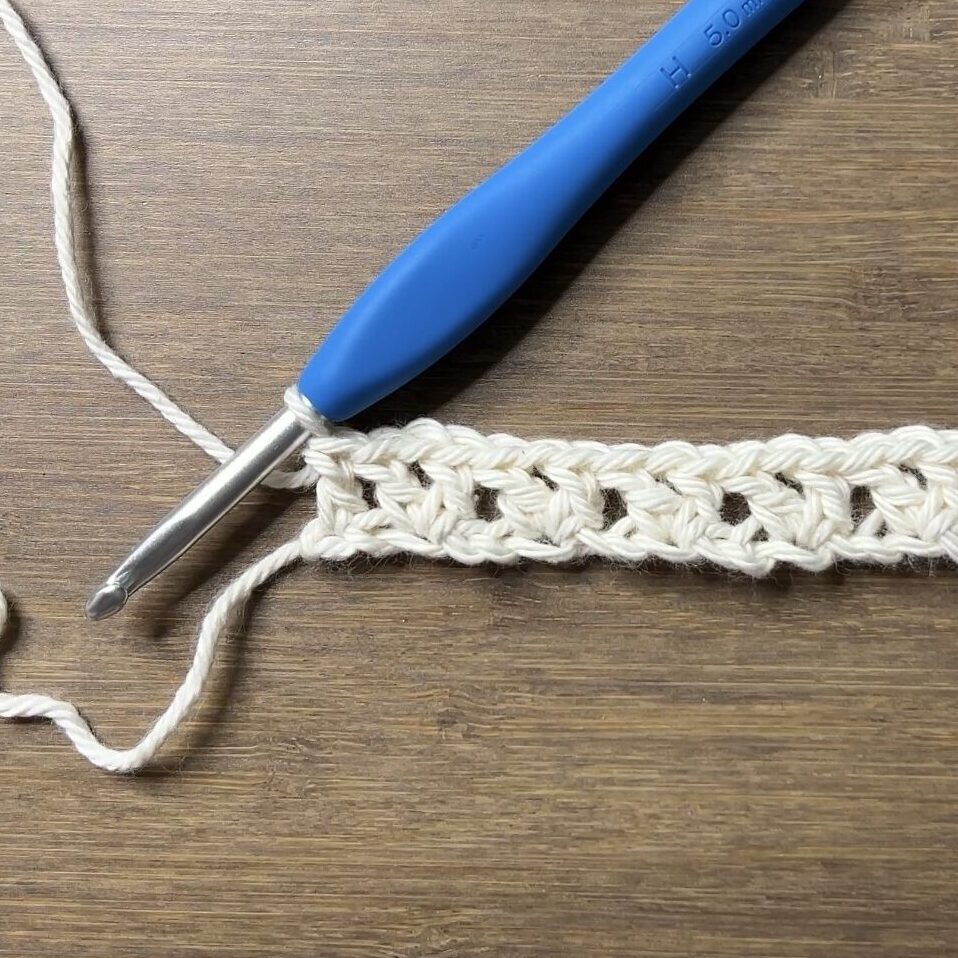
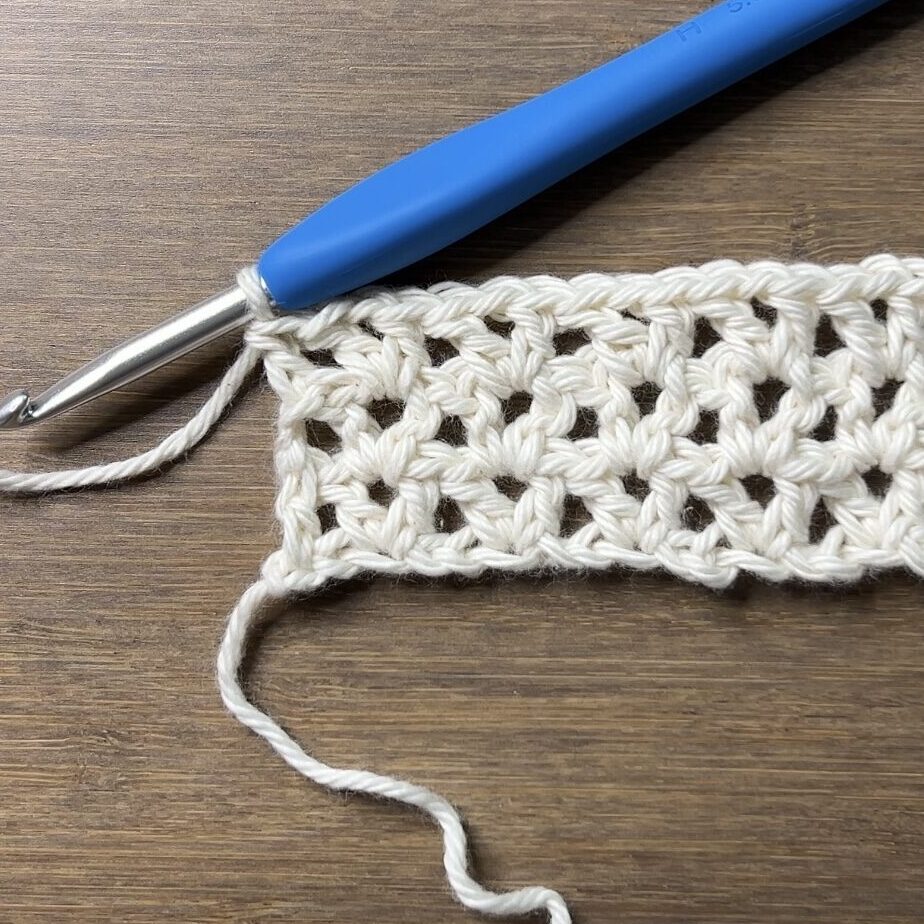
V-st = V-stitch (dc, ch1, dc) in same st or sp
Body Panel
Foundation: Make a slipknot, ch183
This foundation chain includes the width (horizontal length) of the front panels and the back panel.
Note: Do fewer chains for a smaller width or more chains for a larger width. Your number of chains must be a multiple of 3.
Row 1: [dc, ch1, dc] in 4th ch from hook, rep[sk2, {dc, ch1, dc} in next ch] until 2 ch left, sk1, dc (60 V-st)
Rows 2-25: ch2, turn, [dc, ch1, dc] in each ch1-sp, dc in top of turning ch (60 V-st)
The height of the panel is the length from the bottom of the armholes to the bottom of the cardigan.
Note: Do fewer rows for a shorter cardigan/wider sleeve or more rows for a longer cardigan/skinnier sleeve.

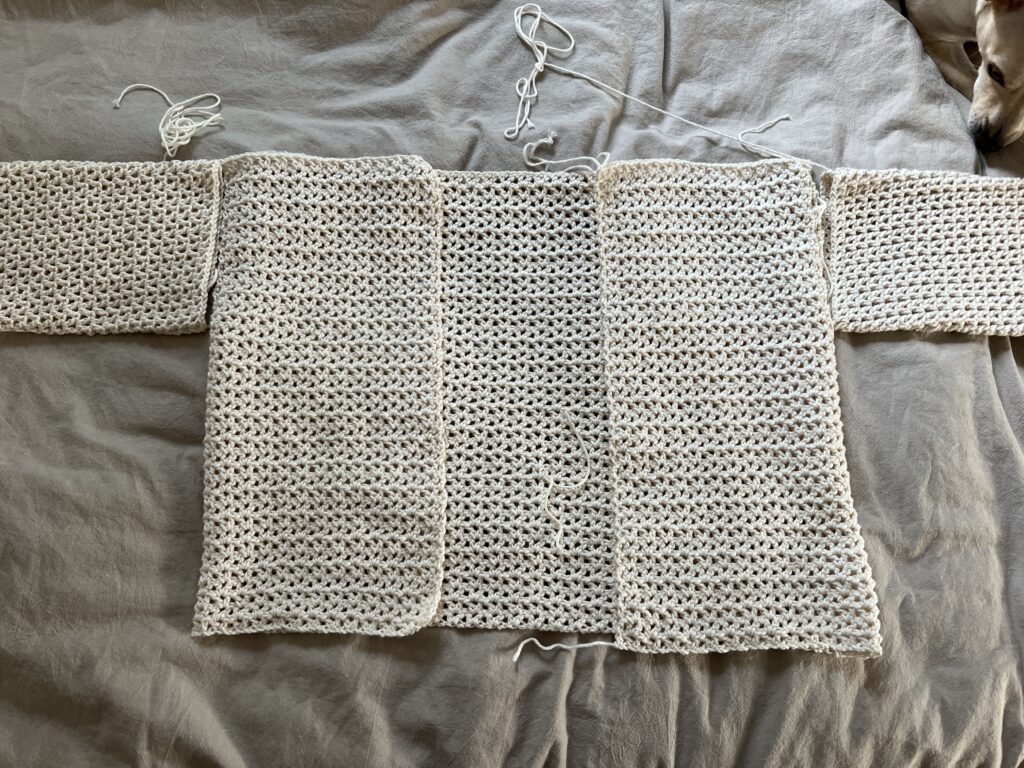
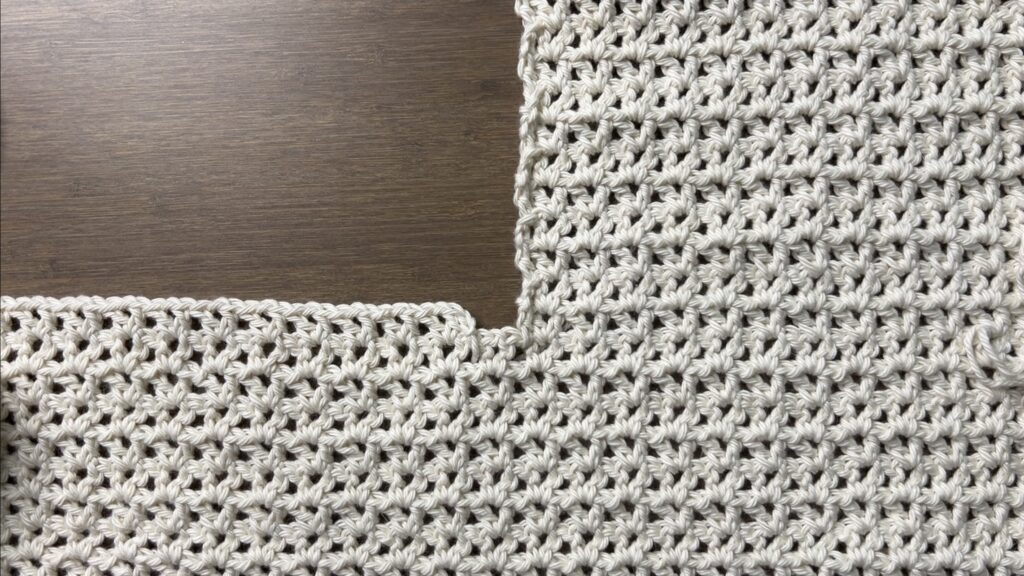
Splitting Front and Back Panels
Fold the sides of the panel in to separate the back panel from the two front panels. Pulling them in more will make the cardigan less wide with a smaller neck space. Pulling them out more will make it wider and with a larger neck space.
For my cardigan, I have the front panels at 13 V-stitches wide. If you want to change that, once you have it laid out the way you want:
- Mark the space between the V-stitches on the left edge.
- Count the number of V-stitches on the front panel on the left.
- Mark the space after that number of V-stitches on the right edge of the front panel on the right.
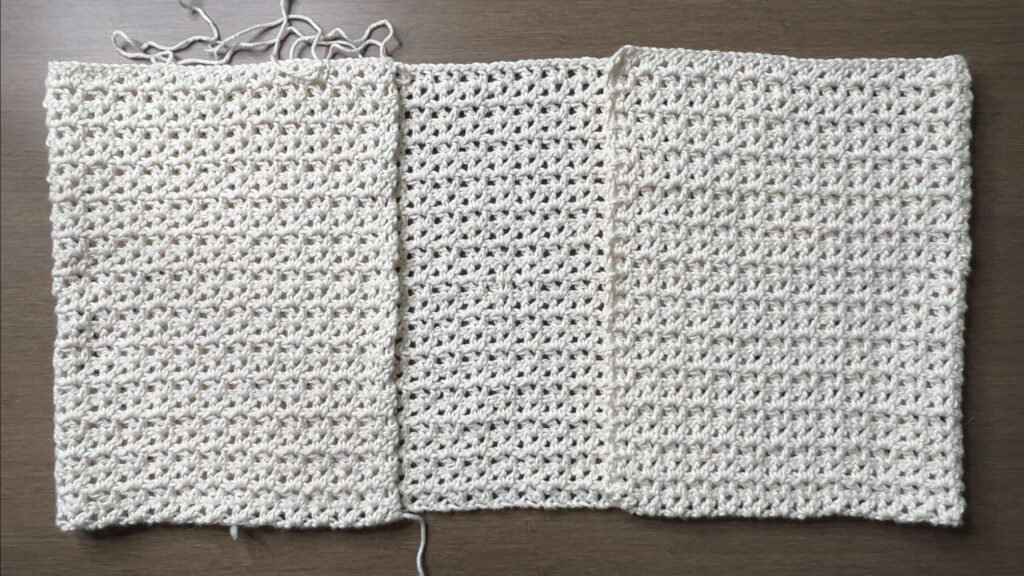
First Front Panel
Row 1: ch2, turn, [dc, ch1, dc] in each ch1-sp, dc in sp with st marker, remove st marker (13 V-st)
Rows 2-14: ch2, turn, [dc, ch1, dc] in each ch1-sp, dc in top of turning ch (13 V-st)
Note: Do fewer rows for a smaller armhole or more rows for a larger armhole. You will have to adjust the pattern for the sleeves if you do.
Fasten off with a long loose end twice the length across the top of the front panel, plus a few inches extra. This will be used to sew the top of this front panel to the top of the back panel.

Second Front Panel
Flip the body panel so the first front panel is on the right end. Attach your yarn to the stitch marker.
Row 1: ch2, [dc, ch1, dc] in each ch1-sp, dc in top of turning ch (13 V-st)
Rows 2-14: ch2, turn, [dc, ch1, dc] in each ch1-sp, dc in top of turning ch (13 V-st)
Note: If you did a different number of rows for the first front panel, do that same number of rows.
Fasten off with a long loose end twice the length across the top of the front panel, plus a few inches extra. This will be used to sew the top of this front panel to the top of the back panel.
Back Panel
Flip the body panel so the first front panel is on the right end. Attach your yarn to the space after the V-stitch next to the first front panel.
Row 1: ch2, [dc, ch1, dc] in each ch1-sp until last ch1-sp, dc in sp before last V-st (32 V-st)
Rows 2-14: ch2, turn, [dc, ch1, dc] in each ch1-sp, dc in top of turning ch (32 V-st)
Note: If you did a different number of rows for the front panels, do that same number of rows.
Fasten off with a regular-length loose end.

Sleeves
Foundation: Make a slipknot, ch66, sl st to first ch
Note: If you did a different number of rows for the front and back panels, do a different number of chains to fit the armhole. View the video tutorial for more information.

Round 1: ch2, dc around, sl st (66)

Round 2: ch4, dc in same st, rep[sk2, {dc, ch1, dc} in next st], sl st (21 V-st)

Rounds 3-35: sl st to first ch1-sp, ch4, dc in same st, [dc, ch1, dc] in each ch1-sp, sl st (21 V-st)

Note: Do fewer rounds for a shorter sleeve or more rounds for a longer sleeve. The wider your body panel is, the shorter your sleeve will need to be.
Fasten off with a long loose end twice the circumference of the armhole. This will be used to sew the sleeve to the body panel.
Make an identical sleeve and fasten off with the same long loose end.
Assembly
Now, we should have 3 pieces:
- Body panel (includes front panels and back panel)
- Left Sleeve
- Right Sleeve

To assemble the cardigan:
- With the loose end left on one of the front panels, sew the top of that front panel to the top of the back panel.
- Repeat with the other front panel.
- Fold the sleeves along the slip stitch seam and straighten out the rounds.
- Sew them to the armholes on the body panel.
I used the whip stitch, but you can use your preferred method. Remember to tie a double knot at the end of every seam.
Outline
Next, we’ll outline the opening of the cardigan for a more finished look. This part is optional. You can use a 4mm hook throughout this outline if your tension tends to be on the looser side.
With the front of the cardigan facing down, attach your yarn to the top of the back panel in any ch1-sp.
Round 1: ch2, dc in each ch1-sp and st until 1 left on back panel, dc3tog around corner,*dc2 in each sp along front panel until last sp, dc5 in last sp,
rep[sk V-st, dc2 in next sp] around bottom,

dc5 in first sp along front panel, dc2 in each sp until last dc, dc3tog around corner, dc in each ch1-sp and st, sl st, fasten off
*The corner is where the front and back panels meet. Place 1 leg of the dc3tog in the back panel, corner, and front panel.

Finished Crochet Mesh Cardigan
Weave in your loose ends and your mesh cardigan is finished!

hi there where could I please get the pdf file from
Hi, I’m looking forward to making your crocheted cardigan. could you advise on sizing:
Would like a fairly loose fit.
*total bottom measurement would be approximately 46”
*sleeve length from armpit to wrist-17”
*length from armpit to bottom-17”
thx so much. Maureen
Love this and always tag me on your post.thanks
I love this pattern! I’ve made one for myself, waiting for more yarn to make one more and a friend requested one too!
I wanted to make this but cant print out the instructions to follow along. Do you have a booklet or a PDF? I cant sit in front of my computer while I do thiss
I wanted to make this but cant print out the instructions to follow along. Do you have a booklet or a PDF? I cant sit in front of my computer while I do thiss
Where could I find the written pattern for this cardigan? I would like to make an extra small.