Scalloped Crochet Bandana | Free Pattern & Video Tutorial
This crochet bandana pattern is very similar to my most recent bandana pattern, but with a scalloped border instead of picots! Instead of being worked in a triangle shape like a typical granny stitch bandana, this pattern is worked in rows. In my opinion, it’s the easiest granny stitch bandana you can make!
Follow along with this free written pattern, or watch the video tutorial to make your very own easy crochet bandana!
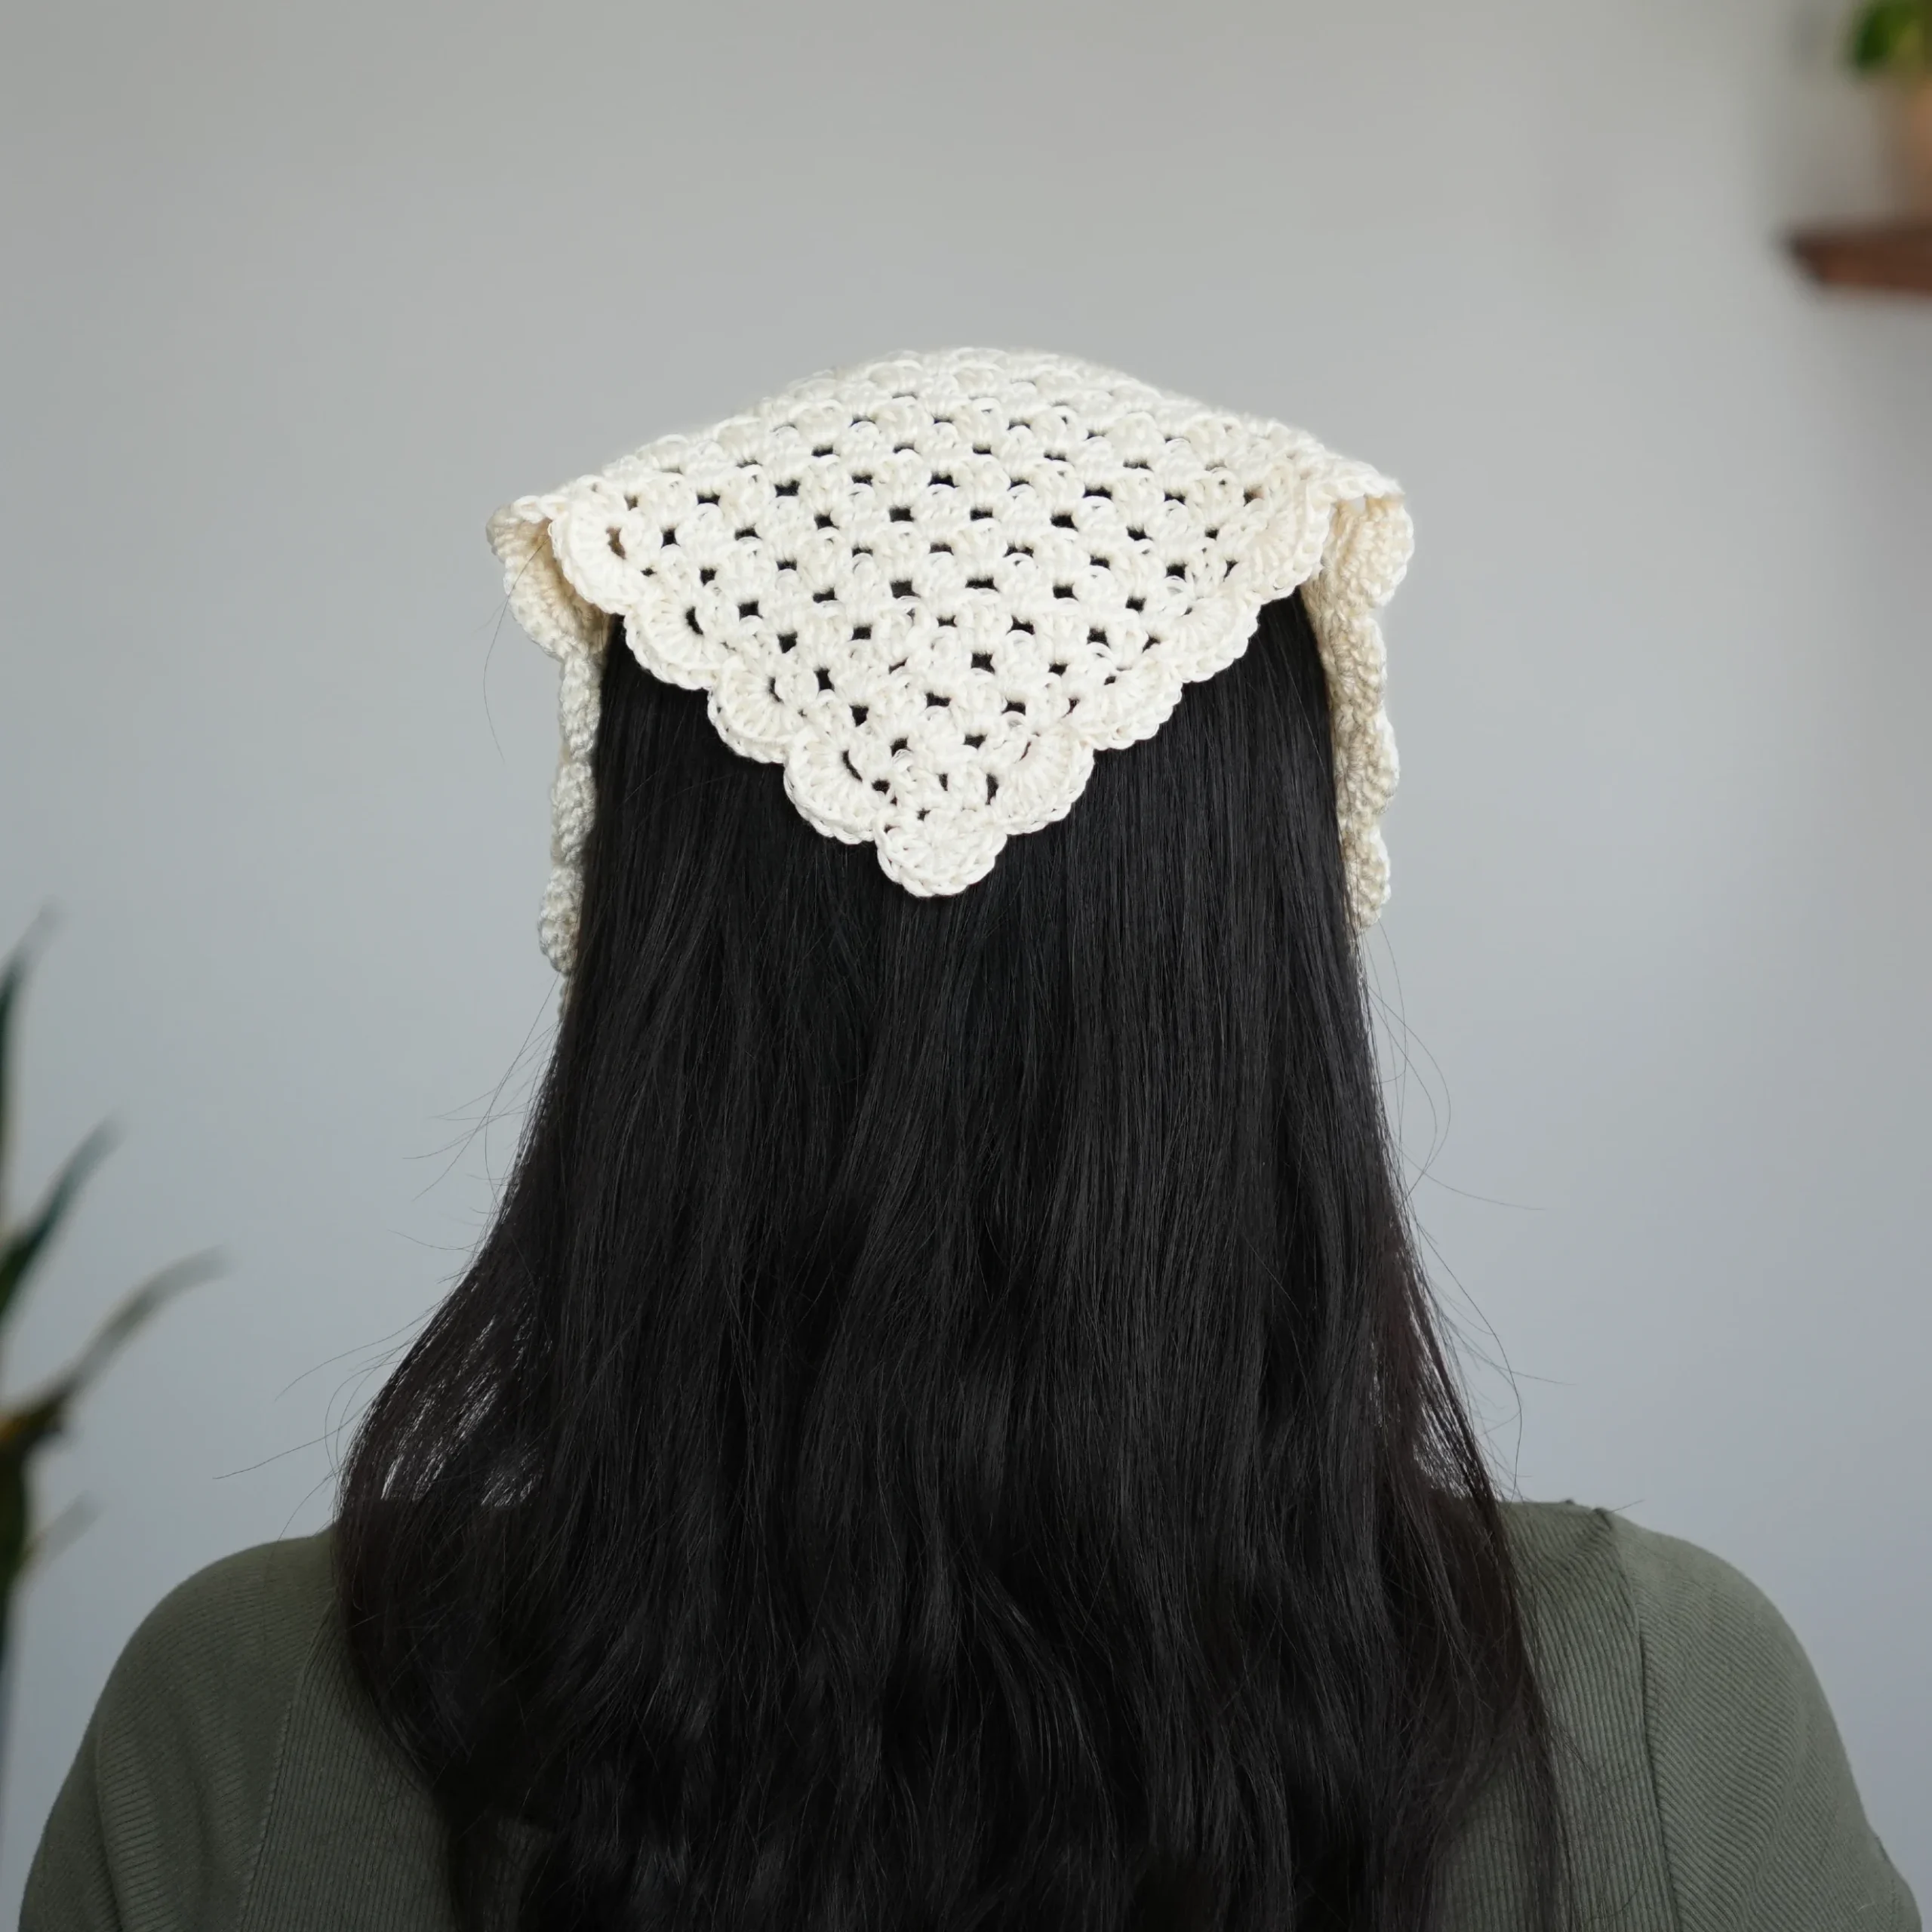
Table of Contents
This post may contain affiliate links. I may earn a small commission on qualifying purchases at no additional cost to you!
Crochet Bandana Tutorial
Become a member to get early access to new videos!
You can follow along with my YouTube video to make your own crochet bandana! I have timestamps included to help you jump to any point you need to!
Pattern Information
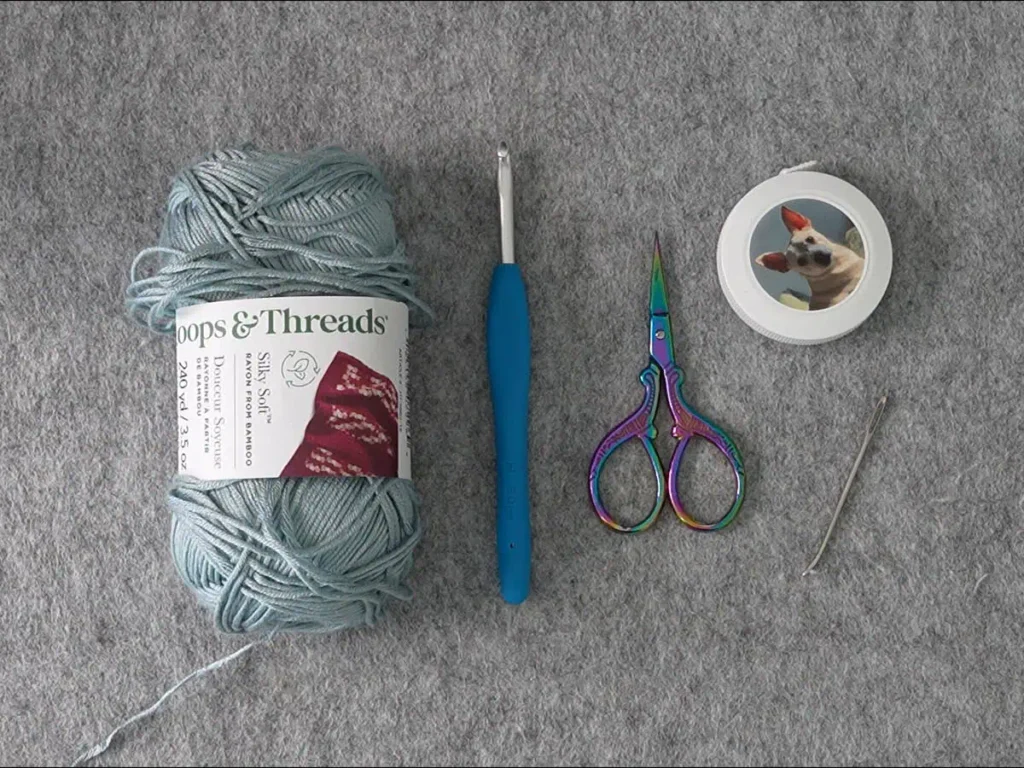
Materials
- 55 grams/132 yards of light weight yarn* (Silky Soft in “Winter White”)
- 5mm* Clover Amour crochet hook
- Scissors
- Yarn needle
- (optional) Measuring tape
*The thinner the yarn, the better the drape of the bandana. Conversely, the thicker the hook, the better the drape!
Crochet Abbreviations
ch = chain
cl = cluster
dc = double crochet
rep = repeat
sc = single crochet
sl st = slip stitch
sp = space
st = stitch
Gauge
11 rows of 6 clusters makes a 10 x 10 centimeter (4″ x 4″) square
Dimensions
*includes instructions to adjust sizing
Long side of triangle: 45 centimeters long (17.7 inches)
Short sides of triangle: 30.5 centimeters long (12 inches)
Straps: 20 centimeters long (7.9 inches)
Notes and Tips
- This pattern is written using US crochet terms
- The number in (parentheses) at the end of each row is the cluster count after finishing that row
- Italicized notes tell you what to change to adjust the size
- The chain 3 at the beginning of each row counts as a double crochet
- Work the last cluster into the space between the chain 3 and the 2nd-to-last double crochet
Crochet Bandana Pattern
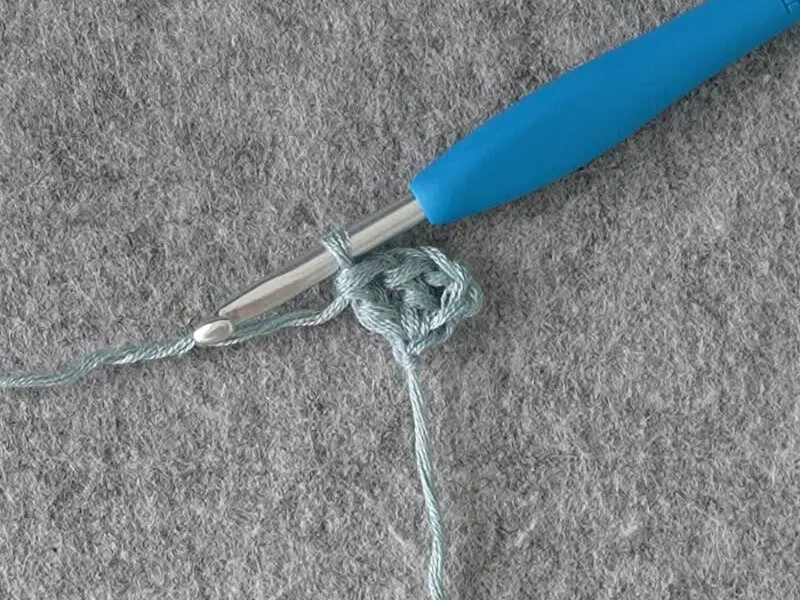
Foundation: Make a slipknot, ch4
Row 1: dc2 in 4th ch from hook (1 cl)
Row 2: ch3, turn, dc2 in first st, dc3 in last st (2 cl)
Tip: Work the last cluster into the space between the chain 3 and the 2nd-to-last double crochet
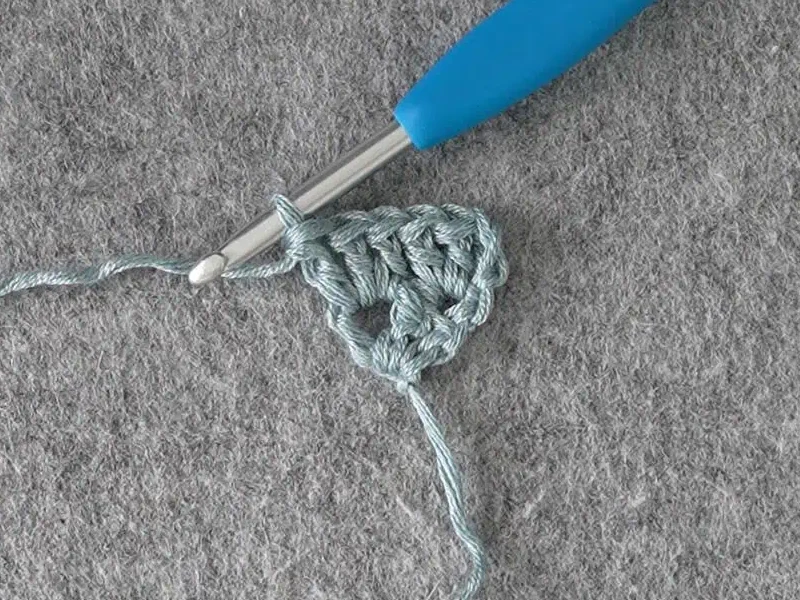
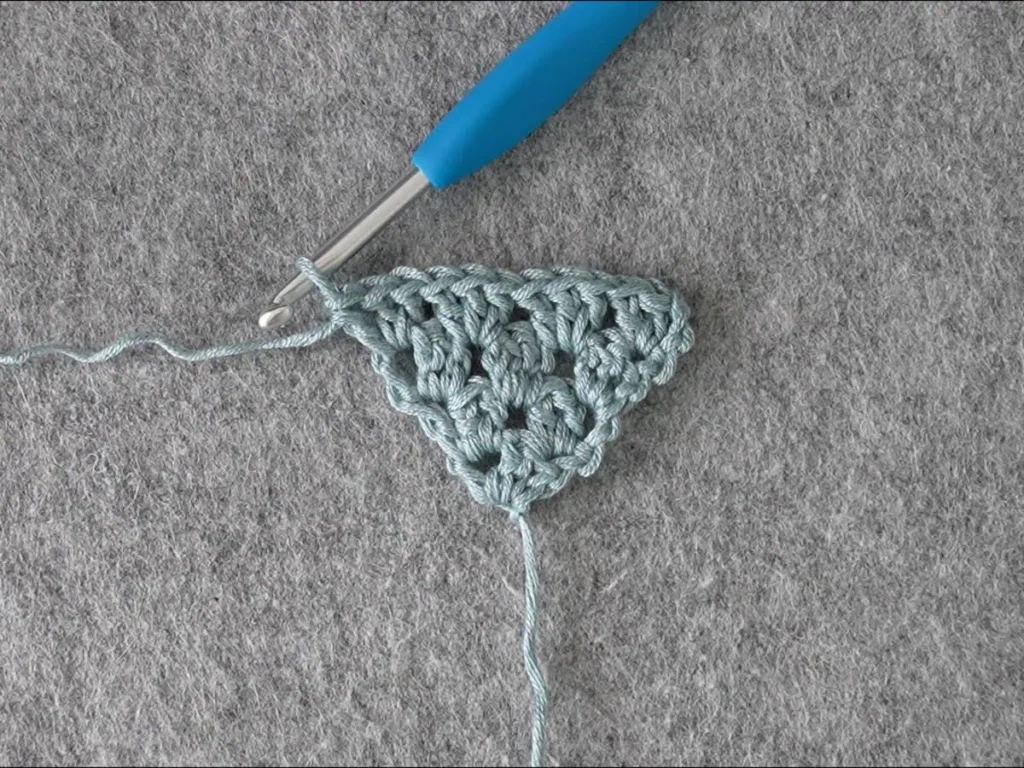
Rows 3-26: ch3, turn, dc2 in first st, dc3 in each sp between clusters across, dc3 in last st (3, 4, 5, 6, 7, 8, 9, 10, 11, 12, 13, 14, 15, 16, 17, 18, 19, 20, 21, 22, 23, 24, 25, 26 cl)
Note: Do fewer rows for a smaller bandana, or more rows for a larger bandana. Make sure to stop after an even number of rows.
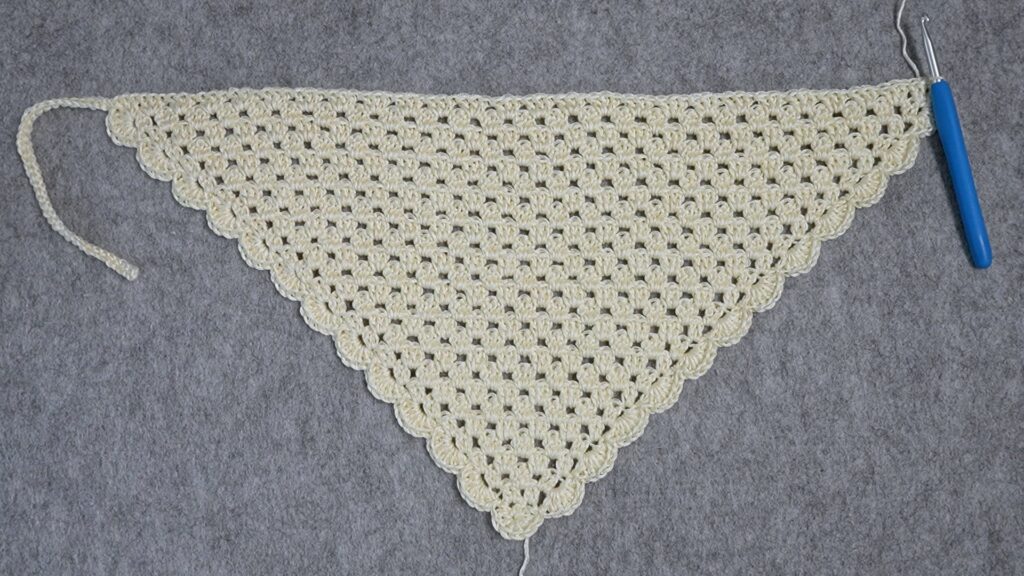
With the longest side of the triangle wrapped over your head, the corners should reach the nape of your neck with a little stretching.
My triangle is now about 30.5 x 45 centimeters (12 x 17.7 in).
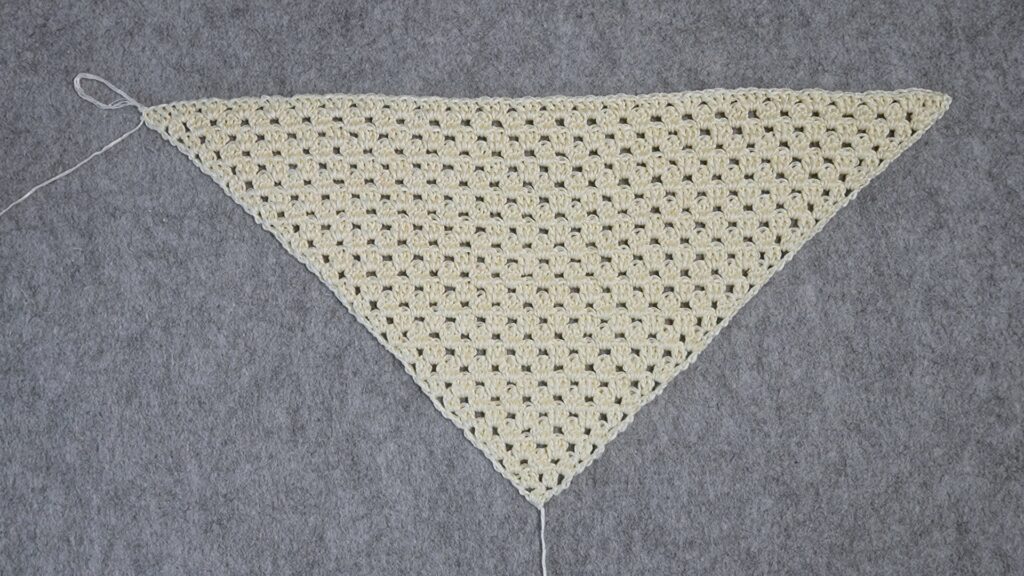
Next, we’ll crochet one strap, the picots, then our other strap. And we won’t have to cut our yarn at all!
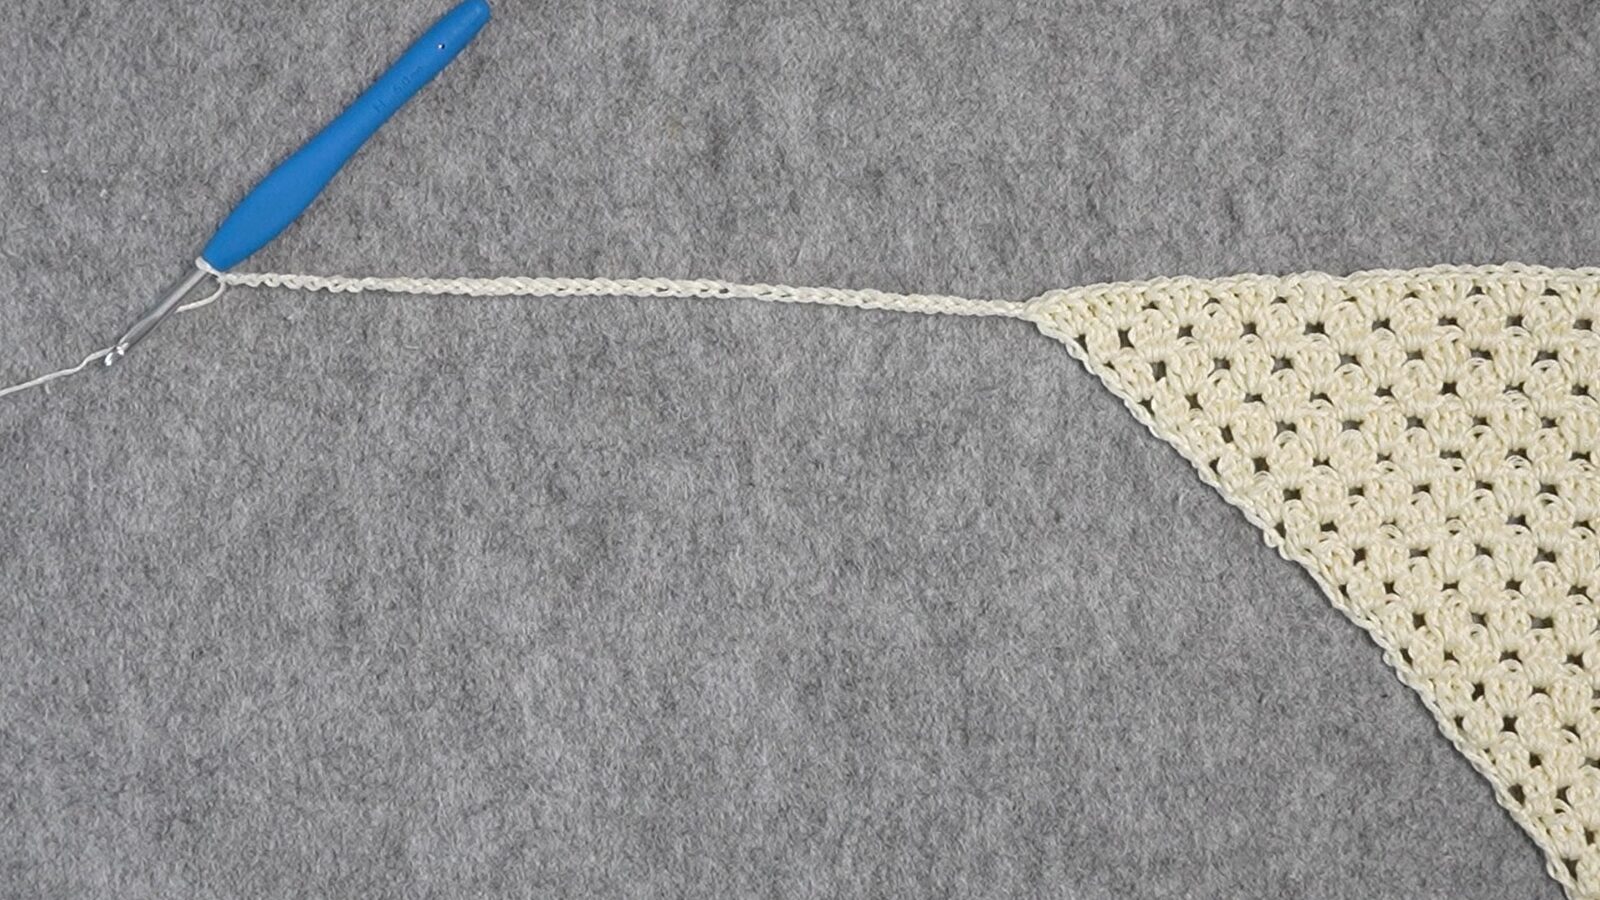
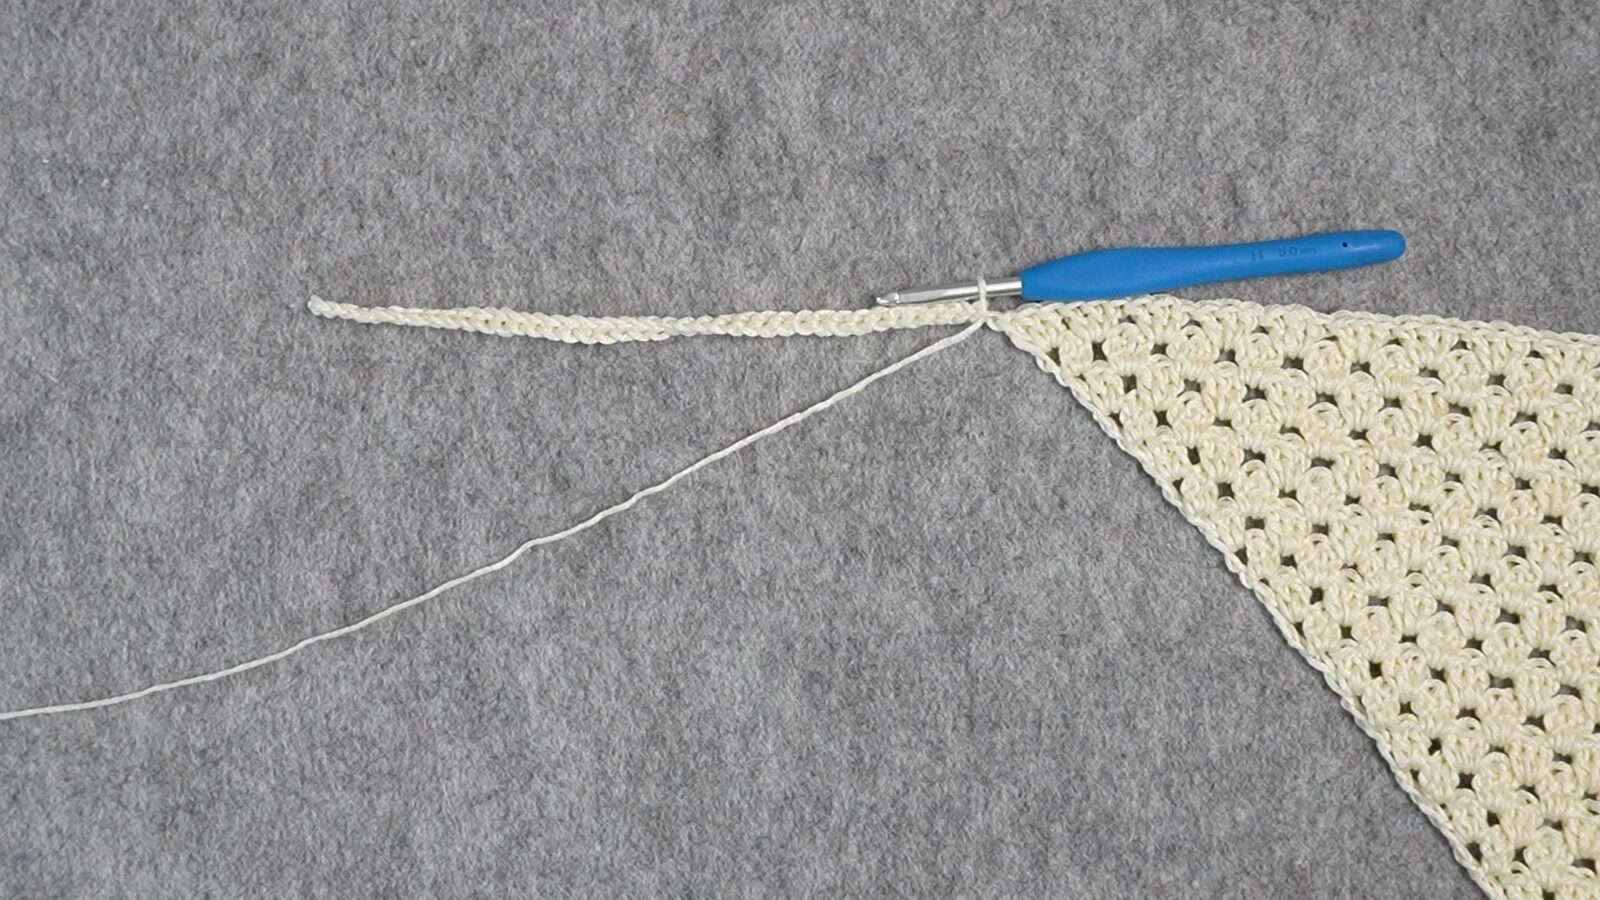
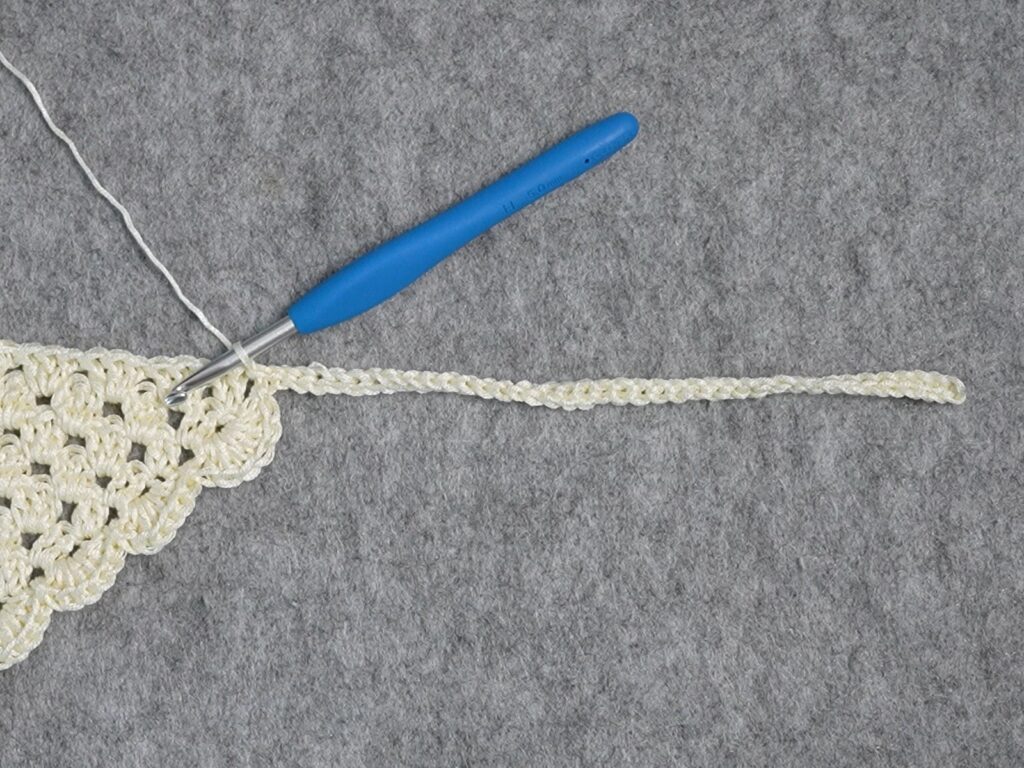
First Strap
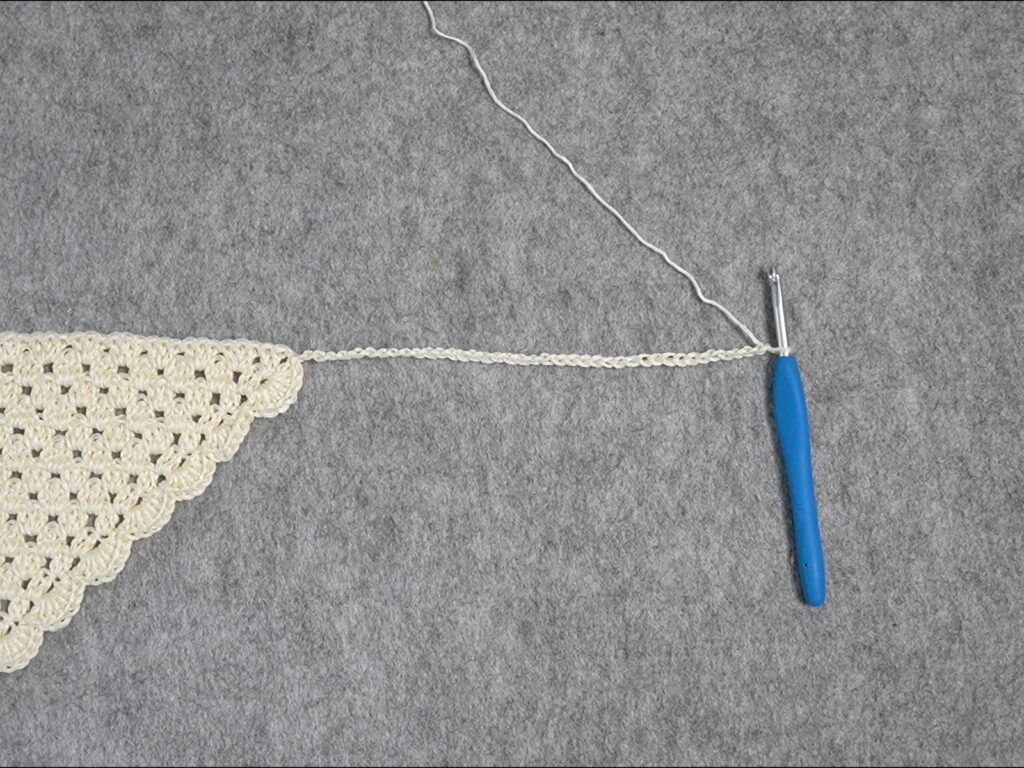
ch40, sl st in 2nd ch from hook and across (39)
Note: Do a shorter chain for a shorter strap or a longer chain for a longer strap.
Beginners tend to have trouble with the slip stitch. If it’s easier, you can swap the slip stitches out with single crochets.
My chain is about 22cm, but will shrink to about 20cm after the row of slip stitches.
Crochet Scallops Along First Edge
Note: If you prefer your bandana without scallops, you can just do 3 single crochets into the side of each row.
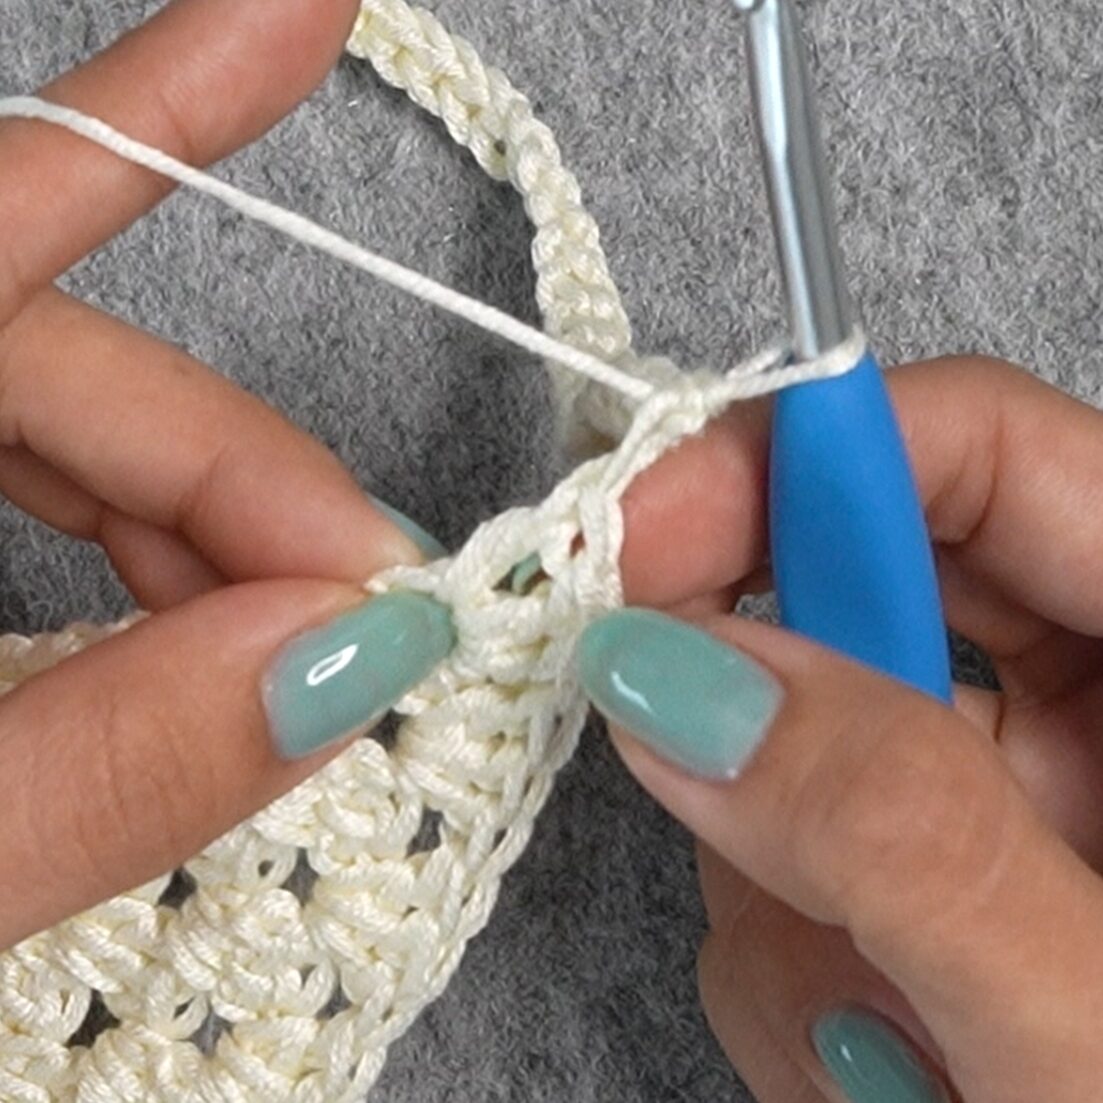
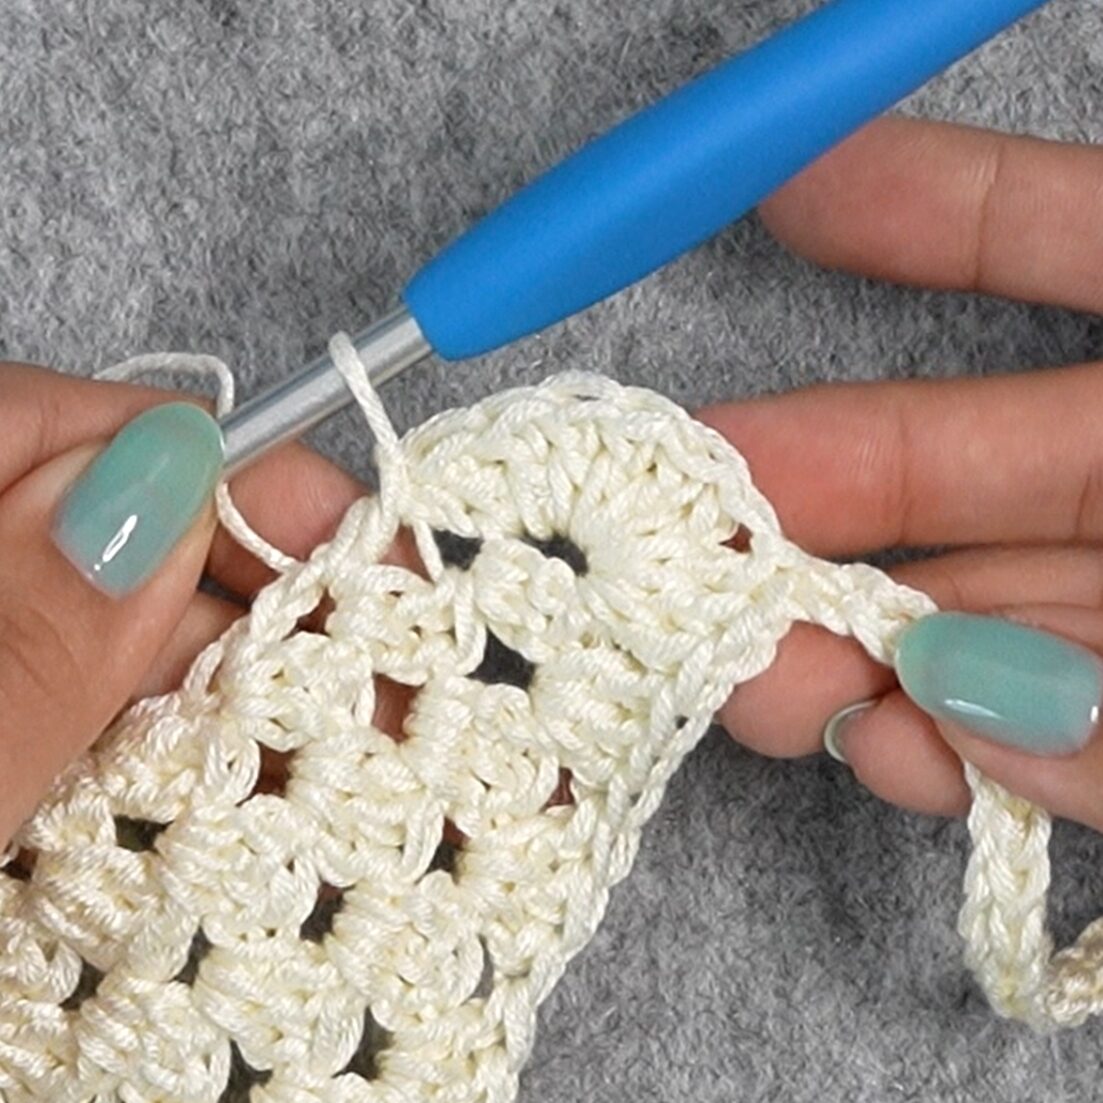
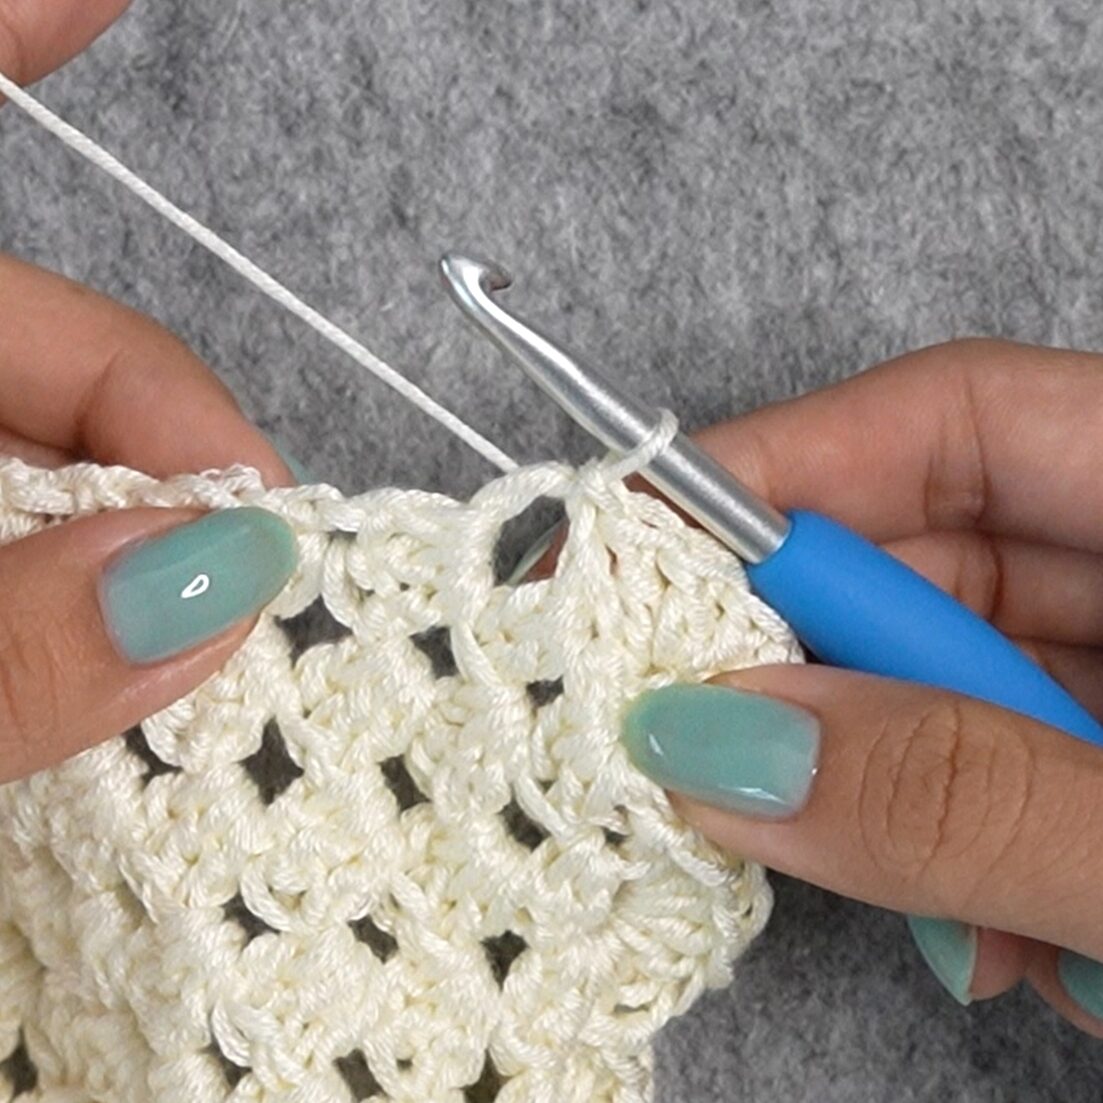
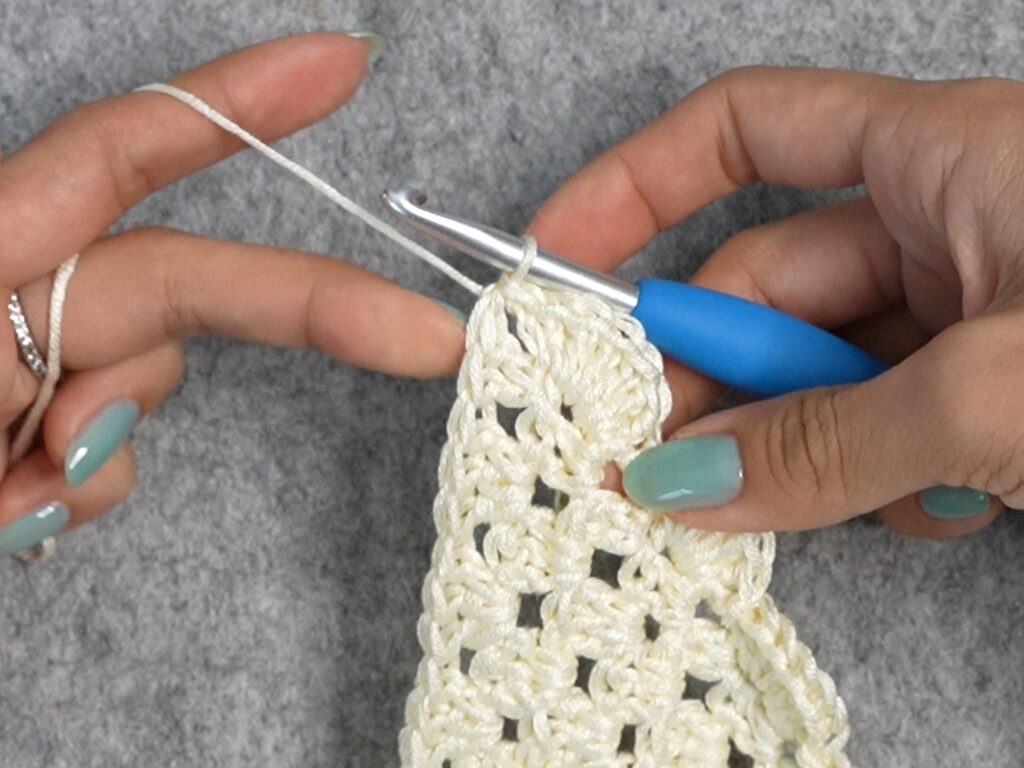
Next, we’ll work into the side of each row. Notice how the space at the side of every row alternates between just a regular space and a space with a strand of yarn through the middle.
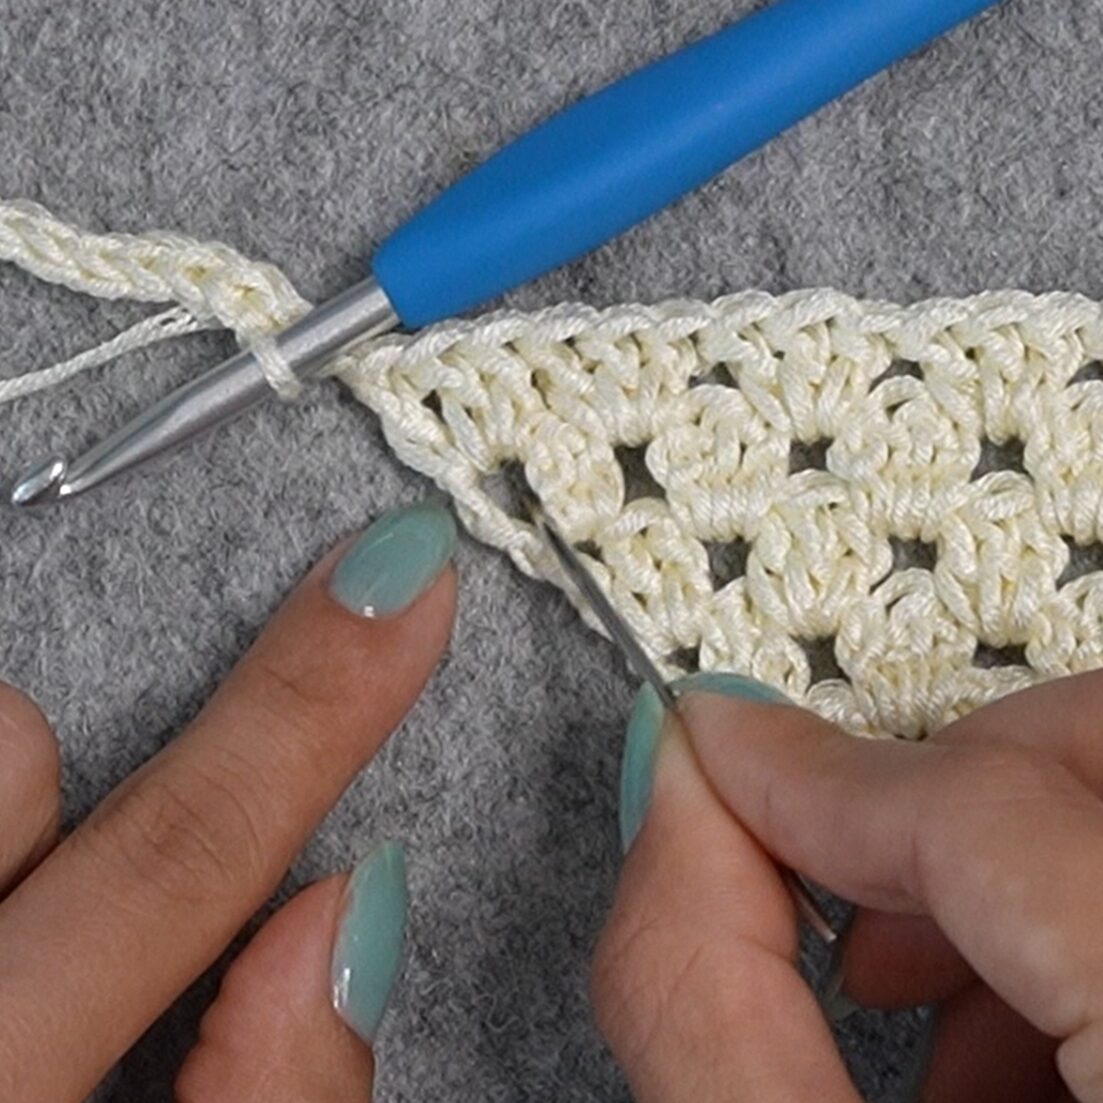
Rotate your bandana to the right to work along the short side of the triangle.
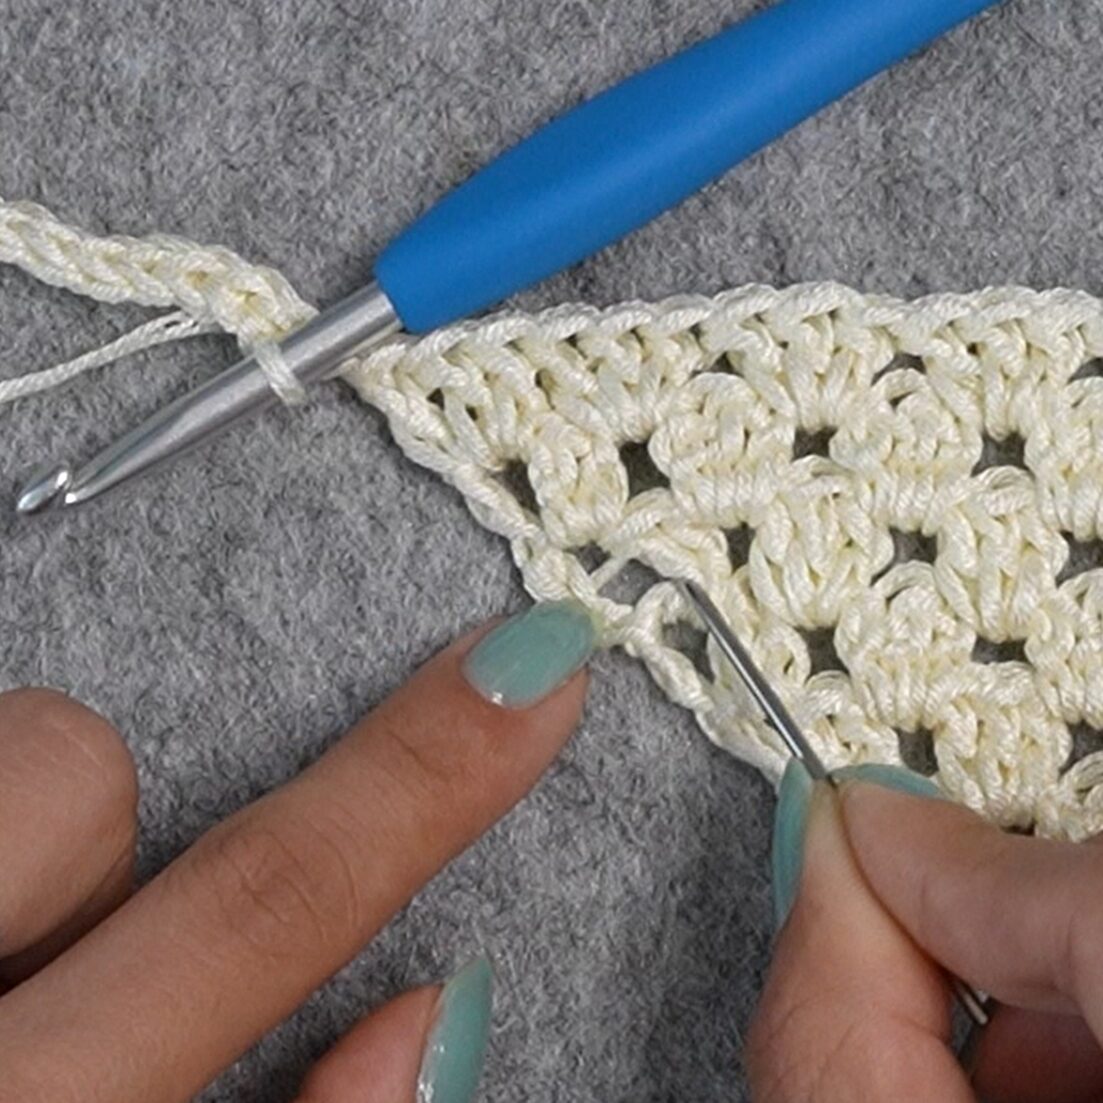
sl st to the side of the first row

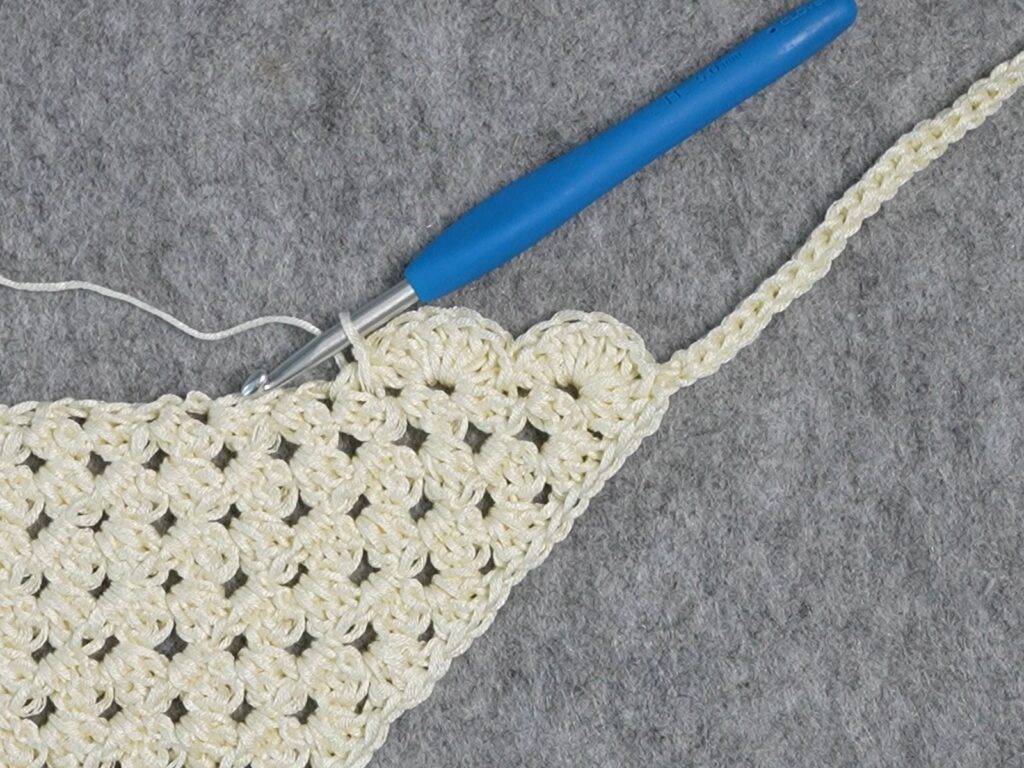
dc6 in the side of the next row
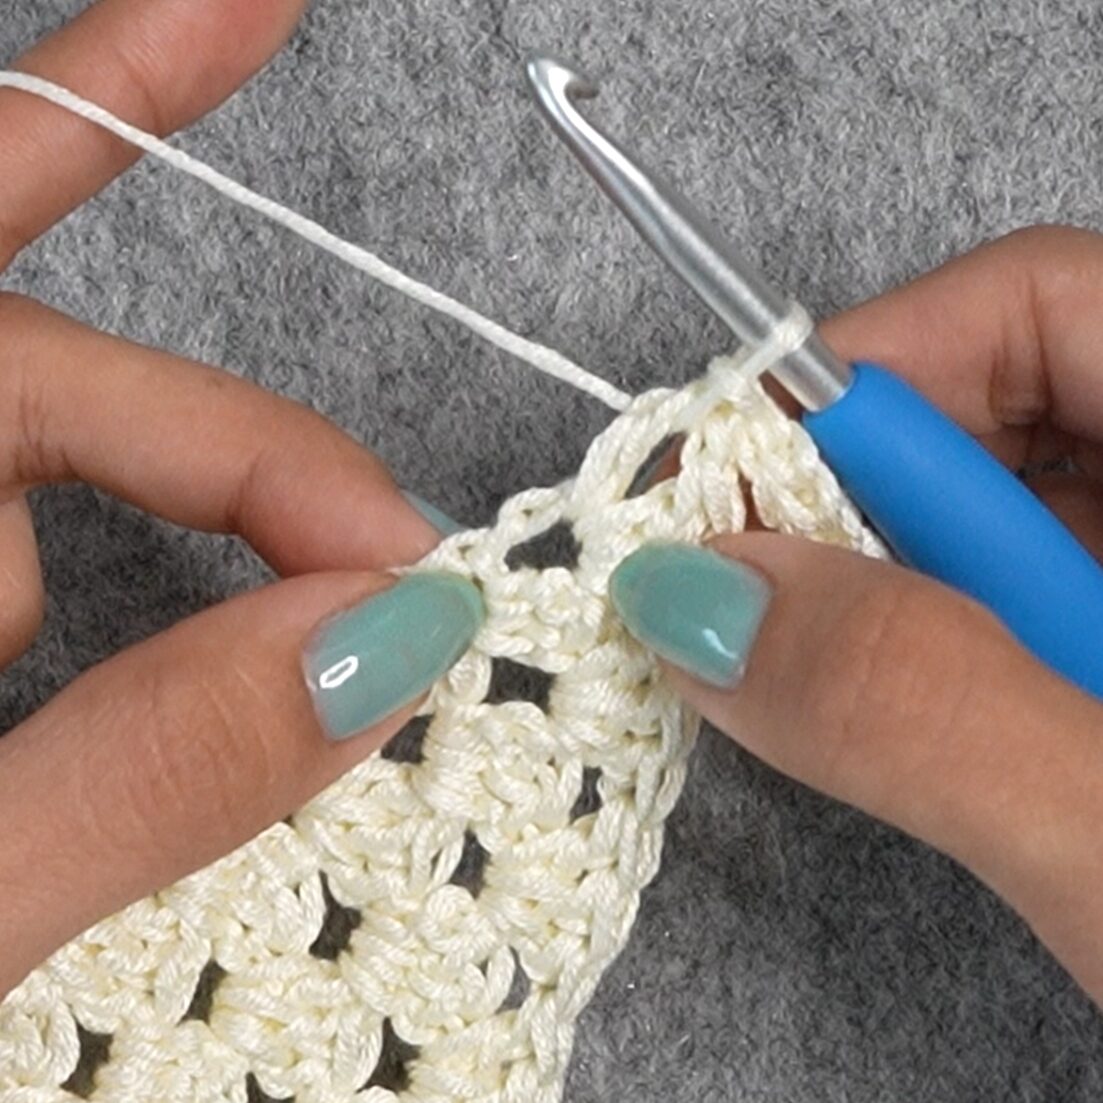
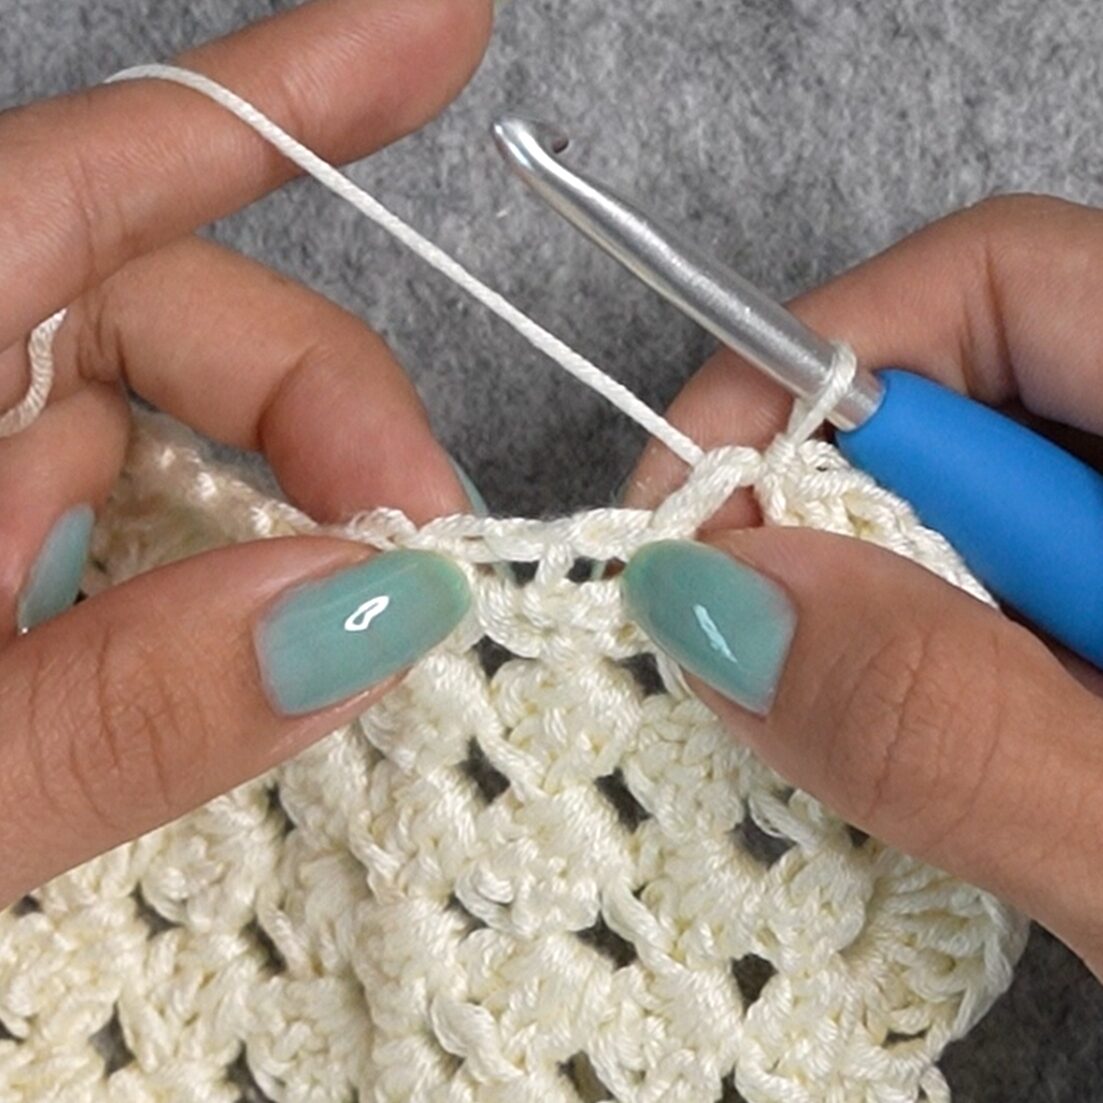
sl st to the side of the next row
Repeat the last 2 steps across the side of the bandana. You will be doing a scallop (dc6) into the regular spaces, and a sl st into the spaces with the strand of yarn across the middle. Stop before the last row.
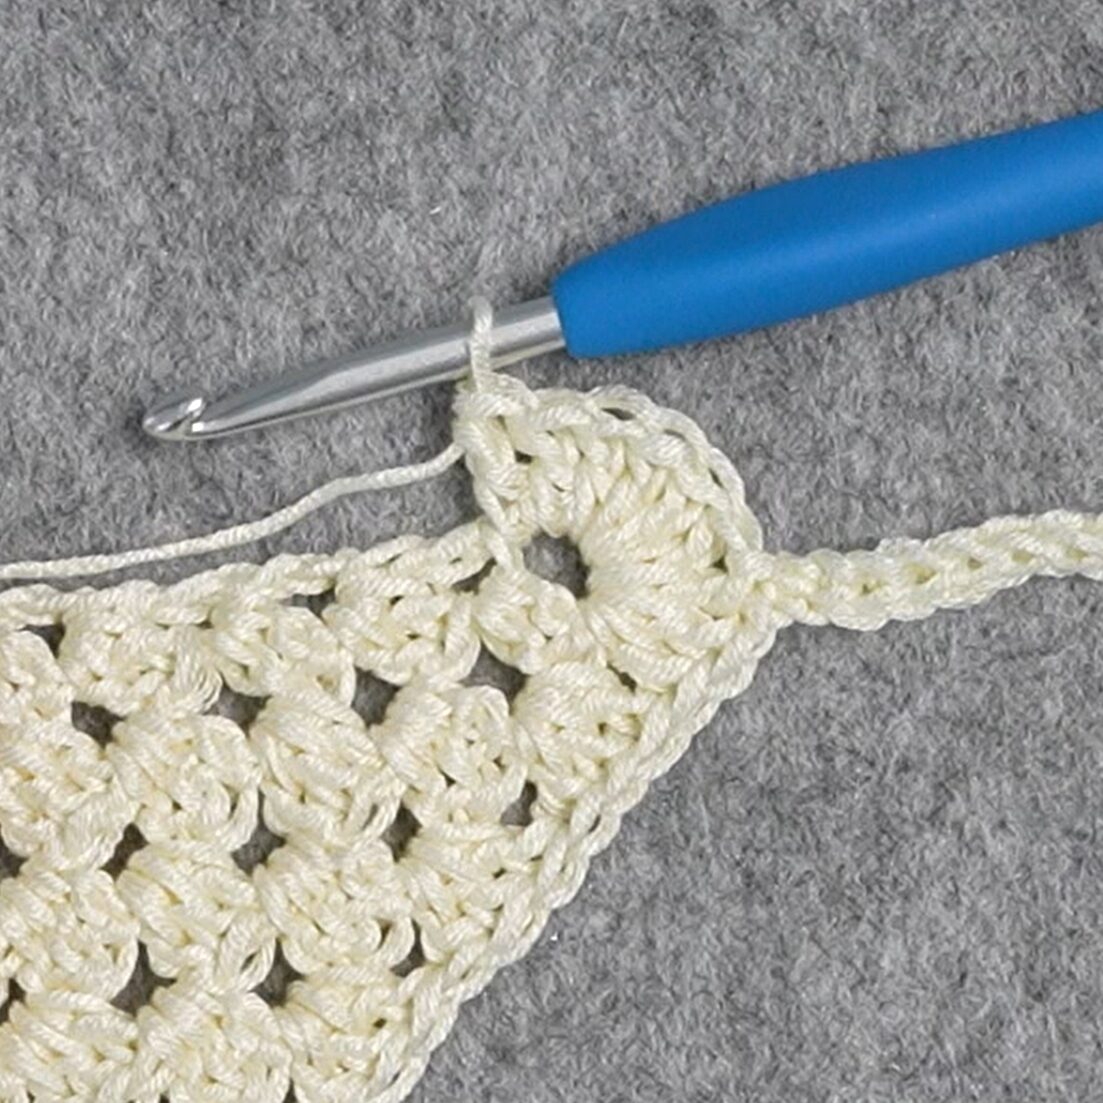
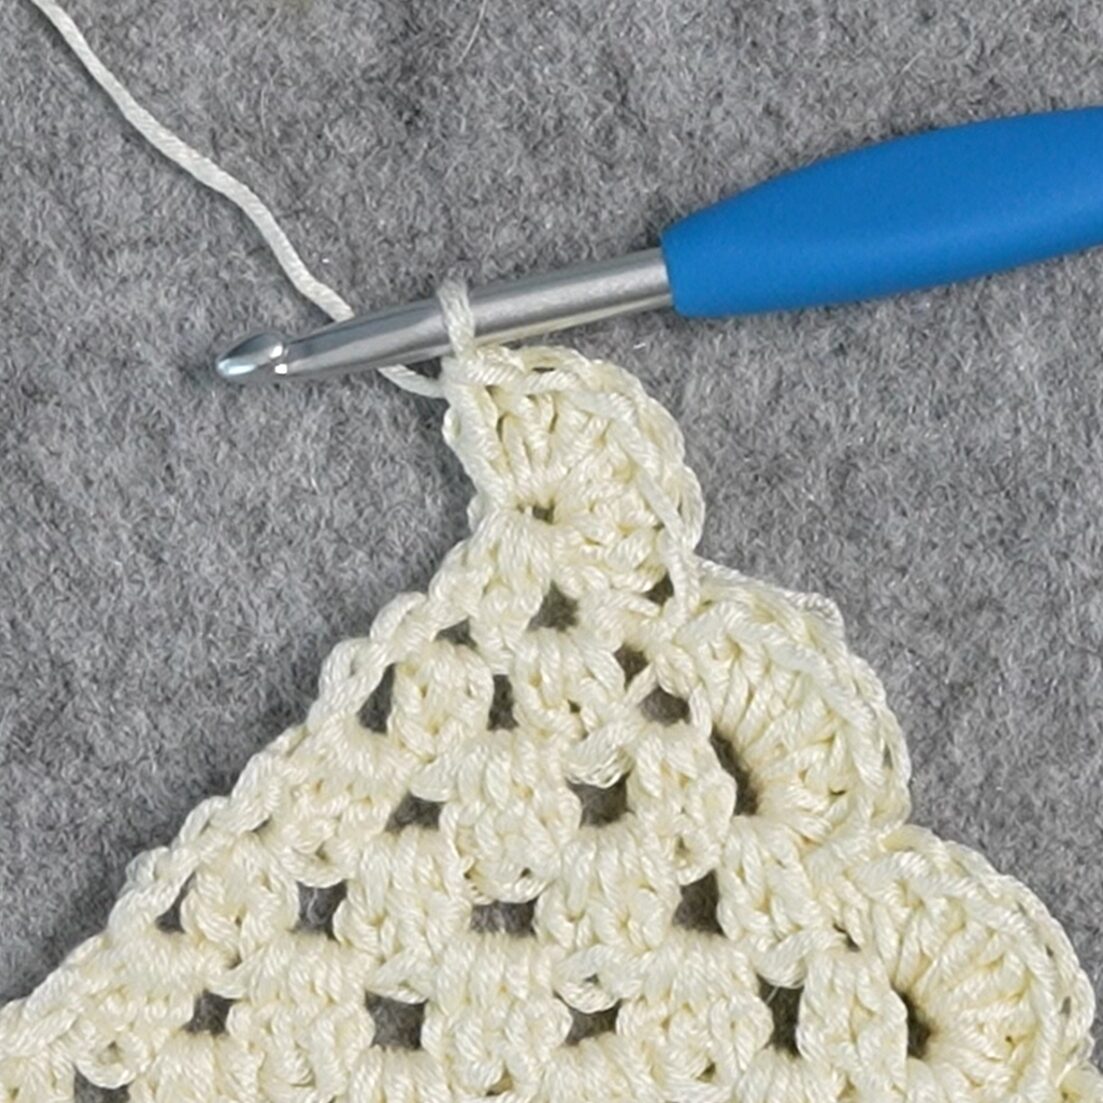
Instead of doing a scallop into the side of the last row,
dc6 in the bottom point (in the ch we did the first cl in Row 1)

Crochet Scallops Along Second Edge
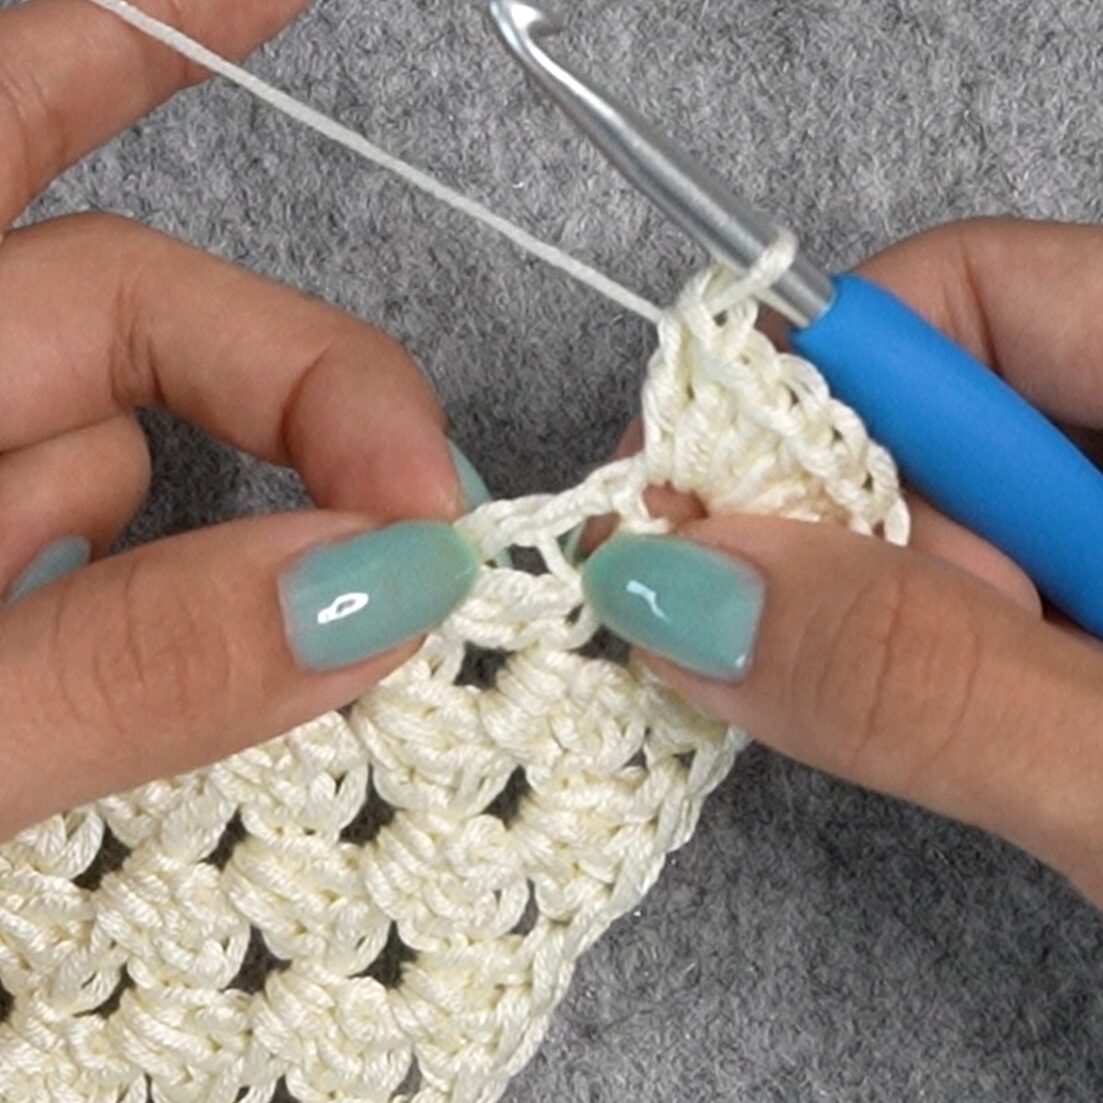
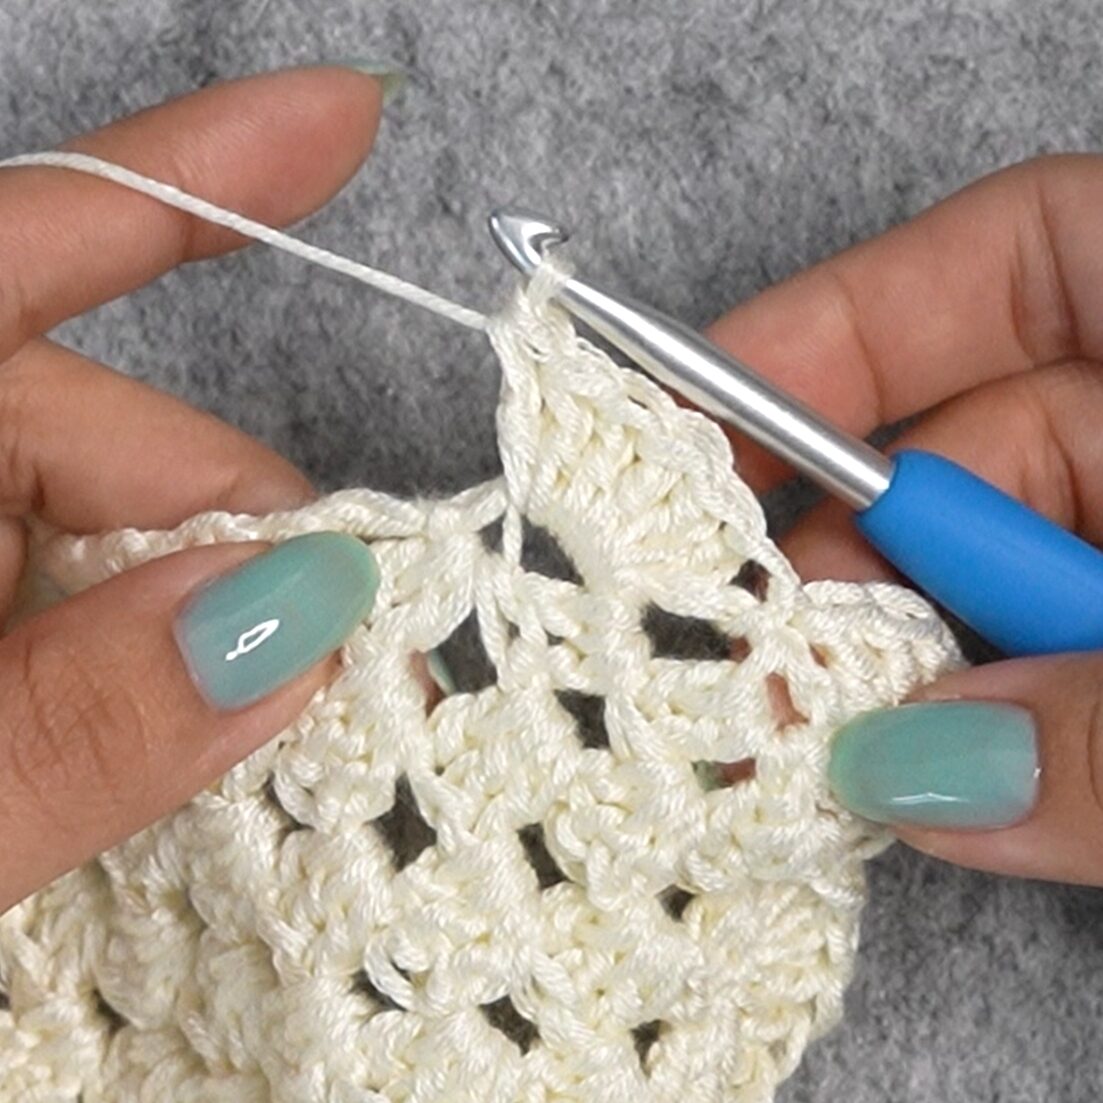
sl st to the side of the second row
Make sure you skip the side of the first row! For this side of the bandana, it will be opposite the other side. You will be doing a sl st into the regular spaces, and a scallop (dc6) into the spaces with the strand of yarn across the middle.
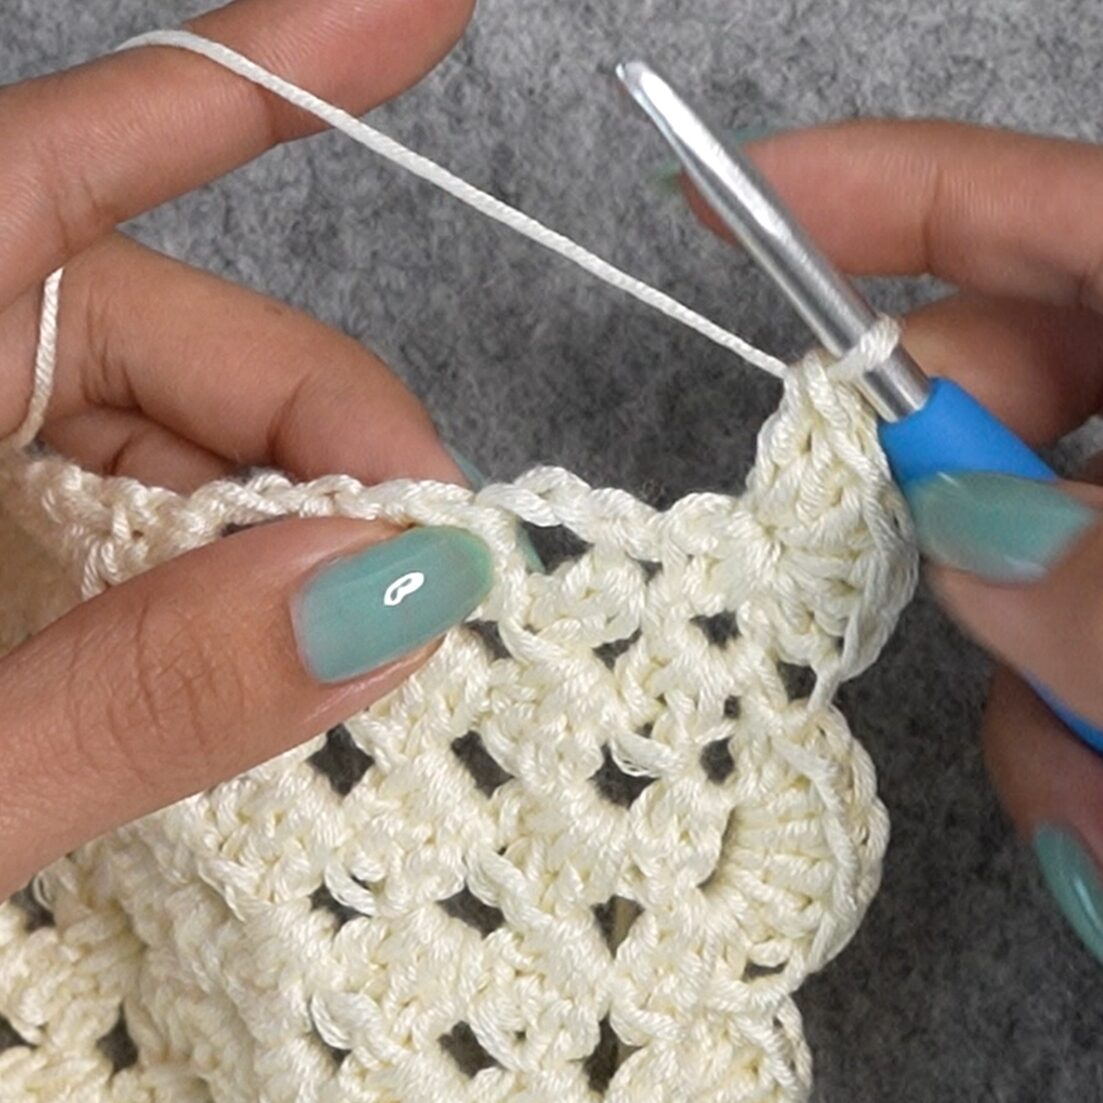
dc6 in the side of the next row in the space to the right of the strand of yarn
sl st to the side of the next row
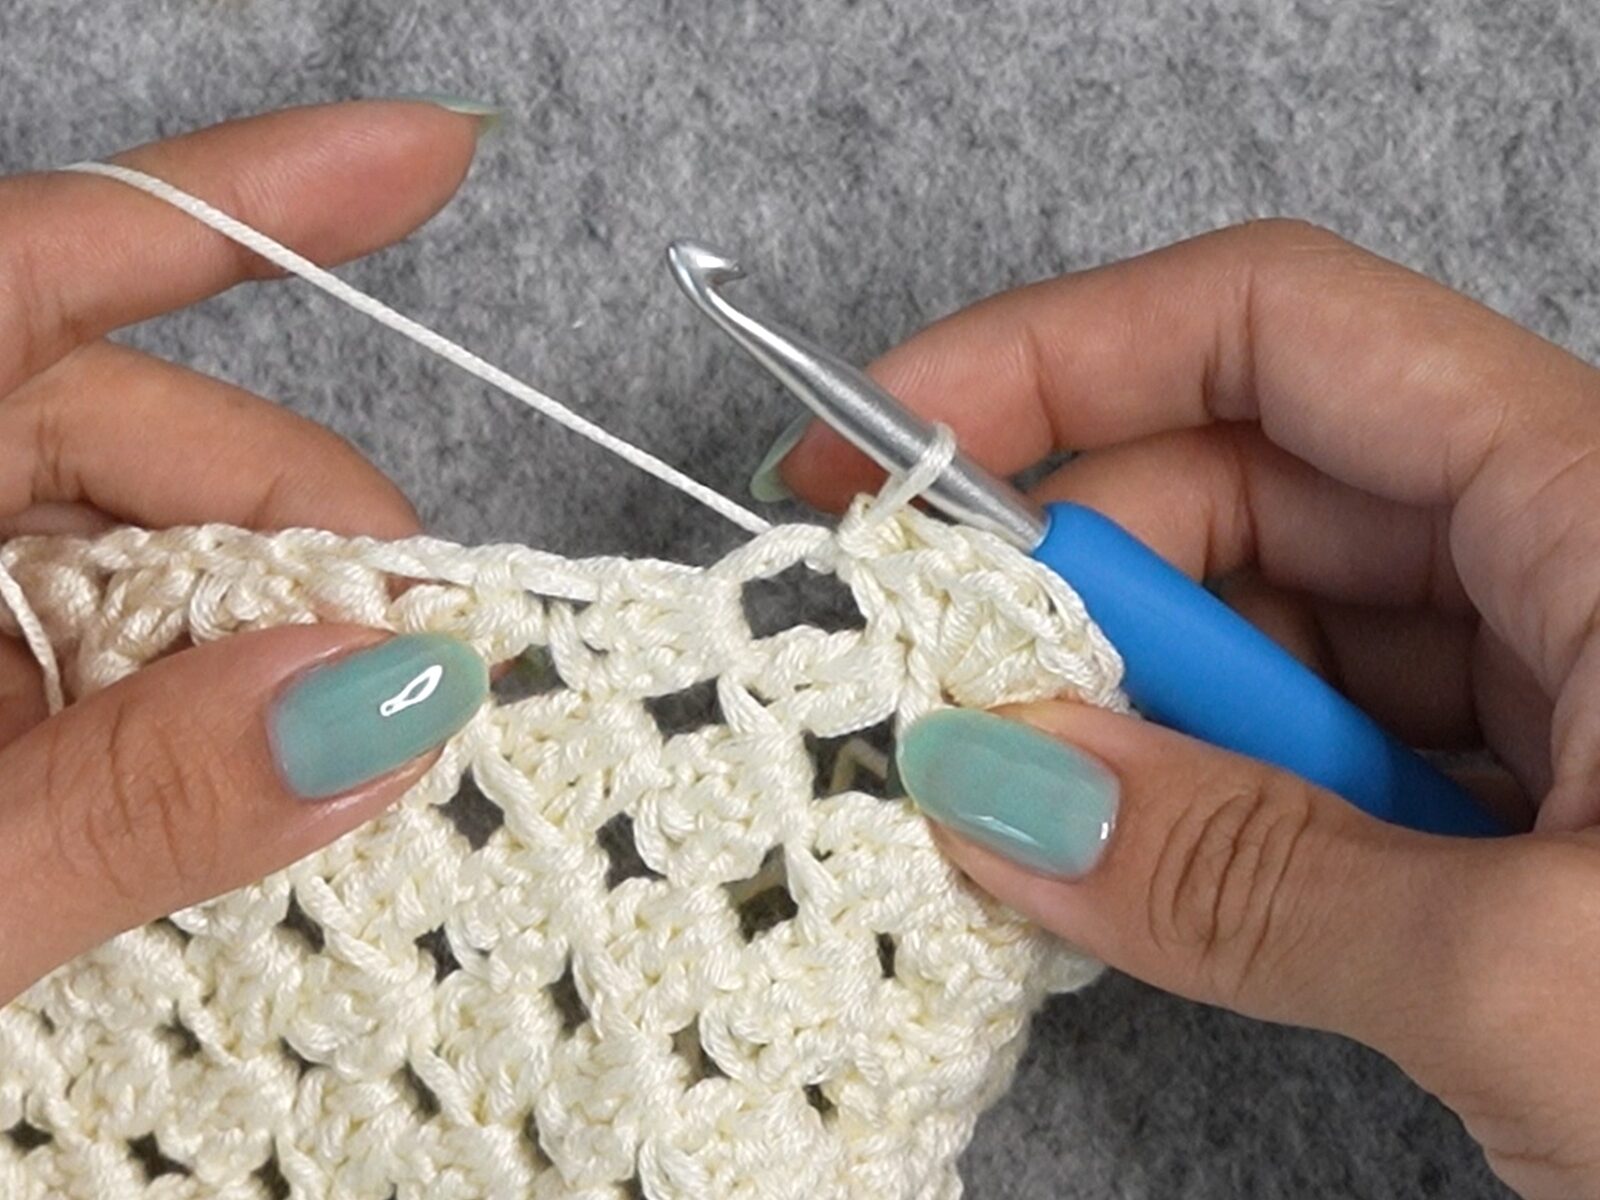
Repeat the last 2 steps across the side of the bandana. You should end with a sl st into the side of the last row.
Second Strap
ch40, sl st in 2nd ch from hook and across, sl st to side of the last row again, fasten off (39)
Note: If you did a different number of chains for your first strap, do that same number of chains instead.
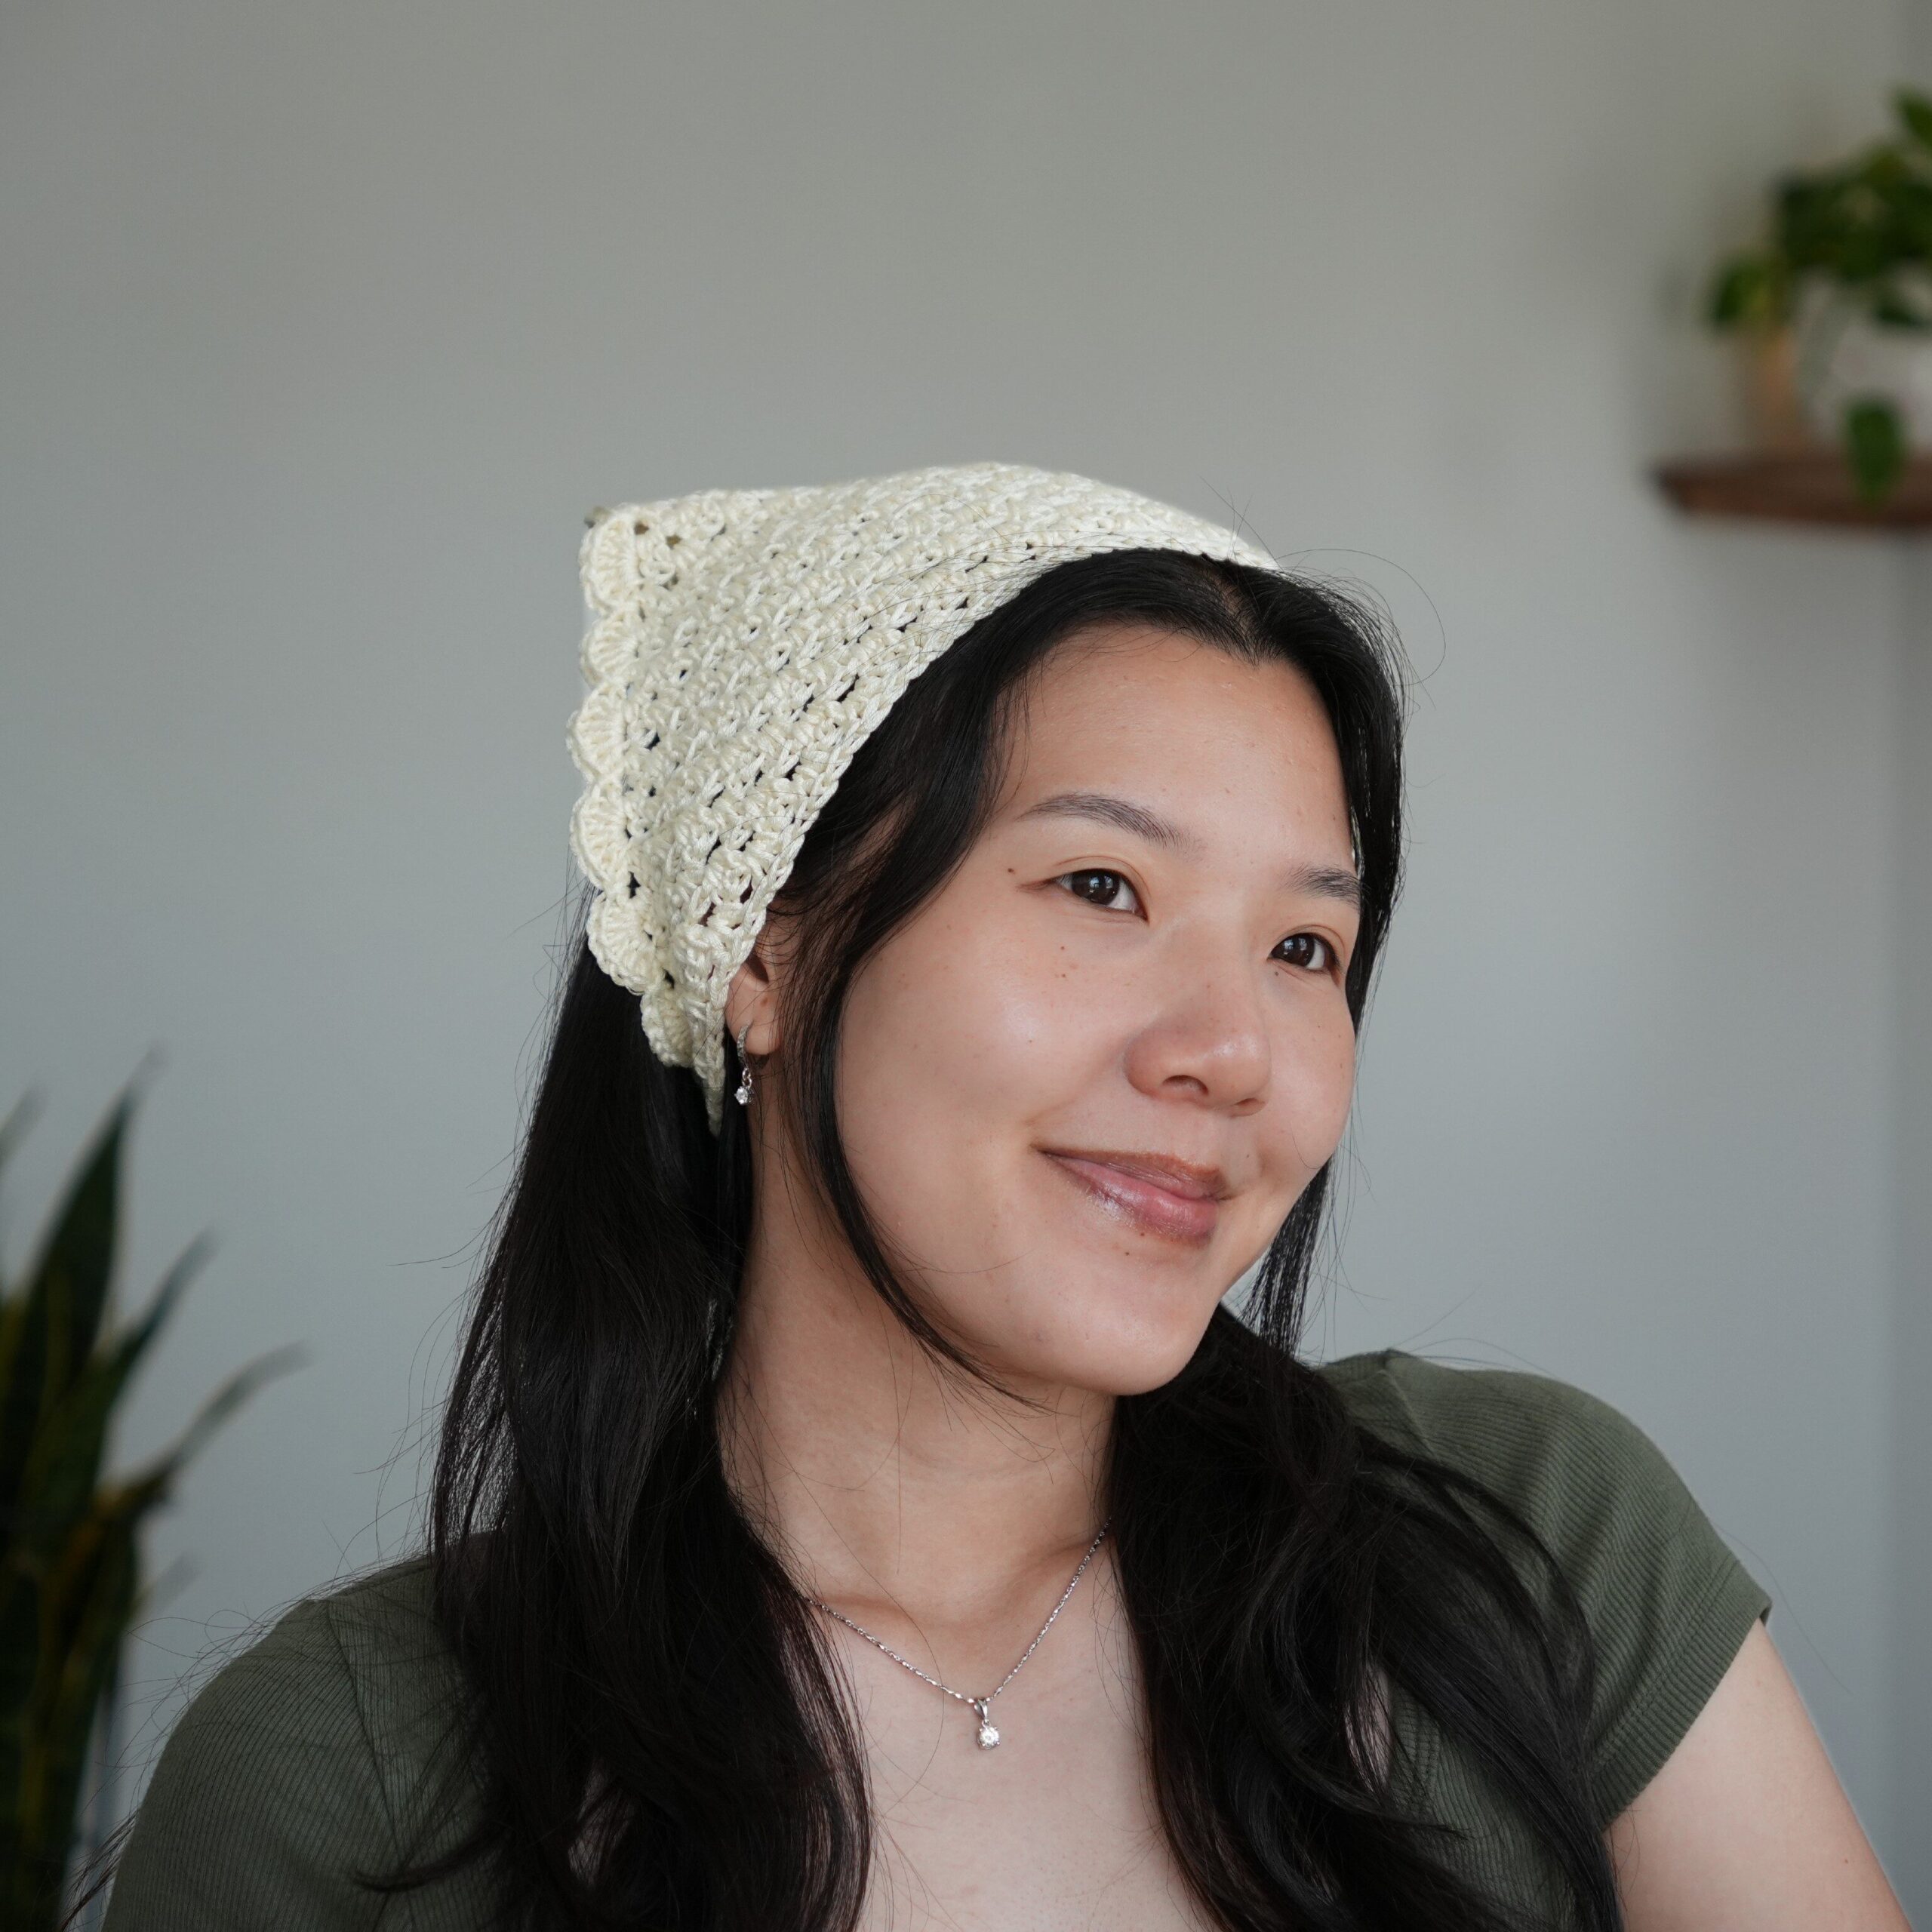
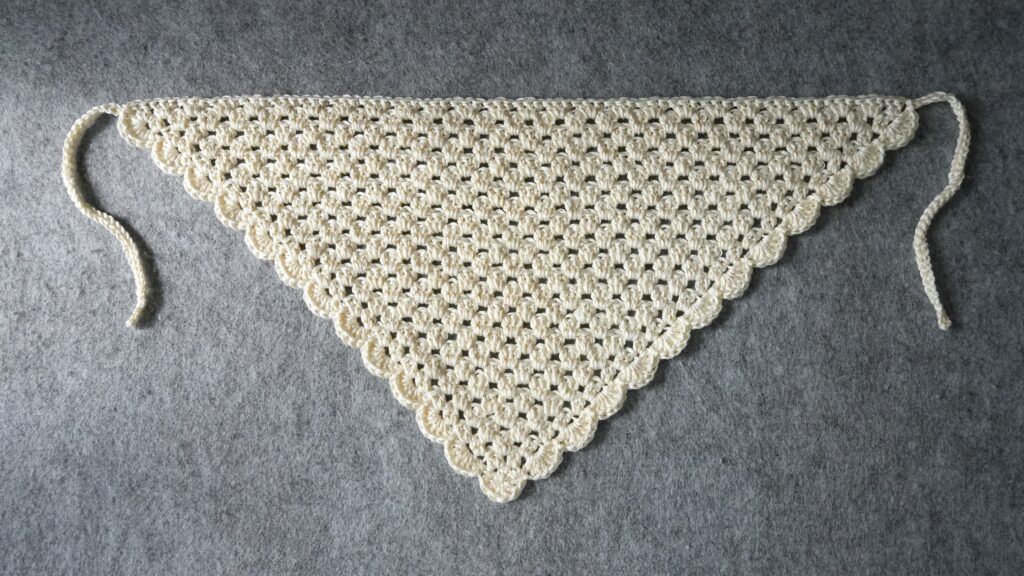
Finished Crochet Bandana
Weave in your loose ends and your crochet bandana is finished!
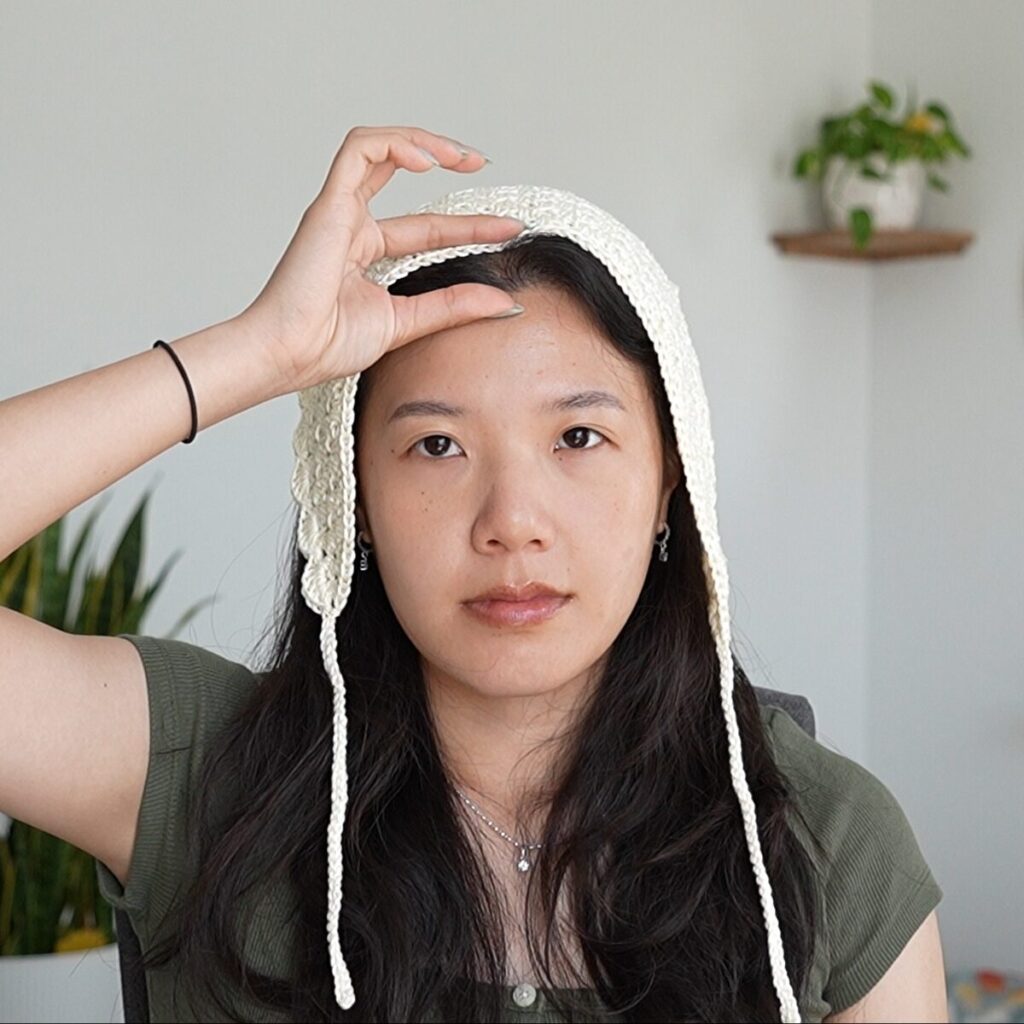
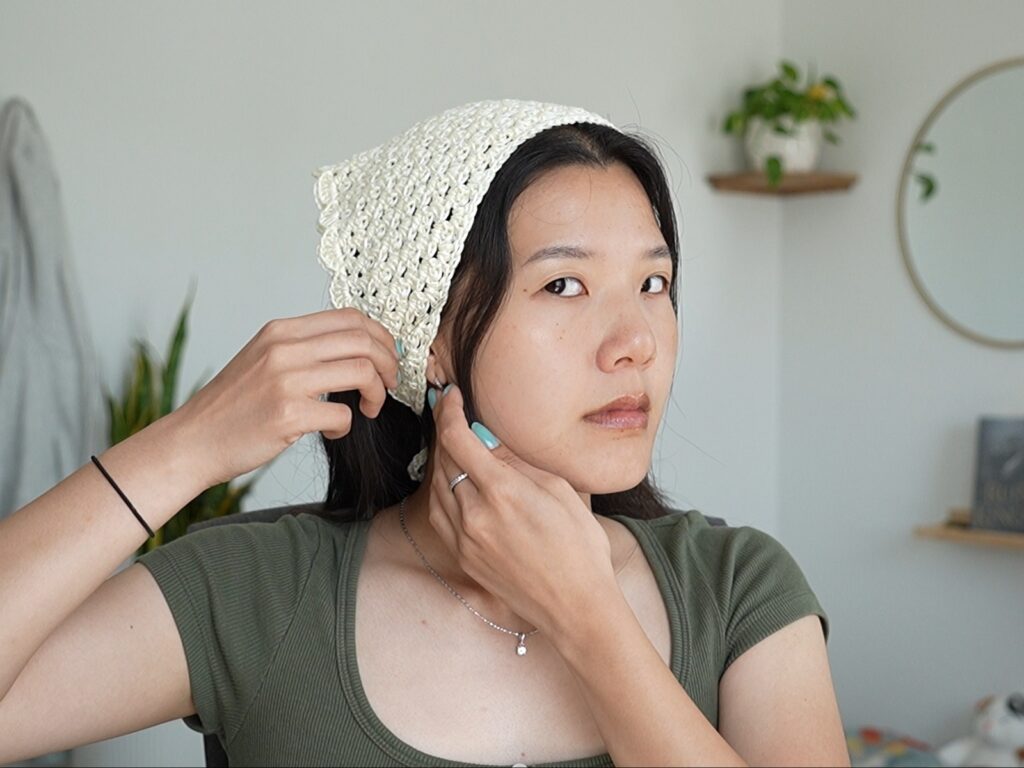
How to Wear Your Crochet Bandana
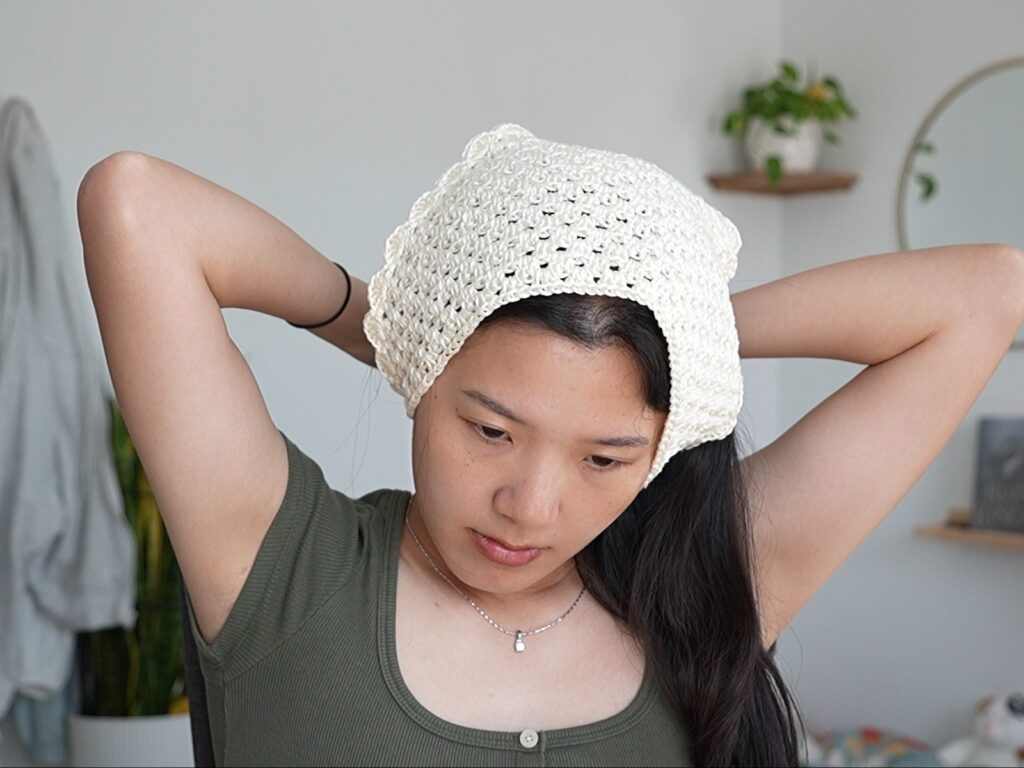
Place the longest side of the bandana over your head, about an inch from your forehead. Pull your hair to the side and pull the straps behind your neck. Tie a knot with the straps, like you would with your shoelaces.
Pull your front hair pieces and your earrings out. Bring your hair back over your shoulders.
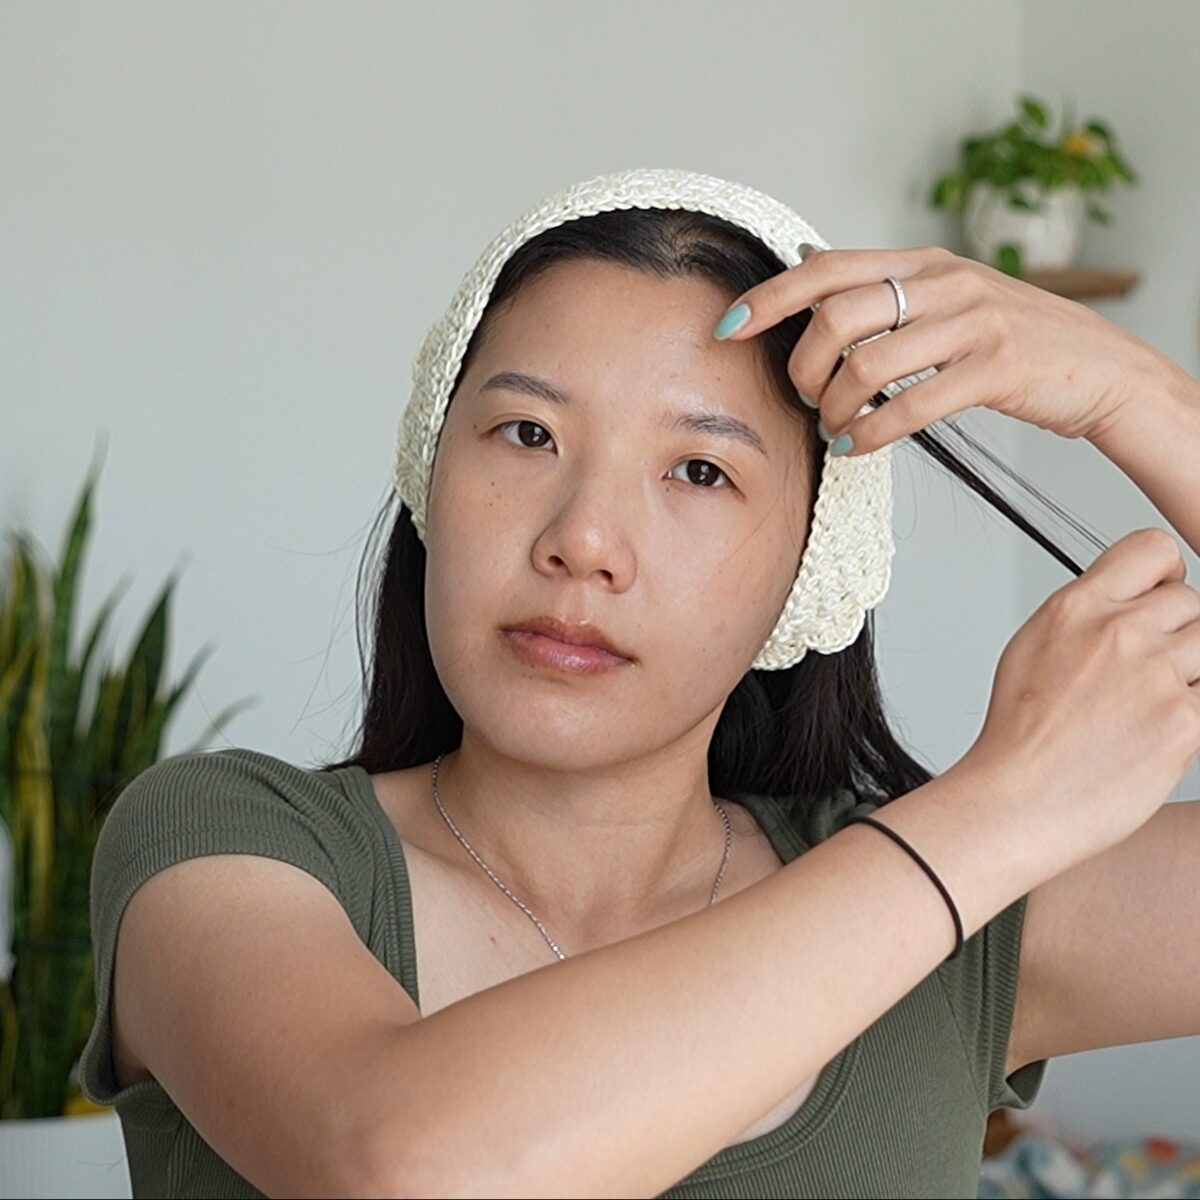
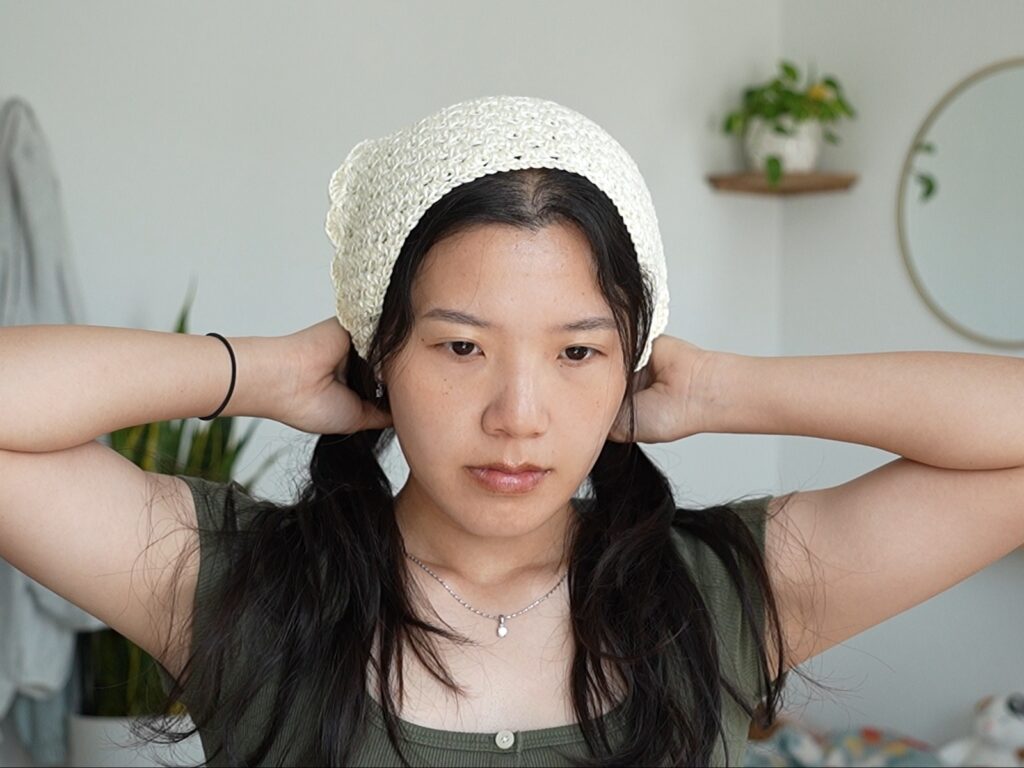
And here is the finished look!